


El Capitan Mac OS X is the newest operating system to be released by Apple in fall of year 2015, and it is fully packed with some of the best features that make it much better than its main rivals. Instead of removing your Yosemite and installing Mac OS X El Capitan, you can partition your computer and have both operating systems so that you can simply switch from one to another when the system boots up.
In other to downgrade from Mac OS X El Capitan you should have had a backup for your Yosemite, otherwise you will have to download it again. If you have it on your backup, you only need to restore the Yosemite from the backup and everything should be ready for usage. If you don’t have a backup, that means you can’t restore Yosemite and you will have to remove Mac OS X El Capitan completely and purchase Yosemite software. You need to create a bootable USB installer through the Yosemite Installer that you are downloading.
By the way, if you accidently lost data after downgrading, please check here to learn how to recover lost data after downgrading from Mac OS X 10.11 El Capitan to 10.10 Yosemite.

Follow These Simple Procedures to Finish the Downgrade Process:
- Step 1: Archive and install your Mac OS X El Capitan. If the latest Mac OS X El Capitan is causing some problems when you install an update, you need to manually download and install the Mac OS X El Capitan. Make sure you download and install the Yosemite OS before you go to the next step.
- Step 2: Go to the “Apple Menu” and click on software update. Install the required system updates before you downgrade your OS to Yosemite, which will ensure that the system is returned to its factory setting and there wouldn’t be a class of software functioning when you finally downgrade to Yosemite.
- Step 3: Reboot the Mac with Mac OS X El Capitan and simply hold down the Command +R key to enter your recovery mode, and you can simply booth from the Yosemite installer that has been installed already.
- Step 4: Go to the OS X Utilities menu, and choose the “Restore from Time machine Backup”. Connect the Time machine drive that contains the most recent Yosemite backup to your Mac system and then click on “Continue”. You will be prompted to the “Select Backup Source” screen where you can choose the time machine volume for your Yosemite back up and simply click on “Continue”.
- Step 5: Go to the “Backup date and time” and choose the most updated backup from your Yosemite. Double-check that you have the previous Mac OS X El Capitan and then click on “Continue”.
- Step 6: Go to the “Backup date and time” and choose the most updated backup from your Yosemite. Double-check that you have the previous Mac OS X El Capitan and then click on “Continue”. Make sure you choose the destination drive for your newly installed Yosemite, and then restore the Yosemite backup- this will automatically erase Mac OS X El Capitan and revert back to Yosemite.
- Step 7: Simply click on “Restore” to begin the downgrade process.
Best Software to Recover Lost Data after Downgrading from Mac OS X 10.11 to 10.10
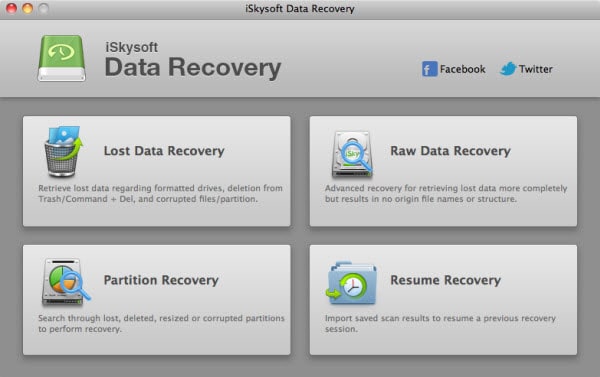
Lose your data due to downgrading the operating system from OS X 10.11 El Capitan to 10.10 Yosemite on your Mac? Take it easy. You can still fix that out with a professional data recovery software like iSkysoft Data Recovery, which is well built with four recovery modes that can recover documents, images, videos, emails, music and archives from various devices such as Mac computers, player, USB, hard drives, digital camera, memory cards and USB drives.
Moreover, whether your devices are damaged, broken, or getting attacked by virus, this application can still retrieve data from them. And this software has a simple user interface that allows you to restore data alone without learning any special skill.


