Contents
- Part 1: Delete Photos in Camera Roll on Your iPhone
- Part 2: Delete Photos Through iTunes (Delete All Photos)
- Part 3: Delete iPhone Photos via Windows PC
- Part 4: Delete Photos Using Mac OS X Preview
- Part 5: Delete Unwanted Photos With iSkysoft TunesOver for Mac
The previously used camera for capturing our life events has come to our hand on the Smartphone. The ease of access and user demand increased the photo capturing capability of Smartphone cameras. The iPhone has one of the best cameras among all the Smartphones. So, the user can make as many shots as they want and more often there are so many unwanted photos stored in camera roll folder. Even after capturing lots of photos when we are checking the photos, lots of unwanted photos are needed to delete. Sometimes The shortage of disk space leads to need of deleting the photos, moments and albums. Here, the steps are described to delete photos from your iPhone.
Some methods are described here to delete photos and you can select as you prefer. Go on to below methods for details.
Part 1: Delete Photos in Camera Roll on Your iPhone
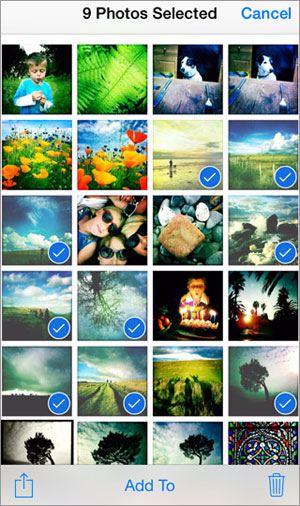
*Delete Photos Individually
- 1. Launch the Photos app.
- 2. Tap the Photos icon to highlight it from the left side of the bottom bar.
- 3. Tap the Select button from the right of the top bar.
- 4. Now, tap the image that you want to delete and a small blue tick on the selected thumbnail image will appear at the bottom right.
- 5. Select the trash icon from the bottom right and tap the “'Delete [x] Photos” for confirmation.
Part 2: Delete Photos Through iTunes (Delete All Photos)
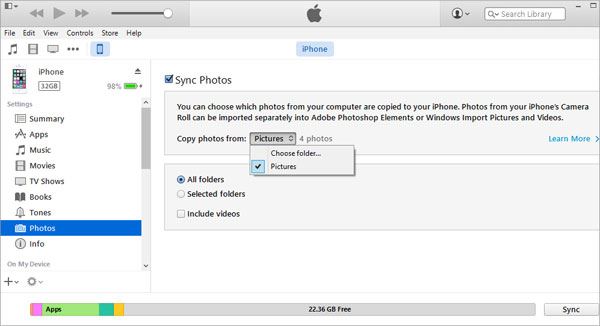
To save time and avoid unwanted errors to delete all your photos, you can follow these steps to delete your photos from your iPhone.
- 1. Using a USB cable, connect your phone to your computer after launching iTunes.
- 2. Select your iPhone from the Device option.
- 3. Uncheck the Photo Sync Option.
- 4. Click on the remove icon from bottom left to delete all photos.
- 5. Select Delete option.
WARNING: This will delete all your photos at once.
Part 3: Delete iPhone Photos via Windows PC
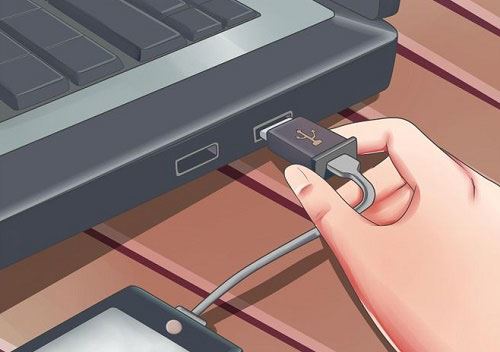
- 1. Using a USB cable, connect your phone with your Windows operated computer.
- 2. Go to My Computer and find your device icon.
- 3. Open the folder and find your photos directory to open.
- 4. Now, delete your iPhone photos individually or in groups or entirely as you need like managing them from your HDD.
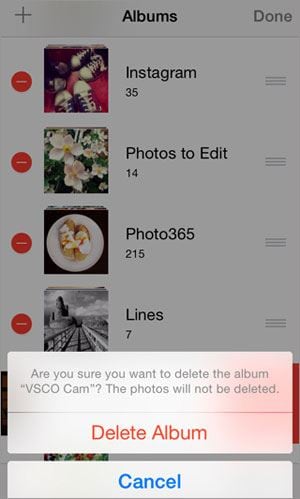
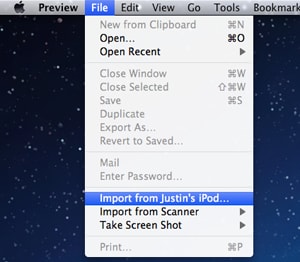
Part 4: Delete Photos Using Mac OS X Preview
Part 5: Delete Unwanted Photos With iSkysoft TunesOver for Mac
You may face some problems in deleting your unwanted photos from your iPhone. To avoid all the problems and difficulties, iSkysoft TunesOver for Mac (or iSkysoft TunesOver for Windows) can be the best solution for deleting your photos from iPhone. This tool is so easy to use and provide you better user feasibility.
You can just follow the below steps to delete your iPhone photos as you need and it will be a more comfortable journey for having some more space by deleting your photos.
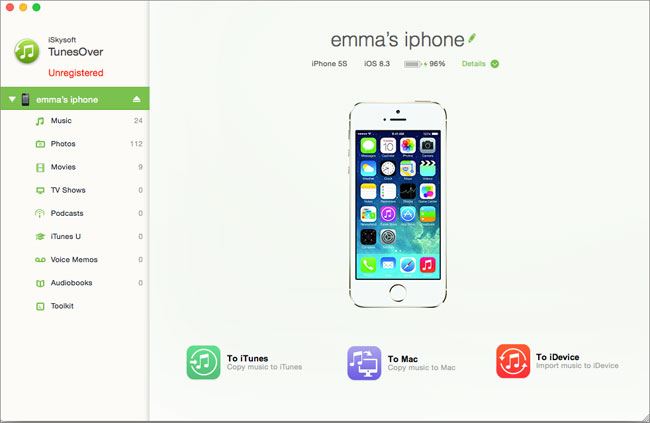
Step 1: Launch the “iSkysoft TunesOver for Mac” tool after connecting your iPhone to the computer. It will open a window as below showing your phone with device information.
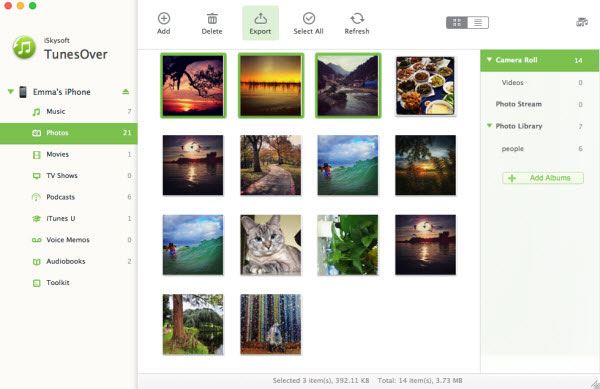
Step 2: Now, open the “Photos” from the left menu and you will see “Camera Roll” option in the right sidebar. Now click on the “Camera Roll” menu from the right sidebar and get all your photos on your iPhone as below. After selecting the photos you need to delete, you can find some new options in the upper bar of the tool. Select the “Delete” option from these options to delete the photos you have selected earlier. Confirm the delete process and wait for completing the process. You can also choose the “Export” option to keep your photos saves on your computer before performing this method.
You need not to be more anxious for your iPhone storage space from now. The above methods can help you with managing some more space on your iPhone. Just follow some easy steps from the methods which one you prefer.


 English (UK)
 Deutsch
 Français
 Italiano
 Español
 Português (PT)
 Pусский
 Nederlands
 日本語
日本語
Any Product-related questions? Tweet us @iSkysoft to Get Support Directly