


What is the easiest way to make a picture slideshow on Windows 10? Windows users might have used Windows Media Player to create picture slideshow but find it is complicated and with limited features for the slideshow. No worry! Below we will show you the easiest way to create a picture slideshow on Windows 10.
- Part 1. The Best Software to Make a Picture Slideshow for Windows 10
- Part 2. Make Picture Slideshow on Windows 10 with Windows Media Player
Part 1. The Easiest Way to Create a Picture Slideshow in Windows 10
Are there any good reasons why Filmora Video Editor is touted to be the best software for creating a picture slideshow for Windows 10? Yes, there are many and you must consider that whenever making your choices. One of the reasons is versatility of features. You will get to enjoy a limitless number of features that include background music, text effects, DVD menus, transition effects and red-eye removal. It will offer you all the opportunities you need to personalize your slideshow.
Do you know that it’s possible to share your picture slideshow? That is yet another good reason for you to use Filmora Video Editor. Some of the platforms to use for sharing your slideshow include TV, online and with mobile devices like iPhone and iPod. You will be split for choices. The steps involved are very easy so you will not have any problems following that. Also, Filmora Video Editor works at very high speeds with high quality guarantee for your slideshow.
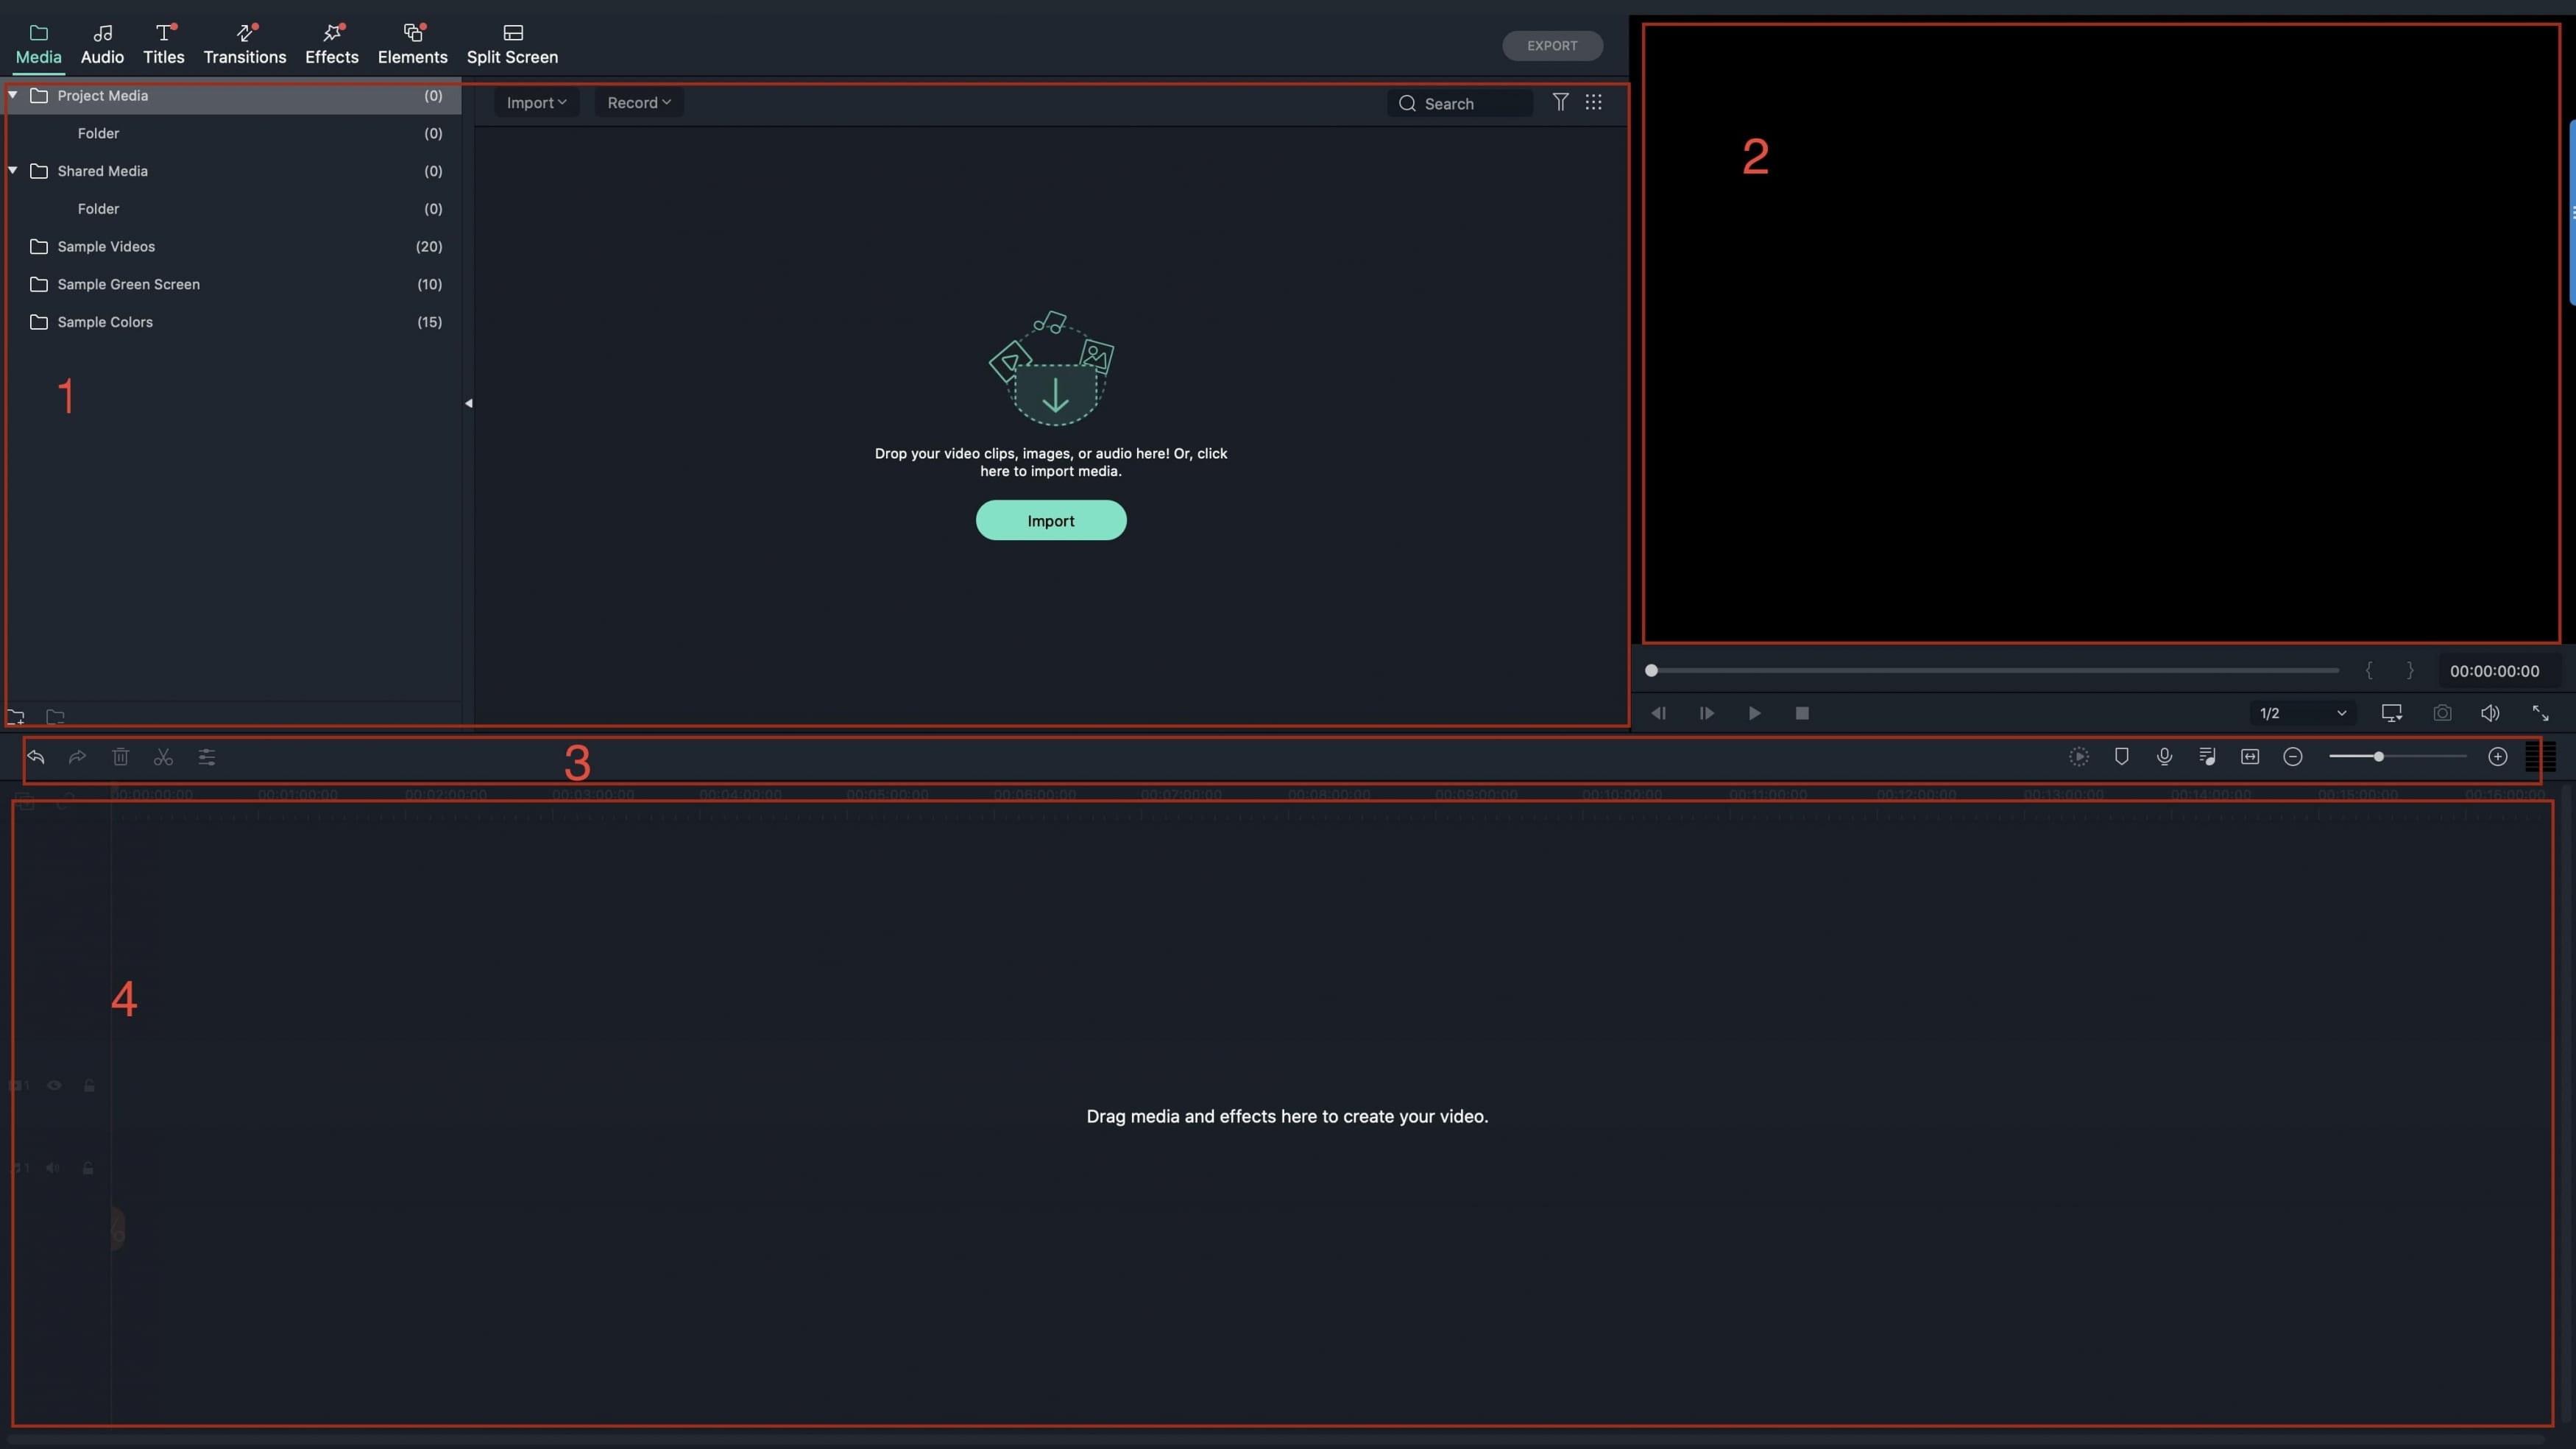
Simple Steps to Create a Picture Slideshow with Filmora Video Editor
Step 1. Import Pictures
Click on the button marked "Add Files" from the menu bar to add all the pictures you will be using for creating the slideshow. You can as well insert all the effects you want for customizing your slideshow.

Step 2. Add files to timeline
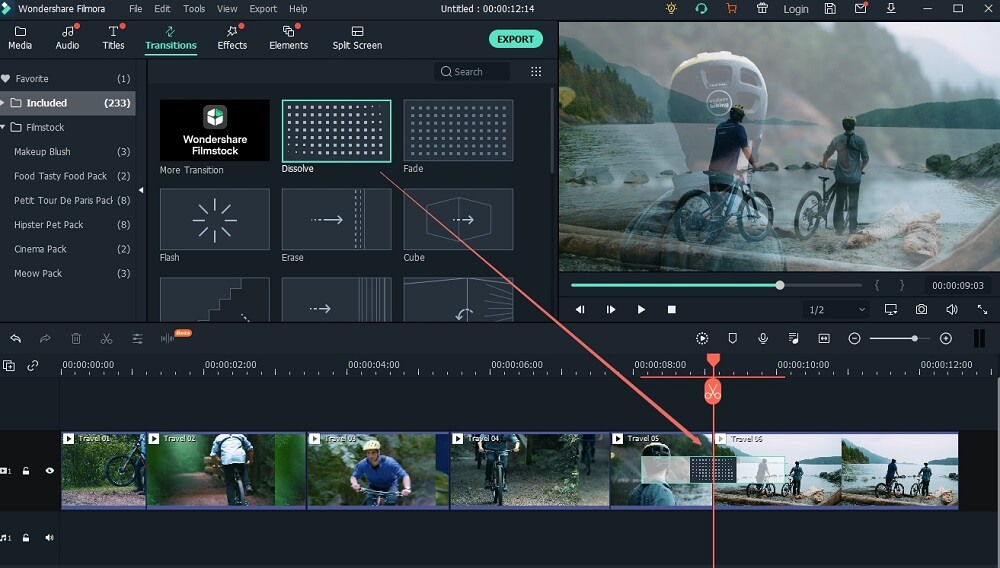
This is the step where you add your files to timeline and choose transitions for your picture slideshow but it is not compulsory. If you don’t want transitions, just ignore it, but it’s always advisable you choose an attractive transition for your slideshow from the many available. D
Step 3. Publish Slideshow
The last step will be publishing your picture slideshow the way you want by clicking on the “Export” button. Make sure every person you want can access the slideshow easily.
Part 2. How to Make a Picture Slideshow on Windows 10 with Windows Media Player
One of the biggest advantages that Windows come with over other platforms is its integrated media player that will allow you to do many things. You can play your videos and music as well as view pictures with ease. When you are keen to make a picture slideshow, Windows 10 will be a good choice and the steps to follow are:
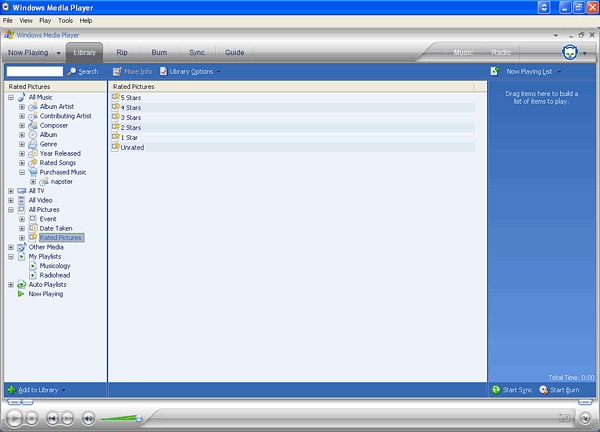
- Step 1. Launch Media Player - Click on "Start" and select "Windows Media Player" from the long list you get. On the left top corner, you can choose "Create Playlist" and give it a name.
- Step 2. Add Pictures - Browse through the computer to select the pictures that you want to use in creating a slideshow. It will be easier dragging and dropping the pictures to your selected playlist.
- Step 3. Save Pictures - When you have successfully added your pictures, click on the "Save" button from the top column, add a title for the pictures and then press "Return".
- Step 4. Start Slideshow - It will be as simple as double clicking on your playlist and slides will begin to play. You can have the slideshow in a small screen or full screen through maximizing. There are buttons available on the bottom side to help you take control of the playback for your picture slideshow.
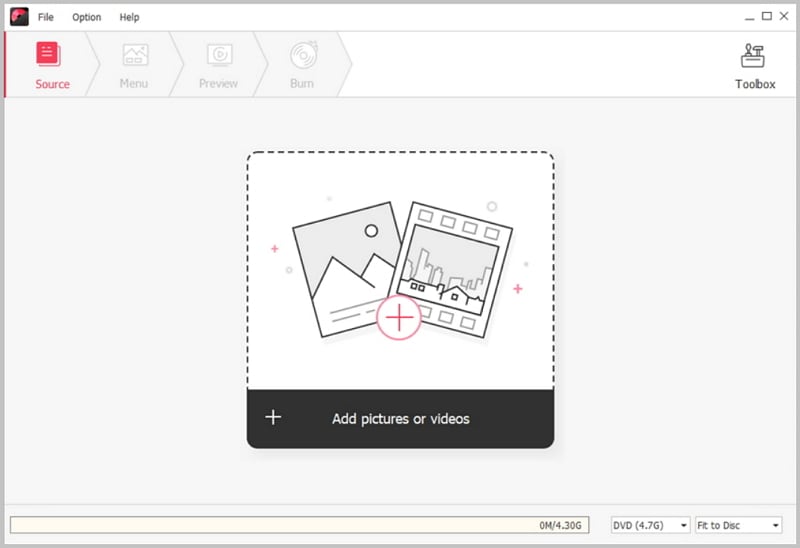
Burn Picture Slideshow to DVD on Windows 10
DVD Creator for Windows is recommended here to help you to drag pictures and make picture slideshow so as to continue for DVD burning. You can import any pictures and add background music to make picture slideshow. And then for the case to burn picture slideshow to DVD, you can do any changes and editing before and then directly click "Burn" to start the DVD burning. Take a trial on this handy DVD tools.
- Make picture slideshow with background music.
- Burn picture slideshow to Blu ray DVD in high quality.
- Burn videos in any formats or homemade movies to DVD.
- Come with options for free DVD menu and allow to download more for free.


