
• Filed to: Mac Tutorials
In case you have PDF documents which contain many different page sizes, you might want to remove some of the blank edges or margins from the PDF pages to give the documents an increasingly proficient and steady look. In addition to that, most PDF documents in digital form are created for the letter size paper so you might have to crop them in order to print on the A4 paper. There are also instances when you might combine several PDF files from many sources to create a neat file and you have to crop PDF pages to a certain size. To most people this process sound very complicated. But with the right tools and processes, it is easy to crop a PDF and from the cropped sections create a brand new PDF document. There are several tools you can use to crop a PDF on Mac, although not all are created equal. In this article, we share with you 5 ways you can crop a PDF document on a Mac (10.15 Catalina included). Let's begin with the easiest.
Way 1. How to Crop PDF on Mac (10.15 Catalina included)
The Easiest Way to Crop a PDF
To easily crop a PDF on Mac, you need a PDF editing tool that is designed for that purpose. For Mac users that tool is PDFelement Pro . This PDF tool is designed to help you easily manage all aspects of the PDF including cropping sections of it. Some of the features that make it the best PDF Editor to choose include the following. Here's how you can use PDFelement Pro for Mac to crop a PDF.
Steps on How to Crop a PDF on Mac (10.15 Catalina included)
Here we will show you how you can crop PDF page in 3 simple steps, read on to know how to use the PDF editor tool to crop your PDF pages in an easy manner.
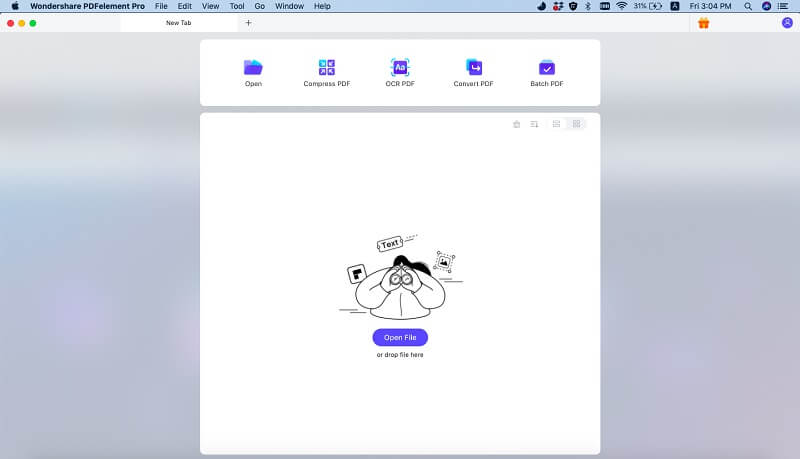
Step 1. Import PDF Document to PDFelement Pro
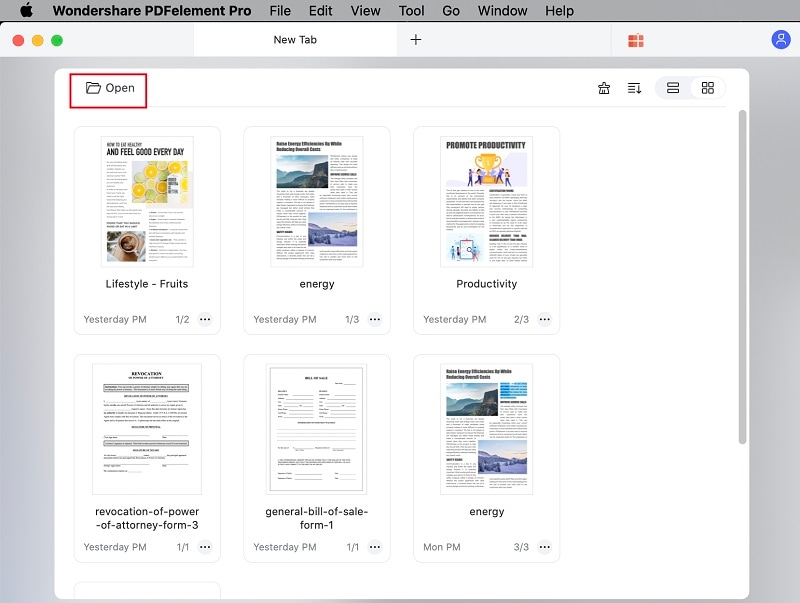
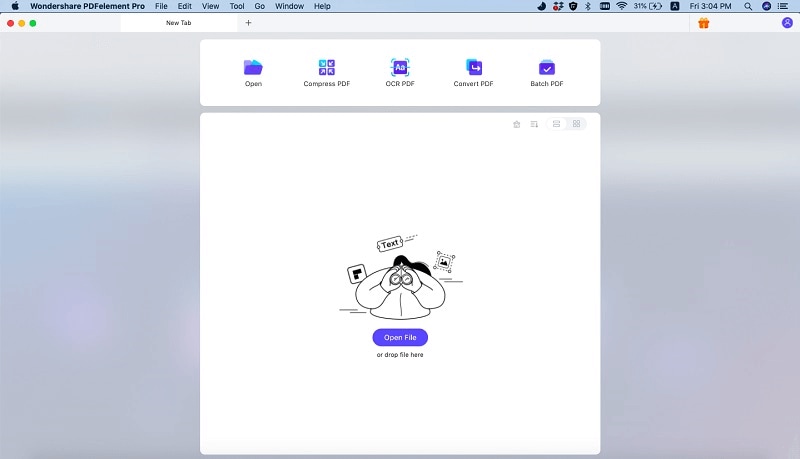
After running the program, you can click "Open File" and then browse to the folder where your PDF file is located. Under the "Edit" menu, you can click on the "Crop" button, then you will have the crop box on the page and the crop control panel on the right side of the program interface.
Step 2. Crop PDF Page in the Program
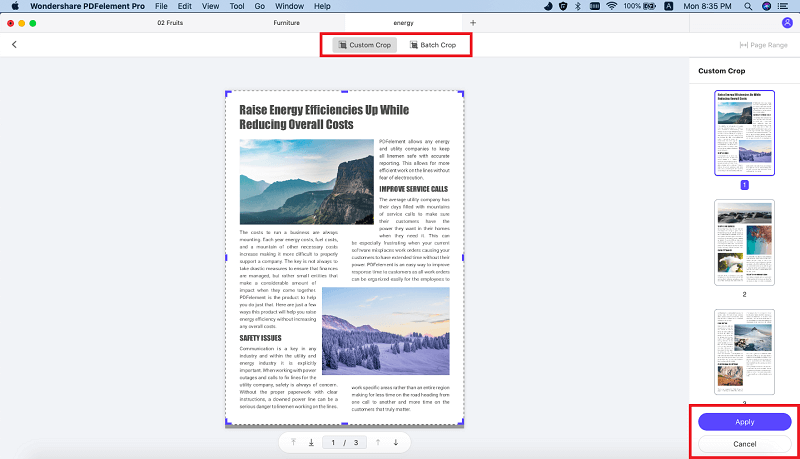
A small window will pop up, in which you can remove blank margins or edges. You can drag the page to adjust the edge size to be removed. In addition, if you want to be more precise, you can set the numeric value for each area on the right sidebar. When everything is ready, simply click "Crop" button for the cropping to take effect. Then you can also crop PDF to A4 and other size as your needs.
Step 3. Batch Crop PDFs
If you want to batch crop PDFs at once, you can combine multiple PDF files at first. To do so, you can click on the "Combine PDF" button to import and combine multiple PDF files.
Once the files are open, navigate to the section of each document you'd like to crop. Except for cropping PDF files under "Edit" panel, you can also use "Page Boxes" to crop a PDF using multiple PDF page boxes. Click on the "Pages" button and choose the "Page Boxes" option.
Step 4. Crop Scanned PDF
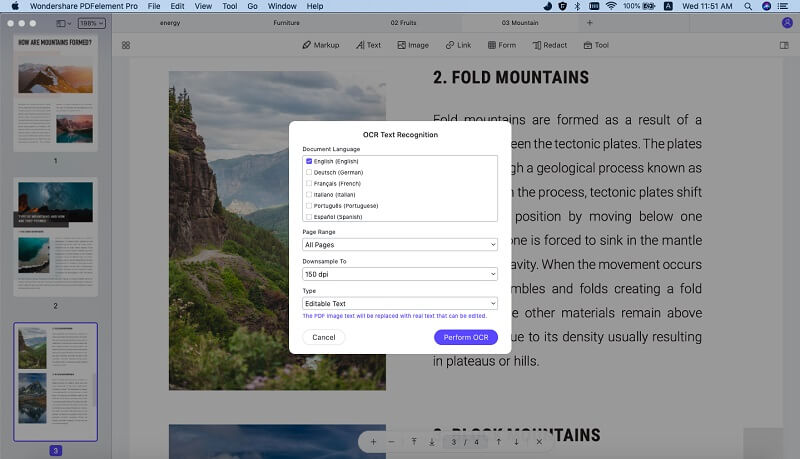
To crop a scanned PDF document, you first need to OCR the scanned PDF. To do that, simply click on "Open File" to import the PDF document into the program. Once it is opened, you will see a notification telling you the PDF is scanned. Click on the "OCR" button under "Edit" and then click on the "Perform OCR" button in the OCR panel to the right. This will open the PDF up for editing. Now to crop the PDF, simply click "Edit > Crop" and then select the area you want to crop.
The professional PDF editing tool allows you to edit PDF pages, texts, images and other elements with ease. It also provieds you the easiest way to crop PDF pages on Windows.
Why Choose PDFelement Pro for Mac to Crop PDFs
If all of this sounds familiar and you would like to crop PDF on Mac OS X (10.15 Catalina included) without knowing how, PDFelement Pro will come in handy. Now, you will find many tools that can crop pages in PDF documents, but this PDF editing software is regarded as one of the best options for its high performance and ease of use.
- Apart from trimming off blank margins from PDF documents, you can manipulate PDF pages by rotating, deleting, inserting.
- And you can add sticky notes, comments, text box to PDF for later reference.
- You can also highlight a block of text by putting an underline, strikethrough in it.
- It is useful when you want to edit both text and images on the PDF document.
- It also comes with an OCR feature that can be quite useful when you want to edit scanned PDF documents.
- There are also a bunch of annotating features such as marking up, underlining and even highlighting of text.
- It is easy to use, giving you all the tools you need to organize and even share PDF document.
Way 2. Crop PDF in Illustrator
Illustrator can also offer you a simple solution to crop a PDF. You'd have to open the PDF in Illustrator as an image and proceed to crop as you would an image. Here's how to do that.
Step 1. Open Illustrator and then drag and drop the PDF file in the main window. With the selection tool, select the section of the document you would like to crop.
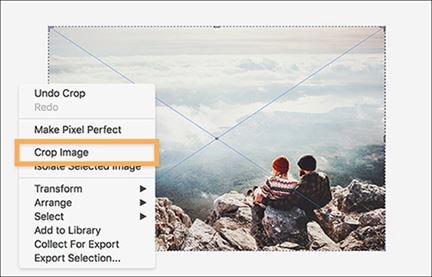
Step 2. Right-click on the section and select "Crop Image" from the options presented. Click "OK" to continue.
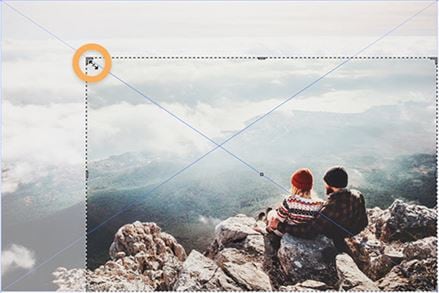
Step 3. Now simply drag the corners of the crop rectangle that appears. Press enter when done.
Way 3. Crop PDF with Briss
Briss is a PDF editor that you can use to crop a PDF document to the desired size. It is a downloadable program that runs on all platforms. Here's how to use Briss to crop PDF document.
Step 1. Download and Install Briss on to your computer from it's official website.
Step 2. Launch the program and then click on "File > Load" to open the PDF document you want to crop.

Step 3. Click and drag on the blue boundary surrounding the document. Anything outside the blue rectangle will be cropped out.
Step 4. Once done, click "Action > Preview" from the menu bar to see the results. If you are happy with the crop, click "Action > Crop PDF" to save the changes.
Way 4. Crop PDF with Latex
LaTex is another useful tool you can use to crop a PDF document. Unlike most PDF editors this one is slightly more complicated to use as a PDF cropping tool since you have to use code. That said, here's how to use LaTex to crop a PDF.
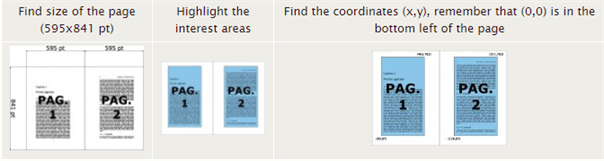
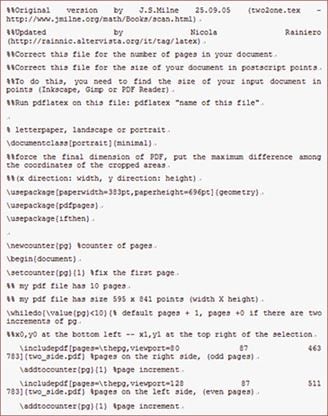
Step 1. Before you can use LaTex to crop the PDF, you must know the page size in points, the page payout and the exact number of pages to cut out. Here's an example done for you.
Step 2. From the information gathered above, type the following into a LaTex file: da_two_side.tex.
Step 3. Now when you run pdflatex your PDF will be cropped.
Way 5. How to Crop PDF in Preview
Preview, the in-Built Mac PDF viewer and editor can also be used to crop a PDF. The following is a simple way to do it.
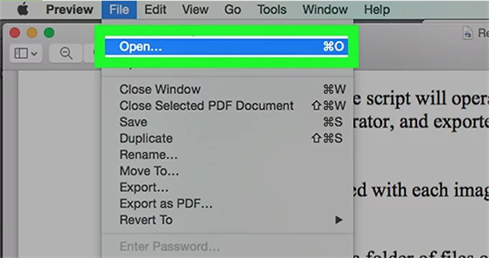
Step 1. Launch Preview and then open the PDF file you want to crop. You can do that by clicking "File > Open" in the menu bar and selecting the PDF you need.
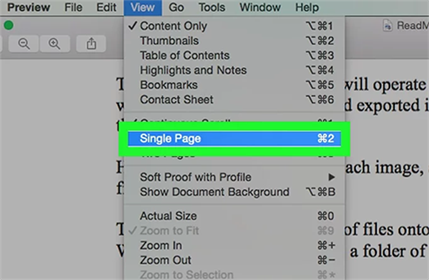
Step 2. Click "View > Single Page" to see a full page in the preview window.
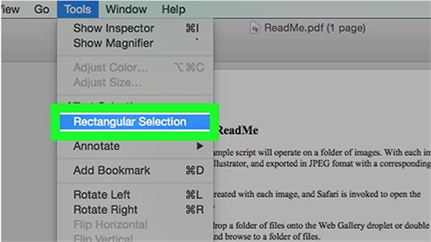
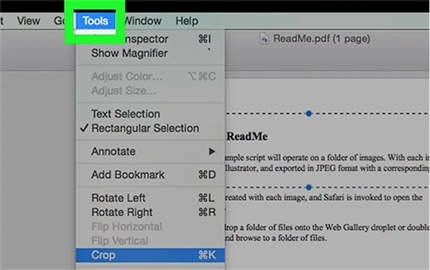
Step 3. Now click on "Tools >Rectangular Selection.
Step 4. Click and drag the crosshairs across the document to crop a section of it.

Step 5. Now click "Tools > Crop" and the selected area will be cropped out.
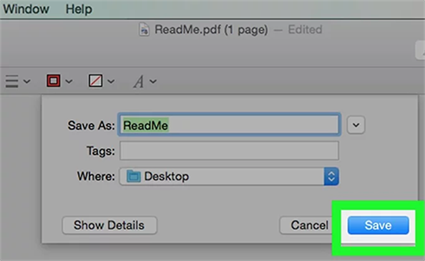
Step 6. Finally, click on "File> Export as PDF to save the cropped section.
Ivan Cook
chief Editor