DVD Creator for Mac
How to Use DVD Creator for Mac
DVD Creator for Mac is an ideal DVD Burning Tool for Mac users to burn all formats of the downloaded or self-made videos, movies and slideshows into DVD disc, DVD Folder, ISO or even DVD media. This step-by-step guide will show you how to use DVD Creator for Mac to burn all sorts of videos or movies to DVD disc on Mac (macOS High Sierra, Sierra, EL Captain, Yosemite, Leopard and Snow Leopard).
1 How to Burn Videos to DVD in Clicks
Step 1. Download and run DVD Creator for Mac
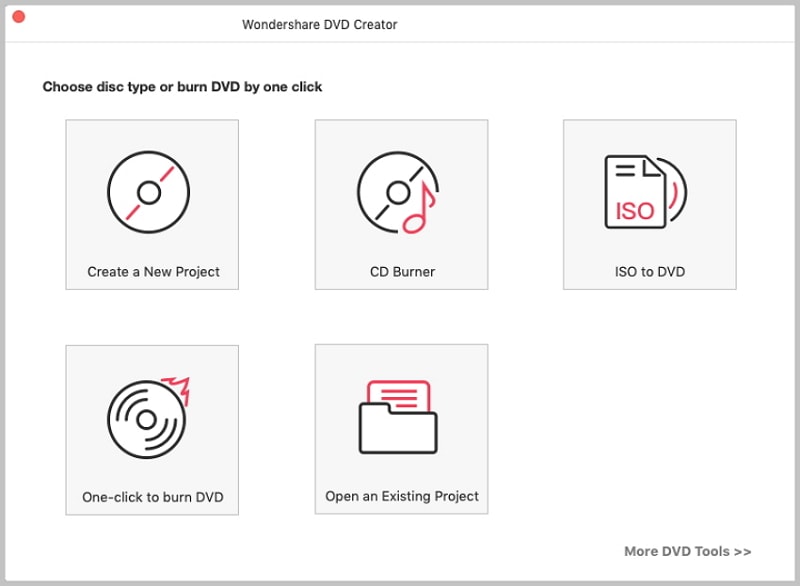
Download and install DVD creator for Mac, run this program, and you'll see its interface as below.
Step 2. Import files into the program
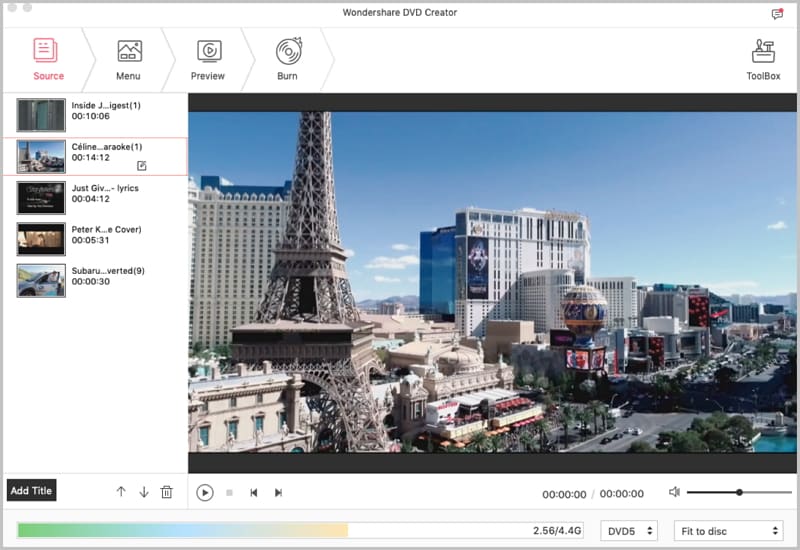
Import whatever you want, like downloaded or self-made video, movies, slideshows or photos and pictures. And there are two ways for you to load them in. One is to drag the target files directly into the program, the other is to input them by clicking the "+" button.
Step 3. Start to burn
DVD Creator provides four output options: DVD Disc, ISO file, DVD Folder (Video_TS) and DVDMedia file. Choose the right output option and set proper output parameters to start burning your files.
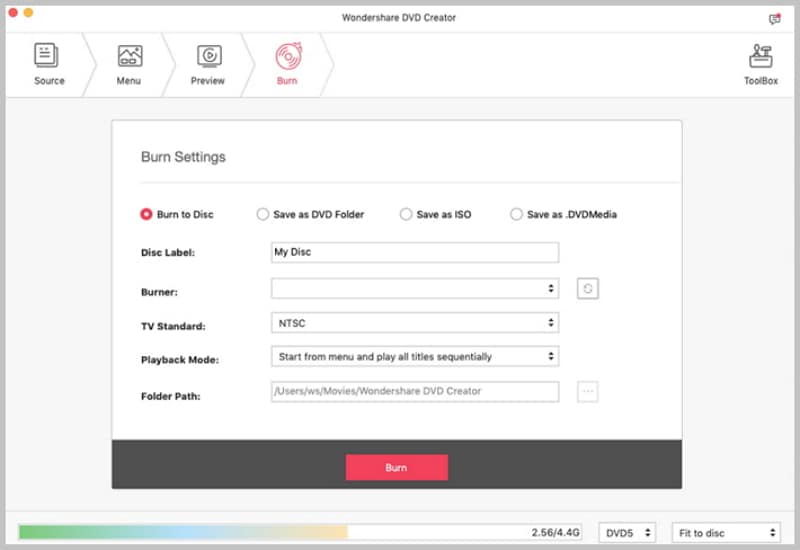
Note: DVD Creator allows you to save project file, which can be imported again for further editing or burning if you do not want to burn your files immediately.
2 How to Edit Video Before Burning to DVD
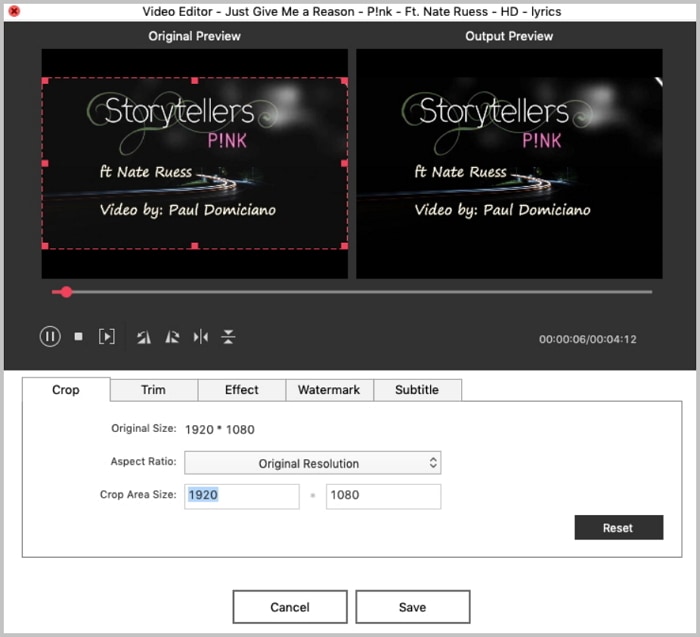
1. Crop, rotate and trim video
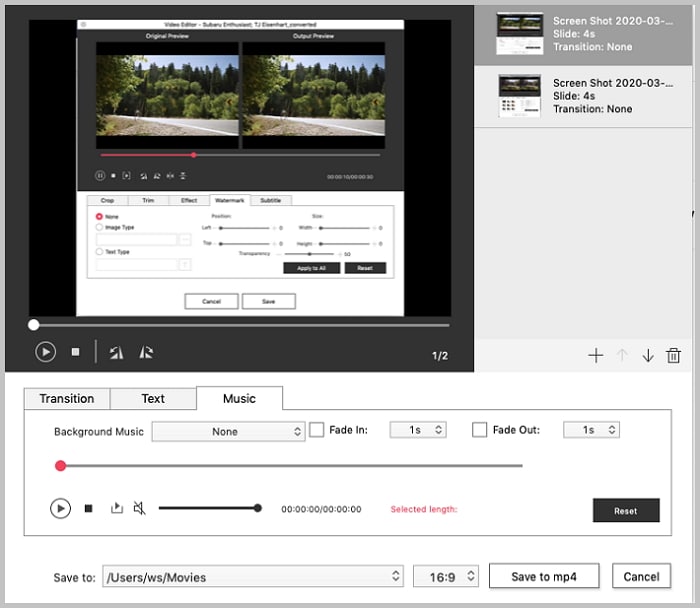
Highlight a file and click "Edit" to enter the edit interface. For video and movie files, you can crop, multiple trim, adjust effects, add watermarks and rotate them; for slideshow files, you can set the transition effects, add text and background music to make them more personalized and eye-catching.
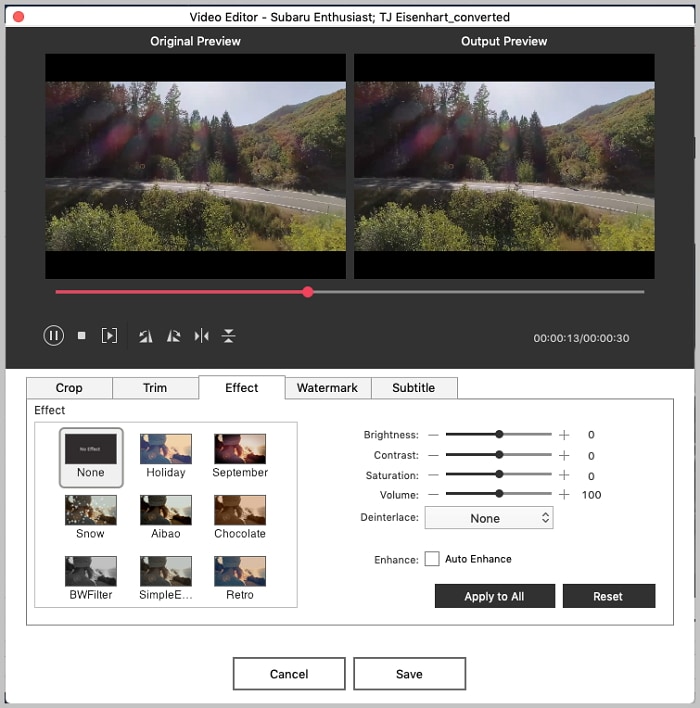
In the Effect tab, you can add effects to the target video. Or adjust the parameters of the video performance by contrast, saturation, color, etc.
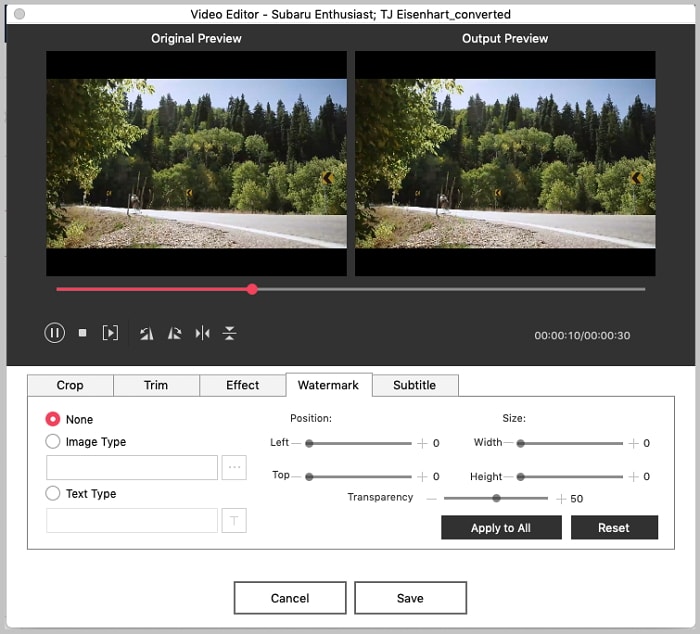
In addition, you can apply subtitle, watermark to the video as you like.
In case you'd like to make slideshow, turn to the Toolbox on the top right part. Click the Slideshow option to enter the main interface. Import the photos, confirm configurations as you like, then follow the guide to complete the creation.
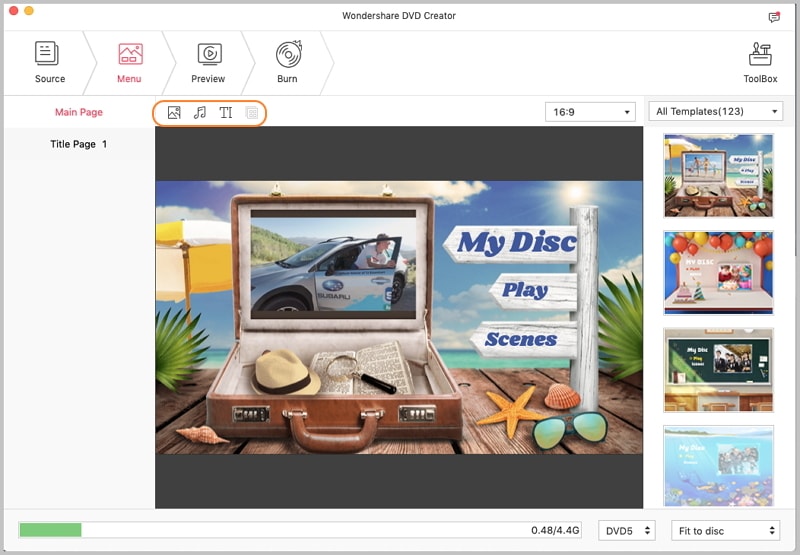
2. Create customized DVD menu (optional)
With built-in dynamic and static templates resources, DVD Creator allows you to create distinctive menus for your DVD. Free to download more animated DVD menu templates.
Popular Products