How Can I Convert DVDs to iPod/iPhone (X/8/8 Plus) with Handbrake on Mac
From time to time, you may have got many DVD collections and want to enjoy them on Apple TV, iPhone or iPad. However, you may feel frustrated that Apple devices will not support DVDs. This article provides you with an efficient and convenient way to convert DVDs video formats that Apple devices support by using free software named Handbrake.
Part 1. How to Convert DVDs to iPod/iPhone with Handbrake?
Want to transfer some videos to your iPod but fail due to compatibility issue? Want to play DVD movies on your iPhone? Use HandBrake to help you. It is a free source Mac video converter for you to convert DVD in 3GP, AVI, FLV formats etc. If you have already installed Handbrake, please check to see if your version is out of date. The latest version comes with some improvements, especially for the iPhone and iPod. If you need to use this free converter to convert your DVDs to iDevice supported formats, you can have a look at the following steps:
Run Handbrake and insert your video DVD into your Mac. Make sure you have downloaded and installed VLC player on Mac before. Now Handbrake will start scanning your DVD. It will take minutes to finish scanning.
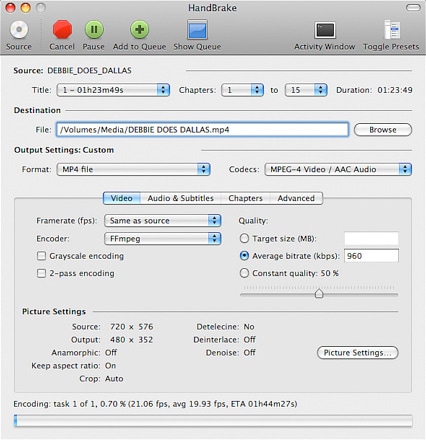
Set a destination for your videos. There are 3 settings in the Destination part you can modify: file destination, codec and file format.
Select a preset. Handbrake provides some presets for Apple TV, iPhone, iPod, Sony PSP, Xbox etc. Click the "Picture Settings" button and go to the picture setting window. Compensate for grainy or interlaced, compressed looking video here. The Handbrake would have adjusted everything for you according to the presets you have set.
Now, press the "Convert" button and stay back. The encoding time depends on the speed of your computer and the duration of your video file. After finishing the encoding, quit Handbrake. Connect your iPad, iPhone or iPod to your Mac and now you can transfer the converted videos to iTunes.
Part 2. Most Effective DVD to iPod/iPhone Converter on Mac (macOS Sierra Included)
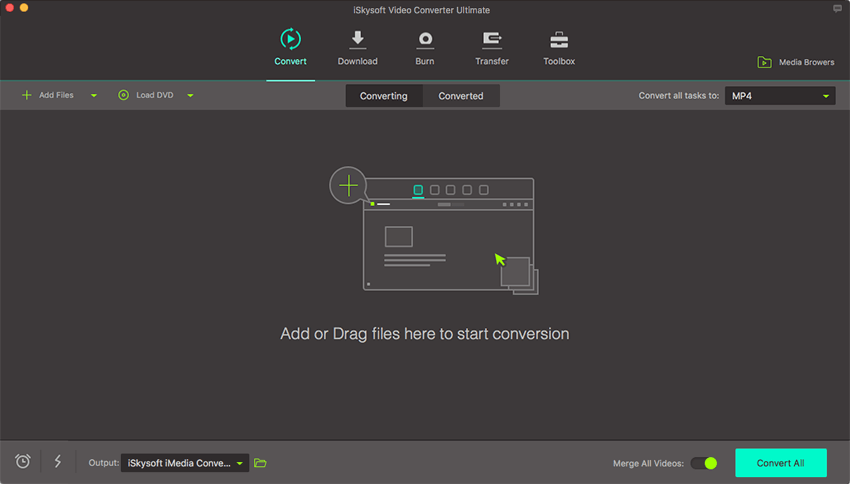
Handbrake is only available to convert standard DVD videos which are normally playable in DVD players. So if you want to convert a DVD-ROM with individual video files (in MOV, WMV, MPG, AVI, etc.), Handbrake is not able to do the conversion for you. Besides Handbrake, UniConverter for Mac (Sierra included) is recommended to be the best alternative. It is highly remarkable for its powerful functions. The program converts DVDs to a variety of video formats such as AVI, M4V, MPEG, MP4, WMV and so much more. Converting from DVD to videos with iMedia Converter is very easy. It takes only a few clicks and the whole process is done. Beginners can learn to use it in no time.
Simple Steps to Convert DVDs to iPod/iPhone Compatible Formats with iSkysoft
Step 1. Insert DVD
Insert your DVD movie into the DVD slot on Mac. Go to "File" > "Load Media Files" to locate your DVD movies.
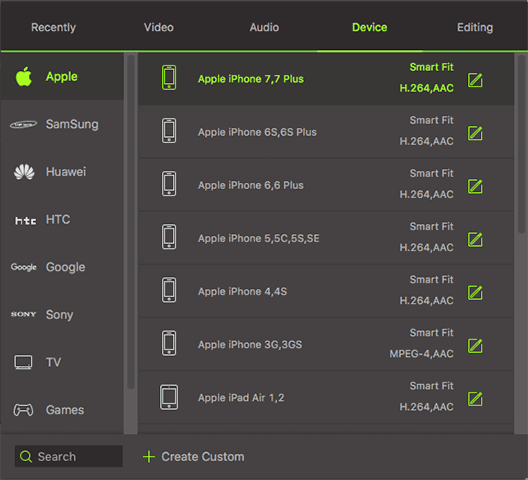
Step 2. Choose an Output Profile
This iMedia Converter provides preset profiles for all popular formats and devices. Just click the format icon on the right and choose your desired output format from the list. Or you can simply choose "iPod", for example, as the output device if you want to enjoy your videos in iPod.
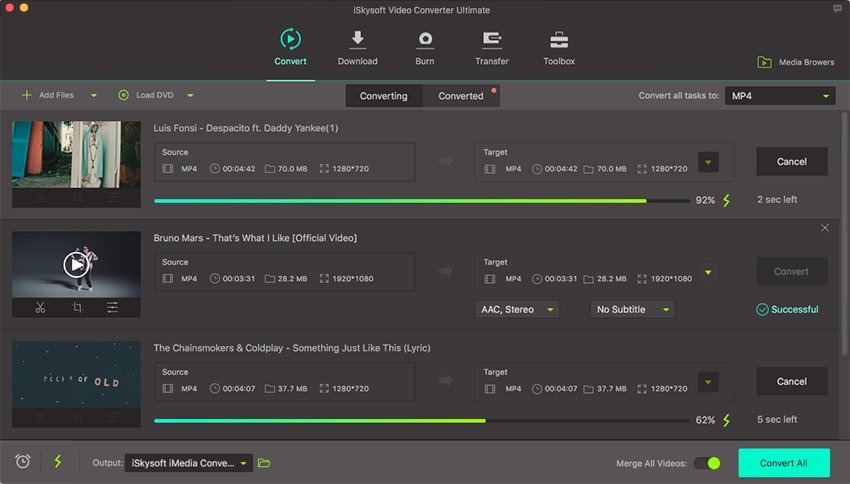
Step 3. Start Converting DVD
Lastly, click the "Convert" button at bottom to start converting. You can now sit back and relax. You'll receive a message when complete.
Brian Fisher
staff Editor