Can I use QuickTime to record screen? How to achieve that?
Yes. You can use QuickTime to record your screen with audio and output high-resolution videos. QuickTime produces .MOV videos which are high in quality. The tool is easy to use and records all actions on your screen. You can use it to record your full screen or a region, according to your preferences. You only need to download and install QuickTime and then start a recording session in the manner described later in this article. If you have a Mac, QuickTime is the best application to use when recording your screen.
Part 1: Step-by-step Guide to Record Mac Screen using QuickTime
Step 1) Get QuickTime. Download and install QuickTime X on your Mac. This works with El Capitan too.
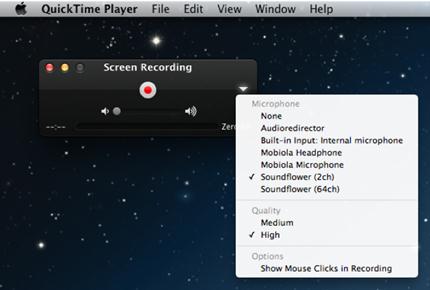
Step 2) Launch QuickTime. After launching QuickTime, use “File” and then select “New Screen Recording”.
Step 3) Configure your recording settings. You will be presented with a pop-up where you will click on the “Record” button. A new screen will appear where you will configure the video and audio settings. QuickTime only uses the internal microphone for recording sound.
Step 4) Record your video. Click on “Start Recording” to start your session.
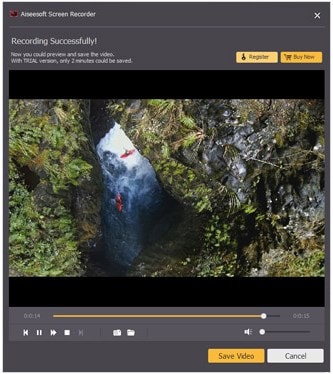
Step 5) Stop and save your recording. Click on “Stop recording” to end your session. You will then be presented with the option of saving your video.
Part 2: How to Record Screen on Windows PC using QuickTime
If you want to record screen with audio and save the video to QuickTime format, on a Windows computer, you will have to use another program to do so. QuickTime X is the only version that allows you to record your screen and it is only supported by Mac OSX Snow Leopard and newer. Since QuickTime X is not supported on Windows, you can use Aiseesoft Screen Recorder to capture your screen, save the video in .WMV format, and then use a video converter to save to the QuickTime .MOV format. Here are the top features of Aiseesoft.
Aiseesoft Screen Recorder – A Great Alternative to QuickTime
- Ability to set your recording region – Aiseesoft allows you to decide which part of your screen will be recorded. You can select full screen or use your mouse to select and record a certain region.
- High resolution video – This is a feature that sets this screen recorder apart from its competitors. The videos that you create using this tool will be clear, and enjoyable to watch.
- Record from multiple sources – Record your webcam when you are having a video chat with your friends, family and work colleagues. You no longer have to stream movies every time that you want to watch a rerun; simply record it and save it to watch again in future. Record directly from your desktop, creating videos for teaching purposes.
- Various audio recording options – Record your screen using the system audio input, such as when creating a demo for a game. Use the microphone when you are recording a tutorial. Use both system audio and microphone when you want to record a chat conversation or game tutorial where you need the game sounds and your voice going through the procedure.
- Save streaming audio from online radio stations – Listen to music from your favorite radio station by recording the stream and saving it to your computer.
Step-by-step guide to record screen on Windows PC using QuickTime Alternative Aiseesoft Screen Recorder
Step 1: Installation and launch
Get the installer above and double-click on it to start it. After the program is installed, let it launch automatically. You can also start it from the Windows Start Menu.
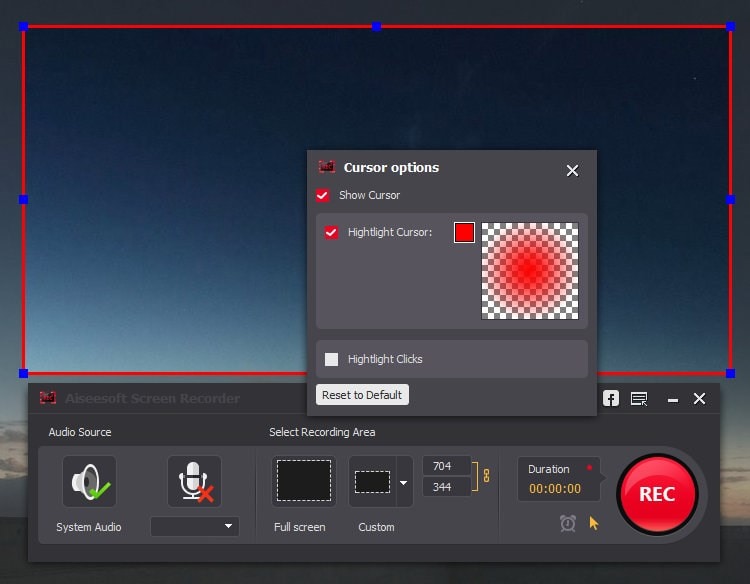
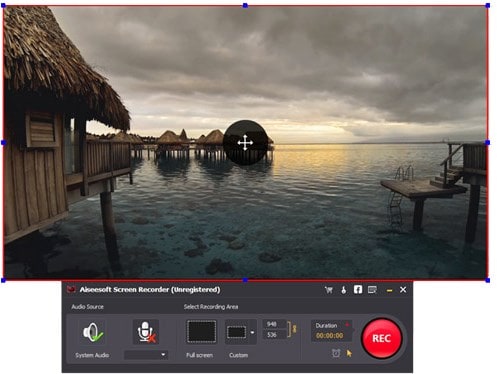
Step 2: Select the recording region
Depending on the purpose of your video, you can opt to record the full screen, or use the mouse to define an area that you want to pay particular attention to.
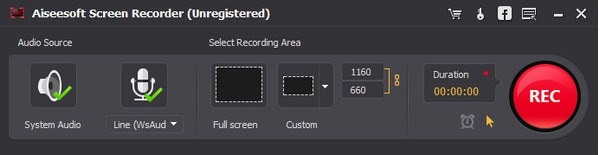
Step 3: Make your audio settings
This is a very important step, especially if you are recording a chat session. For chats, you should use both the system audio and the microphone during recording. When you are creating a tutorial, you only need the microphone to record your voice. If you are creating a game demonstration, use the system audio, so the game sounds can be recorded. When it comes to games, you can also use both, if you want to give a narration as the game plays along.
Step 4: Record the video
When you are happy with your settings, click on the “Record” button to start recording your screen activity.
Click on the “Stop” button to end your recording session. Save the recording in the Windows .WMV format. Unfortunately, Aiseesoft can only save to this format and does not have an inbuilt editing feature. You will have to use a converter or editor to refine your video and also encode for easy distribution on the Internet.