There are many benefits to be reaped when Mac users upgrade from MacOS Sierra to MacOS High Sierra. Although most of the changes may not be apparent to users, the system will perform better and will be more secure. The new upgrade comes with some fantastic features, especially when it comes to videos and photos, a feature that is very important to most Mac users. However, upgrading any Apple System can be challenging especially for newbies. This article will show you how to safely upgrade from MacOS Sierra to MacOS High Sierra.
Part 1: What Should do Before Upgrading to MacOS High Sierra
Although the new upgrade comes with certain exciting features, you need to know if your computer can safely be updated to High Sierra. Here are some of the things that you should look for before you upgrade to the new update.
1. You need to know which Mac models are compatible
There are Mac models that may not be able to upgrade to the new High Sierra version. These ones listed below are ok.
- iMac
- MacBook Pro
- MacBook Air
- MacBook
- Mac Pro
- Mac Mini
2. You should have the minimum software and hardware requirements
- You should have OS X Mountain Lion 10.8 or later
- Minimum 4GB RAM. But 8GB is best
- 15 to 20 GB of storage space
3. You need to clean up your Mac
Check the hard drive – due to the new filing system, MacOS High Sierra will favor a clean hard drive when it comes to performance. Clean up what you do not need at the moment. You should also remove old files and any that are extremely large. All system junk, unused apps, browser caches, unused extensions, broken downloads, duplicate mail attachments, old iOS updates and other files should be cleared out.
4. You need to back up your Mac
Once you have finished cleaning up your Mac, you should create a backup copy of the machine. This is so that you can restore it to its previous version, should something unexpected happen with the upgrade. Here is how you go about creating a backup copy of your Mac:
- Go to “System Preferences” folder and then select “Time Machine”.
- Now select “Back up Disk” although you may be prompted to first “Set up Time Machine”.
- Now choose the destination of the backup. It is advisable to send it to an external hard drive.
- Now go to the Time Machine and then select the Time Machine icon from the main menu and then select “Back up Now”.
5. How to Check whether your mac can upgraded to high sierra or not
Before you upgrade to MacOS High Sierra, you need to know whether your particular model is compatible with the upgrade. Not all machines support the new features of the upgrade, so you must do this check before you continue with the upgrade. The model name should coincide with the compatible models mentioned earlier in this article.
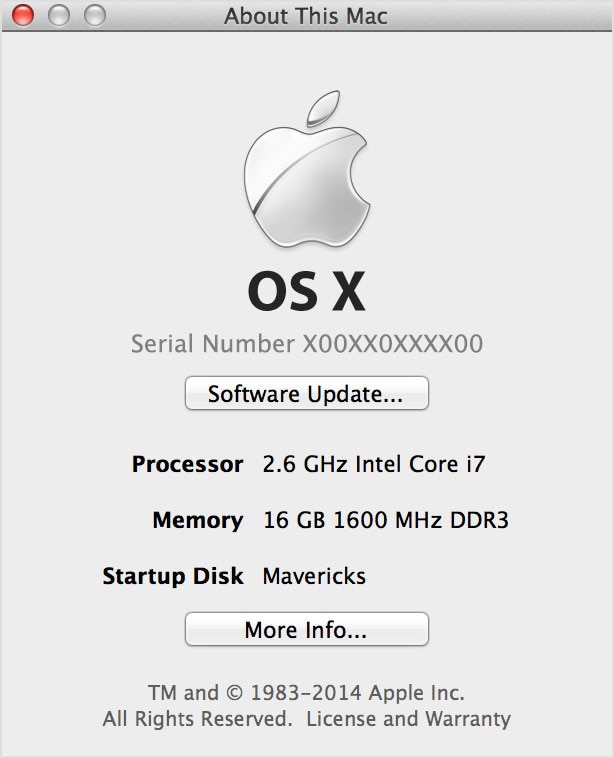
1) Check using “About This Mac”
From the Apple Menu, choose “About This Mac” and get all information regarding your computer. You will be able to see the model, serial number and name of the computer.
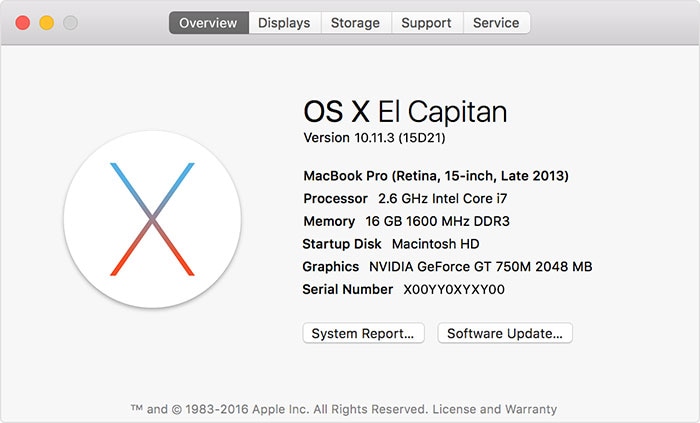
If you get information like the one shown below, you should go to the version number and double-click it. You will then se the serial number
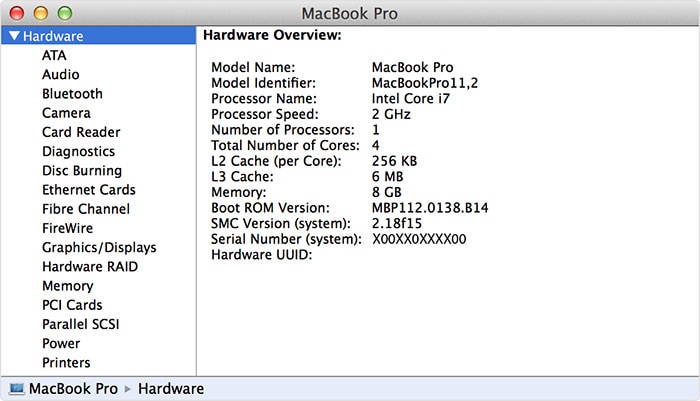
2) Check using “System Information”
Go to the System Information app from the Utilities folder – it may also be listed as “System Profile”. You can also get to this application by clicking on “System Info” button from the “About Mac” window. Then click on “Hardware” to get model name and serial number.
Part 2: How to Upgrade to MacOS High Sierra
In order to upgrade to MacOS High Sierra, you have to download it and then install it on your Mac. Here is how you go about it.
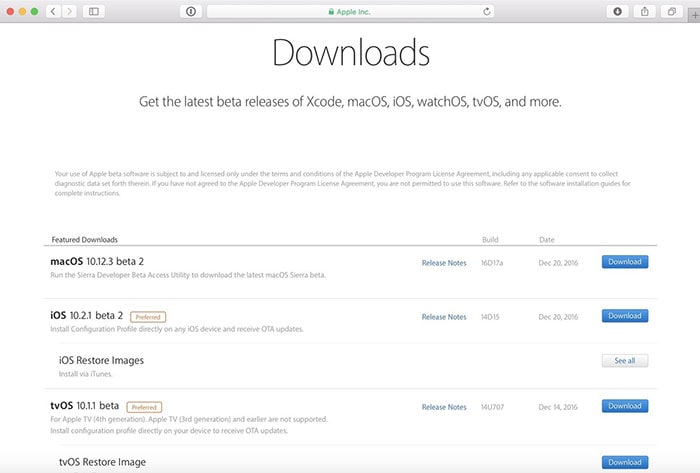
Download MacOS High Sierra: Go to developer.apple.com on your computer and then select the “Develop” tab Now click on the “Downloads” tab。

Now log in to your developer account using your Apple ID and password Go down till you get to the MacOS 10.13. and the file will automatically be downloaded to your Mac.
Select High Sierra Developer Beta Access Utility, then double click the macOSSierraDeveloperBetaAccessUtility.pkg

This installer will download MacOS High Sierra to your Mac and then the Updates section will open automatically. Now click on “Update” in order to install the update. The Mac will then reboot automatically.
Installing the software after update completes: When High Sierra has finished downloading, you need to install the software. Click “Continue”, and follow the prompts in order to install the software. The computer will need to reboot in order to complete this installation, so do wait for it to completely finish after you see a black screen with the Apple Logo.
Part 3: How to Recover Lost Data on MacOS High Sierra
Recoverit (IS) (Windows) is a versatile tool that can be used to recover data that has been lost due to upgrading to MacOS High Sierra. This tool is the safest and most efficient way of recovering data that has been accidentally lost. It can recover files from partitions, emptied recycle bins, corrupted files, poor formatting and many other scenarios.
- Powerful and easy to use – Recoverit (IS) has powerful recovery abilities that can even recover files deleted from the recycle bin, but it has an easily understandable interface.
- Recover data in 3 steps – in just three simple steps, you can recover your most-crucial data after accidental deletion.
- Preview before you recover – you will be able to preview the data that you are about to recover, before you actually hit the “Recover” button. This is great since you get to see images, videos, and other fields before you take up too much time recovering files that you do not need.
- 100% risk free – This process only reads the drive, but does not write to it. This means that nothing will be changed.