


Despite the vast storage option available, you may still find yourself desperate for more space when your iPad is running out of space. The iPad delete button may sometimes fail to appear as expected when you try to remove certain apps or photos. Reading this article will let you learn why this problem occurs and how to fix delete button on iPad not working.
Troubleshooting on iPad Delete Button Not Working
Problem 1: The iPad user is sometimes not able to delete apps because the delete button “X” does not appear in some attempts.
Solution: Most of the people using iPads that detect the pressure of their tap seem to experience this problem. In such a case, you should ensure that you lightly tap and hold the album or app icon, and then the delete button should appear.
Problem 2: If two icons for a certain app are on your iPad home screen, you may successfully eliminate one of them, but the other remains. The “X” could fail to come out on the second icon.
Solution: A simple restart can solve this problem for you. Power off the iPad using the Wake/Sleep button and wait for about fifteen minutes. Then use the Wake button to turn your iPad back on, and then the icon should now go without a problem.
Problem 3: Your Ipad never show the “X” when you try to delete apps and the problem persists after attempting the above solutions.
Solution: A restrictive setting is the most common reason there is no iPad delete button on all apps. Perhaps, you or someone else accidentally made this setting and then forgot about it. To resolve this problem, follow the following simple tutorial.
- 1. Navigate to “Setting” and then open it.
- 2. Choose “General.”
- 3. Select “Restrictions.”
- 4. Enter the password to access the restricted actions.
- 5. Turn “On” (green) the “Deleting Apps” to allow removal of application.
Once you activate this setting, you should have no struggles when removing applications from your device.
How to Delete iPad without the Delete Button on iPad
Instead of struggling with the crashed iPad Delete button, you can use an advanced iPad deleting tool to remove the unwanted content. iSkysoft dr.fone (Mac) - Data Eraser (IS) (or iSkysoft dr.fone - Data Eraser (IS)) is the best tool that enables iPad users to do that easily.
Key Features of dr.fone - Data Eraser (IS):
- The program offers an easy path to remove unnecessary apps and junky files that help to create more space and boost the performance of your iPad.
- The software provides three modes for deleting an iPad. This helps you to remove the content that you do not need more conveniently. These different options include Erase Private Data, Erase All Data, and Erase Delete mode.
- Nobody can retrieve back the content once deleted using this tool.
- It also comes with the photo compressor mode that lets you compress stored photos in order to create additional space.
- It also serves as a powerful scanning tool that will thoroughly scan your device.
Steps on how to delete iPad data without delete button
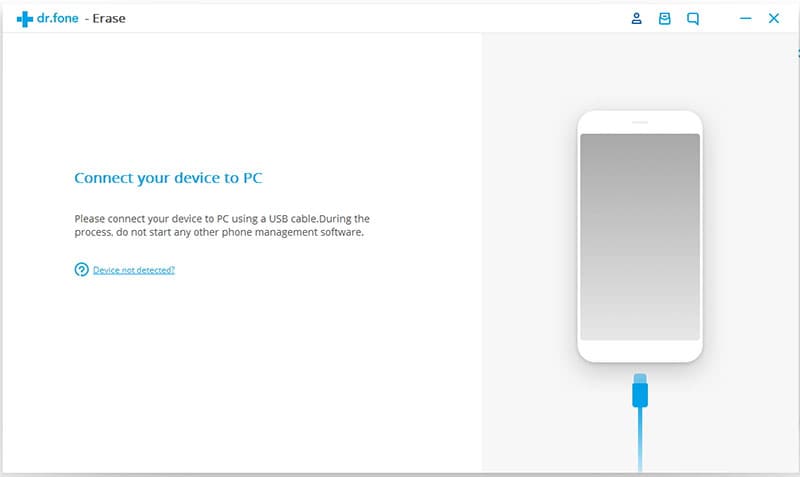
Step 1: Launch the program
First, download this software and then complete the installation process on your computer. Double-click its icon for the program to start. Connect your iPad to the computer using USB cables and wait for the data eraser software to detect the device. You will see the name of your device in the primary interface once the detection is complete.
Step 2: Choosing the erasing mode
Move to the left column of the Min interface and click on the "Erase Private Data" mode option. You will get a display of all type of data that you can erase.
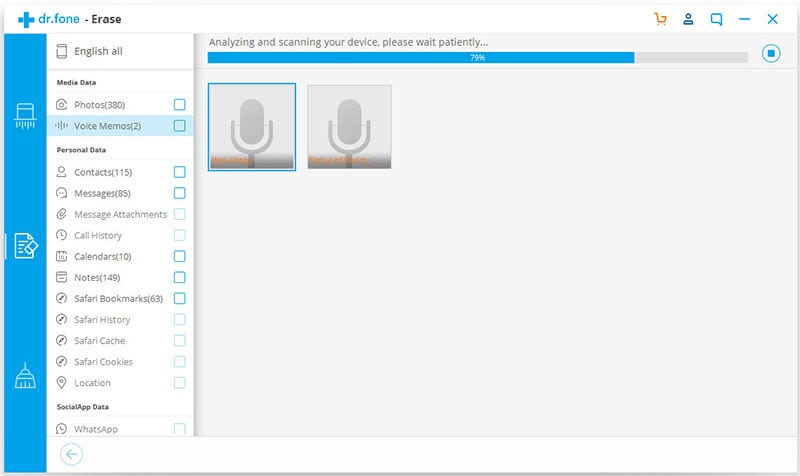
Step 3: Scan your iPad content
For you to see all data in your iPad, fist clicks the “Start” button for the software to scan and analyze the device.
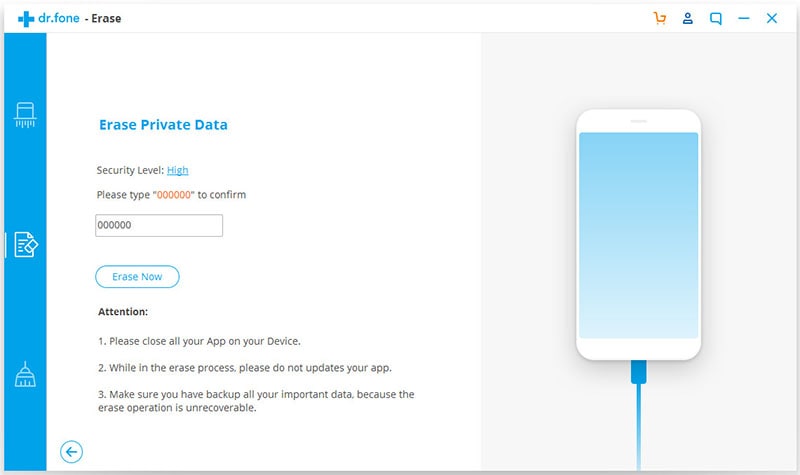
Step 4: Start deleting items on iPad
Check all the option for the content you need to remove such as the messages or apps and then click “Erase Now” button. Type the word “delete” in the pop window to confirm that you want to erase selected items without recovery.
Steps on how to delete iPad completely
In case you wish to wipe all the data in your iPad permanently, the procedure is similar as above but with few changes.
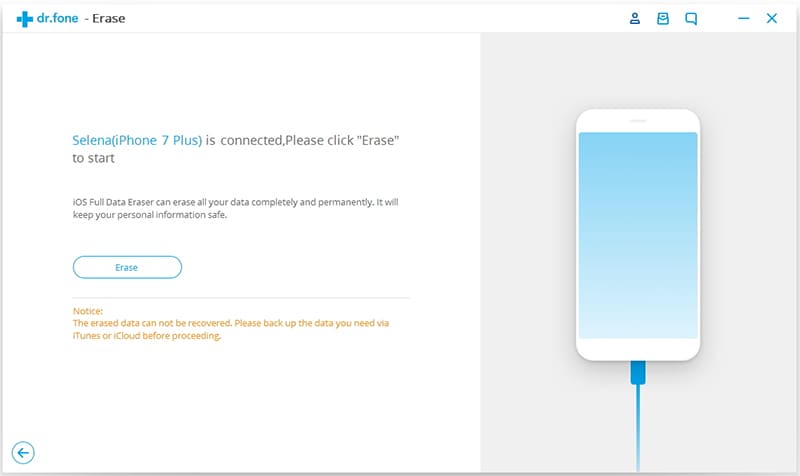
Step 1: Launch the program
Run the program and connect your iPad to the computer with a USB cable. And the program will recognize your device. And then you can move on to the next step.
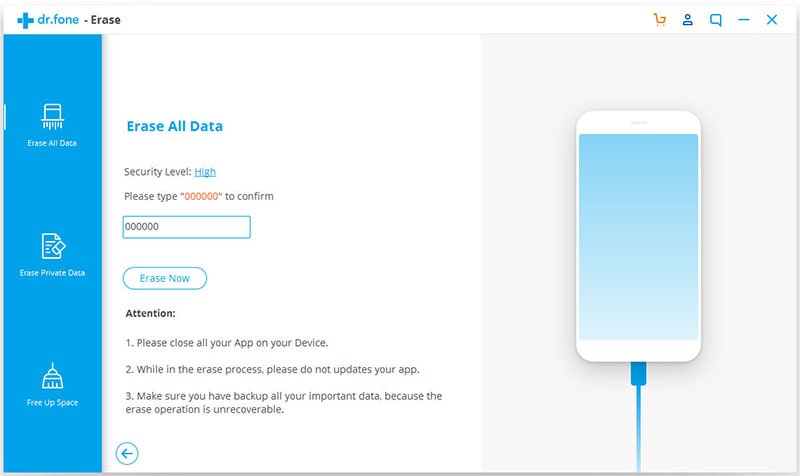
Step 2: Choose the erasing mode
In this case, go to the left corner column and select the “Erase All Data" as the deleting mode. This option will allow you to delete iPad completely.

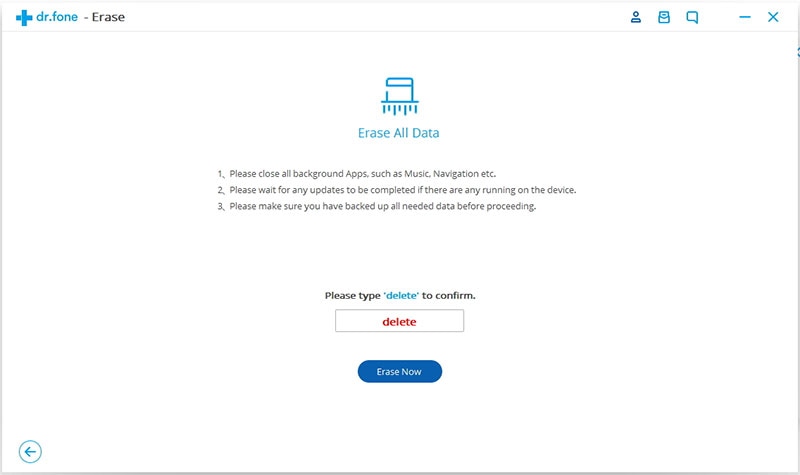
Step 3: Deleting all contents from iPad
Click “Erase now” option to open the wiping window. The window will give you a chance to reconfirm your command by typing “delete” in the pop window provided. The software will scan all the iPad content after which you can click the “Erase now” option to remove everything from your device.
Once the tool completes deleting all the content, you will see the word “complete” confirming that the deletion process was successful.


