


E-mai slboxes fill up easily these days and managing your inbox can be a tedious task depending on the level of activity of your emails. Using your iPad to delete individual emails is simple and straightforward but when you have plenty of messages in your inbox that you want to delete, you will have to use a bulk email deletion method. iPad delete all emails can be either easy or tedious depending on the amount of email you have to delete.
With the standard iPad email app, you have to select each single message that you want to remove manually and then at the end tap delete, to delete them all. If you have thousands of messages to select and delete, then you have a big problem, and in this case you will be better off with an automated deletion tool like the dr.fone (Mac) - Data Eraser (IS). Below is detailed toturial on deleting multiple emails on iPad.
How to Delete Emails on iPad Easily
dr.fone (Mac) - Data Eraser (IS) (or dr.fone - Data Eraser (IS)) will delete your email messages and delete them with unrecoverable. You see then, it is a better tool to save you both the time for deleting very many messages over and over again, and for security purposes, to ensure your deleted data that may contain sensitive information does not fall into the wrong hands.
Key Features of dr.fone - Data Eraser (IS):
-
1. Permanent Deletion
What most computer users do not understand is that when a file is normally deleted, it is not erased from disk. The file remains on the storage device, and only its directory entry is actually deleted. This poses a security risk for files with sensitive information, but dr.fone - Data Eraser (IS) tool uses the data destruction method of the U.S Military to ensure permanent deletion of your files, ensuring therefore that the deleted data is permanently unrecoverable.
-
2. Easy file Selection
The software features an easy and intuitive file selection system to ensure that a user can easily select the files that he or she wants to keep or wants to erase. -
3. Total Cleanup
The dr.fone - Data Eraser (IS) does not erase only messages, it can also delete many other different kinds of files like contacts, voice calls, favorites, reminders, system settings e.t.c. -
4. All-round Maintenance
It will also rid your system of junk files and many of those unnecessary background processes that slow your device down, speeding it up in the process and freeing up data storage space.
Steps on how to delete mail from iPad
Deleting multiple emails on iPad using the dr.fone - Data Eraser (IS) tool is a simple and straightforward process. To select and permanently delete any data you desire, simply follow the following steps.
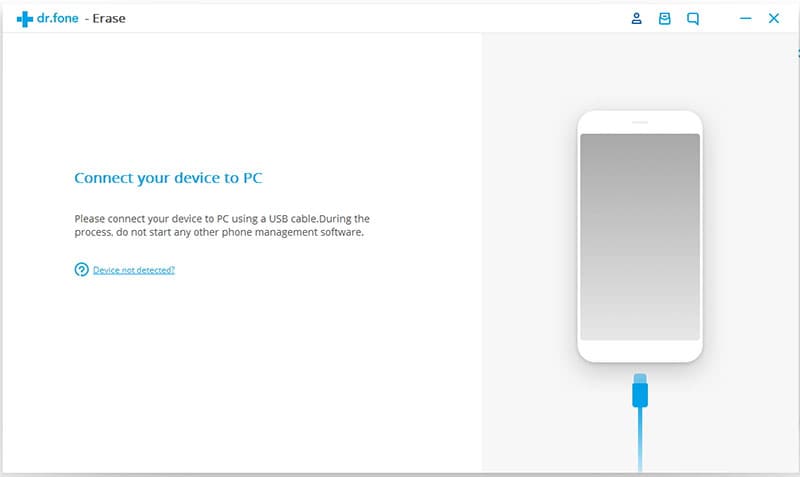
Step 1: Launch dr.fone (Mac) - Data Eraser (IS)
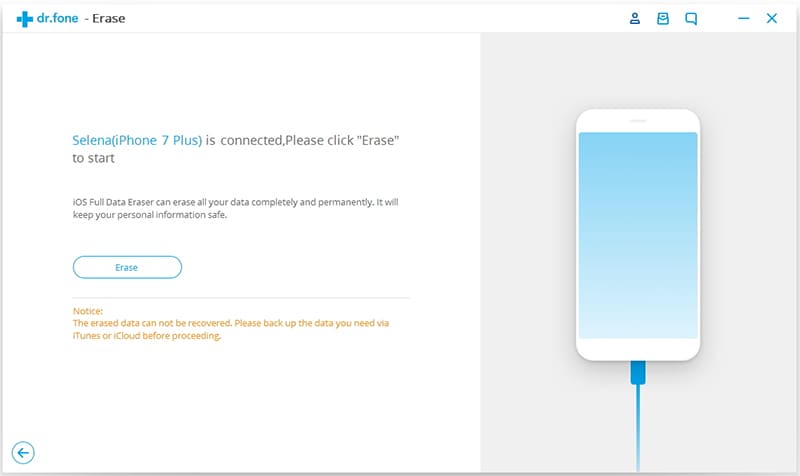
If you do not have the program already, simply download and install it on your Mac. Then launch it and connect your iPad to the Mac using USB cables. The software will then detect your iPad automatically.
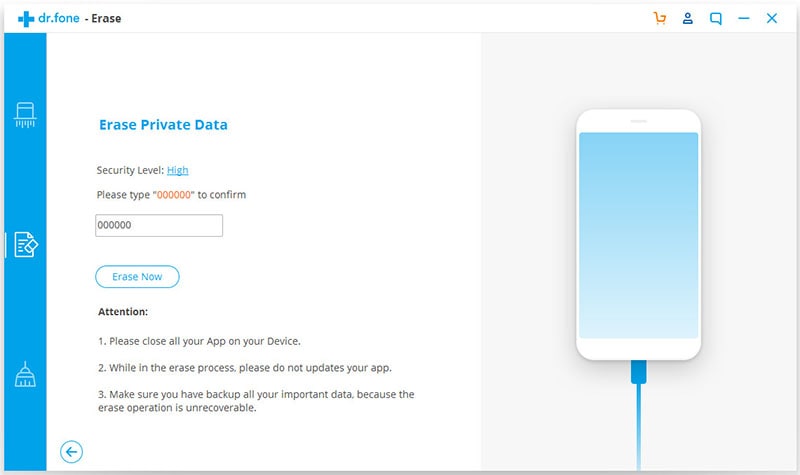
Step 2: Choose the Deletion Mode
To simply delete your messages, choose the “Erase Private Data” mode on the left green column of the program.
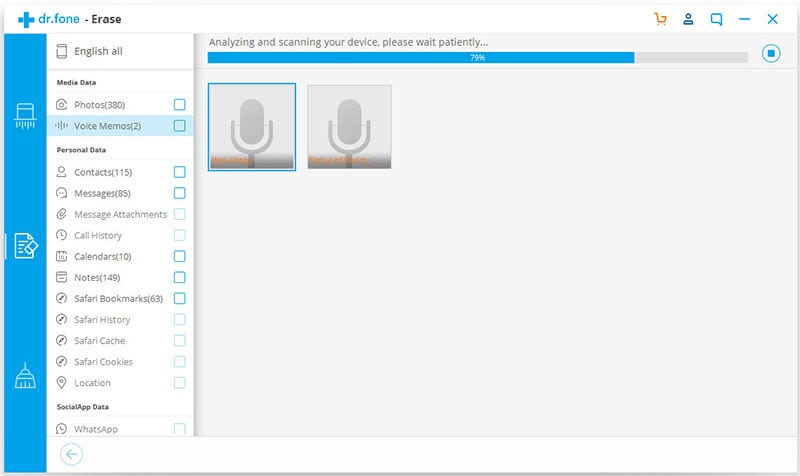
Step 3: Start Scanning
Now click “Start” and the program will start to scan all the data on your iPad. When it is done, it will display everything in a clean manner.
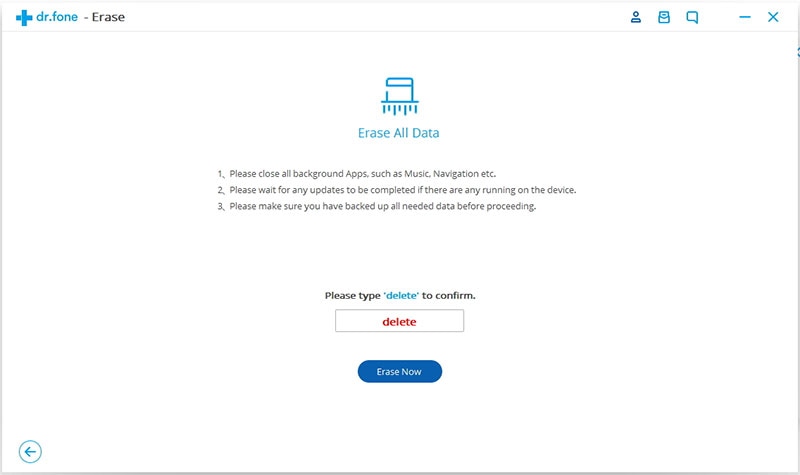
Step 4: Delete All Emails from iPhone
To permanently delete multiple emails on your iPad, click the “Emails” option box on the left column and make sure it’s checked, and then click on the “Erase Now” button on the lower right. A window will pop-up and all you need to do is to type “delete” into the box to confirm that you want to make your iPad delete all emails permanently. That’s all, your emails will be deleted forever.
Cannot Delete Emails on iPad? Fixed!
There are errors that can happen when deleting emails on the iPad. There can be many reasons why they happen, depending on settings and which server is being used. I will list three of the most common issues with the deletion of emails on the iPad.
Error 1: Unable to move message. The alert might further read:“The message cannot be moved to the mailbox trash”. This is probably an issue with the IMAP server settings. To fix this issue:
- 1. Press your iPad Home button, then select settings.
- 2. Scroll down, and select “Mail, Contacts, Calendars”.
- 3. Tap on your email account that you want to fix.
- 4. Tap where it says “Advanced”.
- 5. Scroll down and then select “IMAP Path Prefix”
- 6. Enter the word “INBOX” in capitals only.
- 7. Tap on Advanced, Account info and then Done to finish.
Error 2: The second issue is caused by iOS creating a local trash folder and not looking at the trash folder of the server for information. To solve this one:
- 1. Press your iPad Home button, then select settings.
- 2. Scroll down, then select “Mail, Contacts, Calendars”.
- 3. Tap on your email account that you want to fix.
- 4. Tap your finger on “Advanced”.
- 5. Tap on where it says “Deleted Mailbox”.
- 6. Under the heading where it says “ON THE SERVER”, tap on Trash and make sure it is checked.
- 7. Tap on Advanced, Account info and then on Done to finish.
Error 3: Cannot delete junk mail. It keeps coming back. This issue is because junk mail is set to be stored on the server online. So trying to delete it does not work because the server has instructions to keep it saved. This issue is primarily with gmail. To solve it:
- 1. Open your mail.
- 2. Select the mail preferences.
- 3. Select gmail account.
- 4. Select “Mail box behaviors”.
- 5. Tap on “Store junk mail on server” to deselect it.
- 6. Save and close and that’s it.


