Sometimes no matter how much you try to manage your device’s internal storage, you find that you still need more. This is why it is important to look into adding external memory on your device. This way, you will always have additional space for all your photos, music, videos and other files. In light of this necessary need for additional storage, this article has put together a complete guide to add external storage for iPhone or iPad. Let’s begin by checking how much internal storage you currently have.
Part 1. How to Check iPhone Internal Storage
Step-By-Step Guide to Check iPhone Internel Storage
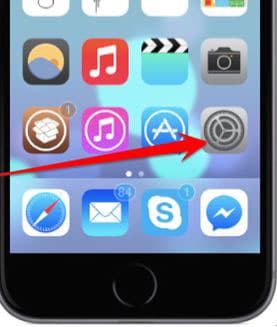
Step 1. On the Home screen of your device tap Settings.
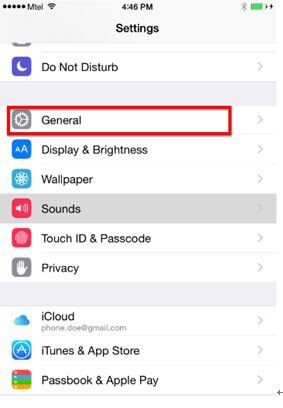
Step 2.Scroll down to find the General Tab and Tap to open it.
Part 2. How to Add External Storage for iPhone or iPad
Erasing data on your device to create more storage space is not as easy as it sounds. It takes a lot of time to go through one music or photo file one by one, deleting them as you go. But with dr.fone (Mac) - Data Eraser (IS) (or dr.fone - Data Eraser (IS)) you can do in just one click. This program is ideal for erasing files on your device including messages, login information, browser history, photos, music, videos and many other files.
Key Features of dr.fone - Data Eraser (IS):
- Because you can use dr.fone - Data Eraser (IS) to delete personal information, secured information such as account information, banking information and other sensitive information remain private.
- It improves your device’s performance by cleaning out junk files
- All data deleted using this program is 100% unrecoverable.
- It is also handy as a data compressor further creating more space on your device.
Step-By-Step Guide to Add External Storage for iPhone or iPad
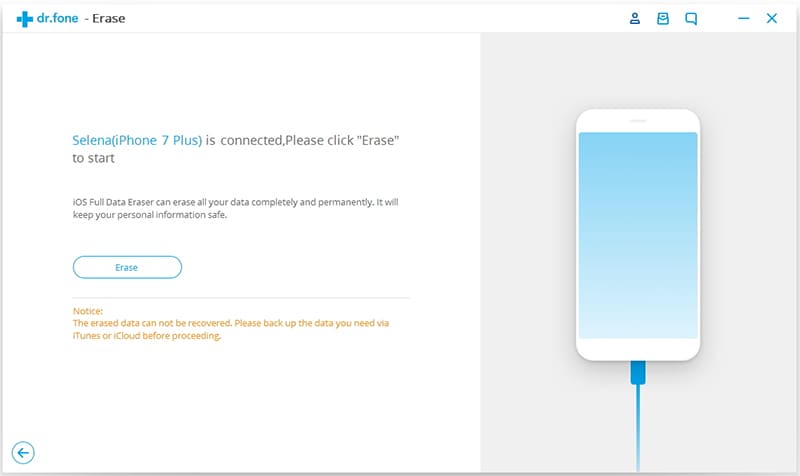
Step 1. Begin by downloading and installing dr.fone - Data Eraser (IS) on your computer. Once installation is complete, launch the program and you should see the following primary window. You are now ready to add more space to your device. Connect the device to your computer via USB cables. The program will detect the device.
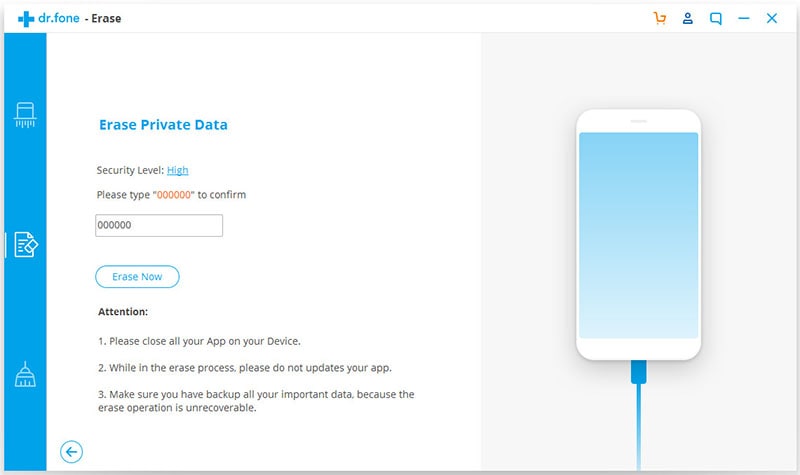
Step 2. You should see options on the left column. Select "Erase Private Data" option and then click on "Start" to continue.
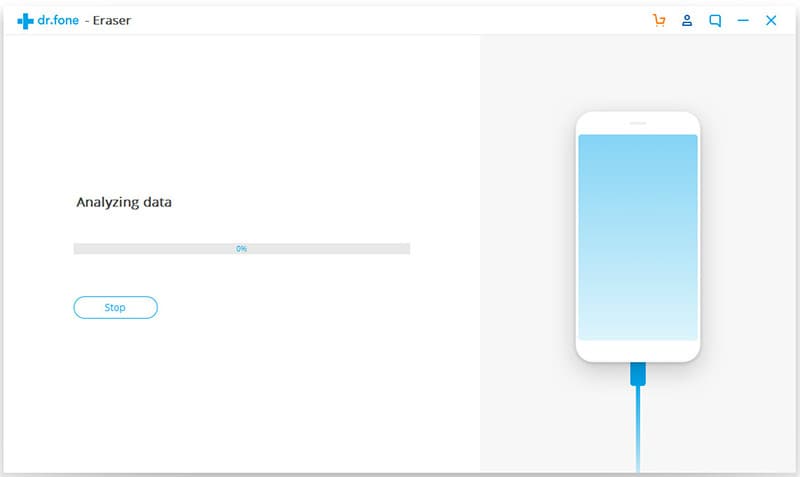
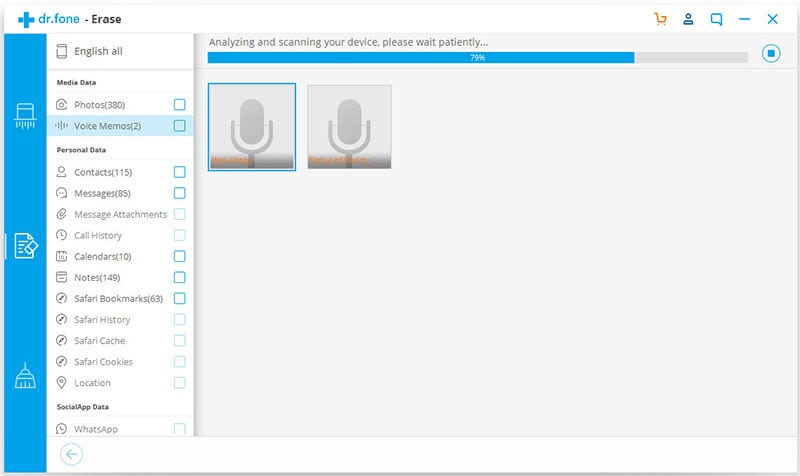
Step 3. The Data Eraser will immediately begin analysing your device. You can stop the analysis at any time by clicking on "Stop".
Step 4. Once the scan is complete, you should see all the data on your device will be displayed on the next window. To see additional information on any item, simply click on it.
Part 3. What to Do Firstly When iPhone Internel Storage is Full
There are a few thing that we recommend you do when you discover that your iPhone storage is full. Here are some of the most important.
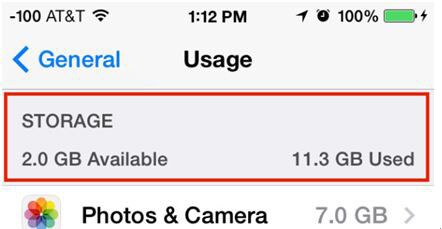
1. Check how much storage photos, music and videos are taking up. Photos, music and videos can take up a lot of space on your device. So when you are trying to manage your device’s storage, you should check how much storage each of these data files are taking up and then decide which ones can be deleted to clear up a bit of space on the device.
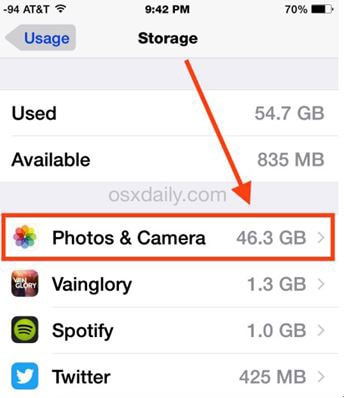
To check how much space photos take up on your iPhone go to Settings > General > Usage. At the top of the list you should see "Photos & Camera" with the amount of GB storage taken by photos in the camera roll.
2. To delete some of the photos in the camera roll launch the Photos App, go to the Camera roll and then Tap on "Select". Select all the photos you want to delete and then tap on the trash icon at the bottom of the screen. Confirm by tapping on "Delete".

3. To see how much data Music is taking up on your device go to Settings > General > Usage and check under Music.
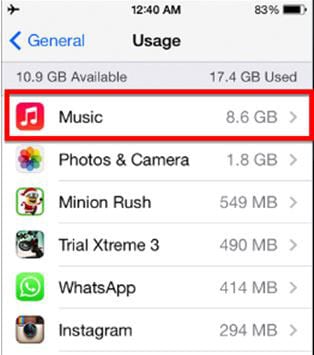
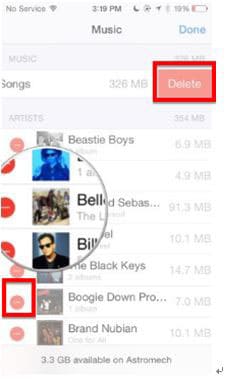
4. Go to settings > General > Usage > Manage Storage and then wait for it to load. Tap on Music and then tap "Edit" in the upper right corner. You should now see a red minus next to each artist. Tap on this red minus next to the artist you want to delete. You can also tap on "Delete" next to "All Songs" to delete all your Music Files.
Part 4. Hardware Options to Add External Storage for iPhone or iPad
If you do all of that and you still don’t have enough memory for all your data, it is time to consider external storage options for your device. Here are a few great options.
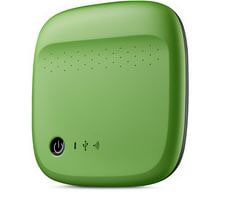
1. Seagate Wireless and Wireless Plus
This a great extra storage device for your iPhone or iPad. When powered on, it creates a Wi-Fi network that you can then use to connect any of your devices or computers and access the files stored within.
To set it up, you simply need to connect to the drive’s network and then launch the Seagate Media Manager app on your iPhone. It also come with an auto-upload feature that allows you to backup your videos and photos automatically.
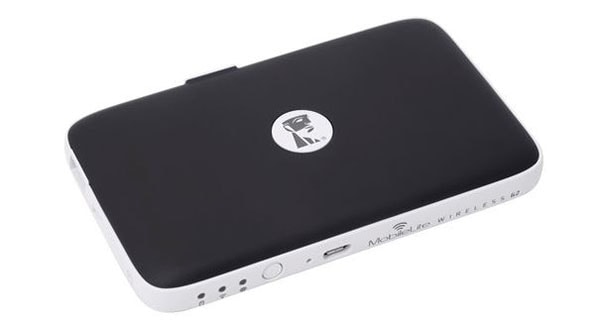
2. Kingston MobileLite Wireless G2
This one is slightly different from what you are used to with external storage options. It doesn’t have a hard drive within itself, instead you add your own storage unit through either SD cards or USB drives.
You are essentially paying for a wireless network that is created by this device and that provides you with an access point to any of the attached drives. You can use it either via Ethernet port on the device or by connecting wirelessly via the companion app on your device.
Despite the fact that you need two different devices- the MobileLite and a USB drive or SD card, moving content between devices is achieved very easily. It also allows you to backup photos and videos on your iPhone. More importantly you have adequate space for everything you may need.
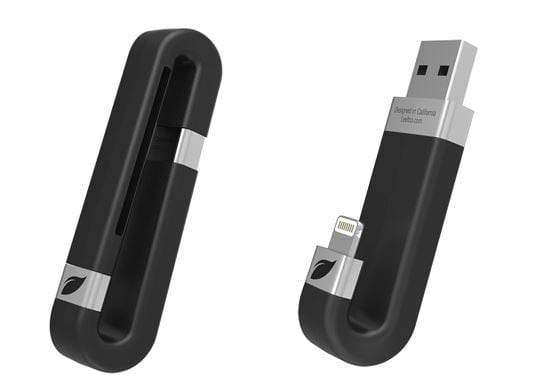
3. Leef iBridge
Unlike the other two we have already seen, this one is not a wireless device. Instead, it is designed to plug into the Lightning port of your device. On one end of the device is a Lightning connector with a full sized 2.0 port of the other side.
When you plug it on to your device you will be prompted to either download the Leef app or launch it if you already have it installed on your device. Once you open the Leef app, all your photos will be automatically backed up on to the device. You can then move other files including movies, documents and Music. The Leef app will make it very easy to differentiate between what’s stored on your device and what is stored on iBridge.
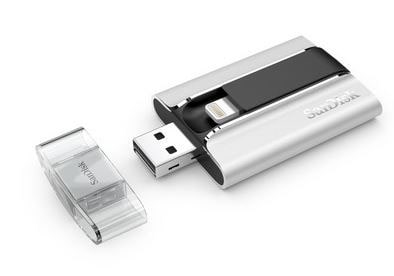
4. SanDisk iXpand Flash Drive
This one is very similar to the Leef iBridge in that it comes with a Lightning connector and USB 2.0 connectors that allows you to easily transfer data from your computer to your iOS devices.
It also has the ability to backup photos automatically, allows you to stream moves from the drive as well as view documents and listen to music. But it comes with a feature that most iPhone and iPad users will greatly appreciate. It allows for contact backup. Having a backup of your contacts is not only really useful but may come in handy when you accidentally lose some of your contacts- which can happen.
It also has an additional security feature that is found on the iXpand app. You can set it to require a passcode or Touch ID to open. This is handy when you want to keep the information on the app and device private.
These devices are all great and you should obviously choose one that fits in with your particular needs. The one you choose will be very useful in helping you get more storage space on your device so you can continue to enjoy your device’s functionality.