


Having your contact into groups helps you locate specific contact easy and faster with iOS. The bad news is that iOS built-in contact app doesn’t have a support for creating new contacts group. The good news is, there is a simple way you can group contacts on iPhone using iCloud.
Part 1: How to Group Contacts on iPhone with iCloud
How to Group Contacts from iPhone
Step 1: Sign in iCloud account
On your computer, get to your browser and sign into your iCloud.com account using the name ID and password on your iOS device. Make sure your device is sync to that account, although, by default, it should be. To confirm tap setting, go to iCloud and then double check.
Step 2: Open iCloud contacts
Open iCloud contacts, by clicking on contacts + icon at the lefty bottom.
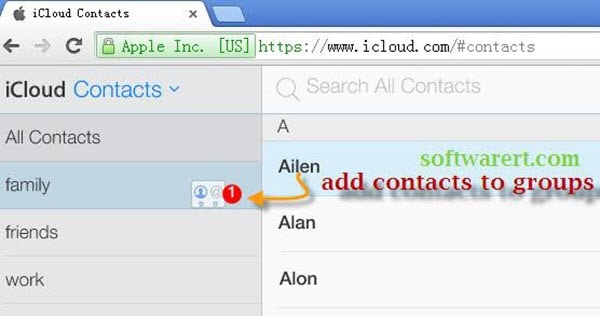
Step 3: Drag names to group
Drag the names you want to keep in your group on top of it.
You can easily add multiple contacts by pressing Ctrl on your computer, and then select your list without releasing Ctrl. If you are using Mac, use Command. You can add any groups and as many as you wish by repeating the same steps, so long as you have turned on iCloud contacts on your iPhone. The new group should be there on your iPhone device so long as iCloud is enabled.
Part 2: How to Group Contacts on iPhone Using Groups App
You can also have an iPhone contacts groups, using a Groups app. It’s a free app, fairly easy to use, and allows you have iPhone contact group without having to plug your device into the computer.
How to Group iPhone Contacts
Step 1: Install Groups app
Install Groups app by going to the App Store on your iPhone. This app is free, simple and very easy to use.
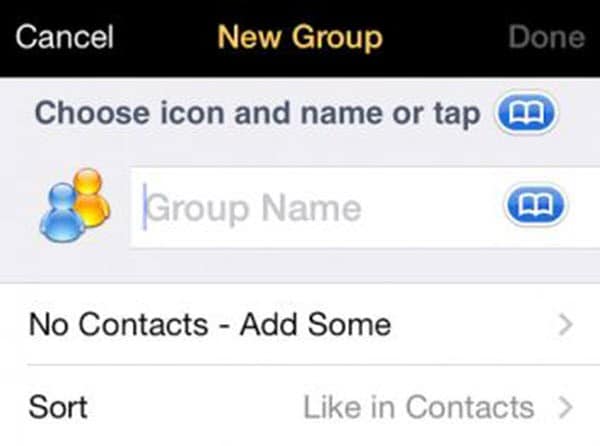
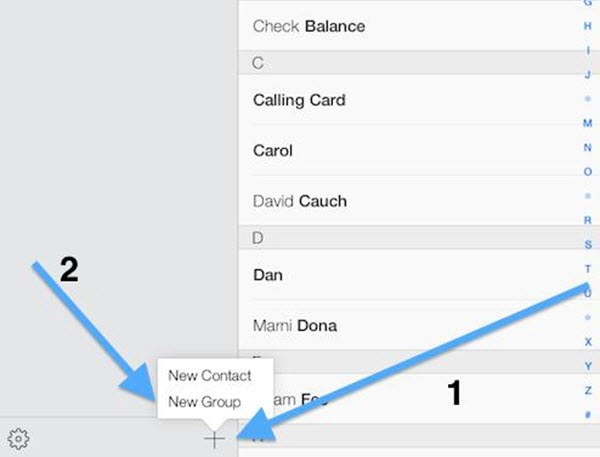
Step 2: Select the contact you want to include in your group
On the app main page, select Add new group. On the group page, name your group by tapping the title bar, then select the contact/people you want to include in your group.
Part 3: How to Send Group Text Messages on iPhone
After creating a group contact, you might find it hard to send group text message, since there is no default way you can be able to do that on your iPhone. So, people are forced to use the message app and select a contact individually which is pretty tiresome and boring if you want to send a message to hundred or thousand of contacts. The best way to send group text message to your contact group is by installing third party apps. These apps allow you to send group text message, something that even the latest version of iPhone devices, doesn’t have these feature built-in.
How to Send Group Messages on iPhone
Step 1: Download any good third-party app
You first need to download any good third-party app from the App store and allow it to access your contacts. The list is endless, but it would be advisable to get the updated one. Some of these apps include group text +, connect, contact book, or contact group Pro and many more. Each of these apps, in full capacity, comes for a small price, but it totally worth some investment. Some of them such as Connect are free and easy to use.
Step 2: Select the contact group from the most app
It will now be easy to select the contact group from the most app at this point.
Step 3: Select the message option and send group text messages on iPhone
Most apps offer a list of options, including messaging, email, Twitter, and other shares, but under this case, you will need to select the message option. By default, the contacts in your group will receive the message. If you need to uncheck some contacts, these apps allow you to do exactly that.
Remember to get the best app, since some may not let you check which contact to use in case a contact has several phone numbers.


