The spring cleaning iPhone means that the user gets an overall clean iPhone. There are many reasons for which the users want to spring clean the iPhone. First of all comes the performance, it means that the user gets the top notch results when it comes to the iPhone operation. Then comes the data segregation. Spring cleaning has the biggest advantage associated to it in form of data segregation. It means that the user needs not to worry about the apps and other data as spring clean keeps them in place. On the other hand this phenomenon also lets the user become aware of the new cleaning apps that are being launched. The overall satisfaction level of the user operating iOS increases which is definitely a good sign.
Part 1. How to Spring Clean Your iPhone
There are several ways which should be used to ensure that the work is done easily. It is also to be noted that the user needs to make sure that the best program is used to get the work done. The dr.fone (Mac) - Data Eraser (IS) (or dr.fone - Data Eraser (IS)) is one of the best programs that can be used to ensure that the work is done easily and effectively.
In order to ensure that the work is done easily without any trouble and issue the process and the related steps will be mentioned. However before this it is advised to ensure that the features of the program are also gone through to understand the mechanism deeply.
Key Features of dr.fone - Data Eraser (IS):
- The data of the user of all kinds remains safe and secure with the state of the art mechanisms that are embedded within the program. It means that there is no way of data leakage when this program is being used.
- The device space is freed up with the help of this program. It also means that the user needs not to worry about the space occupation as it is not a big deal at all.
- The usage of the program is too easy and simple steps are involved to get the work done. It also means that a new user can get the work done easily with this program.
- It is not possible to recover the files that have been deleted with this program. It means that the user needs not to worry about the data after the device is sold.
Step-by-Step Guide to Spring Clean iPhone
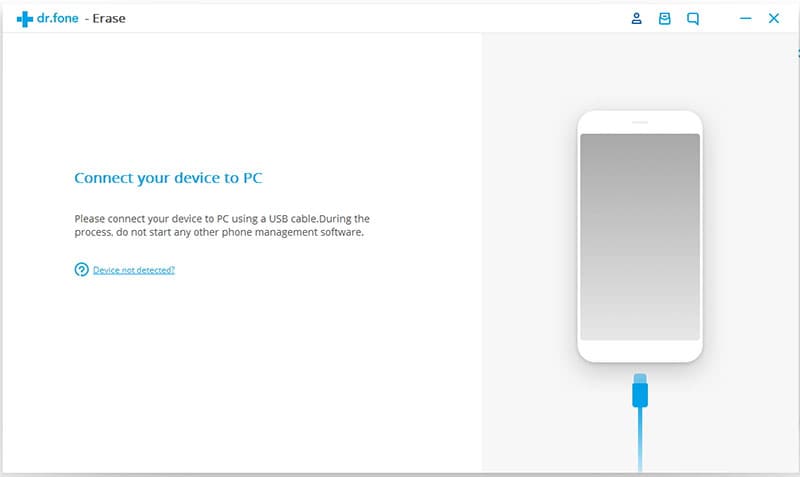
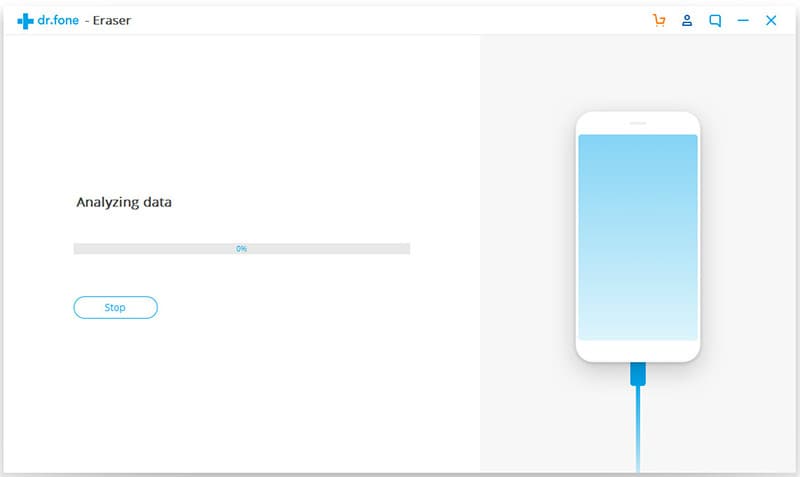
Step 1. First of all, you need to download, install and launch dr.fone - Data Eraser (IS) to your Mac. Connect your iPhone to your Mac using USB cables. The program will recognize the iPhone and you should see information regarding your iPhone displayed in the next window.
Step 2. The "Erase Private Data" option is then to be pressed in the left panel. The "Start" button is then to be pressed to proceed forward with the process.
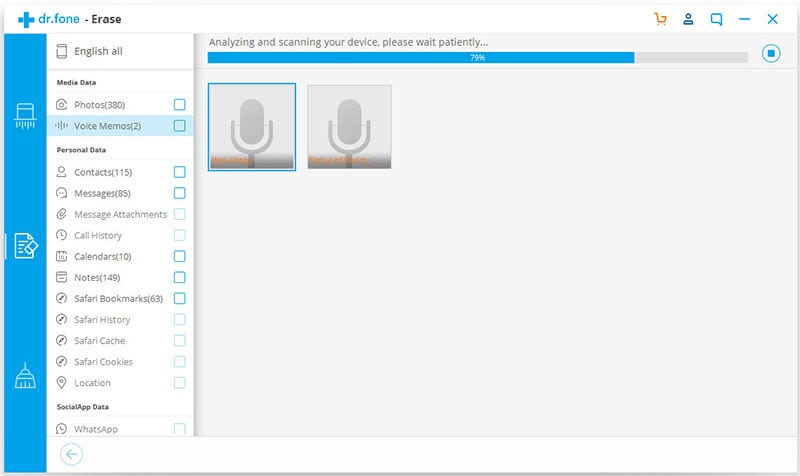
Step 3. You then needs to wait till the device is analyzed.
Step 4. The data will be shown in the main panel once the analysis has been completed. The required data that is to be deleted is then to be selected to proceed forward in this regard.
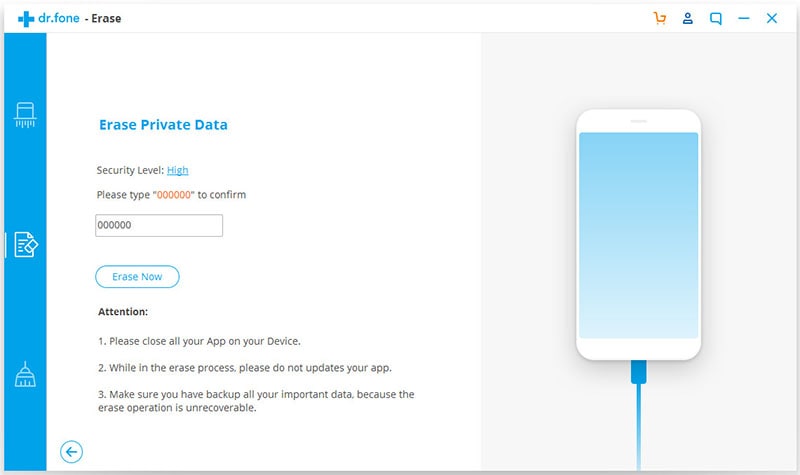
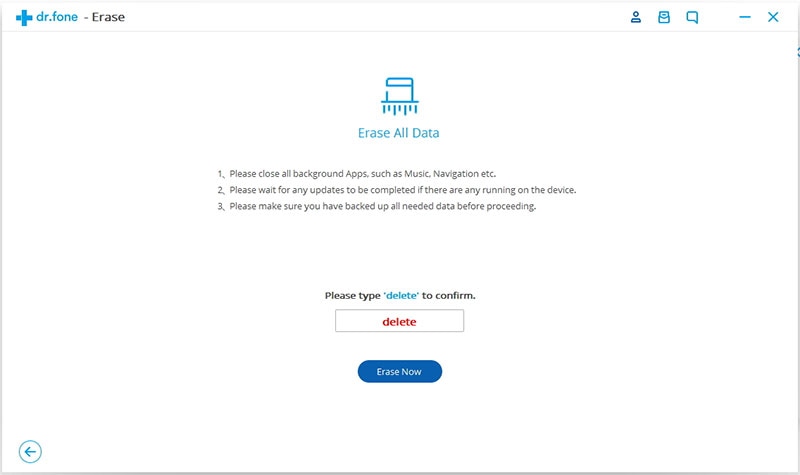
Step 5. You then needs to select the data that is to be deleted. Once done the "Erase Now" button is then to be pressed to proceed with the data erasure. A popup window will appear. Type the word "delete" to confirm that you want to erase files from your iPhone and then click "Erase Now" again to complete the process.
Part 2. 6 Tips on Spring Cleaning iPhone
Following are the 6 tips that can be used to ensure that the spring cleaning in the iPhone is done easily.
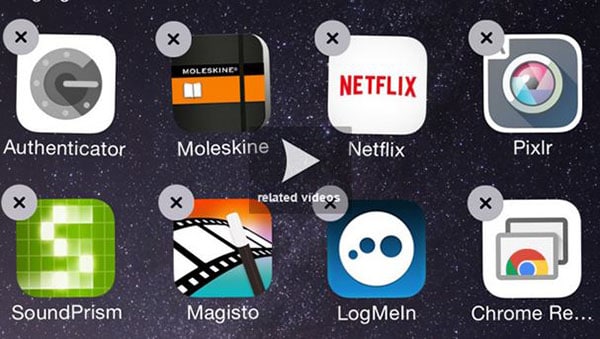
1. Home Screen Organization
Remove the unwanted apps from the home screen to get the work done. The small "X" button at the top of the apps let the users get these apps removed easily. It also means that the user never sees these apps onto the home screen. The jiggle mode is activated once the app is deleted. In order to ensure get out of the jiggle mode it is advised to ensure that the "Home Screen" button is pressed once again.
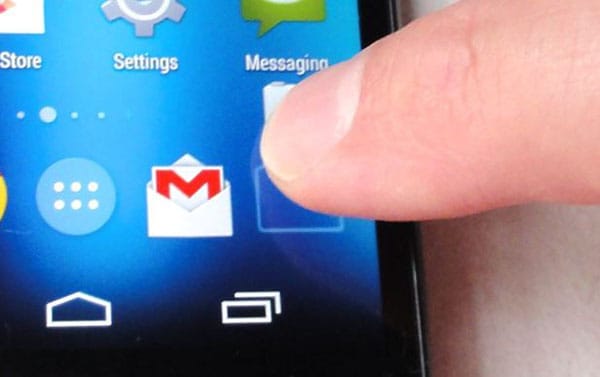
2. Sort Apps into Folders
It again means that the space on the main interface is not only freed but the user also gets the work done easily. On the other hand it also means that the user needs not to worry about the home screen organization. The process that is to be followed is simple. First of all tap any icon to enter jiggle mode, drag the app on top of any other so that a folder is created, press the "Home Screen" button once again to finish the process.
3. Move Icons and Folders
The user can also drag the icons in order to ensure that the work is done in line with the user's requirements. It also means that the icons remain in order and the user needs not to search for them when the time comes. There are several other functions that are associated with this and hence it is one of the ideas to get the work done easily without any hassle. The simple trick involves the user to press the icon and then drag it to the required screen to get the work done easily.
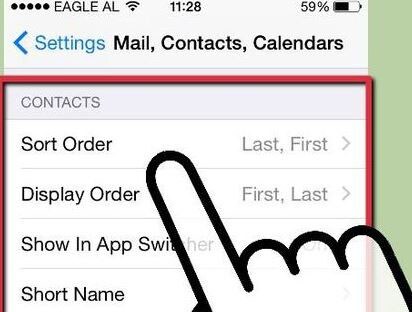
4. Sort Contacts
In order to ensure that the contacts are sorted it is advised to open the app, add a contact by the traditional iPhone method, the "Edit" button is then to be pressed onto the old contact to get going with the process. Once it has been done the user needs to ensure that the "Delete Contact" button is pressed and this also completes the process in full.
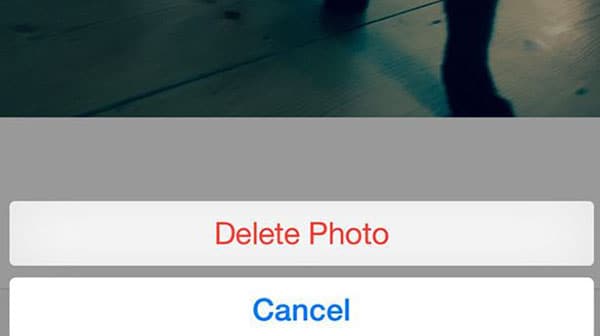
5. Remove Duplicate Photos
In order to remove the duplicate photos it is advised to follow the process that is mentioned in this section. It is also one of the best ways to get the work done easily. Within the photos app the user needs to click the collections, the "Delete" button at the bottom right corner is then to be pressed. Once prompted the "Delete" button is then to be pressed to get the work done.
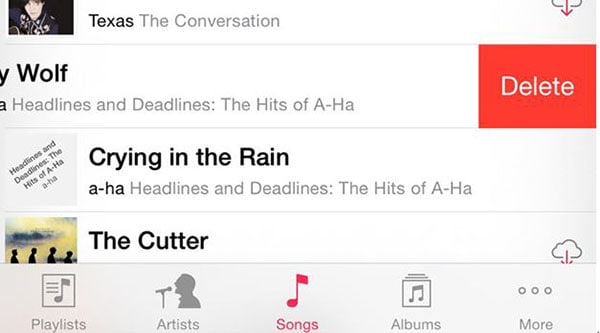
6. Delete Unwanted Music
The user needs to ensure that the music tab is opened and the song which is to be deleted is slided to the right side. The red "Delete" button is then to be pressed to get the work done completely.