Photos hold valuable memories that might as well be priceless for the phone owner. Such a trend has caused technology to come up with different ways to store photos in iPhone and sync photos from iPhone to computer for safe keeping.
iPhone users are not strangers to this set-up. As a matter of fact, iPhone users have several options as to how they’d like to sync and keep copies of the photos they’ve taken with their phones right into their computer. If you’d like to know a few of these several ways then you’ve come across the perfect article. Here we’ll discuss just about how to sync photos from iPhone to computer, regardless of whether you’re a Windows PC or a Mac user.
- Part 1: Two ways to sync photos from iPhone to PC
- Part 2: The easiest way to sync photos from iPhone to Mac
Part 1: Two ways to sync photos from iPhone to PC
Method 1:

To sync all photos from iPhone to PC, we recommend you to use dr.fone. This transfer can help you to sync photos including Camera Roll, Photo Library and Photo Stream. Besides, you can also use it to transfer music, videos, audiobooks and others from iDevice to PC or iTunes and back. Just take a trial.
Just see the below simple steps for syncing photos from iPhone to PC:
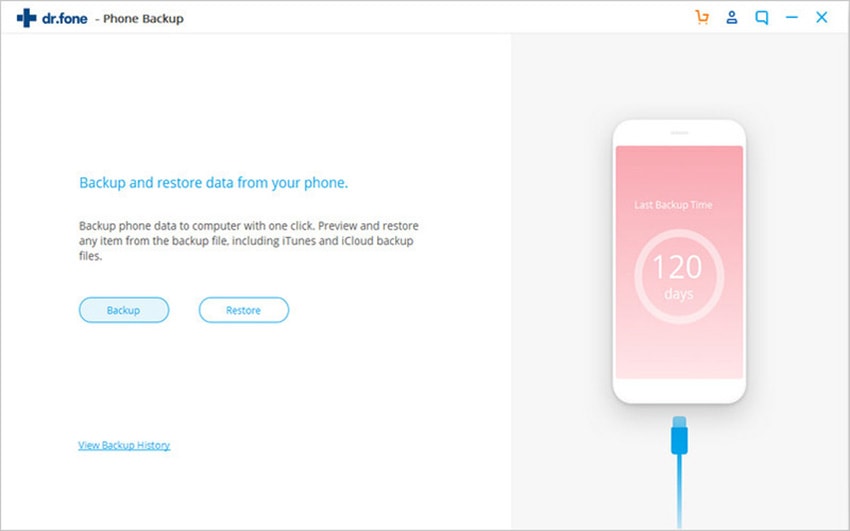
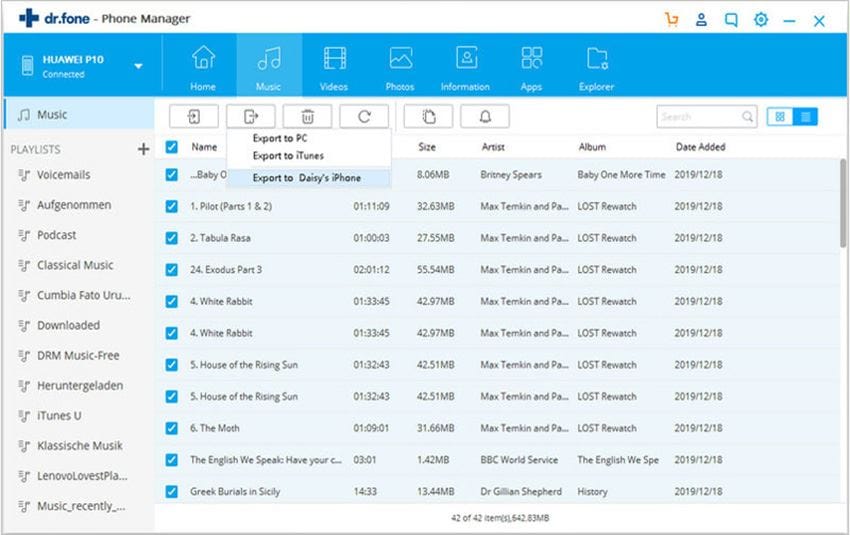
Step 1. Connect iPhone to your computer. And launch dr.fone. You will see your device information in the main interface.
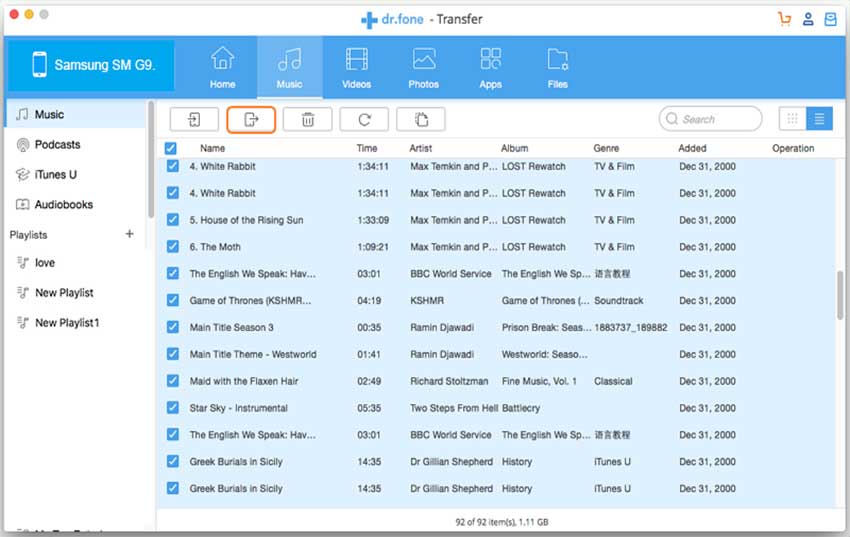
Step 2. Go to the “Photos” tab, and open Camera Roll, Photo Library, or Photo Stream tab to view your photos.
Step 3. Simply select the photos you want in any tab and click “Export to” to sync iPhone photos to computer.
Method 2:
If you are to use a Windows PC to keep copies of the photos you have taken in your iPhone, then you will probably find it easy to do so. Windows supports direct sync or transfer for your photos from your iPhone, and it applies to any of your iOS devices as well.
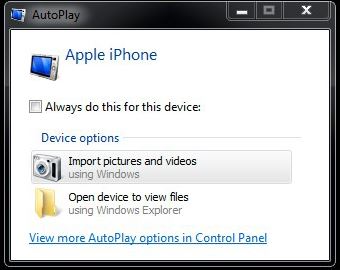
Step 1. Connect your iPhone to your PC. It is preferred that you use the USB cable that came with your iPhone’s original packaging so as to avoid any hardware problems or issues that may arise during transfer or sync. Once your iPhone is connected, an AutoPlay window will appear, prompting you to choose among the different options available for your iPhone. In this case, under Device options, we will select Import pictures and videos.
Step 2. From this point onwards, Windows will guide you and before the syncing starts, you will be asked to select the photos, and even videos, that you would want to store in your PC. After making your selection, Windows will start transferring or syncing your photos along with your selected videos, if there are any, to your computer.
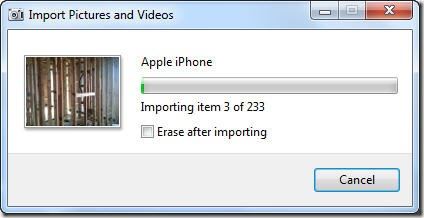
Step 3. Windows also gives you an additional option to erase the photos and videos you have selected after you’ve imported them to your computer. To avail of this feature, simply tick the only checkbox you see in the window displaying the status of your syncing or importing.
Step 4. Once all your photos, along with your videos, have been synced, you may now carefully disconnect your iPhone from your PC.
Part 2: The easiest way to sync photos from iPhone to Mac
If you own a Mac and are planning to sync photos from iPhone to Mac, you are definitely in luck as you have quite a handful of available methods to choose from. However, we’ll be discussing only one method involving the use of quality third-party applications to help you do the trick.

There are quite a number of third-party software to sync iPhone photos to Mac, but it’s always better to go for the highly-recommended ones. For the set of instructions that you’ll be seeing below, we’ll be using dr.fone for Mac to sync photos from iPhone to Mac.
Just follow these instructions to get your iPhone photos stored in your Mac:
Step 1 . Get your iPhone and connect it to your Mac with a cable. Launch dr.fone and it should automatically detect your iPhone. At the main window of dr.fone, your iPhone’s information will be displayed as the picture below.
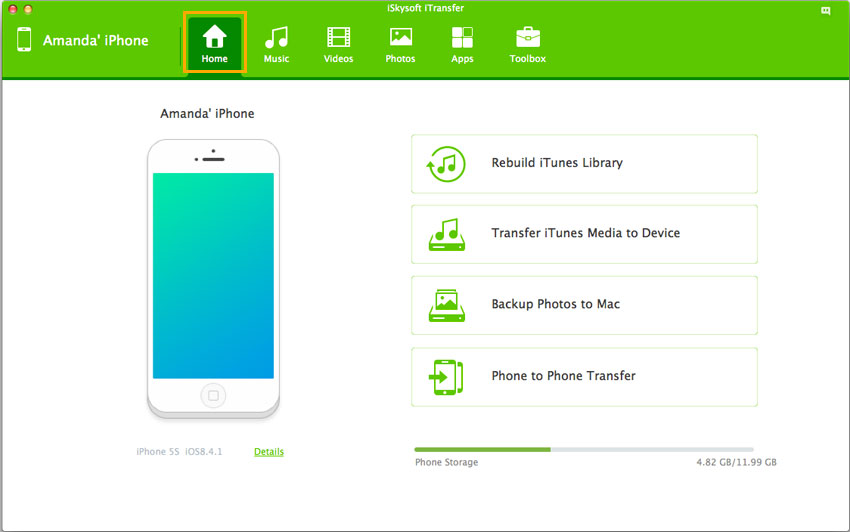
Step 2. Now select the "Photos" tab. This will prompt dr.fone to scan your iPhone for all photos that are stored in it – including those from Camera Roll, Photo Stream, and Photo library, and display them in the main pane of the window. Just select the photos and click "Export" to sync photos from iPhone to Mac.
Step 3. Alternatively, if you want to transfer ALL of the photos on your device to Mac, you can just click on the "Backup Photos to Mac" option. You can refer to this Guide.