


Can I Make Lightning Videos in Slow Motion?
Yes, it is possible. Now-a-days, most of the modern smartphones offers slow motion video capturing in the camera application but what to do when you have an older smartphone or when you are recording a video using the camcorder which doesn’t have slow motion recording capability? Although there are certain applications available in the App Store or Google Play store which will convert your videos in the slow motion videos but there are certain problems associated with these applications. So, the best solution to convert normal videos into slow motion videos is using software on your PC or Mac.
Make/Play Lightning Videos in Slow Motion with Filmora Video Editor
Filmora Video Editor for Mac will let you do this task with some simple clicks. It has a very clean interface and easily understandable by anyone who is not even a professional video editor. The amazing thing about this software is that it will not ruin the video quality providing the best video results. If you are trying to capture the lightning video in low-light, most probably, the video will not be cleared, but using an outstanding feature, “Auto Enhance” in the Filmora Video Editor, will automatically adjust the video quality.
There are preset features in the Filmora Video Editors which don’t require setting the complex contrasts, brightness, and hue or exposure mode. Moreover, if the overall length of the video doesn’t seem right, you can trim down the video to get the best possible outcome. If you want to focus on just the lightning, you can always focus on the lightning using the crop feature inside the application. There are certain preset output formats for certain devices such as iPhone, iPod or iPad. The video can also be directly burn on a DVD right from the Filmora Video Editor.
- You can rotate the video in any of the four directions such as left-side, right-side, upside or downside depending upon the direction of recorded video.
- You can also enable the voice over feature to record voice on the video to explain the event of lightning perfectly.
- You can add text to the video to watermark it and can also add the introduction of the video and credits for yourself at the end of this video.
- The program also provides a variety of output formats such as Mov, Mp4, and 3GP for mobile phones, AVI or WMA.
Step by Step Guide on How to Make Lightning Slow Motion Video with iSkysoft:
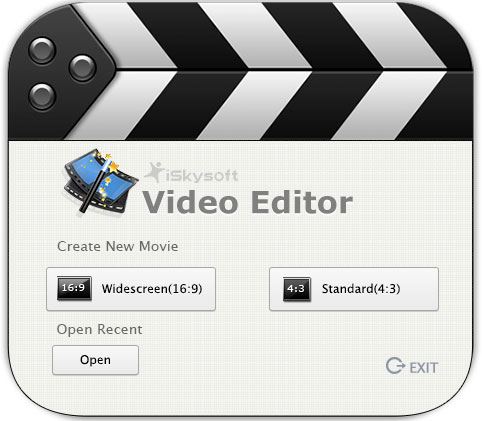
Transfer the video from your mobile phone, video recorder or cam coder to your PC. Now, get the latest version of Filmora Video Editor for Mac. After downloading, follow the steps to install the app. Once you have completed the installation process, you will see the first screen of the software, here you will have different options: select a wide-screen for the video, select the standard screen for the video or resume the previous project on Filmora Video Editor.
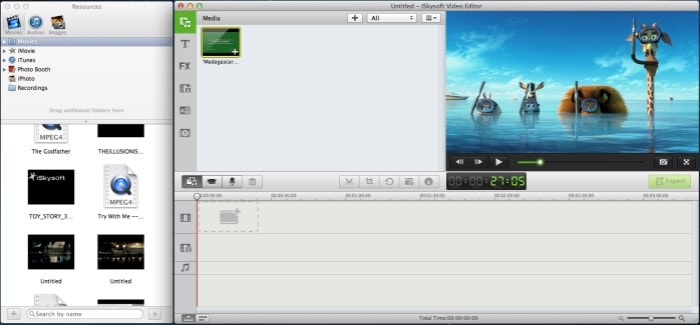
Once you have made the appropriate selection, you will see the main screen of the software. Firstly, import the video files. Click on the center of screen on “Import Media”. It will open the folder options, from where you can import media files. Select the folder and open it, now, select the file and click on “Load” at the right corner. The lightning video will be imported to Filmora Video Editor, you can see the preview of the video file in the right window.
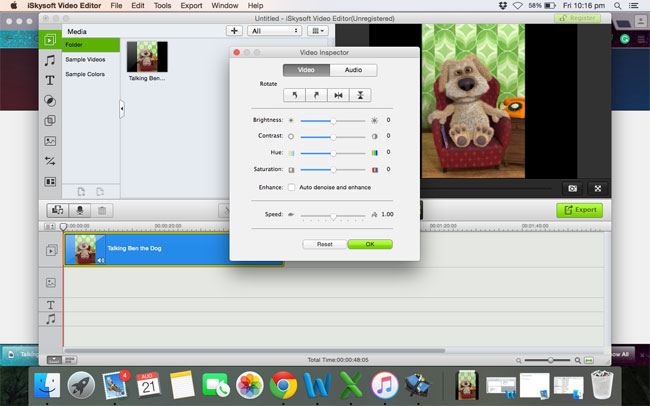
The next is drag and drop the file for editing purposes to the editing area as shown in the screenshot below. Click on “Show Inspector” button which is at the top right side of all options as shown in the screenshot below. Here, you will see all the basic options to edit the video, top on the pop-up is Video and Audio, underneath it is the “Rotate Videos”. You can check the “Auto Enhance and denoise” option to automatically tune the video. Last on the pop-up is setting the speed of the video. You can set anywhere to change the speed of the video. Click on the "Audio" option and you can change the pitch of the Audio and volume of the video.
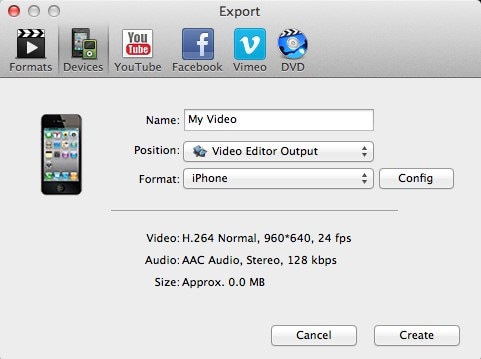
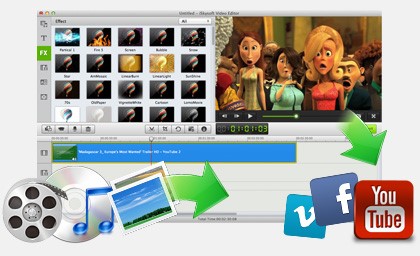
Once you done all the settings, you can easily save this video file on your computer. Click on “Export” button in the editing area. Now, either save it to your computer by clicking “Create” or directly upload it to different social networking and video sharing websites.


