


When it comes to making motion graphics, keyframing is an essential element that the pros use. It is because it allows you to create unique animations in a short amount of time. If you are uncertain about the keyframe, think of it like a timeline marker that tells the software when to jump from one point to another.
In this article, we'll break down what keyframing is and how to do keyframing in Adobe premiere pro. We'll cover everything from how to use keyframes to add movement to your footage. And how to make it feel alive, to how you can add or remove keyframes in premiere pro. We'll also go over some of the best ways to use keyframing in alternative best software.
In this article
Part 1: How to Use the keyframes in Adobe Premiere Pro for Better Animations
What are keyframes?
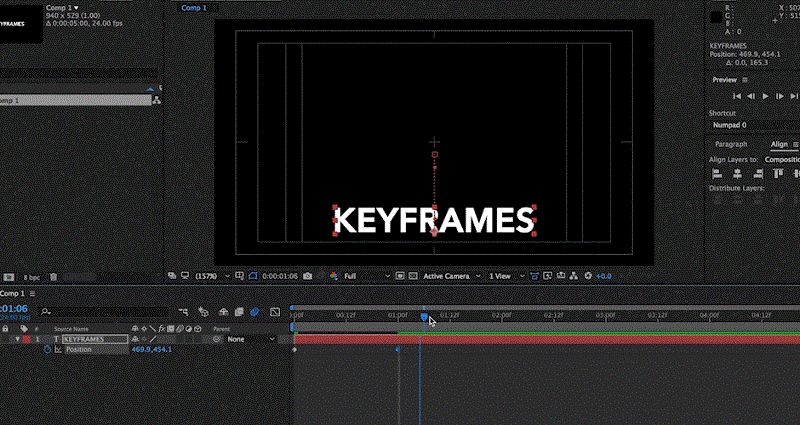
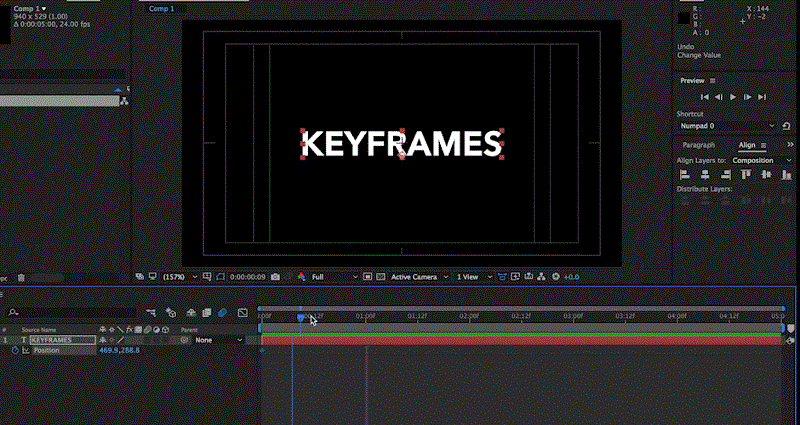
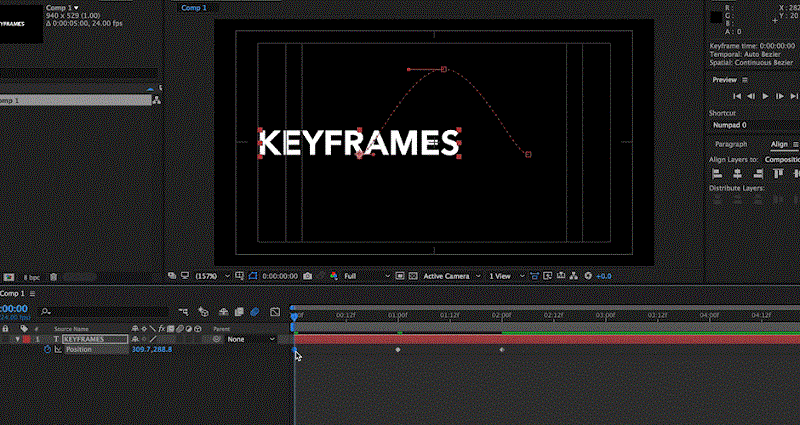
The keyframes are the points in time when a video, audio, or image is created. It is necessary to mark the keyframes because it allows you to make edits later on and have the editing work on your final project. The keyframes can be done on the Adobe Premiere keyframe feature. In video and audio editing, keyframes are points in time where you can add visual or audio effects.
By marking keyframes, you can change the appearance of your footage at those times and create engaging effects. You can mark a keyframe in Premiere Pro by clicking on the bar that says Keyframe 1. It will bring up a window where you can select the effect you want to apply to your video.
What is Keyframe Interpolation?
Keyframe interpolation is the ability to interpolate between two keyframes in a timeline. It means that you can use a keyframe to define your start point, then slide it forward or backward by frames without changing the position of the other keyframes. This feature is beneficial for getting smooth transitions between two points in time.
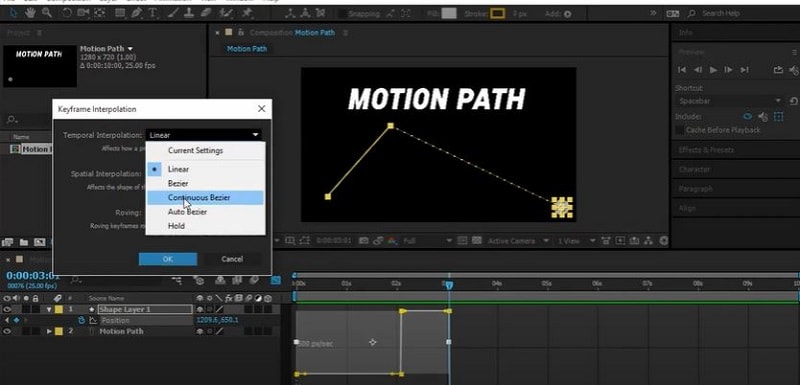
For instance, if you're creating a video showing an object traveling, but you want the object to appear as though it were moving at an angle relative to B, then you can use keyframe interpolation to achieve this effect. It is one of the most necessary features of Premier Pro. It is used to make smooth changes between two points in time. There are several types of interpolation in Premiere Pro.
Temporal Interpolation
When you're using temporal interpolation in Premiere Pro, you're using a time-lapse effect to make your footage look like it's moving faster or slower than it is. It can be used to simulate the motion of an object, like a car passing by your shot, or for simple stylistic effects like speeding up or slowing down the footage.
Spatial Interpolation
Spatial interpolation simulates the movement in 3D space. It can work well on shots that don't involve objects moving through space but do involve objects that are closer together than they appear in real life. It involves changing the location of an object concerning another point or point on the screen. The two points can be in different locations or different directions.
Linear Interpolation
Linear interpolation uses a uniform velocity to make the footage appear as though it's moving at a constant rate. It may be beneficial if you want something smooth and steady-moving throughout your scene, or if you want to create an effect where things seem much faster than they are (like an action scene).
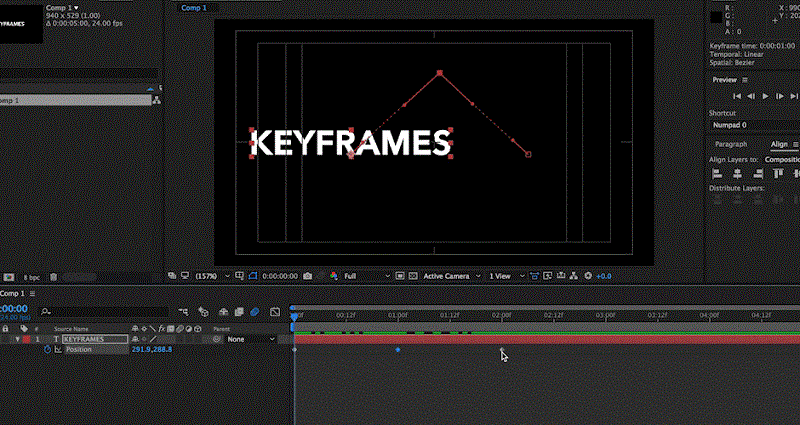
Bezier Interpolation
Bezier interpolation is the most common type of interpolation in Premiere. It's a smooth curve that affects how data can display on a timeline. You can change the rate and shape of the curve to make your animation more dynamic. It is used for deceleration and acceleration. When you want to change the speed of an animation, you can use ease in/out interpolation to make the transition smoother.
Ease In:
It can use for animation that needs to get from point A to point B, but not too quickly or slowly. The value of the keyframes determines how quickly the movement happens over time, which also affects how quickly other elements move around it. This type of keyframe can be used for slow-motion or fast-moving objects moving at different rates depending on Bezier keyframes.
Ease Out:
Ease Out interpolation is used for fast-moving objects moving at different rates depending on how many keyframes you can add between them (which can change their speed). This type of curve is used for slow-motion or fast-moving objects moving at different rates depending on how many keyframes you add in between them (which can change their speed).
Part 2: How to Add or Remove Keyframes in Premiere Pro?
Add keyframes:
You may have heard that keyframes are a way to make your videos look more real, but the reality is a bit more complex than that. When you want to add movement to something you've already shot all you need is to add the keyframes. You can also add keyframes to create motion in parts of your video that are not moving, like when you will show still images or text.
You can follow these steps on how to add keyframes in Premiere Pro:
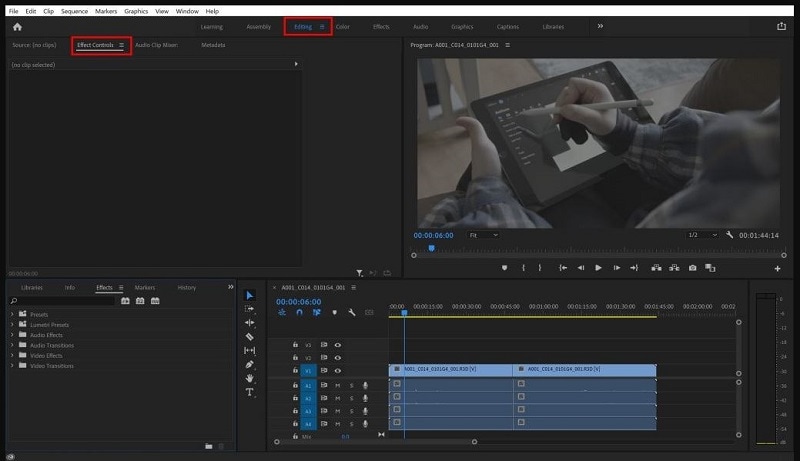
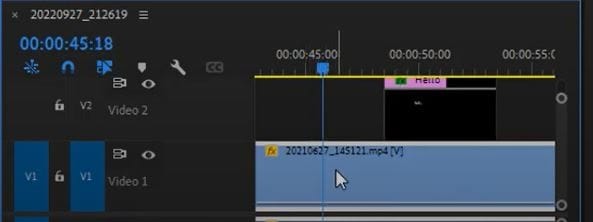
Step1 Click on Effect Control from the top menu bar
Open Premiere pro on your laptop or pc then clicks on editing. Click on effect controls to add keyframes in your clip. There is also a second alternative to open the effects control, simple, go to the windows button from the top menu.
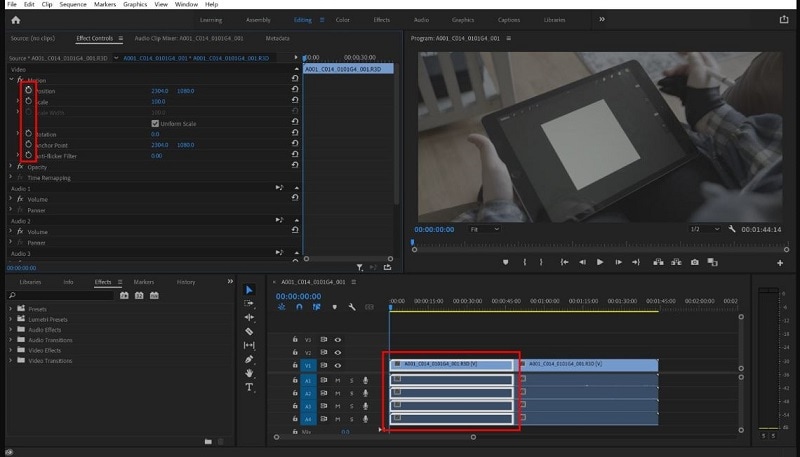
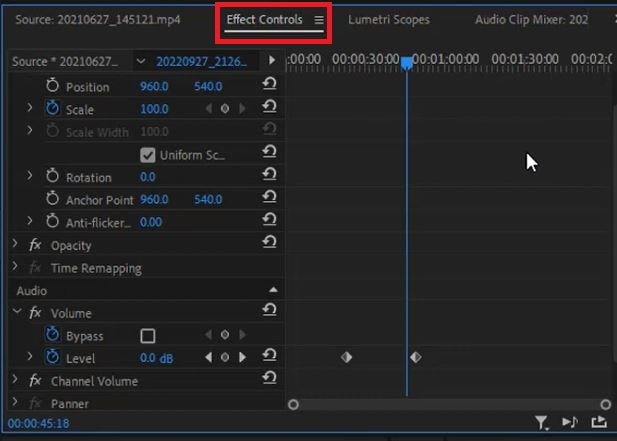
Step2 Select the clip and add keyframes
Add any clip as per your choice, you have to do some settings from effects control. There is a sign for stopwatches where you can add keyframes by clicking on them. When you click on the stopwatch, you can add keyframes.
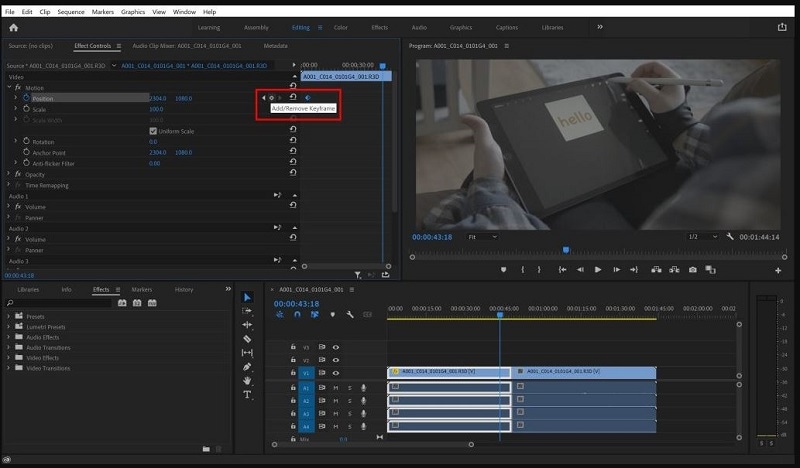
Step3 Add multiple keyframes to a clip
You can add as many keyframes as you want in a single clip. When you add the first keyframe, click on a diamond shape icon with two arrows. It is up to you to add many keyframes.
Remove/Delete keyframes:
When you're working with motion graphics, you're going to want to do as much work as possible in real-time. That means no matter how big your timeline is or how many layers you have, you'll want to be able to move through it quickly, and if there are keyframes in the way, you'll need to remove them.
When you remove keyframes from an edit, means that there are no abrupt changes in speed, which means that your video will have a more fluid feel. Removing keyframes will also help, that your project doesn't lag when you do work on the broad timeline.
A step-by-step guide to delete keyframes in Adobe premiere:
Step1 Find the keyframes from the clip
Firstly, you need to find the keyframes from the clip that you want to delete. All you have to do is to check the keyframes that have been added. Select the clip from which you want to delete the keyframes.
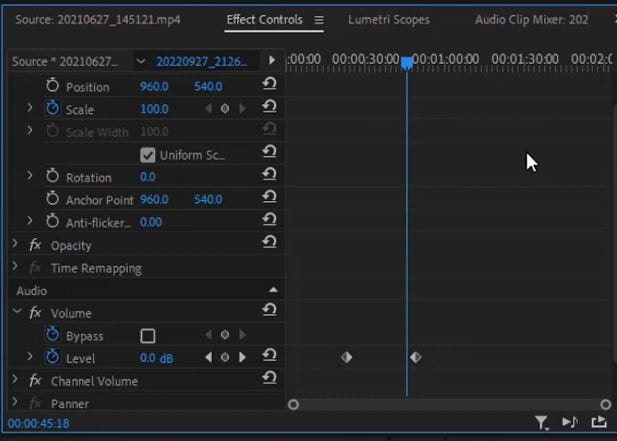
Step2 Click on effect controls to see all the keyframes
If you want to see all the little keyframes in your clip, click on the Effect controls. You can easily add or delete the keyframes from any part of the video.
Step3 Delete the keyframes from various points
You can see many properties where you have added the keyframes. Suppose you select the Scale property to remove the keyframes. Simply select the keyframe from the mouse and hit the delete button from the keyboard.
Part 3: Best Alternative to Add Keyframes
Premiere Pro is all about editing video. It's hard to learn all about the tools at once, but frustration sets in when you realize that the keys were hidden behind a host of menus and submenus. Premiere Pro can be overwhelming for newcomers, but with Filmora's step-by-step tutorials and easy-to-follow interface, you'll be able to grasp the basics of Premiere Pro in no time.
With Filmora, it's easy to understand how keyframing works and how to adjust it based on what you want. When you use Filmora, you'll be able to access various effects right from within the program itself. If you want to add keyframes in your clips. Here, you can see the step-by-step guide to adding keyframes.
How to Use Keyframes with Filmora?
Filmora because it is one of the finest video editors that allows you to use keyframes to create your custom animations. If you are using other video editors, such as Adobe Premier Pro, you are limited to pre-made animations and effects. It means you can't customize your videos and make them look exactly how you want them to.
Keyframes are a great way to create a smooth, natural effect in your video. If you're new and want to make a video, you may not be familiar with this term. In this section, we'll help you understand what keyframes are and how they work. We'll also explain how to use them in Filmora so that you can create engaging animations.
Step1 Install Filmora for Free
Search for Filmora from any browser or download it. Open the website of Wondershare and click on download. Filmora is the best video editing tool with various built-in features. Filmora is a video editing software that has been used by many people and professionals. Filmora allows you to add keyframes in the clip. These frames are used to specify an in-between frame for an animated object.

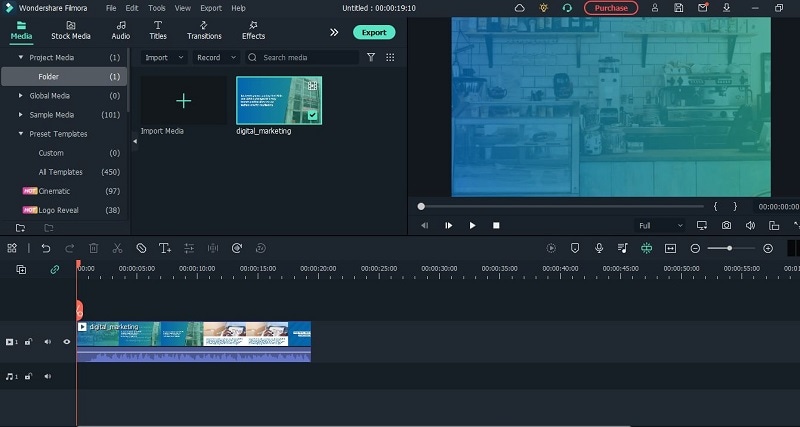
Step2 Create a new project and add the clip to the timeline
After installing Filmora on your PC, open it. Click on create a new project, then move to the new screen. You have to add a clip by clicking on adding media. Drag the clip and put it on the timeline. Double, click on it to open its editing menu.
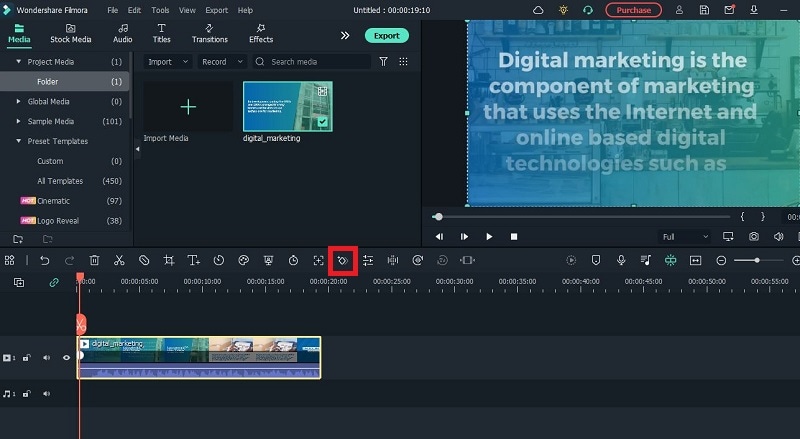
Step3 Create the keyframes in clips
Go to the editing menu and click on the animation tab. Two options will be shown when you click on the animation tab (Preset, customize). Click on the add button to create the first keyframe. This keyframe is for the default scale of the clip. Move the header at the end of the video and add another keyframe. By clicking on the diamond icon, you can add keyframes.
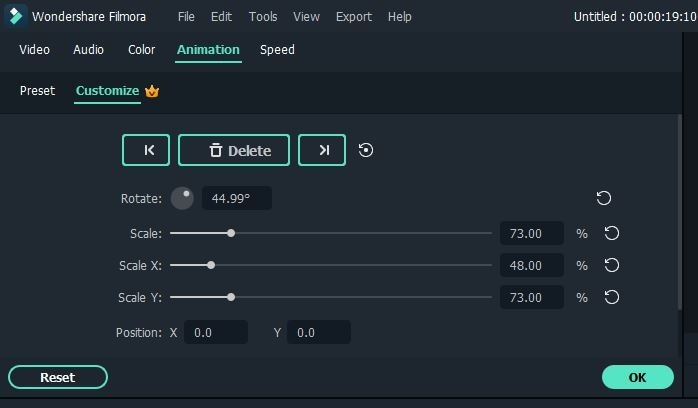
Step4 Customize the keyframes
For customizing the keyframes, adjust the scale, position, and rotation. If you want your end on a closer shot, then edit the scale to up position. Adjust position x and position y to avoid any framing issues. Replay your video to check the final results and export it where ever you want.
Conclusion
Keyframing is necessary for video editing. It allows you to create smooth transitions and precisely control the timing of your video. It is an essential part of the editing process and can be used to add interest and drama to your clips. However, it is also time-consuming and complex when you use it in Premiere pro.
Premiere Pro is a professional tool for editing videos but it can be a daunting toolkit for keyframing. That’s where Filmora comes in as the better software for adding keyframes. Furthermore, Premiere Pro is difficult to use due to its professional editing features. However, Filmora is comparatively easier to use and has more handy features, making it the better choice for adding keyframes.


