


Everyone is now obsessed with seeing each other’s WhatsApp statuses just to know what they’re doing at that precise moment.
Status lets you view end-to-end secured text, image, multimedia, and GIF messages that vanish after 24hrs. Your acquaintances’ contact details need to be stored in your smartphone’s contact book in order for you to send and receive WhatsApp statuses to and from them.
Every WhatsApp user will soon get a brand new Status element. The new Status function employs photographs, text, emoticons, and doodles to illustrate what you’re up to in replacement of the text-only post that offers information if you’re free for conversation or unavailable.
So, if you plan to make the most out of this feature and upload a split video for WhatsApp status online, here’s a comprehensive guide that will be your roadmap.
How To Split Video For WhatsApp Status
First, you must know that WhatsApp puts some restrictions on its status video length for unknown reasons. If you want to upload a lengthy video, WhatsApp lets you upload a video of a maximum of 30 seconds only. The limit is even 15 seconds in some countries. Plus, the video resolution size should not be more than 16Mb.
Now that you know the basics, you may wonder what to do if your video length and resolution don’t meet WhatsApp’s requirements. In that case, the ideal approach is to split the video using the built-in option of WhatsApp. If that seems difficult, you have other options, like the video splitter for the WhatsApp status app.
Nevertheless, WhatsApp has its own built-in trimming function, which can be used easily to split a video. So, here is a step-by-step guide to splitting video for WhatsApp status via WhatsApp’s built-in feature. There are two separate sections for both Android and iOS users. So, read well.
For Android:
As the limitation of WhatsApp video status differs from country to country, the duration of the video clip can vary between 15 seconds and 30 seconds. Anyway, here are the steps to split video using WhatsApp:
Step 1: Open WhatsApp
In your smart device, go to the WhatsApp icon and click on it. Then, navigate to the ‘Status’ tab and click on ‘My Status.’

Step 2: Select The Video
Another screen will appear that will allow you to choose what you want to split and upload on WhatsApp status.
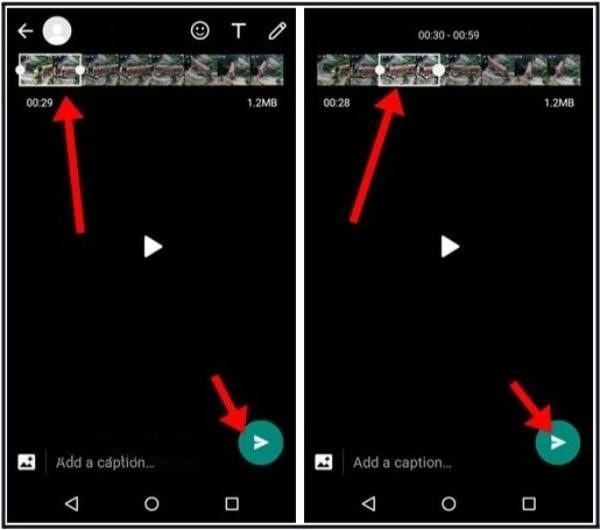
Step 3: Leverage The Slider
Once you select the video, you will find the screen’s top to display a slider. Leverage this slider feature to trim the video to the 30-second part that you wish to post on your WhatsApp status.
Step 4: Keep Posting
You can use the slider to upload any 30-second part of the video. However, if you want to post the video clips sequentially, trim the video to the first 30 seconds and post it on your status. Repeat this step to keep posting the subsequent video clips until the whole video is uploaded on WhatsApp status.
For iPhone:
You can use iPhone’s in-built function to split video for WhatsApp status:
- Step 1: Find the Photos app on your iPhone and open it. Go to the video tab and select the video clip you wish to split.
- Step 2: You’ll find an Edit option in the top-right corner of the screen. Click on it.
- Step 3: Then, you’ll find a slider on the video’s bottom. You can shift the slide right from the beginning till the end to select the part of the video that you want to upload.
- Step 4: You can click on the ‘Play’ icon to get a preview of the video you selected for WhatsApp status upload.
- Step 5: Finally, hit the ‘Done’ option to confirm your splitting of the video. You’ll find the ‘Done’ option in the screen’s bottom-right corner.
- Step 6: Select either Save Video or Save Video as the New Clip option.
- Step 7: The video gets saved on your iPhone library. Now, open WhatsApp, go to Status, select the split video, and upload it.
Turn long videos into viral clips. Effortlessly transform lengthy videos into engaging, shareable clips.

How to Split Video Using Third-Party Tools
Besides WhatsApp’s built-in feature, you can also use other software to edit and split the video to share it on WhatsApp with others.
This especially becomes effective when you have to upload a long video, and things become time-consuming when it comes to splitting the video with precision to make sure everything goes sequentially. To avoid such hassles, you can select some of the best software tools and apps available on the market.
So, let’s start with the best third-party tools first.
Best Third-Party Tools for WhatsApp Status
Best Split Video APPs
Intro
Among the greatest video editing programs for eager beginners and users with experience is Wondershare’s FilmoraGo.
Several elements and effects may be added to the video, and it offers a straightforward, sleek, and straightforward interface that is simple to learn and manage. It’s simple to incorporate expression and panache thanks to the royalty-free audio gallery’s music and audio effects.
Pros:
- User-friendly, simple, and intuitive
- Budget-friendly
- Multiple filters and effects
Cons:
- No DVD menu support
- Lack of motion tracking
Best For: Beginners in need of an easy-to-use video editor
Devices Supported: Android 7.0 and above, iOS 12.0 and above, iPad
Intro
With Premiere Elements for hobbyists, Premiere Pro for professionals, and now Premiere Rush for social media users and vloggers, Adobe currently offers three choices for video editing programs. Rush now comes with a standalone installer after initially only being available on smartphones and tablets.
The main point of Rush is to go quickly from recording to editing and distributing. Also, its straightforward process and user interface fit well with those objectives. Any video streaming creator should give Rush a try.
Pros:
- Excellent title choices
- Clear, clean, and simple interface
- Fast performance
Cons:
- Minimal transitions
- A limited number of audio tools
Best For: Vloggers who want to Polish and Perfect Your Video
Devices Supported: Windows 10, macOS, iOS, and Android.
Intro
Although the integrated video editing app for devices has not quite evolved much lately, it still outperforms that offered by Windows.
iMovie is superior to the video features included in Windows’ Photos program. Superb capabilities for organizing your video, color correction, tempo, eco-friendly effects, voiceover, and music are all included in Apple iMovie.
Pros:
- Classy themes
- Amazingly simple user interface
- Next-level color matching
Cons:
- No support for tagging
- Lack of 360-degree video editing
Best For: People who work with Multicam, 360-degree footage, and motion tracking
Devices Supported: macOS, iOS
Best Desktop Video Splitters
Intro
Despite being obviously an expert-level, high-end video editing application, DaVinci Resolve by Blackmagic Design has long been a personal fave among some optimistic connoisseurs due to its useful freemium model and the convenience of use it provides.
According to Blackmagic Design, DaVinci Resolve is the sole software that combines audio creation, color coding, motion graphics, and video editing in a single product.
Pros:
- Simple, well-designed, top-notch interface
- Incorporates audio editing and motion graphics
- Enhanced control with multiple editing tools
Cons:
- Take time to understand due to the complexity
- Needs plenty of system resources
Best For: Gamers and YouTubers and as it equips them with a large subset of the software’s features
Devices Supported: Cross-platform for Linux, Windows, and Mac
Intro
Apple’s professional-level video editing program, Final Cut Pro, is aimed at both individuals who need more capability than iMovie can provide for their projects and pros who produce content for television and films. It does an amazing job of fusing these realms together.
Experts may be critical of its unconventional unmanned timeframe, and beginners may be perplexed by its variety of complex choices. Still, once you go into it, it’s a fantastic tool for both categories.
Pros:
- Multicam support
- Trackless, magnetic timeline
- 360-degree footage support
Cons:
- Excellent export and import experiences
- Non-conventional timeframe editing
Best For: Video Enthusiasts Working On Macs
Devices Supported: MacOS
Recommendation: Filmora Video Editor
- Best video editing software for beginner and semi-professional, that comes with powerful editing skills like trimming, splitting, rotating, editing, etc.
- Advanced video effects like green screen, PIP, audio mixer, etc. can also be found and applied to your video within few clicks.
- 500+ free special video effects to customize and create an awesome movie by yourself.
- 1000+ standalone effects downloading resources to make videos in all kinds of styles.
- Export videos to Chromebooks compatible format with 1 simple click.
Intro
The typical cutting, transitioning, and overlaid features, as well as the enhancements you’ve gotten to anticipate in hobbyist-level video editing software, are all available in Wondershare’s Filmora.
Ever since the last inspection, the company has incorporated more contemporary and cutting-edge capabilities similar to those seen in more seasoned rivals—it now provides motion tracking, for instance. Although Filmora has an easy-to-use interface and can complete the task at hand, you will be deprived of some of the precise control offered by rival programs.
Pros:
- Cost-effective
- Appealing user interface
- Multiple overlays and effects
Cons:
- No chapter authoring
- Minimal effect-altering tools
Best For: People who work with green screens and animations
Devices Supported: Windows 11 and below or macOS 10.14, macOS 10.15, macOS 11, macOS 12
Best Split Video Online Tools
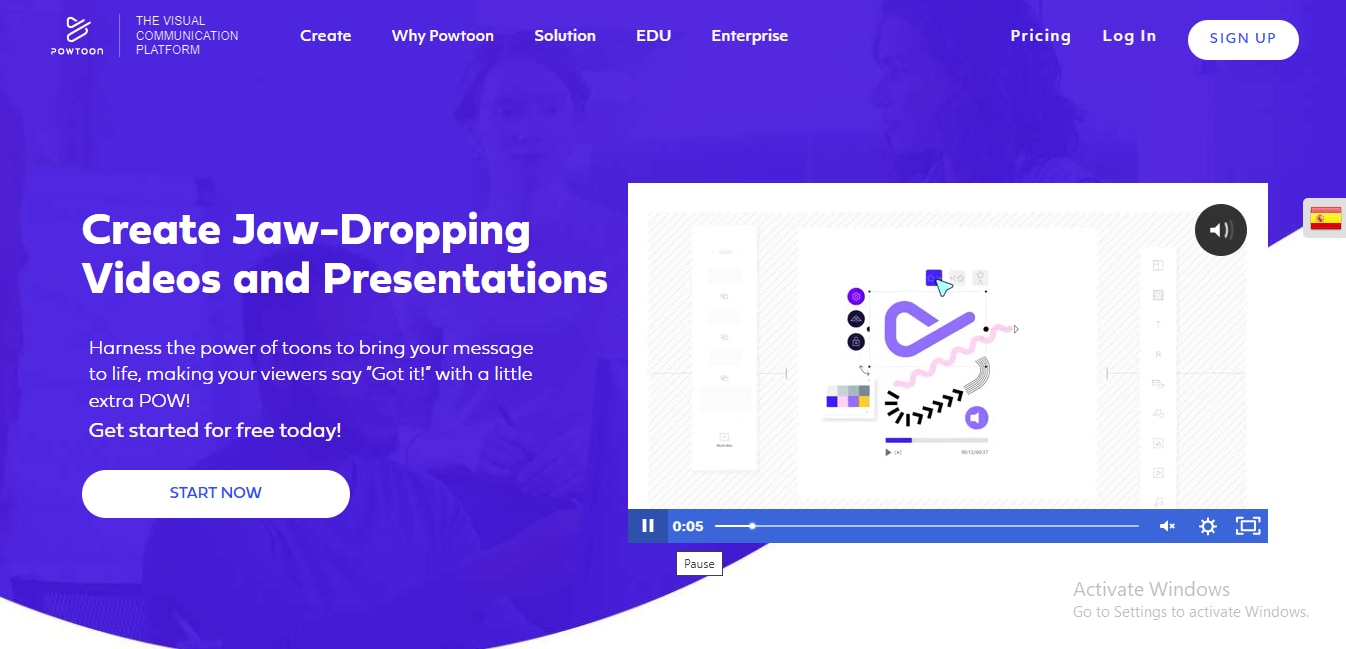
Even without graphic or technical expertise, everyone can make compelling films and slideshows that appear expert in just a few minutes with Powtoon, the industry-leading powerful visual tool.
Powtoon makes it simple to make your personal HD live and motion graphics videos in professional quality for free (or a little fee), saving you the expensive cost of employing a video production staff.
A vast collection of beautifully designed layouts, settings, avatars, sets, videos, music, and other content is available on Powtoon. To compel your viewers to care, engage, and take action, upload your own content, including videos, GIFs, photographs, voice work, and anything else.
Pros:
- Excellent tools and interface for incorporating custom voiceovers and images
- A good alternative to slide decks
- Assists beginners in making animated videos with ease.
Cons:
- Not-so-budget friendly
- Minimal collaboration features
Best For: Beginners who want to make video animations
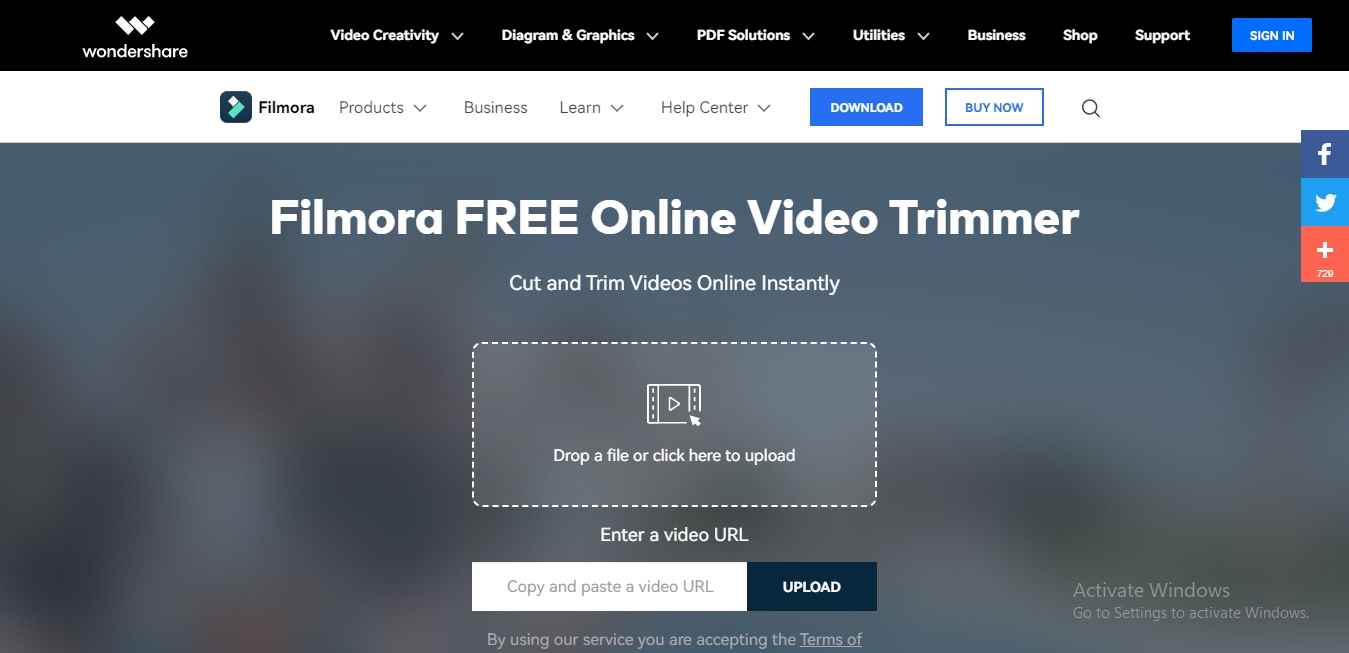
Filmora is a ‘state-of-the-art’ video trimming software solution that strikes a mix between robust capabilities and a user-friendly interface at a reasonable price.
This free and fast online trimmer tool is explicitly designed for individuals who want to professionally and efficiently trim HD and 4K videos in addition to all current video formats.
Even if there are some drawbacks in the social media integration choices, it’s a great trimmer that works well to produce professional internet films.
Pros:
- 4K video support
- Simple and intuitive user interface
- Fast encoding with GPU acceleration
Cons:
- Expensive add-ons
- Buggy importing on social media
Best For: Individuals looking for a full-featured free online trimmer tool
How to Use Tools for WhatsApp Status
The steps for using third-party tools are almost the same for each one. So, check this step-by-step guide on how to use a third-party tool - say Filmora - for WhatsApp status:
- Step 1: Tap “Import” and drag the input data onto the video timeline to import them.
- Step 2: Drag and drop the video onto the timeline loop, choose the clip in the chronology, and then place the movie film so that it begins when the first portion ends and ends on the timeframe.
- Then split the movie into two halves by tapping the Split icon on the toolbar. By doing this repeatedly, you can split a large-sized video file into a variety of smaller segments.
- Step 3: This is an optional step. You can now choose any portion of the short video and eliminate it by pressing the Delete symbol in the taskbar because the video clip has been divided into numerous parts. You can optionally add suitable animation effects between the divided segments to smooth out the changeover.
- Step 4: The snippets can now be saved in the proper format. Select the desired video format from that same Formats option in the Export window’s left side by clicking Export. You can export each individual video file independently and reupload it to save additional visual content.
- Step 5: Once the video is split into segments, share it on WhatsApp status sequentially by going to the ‘My Status’ option.
Conclusion
Hopefully, this article will forever be your guide to any problem related to splitting of video for WhatsApp status online. Now, you have all the necessary details and insights needed to split any lengthy video into small clips that can effortlessly fit into your WhatsApp status.


