So you have an MSN email account, but you have lost your email address and/ or password, and you're afraid that you may be unable to find them? You shouldn't be worried. There are several methods you can use to find your MSN account for MSN email recovery, regardless of whether you set up the account yourself, or if a cable service provider set it up for you.
Part 1: How to Find MSN Account for MSN Email Recovery
Method 1: Set Up Yourself
Step 1: Search your desk and try to find out if you wrote down your email address or any helpful information anywhere near your computer.
Step 2: Log into your secondary email account, that’s if you have one, and search for your account using the search feature and the terms MSN email. After successfully setting up an MSN email, MSN will ask you to provide an alternate account, and will then email your address to that particular account, along with your password and other relevant information.
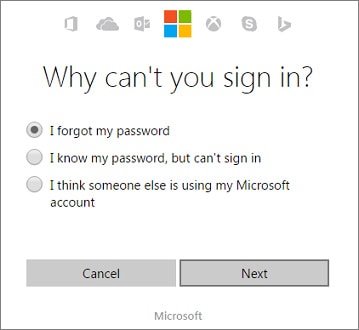
Step 3: Once you find your email address, visit MSN email site to reset your password. Just click https://account.live.com/resetpassword.aspx, then do the following.
- Select the option "I forgot my password".
- Click "Reset your password".
- Enter your Windows Live ID that you need to reset its password.
- Enter the characters shown and then select "Next".
- The options you’ll see here are the options available to reset the password for your account.
Note that if you prefer to retrieve link via an SMS or alternate email, you'll have to wait for it to be sent. Also if you have selected to answer SQ/SA, you'll be able to reset your password after the answer has been confirmed.
Method 2: Set up by a Cable Provider
Step 1: Try finding your MSN email information by looking at the packet of information the cable provider left behind. It should have your new email address.
Step 2: Check a copy of your bills. At times, the email address might be listed on the bill.
Step 3: Log into all your email addresses, if you have them, and check your inbox for an email from MSN that tells you that an account has been created.
Step 4: Call the MSN Company or the cable company that set up your email address and explain to them that you don’t have your MSN email or password. The technical team may have it on file.

Note: Sometimes, you may be unable to find your MSN email or reset the password using the methods shown above. If you're in such a situation, it's recommended that you contact MSN Customer Support. But the process of resetting your password isn't guaranteed unless you have your email address, and Customer Support can verify ownership of your account.
Part 2: The Simplest Way to Recover Email on Mac and Windows
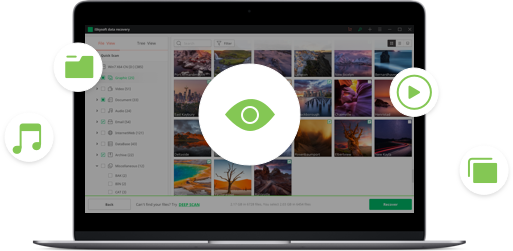
You may have lost your email due to accidental formatting of your files, after reinstalling windows, a virus infection that ruined the whole partition or due to any other data loss scenario. We recommend that you download iSkysoft Data Recovery for mac (or iSkysoft Data Recovery for Windows)- the perfect software for recovering emails both on Mac and Windows. This smart and highly efficient program provides you with the safest and most powerful solution to retrieving not only emails, but also documents, images, videos, audio, etc.
Why Choose Recoverit (IS) for Email Recovery
- It can retrieve lost files due to a variety of data loss causes.
- Helps you recover virtually all files from all devices, including your computers drive, external hard drive, etc.
- It comes with an attractive & intuitive interface that makes it easy to use.
- The software features a "Deep Scan" mode that scans your device deeply and completely, increasing the lost data recovery success rate.
Step-By-Step Guide on How to Recover Lost Emails on Mac
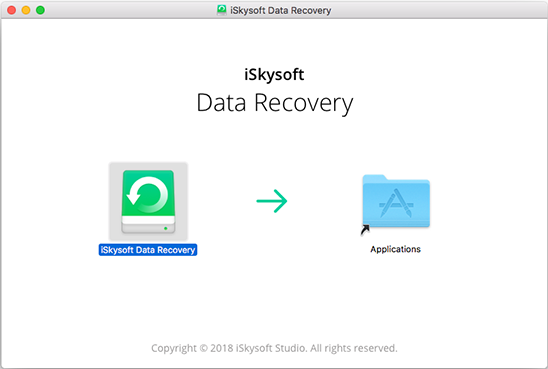
Step 1 Download and Run the Software
Note: You had better not install Recoverit (IS) for Mac on the original drive from where you lost your email. This helps you avoid overwriting your data, which can result in permanent loss of your files.
Get another Mac computer and download the software. Install it on any USB flash drive and perform email recovery with the software installed on the USB flash drive. Alternatively, you can use your computer to download the software and then install it on a different disk instead. After a successful installation of the software, you can launch it.
Step 2 Select "File Types" to Recover
The primary software interface includes six tabs that represent the file types you may want to recover- "Photo", "Audio", "Video", "Email", "Document", and "Others". Now just click the "Email" tab and then select the "Next" button. If you want to restore all your lost data, just check the "All File Types" box.

Step 3 Select the Target Location
In the next window, you’ll see locations to be scanned categorized into 4- parts, "Common Location", "External Removable Device", "Hard Disk" & "I Can't Find My Partition". Just find your target location to be scanned and then click the "Start" button to begin the scanning process.

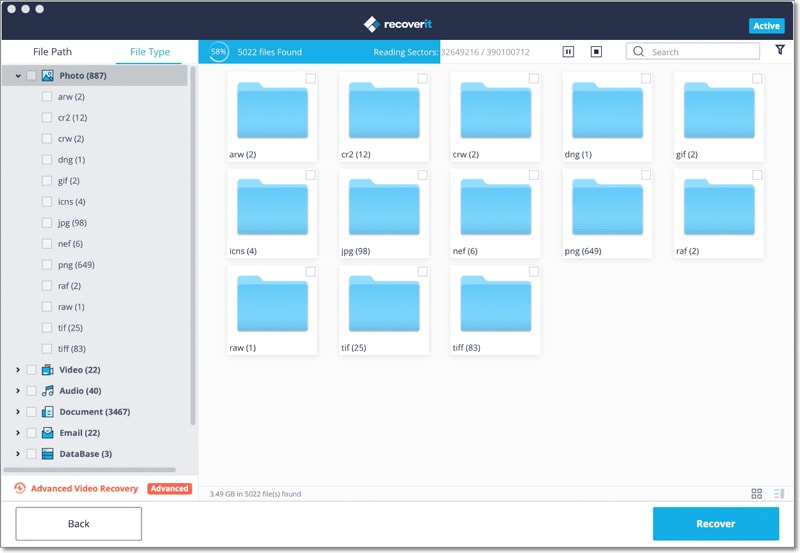
Step 4 Scan and Recover Your Email Using the Following 2 Ways
A. Quick Scan & Recovery
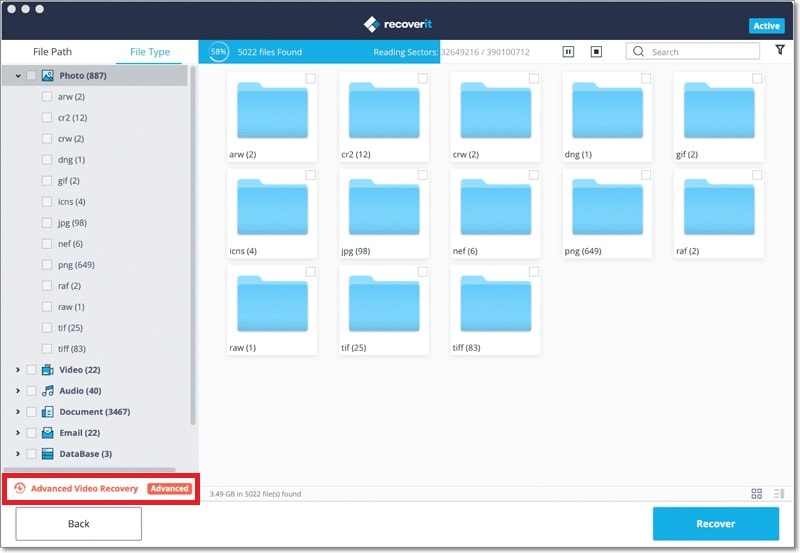
The "Quick Scan" option takes a few seconds to finish the scanning process. When it's completed, the found files are displayed on the software interface.
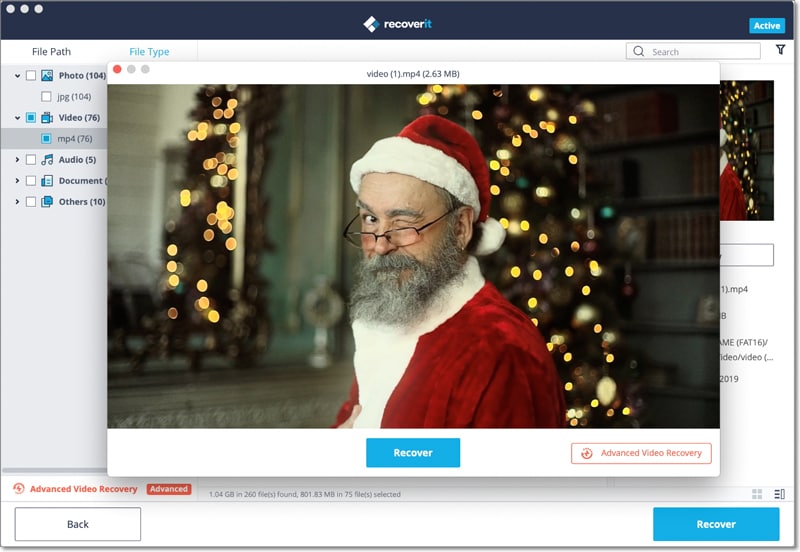
- On the same window, from the left, you'll find the "Files View" and "Tree View" options. "Files View" displays your scanned files by file types, while "Tree View" arranges your scanned files based on the exact file location. Click on each item to preview your files before recovery.
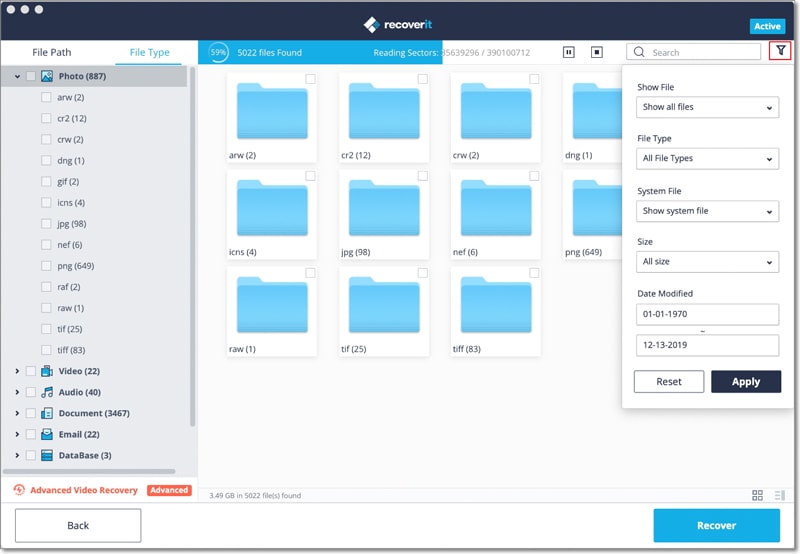
- Use the "Search" as well as the "Filter" options at the top of the window to find your files faster and better. Also, the 3 little icons at the upper right corner give you a choice to change the way your files are displayed.
- Once you find your wanted data-Emails, mark them and then hit the "Recover" button to save them.

B. Deep Scan & Recovery
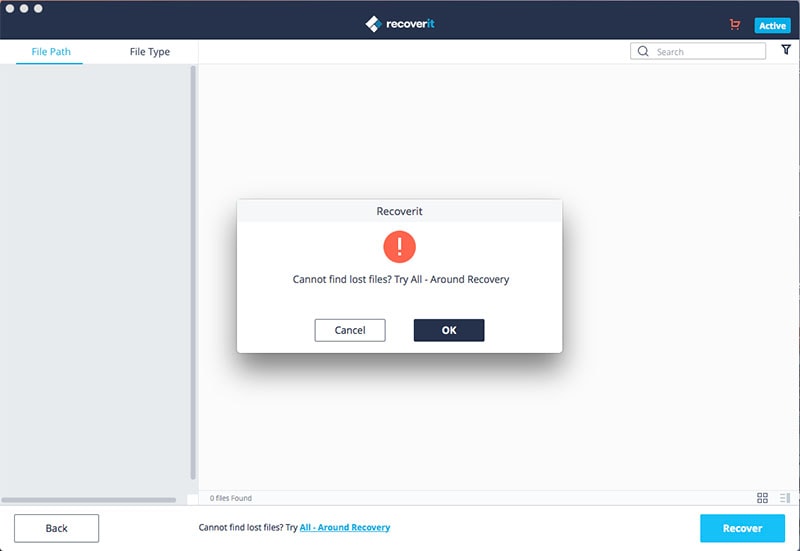
If you have performed a quick scan and cant find your wanted data-emails in the scanning results, you can use the "Deep Scan", a scan mode that searches for your files deeper. There are 2-ways to trigger this mode.
- If Recoverit (IS) for Mac doesn't find your lost files or emails in "Quick Scan" mode, a pop-up window appears suggesting that you use "Deep Scan" mode. Just click the"OK" button in the pop-up window and enter the "Deep Scan" mode.
- There is an option "Can’t find files, use Deep Scan" located at the bottom of the software’s window. It can be used to directly start the "Deep Scan" mode, which takes more time than the "Quick Scan" mode, but finds more lost data.