


The hallmark of Mac computers and other devices is that they are incredibly user friendly. The idea is that users everywhere should be able to simply pick up the device they want to use and begin using it right away. Whether it’s an iPhone or a Mac, Mac devices are very user friendly, allowing users to find what they are looking for within a few taps. iPhones and the Mac-based program iPhoto is no exception.
Images can take up a lot of memory space, regardless of the device being used for storage. People regularly move information from their iPhones to their Macs on a regular basis in order to free up extra space on their iPhones to take video or other images. However, when iPhone users first begin to get comfortable with their iPhones, they may question how, exactly, to transfer the information over.
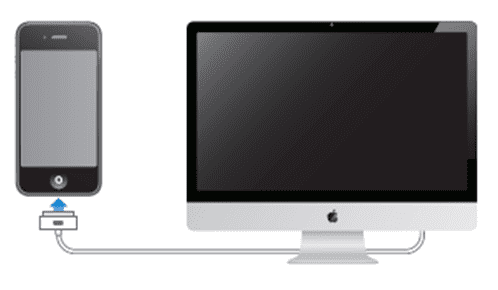
When your iPhone is plugged into the computer, you will find that there are several apps that open immediately. iTunes and iPhoto should be two of those apps.
iPhoto’s main screen will immediately bring up the photos that you have saved on your iPhone right away.

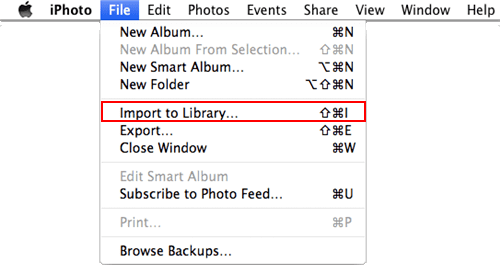
This will copy the images from your iPhone to iPhoto and, once the images have been copied, give you the option of deleting them from your phone once they are deleted.
Advantages:
One of the biggest advantages to this approach is that everything opens automatically and it is simply a matter of going under a couple of menus to find the “Import to Library” option. It couldn’t be simpler. In addition, the question about whether or not the user wants to delete the images from the iPhone when the images have been imported to iPhoto ensures that the user doesn’t have to go through the phone and delete images individually. It all happens in one foul swoop, or so it would seem.
Disadvantages:
One of the biggest disadvantages to this approach is that not every Mac user has iPhoto. While iPhoto does come standard on all new Macs, some Macs may have been bought used with everything wiped off that wasn’t regularly used. That means this approach could cause some issues for those who do not have iPhoto.
Thankfully, most Macs do have iPhoto pre-installed, so the approach to importing photos from iPhones to iPhoto sounds simple, doesn’t it? In truth, it is. That is why iPhoto has become a very user-friendly program for Mac lovers everywhere. Much as iPhone cameras are becoming more and more effective and clear, it is important to realize that there are other ways in which photos can be transferred from iPhones to Macs everywhere.
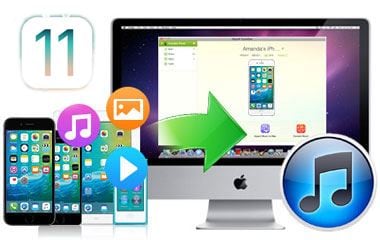
One of the most effective ways of transferring photos from your iPhone to your Mac would be by using a specialized, user-friendly software program called dr.fone for Mac.
Every new software package has its challenges at first glance. dr.fone, for instance, does not look much like iTunes, so Mac users may feel a little intimidated at first. However, dr.fone is a very user-friendly program that allows users to transfer a range of media from their iPhone to their Mac fairly easily.
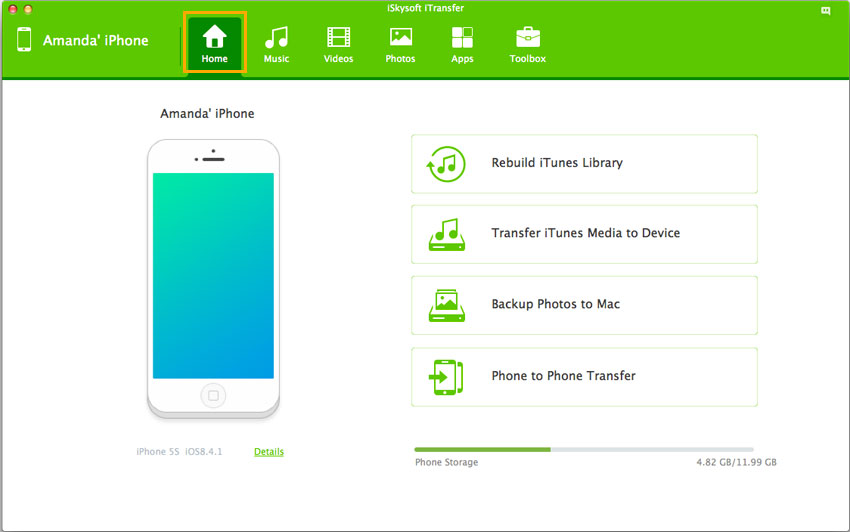
Like using iPhoto or iTunes, you need to plug your iPhone into your computer in order for the computer program to access your iPhone. dr.fone should open in fairly short order.
Step 2. Select the photos you want to transfer from iPhone to Mac
Click on the “Photos” tab, and this will allow you to access the photos that are on your iPhone. Then choose the photos you want to transfer to your computer, and click on the “Export” button on the top of the window.


