Duplicate contacts on your iPhone can cause your contact book to look disorganized or make it hard for you to access a particular contact when you want to make a call. To make sure that your contacts are properly organized, you need to consider merging them. So how to merge contacts on iPhone? No worry! Below are multiple ways to do this, so it should not be hard for you pick one method that can help you merge the contacts with ease. Whether the contacts duplicated by accident or from something else, you can still be able to merge iPhone contacts and have a properly organized contacts book that you can access with ease.
- Part 1: How to Merge Contacts on iPhone from iCloud
- Part 2: How to Merge Contacts on iPhone to Gmail
- Part 3: How to Merge Contacts on iPhone and Mac
- Part 4: How to Merge Contacts on iPhone and iPad
- Part 5: How to Merge Contacts Using Link Contacts on iPhone
Part 1: How to Merge Contacts on iPhone from iCloud
One of the ways that you can use to merge contacts on your iPhone is using iCloud. The following is how to do it.
Step 1: First, you will need to go to iCloud.com and then sign in using your Apple ID.
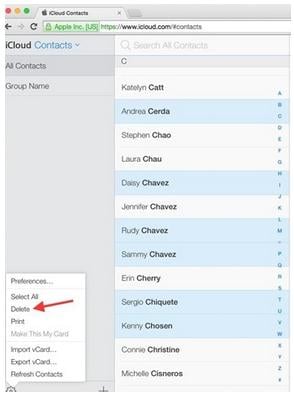
Step 2: Once you have signed in on iCloud.com successfully, go to the “Contacts” app and then hold down “Ctrl” if you are using Windows operating system or Command if you are using a Mac PC.
Step 3: After that, select all the duplicate contacts that you want to get rid of.
Step 4: Once you are ready, you can press the “Delete” key on your keyboard to start eliminating the contacts. You can also click on the gear icon that is found on the bottom left of the screen and choose “Delete” from the menu.
Step 5: A pop up window will come up asking you to confirm if you want to delete the selected contacts. Click on “Delete” if you still want to get rid of the contacts.
Part 2: How to Merge Contacts on iPhone to Gmail
You can also merge contacts on your iPhone using Gmail. The following is what you will need to do if you choose this method.
Step 1: First, you will need to backup your iPhone for security purposes.
Step 2: And you will need to attach your iPhone to your PC and then go to iTunes and choose the Info tab.
Step 3: Next, you will need to check “Sync Contacts With” and then choose “Google Contacts” in the drop down menu.
Step 4: Now click Sync. If you are prompted to enter your Gmail sign-in information, do so and then proceed to the next window. You will see the number of contacts to be added, modified and deleted.
Step 5: After doing that, click Sync. If you are prompted to enter your Gmail sign-in information, do so and then proceed to the next window. You will see the number of contacts to be added, modified and deleted.
Step 6: After that, you will need to click on “Find and Merge duplicates”. Once you do that, all redundant entries will be located by the scanner and their links will be displayed for more details.
Step 7: Click “Merge” to combine the duplicates.
Step 8: And then review the contact list to see if there are still any duplicate entries. It there are, you can merge them manually by going to the main Contact list and then clicking on More Actions, and then Merge Contacts.

Part 3: How to Merge Contacts on iPhone and Mac
To merge contacts on iPhone and Mac, you will need to use the Contacts app on your iPhone or Mac PC. The following is what you will need to do.
Step 1: Open the Contacts app on your iPhone or Mac. You can find it in Applications.
Step 2: After that, you will need to pull down the Card menu and then choose Look for Duplicates.
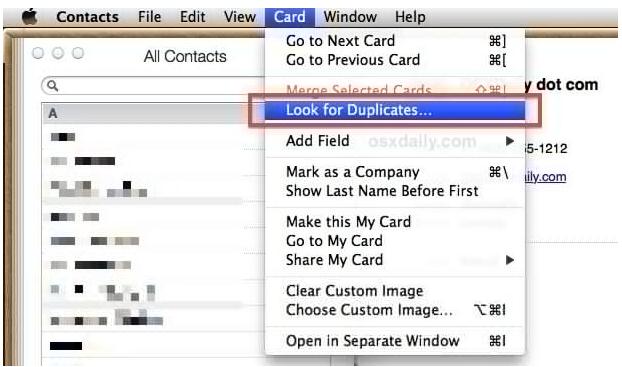
Step 3: If duplicate contacts are found, click “Merge” to combine them.

You can also merge duplicate contacts on iPhone and Mac PC as follows:
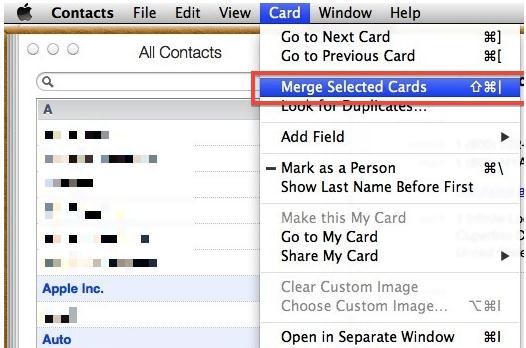
1. Choose two or more contacts that you would like to merge by command+clicking them.
2. Once the contacts have been selected, you simply need to pull down the Card menu and then choose Merge Selected Cards. The individual contacts are referred to as cards.
Part 4: How to Merge Contacts on iPhone and iPad
To merge contacts on iPhone and iPad, the following is what you will need to do.
Step 1: First, you will need to make sure that the device is powered on and unlocked.
Step 2: After that, go to the Home button on the iPhone or iPad and then press it. It is located at the bottom of the screen.
Step 3: The next step will be to tap the Contacts application on your device’s screen.
Step 4: After that, you will need to find the two or more contacts that you would like to merge on the list.
Step 5: Next, you will need to tap on the correct listing, and then click the Edit button that is found on the top-right corner of the device’s screen.

Step 6: Scroll to the bottom of the screen and look for the “Link Contacts” button. It is right above the delete button.
Step 7: Once you have done that, you will need to look for the other contact you want to merge with the contact you just selected.
Step 8: Follow through the last few steps to make sure that you merged the contacts correctly, and then click the “Done” button.
Note: You can also use third party apps such as SmartMerge and ContactClean to merge contacts on iPhone and iPad.
Part 5: How to Merge Contacts Using Link Contacts on iPhone
To use the Linked Contacts feature to merge contacts on your iPhone, the following is what you will need to do.
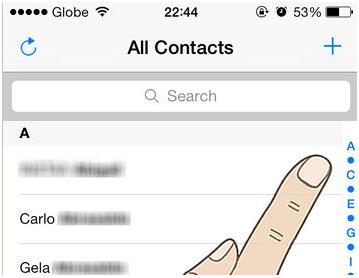
Step 1: Open your iPhone and then tap on Contacts.
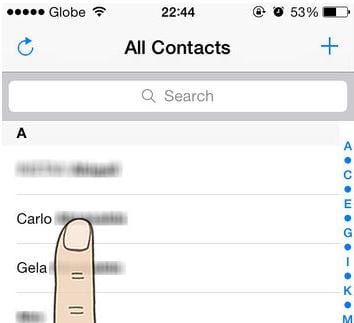
Step 2: After that, you will need to tap on the contact that you would like to merge with another.
Step 3: Tap on Edit at the top right corner of the screen.
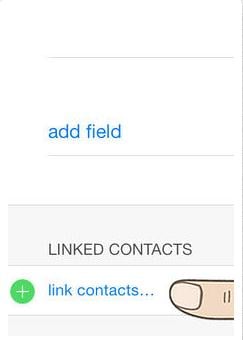
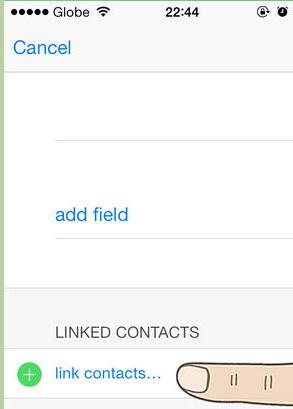
Step 4: Look for “Linked Contacts” at the bottom of the screen and the tap on it.
Step 5: Select the contact you want to merge and then tap on Link.
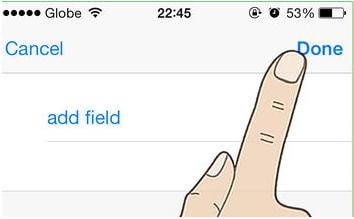
Step 6: After making sure that the contact is added, tap on Done.