Does Adobe have screen recording software?
Yes! Adobe Captivate is a professional screen recording tool which you can use to create information products by recording what is happening on your computer. This is ideal if you want to teach people how to use complicated software such as that used in 3D computer design. The software does a lot more than just capturing your screen. You can add PowerPoint presentations and other smart objects to make an interactive tutorial or course. This is definitely a tool for those who are serious about creating courses in video formats.
- Part 1: Step-by-step Guide to Record Screen using Adobe Captivate
- Part 2: Best Alternative to Adobe Screen Recorder
Part 1: Step-by-step Guide to Record Screen using Adobe Captivate
Adobe Captivate comes with a lot of features geared towards advanced users, but for starters, you can learn how to simply capture the screen of your computer.
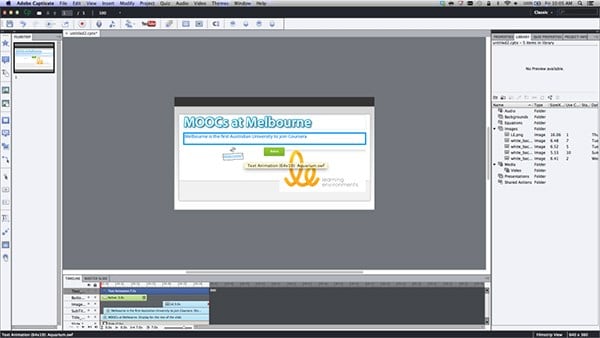
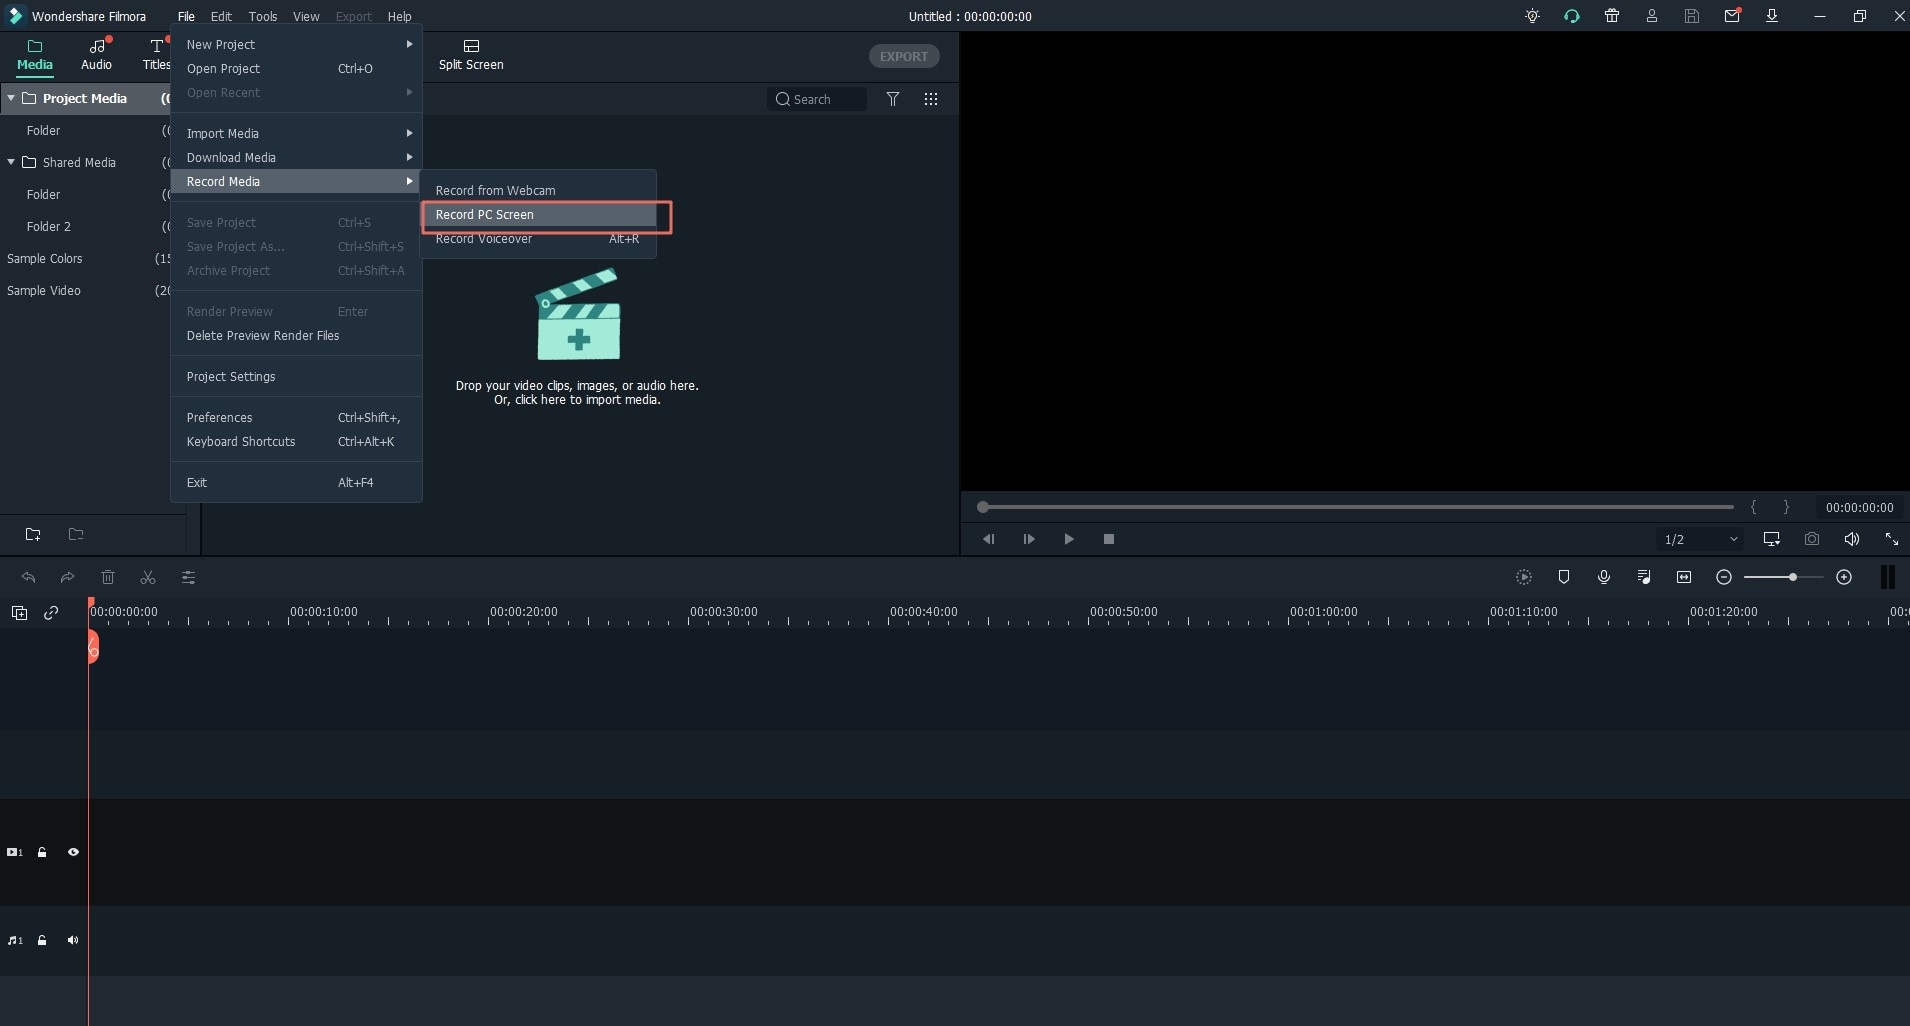
Step 1) Select the recording mode. When you launch Adobe Captivate, choose the “Screen Demo” option so as to record the happenings on your screen. Alternatively, you can click File > Record Video Demo.
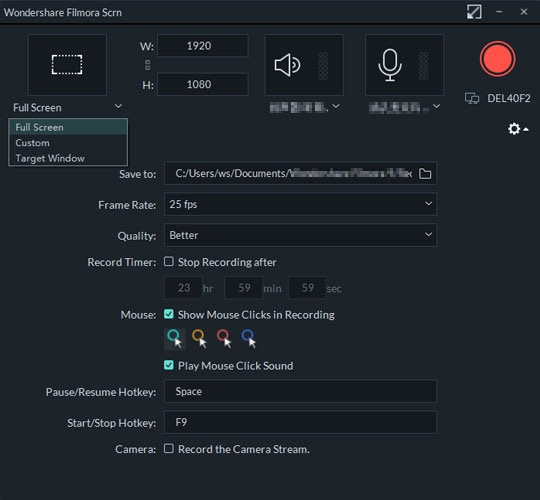
Step 2) Select the recording region. You will be presented with a number of options:
Screen Area – Select this option if you want to record a certain area of your screen.
Custom Size – Choose this option when you want to record a customized region of your screen. You can either choose from a list of preset screen sizes or create a custom region.
Full Screen – Select this option when you want to record the entire screen. The full screen will be your recording area. You can decide which screen should be recorded if you are using a dual screen setup.
NOTE: You can also use the settings to record from a particular application. This is best when you are teaching people how to use the application.
Step 3) Select the recording mode. If you want the window to follow the motions of your mouse, you should allow “Panning”. If not, you will just record the screen where you placed it at the start.
Step 4) Select audio setting. You can record from a microphone or the system audio. Note that it is best to use system audio if you are recording video from the Internet. If you are recording a chat, you should enable both the microphone and system audio.
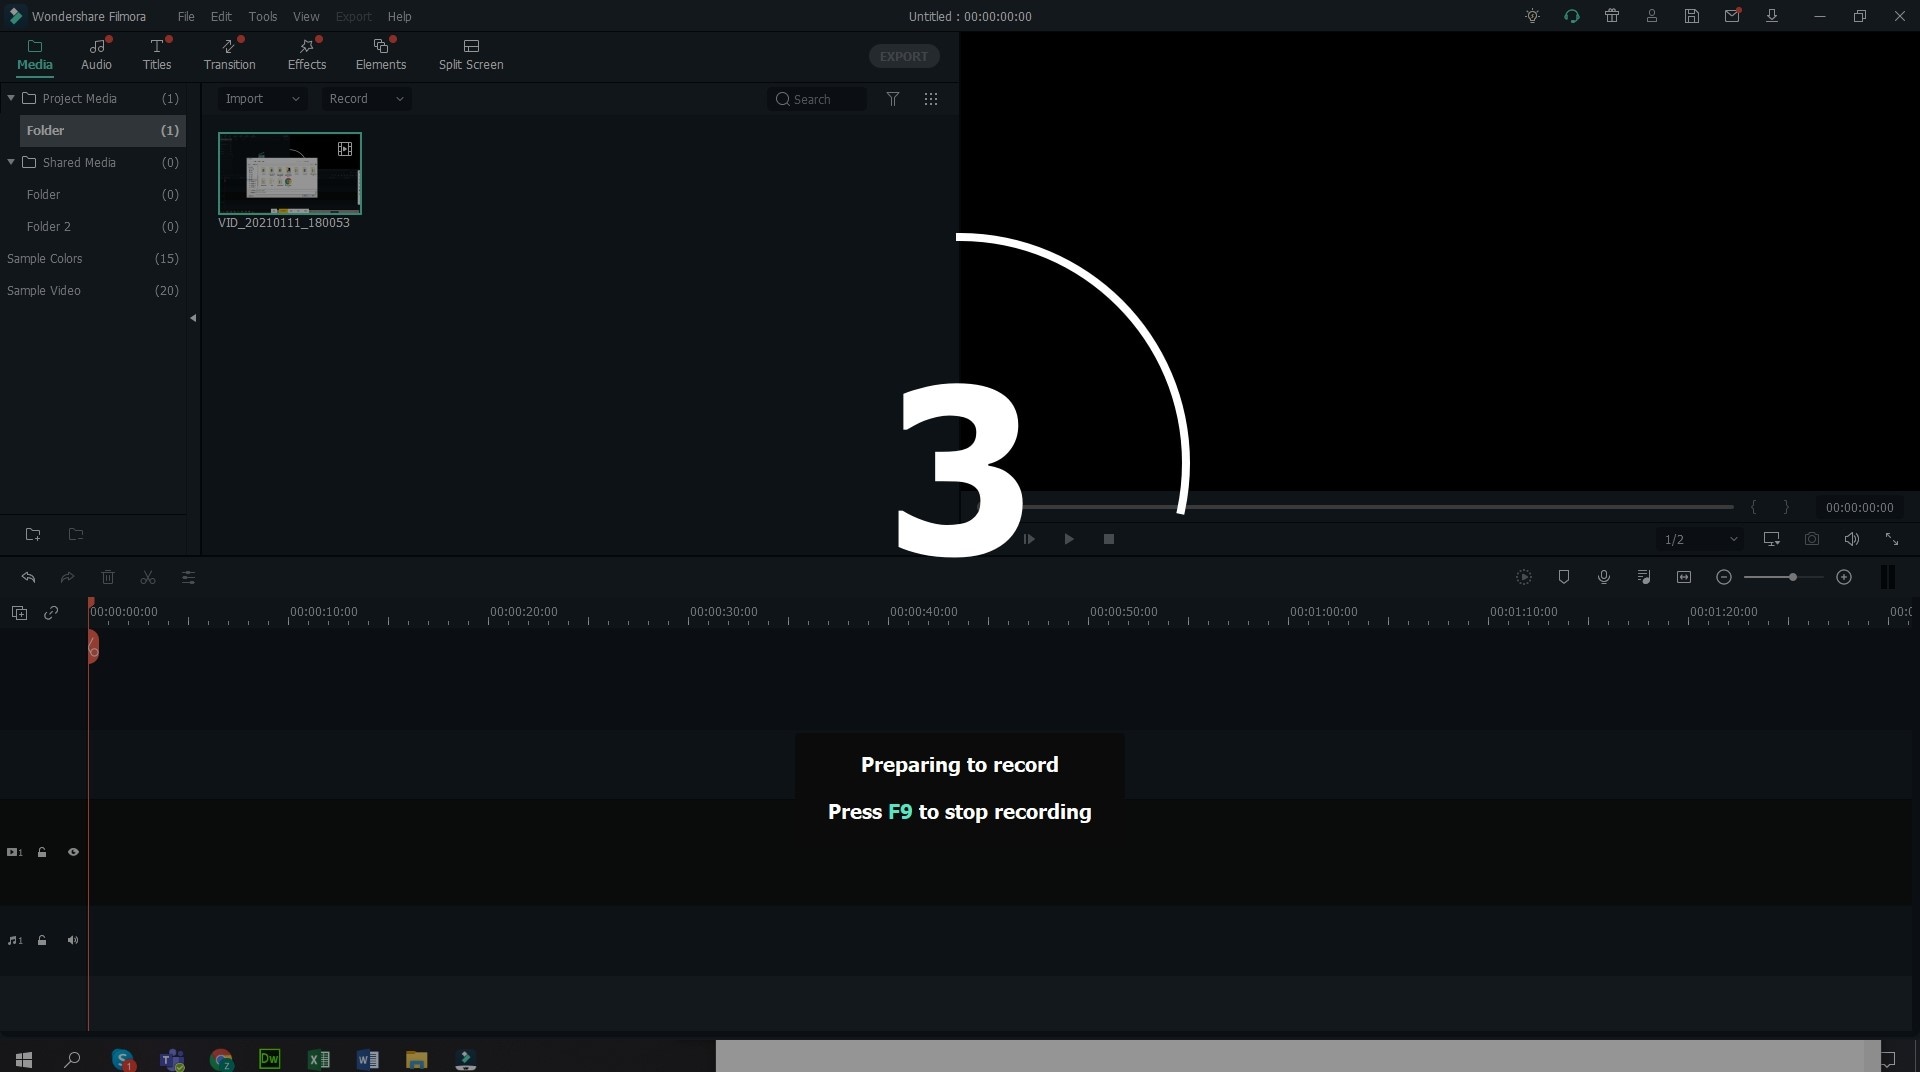
Step 5) Start your recording. Simply click on the “Record” button to start your recording.
Step 6) End the recording. Stop the recording by hitting the “End” key on your keypad. If you are using a Mac, use Cmd + Enter to stop the recording. The video that you recorded will play back in preview mode. You have the option of publishing the video to the Internet, or saving it to your computer. You can also edit the video before you publish or save it.
Part 2: Best Alternative to Adobe Screen Recorder
Although Adobe Captivate is full of several features, it may be too complicated for someone who wants to make a simple recording of their screen to share. Filmora Video Editor is a great alternative for Adobe Captivate.
Key Features of Filmora Video Editor
- Record high-quality video. Filmora Video Editor can record almost any type of digital video.
- High definition video – You are able to create videos that will be fully clear, showing all the details on your screen; your viewers will be able to follow better.
- Control of recording area – You can opt to record your full screen or select the area that you want to pay particular attention to.
- Several recording sources – You can record your screen, or record videos from other sites on the Internet. This is usually best for streaming sites which so not allow you to download video.
- Audio recording – Select recording from system audio or microphone; you can also record from both.
How to Record Screen on Windows PC using Filmora Video Editor
Click on the installer after you have downloaded it, and the program will launch after the installation is complete. You can also start it from the Windows Start Menu.
Step 1: Select the recording region
Click and drag the mouse to select a region of your screen, or let the application record the full screen.
Step 2: Make your audio settings
The settings of the audio recording will depend on what you are recording. If you are recording a chat, then you should enable both system and microphone audio. If you are recording streaming video, then simply use the system audio. If you are creating a demonstration video, use the microphone; you can use both if the demonstration is a game demo, where you need system audio for the game audio and the microphone for recording your instructions and thoughts.
Step 3: Record the video
Click on the “Record” button when you are satisfied with your video and audio settings.
Click on the “Stop” button when you are through with your recording. You can then edit the video or save it as it is. The video will be saved in .WMV format, but this can be converted using a video converter.