


Split-screen videos are taking the internet by storm, and so is the art of creating them.

Are you looking to create engaging videos on your Android or iOS device? Do you want your videos to be more attractive and unique? Well, VSDC has the solution! VSDC app is a powerful video editing software that lets you easily create content videos by quick drag-drop action.
It also includes special effects and audio calibrations to help you spice up your video. With VSDC, you can quickly turn your photos and videos into creative works of art and share and engage with your audience.
That being said, let’s take a closer look at how you can use VSDC to edit your videos and make split-screen content. We will also go through several troubleshoots so you can merge your videos without any inconvenience.
Part I. VSDC Basic Editing Skills
Before starting your journey with VSDC and creating content videos, you need to understand a couple of things. These are techniques that will set you up with VSDC:
How to Cut & Trim a Video in VSDC?
STEP 1: Import the Video Footage For VSDC
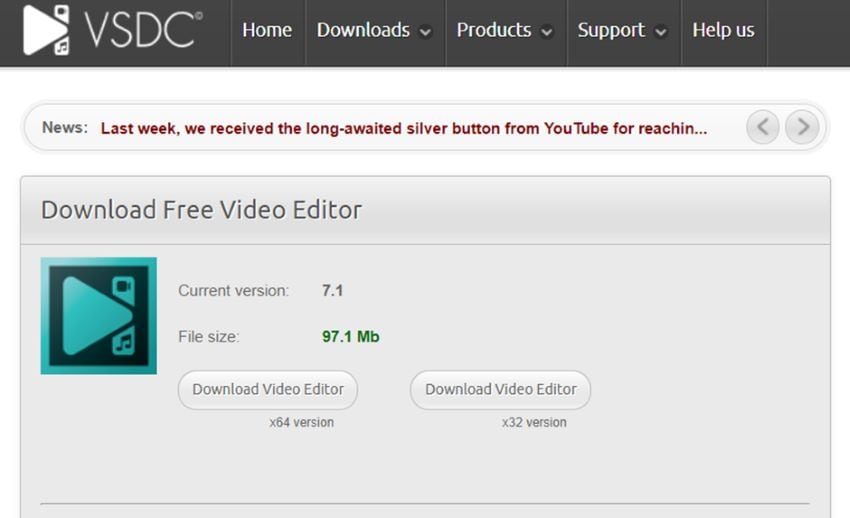
1) First, go to their official website and download a copy of VSDC for your system.
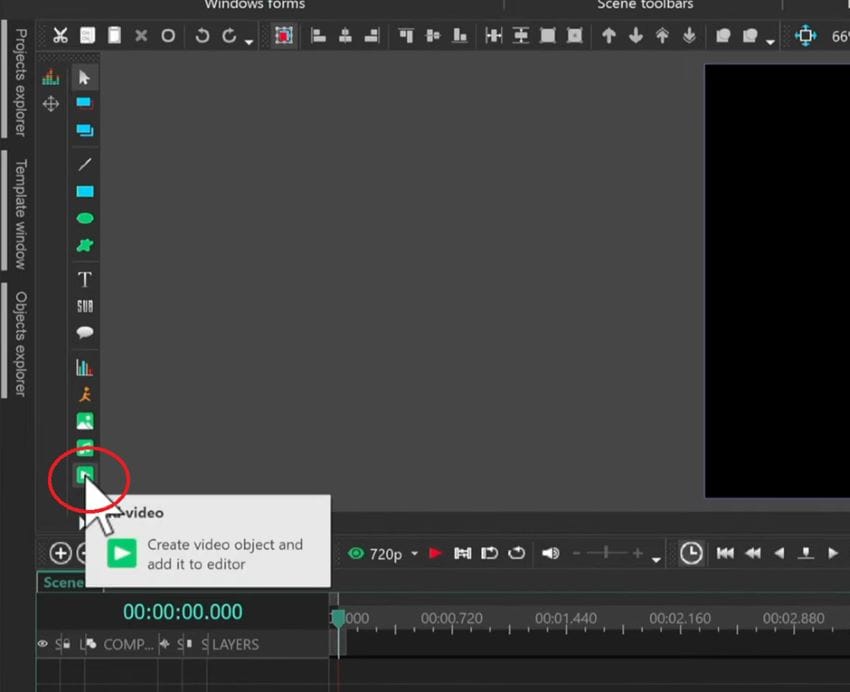
2) Now open the program, select a new project and click on the “Add Video” button located down the corner. After that, find the video clip you want to import and hit “Ok.”
STEP 2: Use the Cut, Trim & Copy Feature from the Toolbar
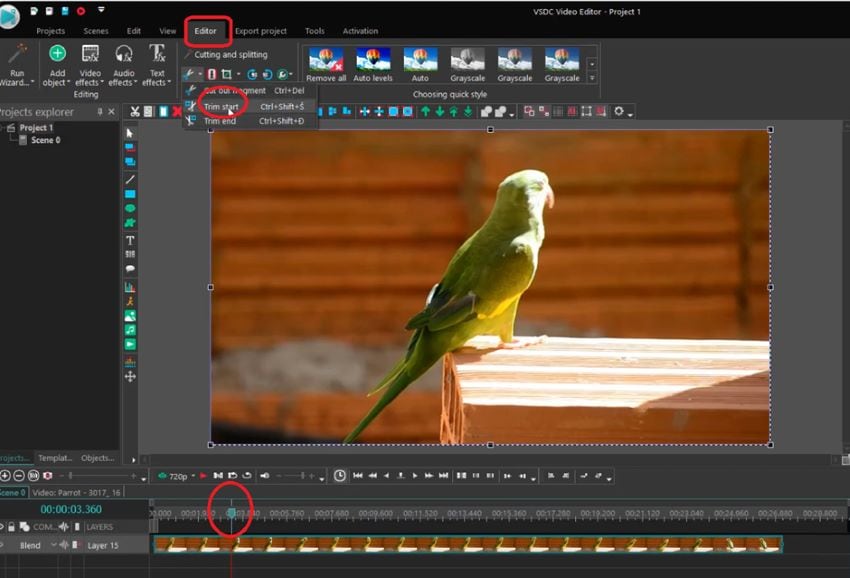
1) Once your video has been uploaded onto the timeline, move the cursor to the required position and go to “Editor.” After that, select the Trim menu and choose “Trim start.”
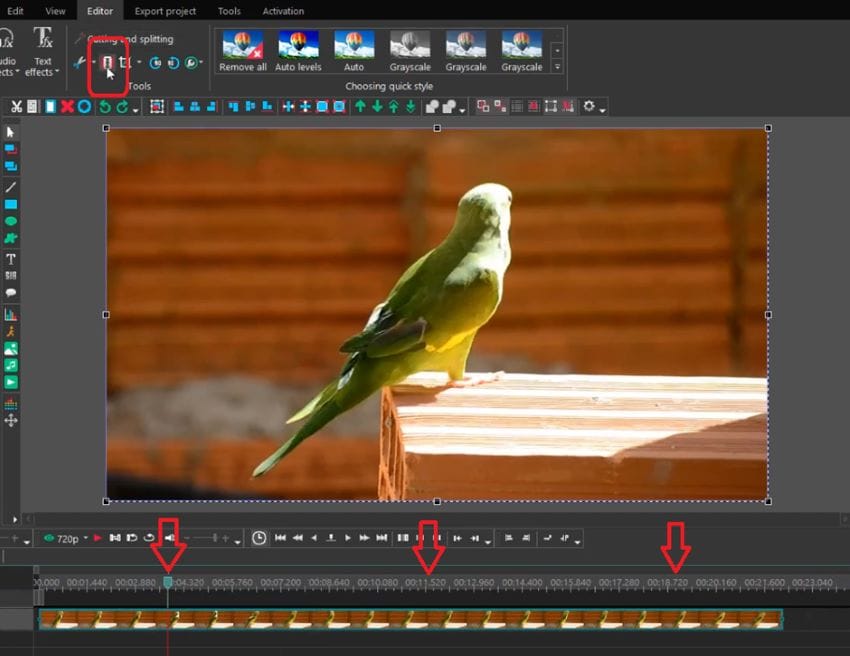
2) You can also use the Trim function by positioning your mouse at each end of the clip and moving it to the far side.

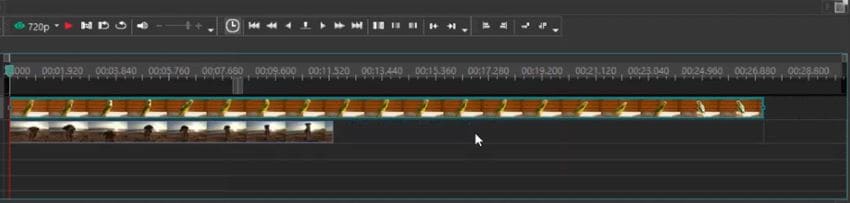
3) To cut videos, move your cursor to the preferred position and select “Split into parts.” This option is usually located right next to Trim.
With each cut, your video will be split into many parts
How to Split-screen in VSDC?
Now that you have a basic idea about cut and trim tools in VSDC, it’s time to move on to the more troublesome aspect of the edit, which is to create split videos. For that, the following guide will be useful:
STEP 1: Drag and Drop Your Clips in the VSDC Timeline
1) Go ahead and upload both of your split-screen clips on the timeline as instructed earlier.
2) Make sure that the video clips are available in a particular order and resolution.
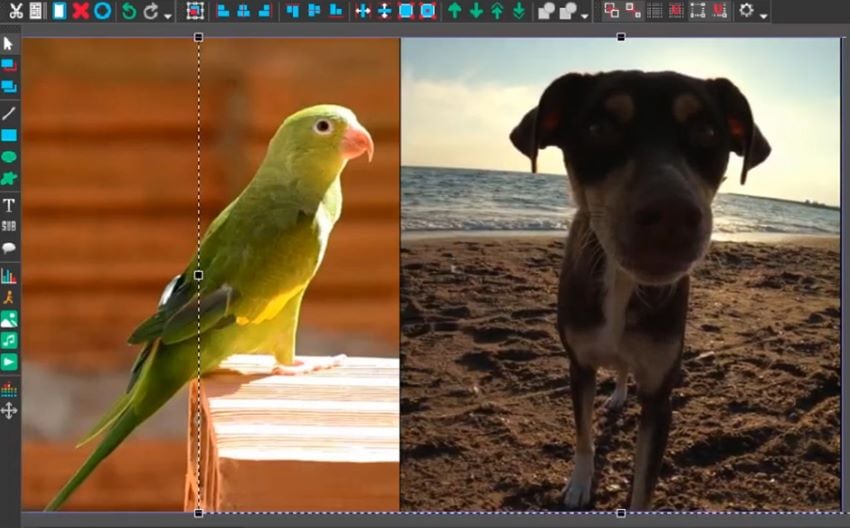
STEP 2: Use the Crop Tool to Separate the Clips
1) Now select the first video, go to “Editor,” and click on the Crop tool. After that, reduce its size slightly from both sides, and move it to the concurrent screen.

2) Apply the same process for the following video, i.e., “Editor>Crop,” and move it close to the original clip.
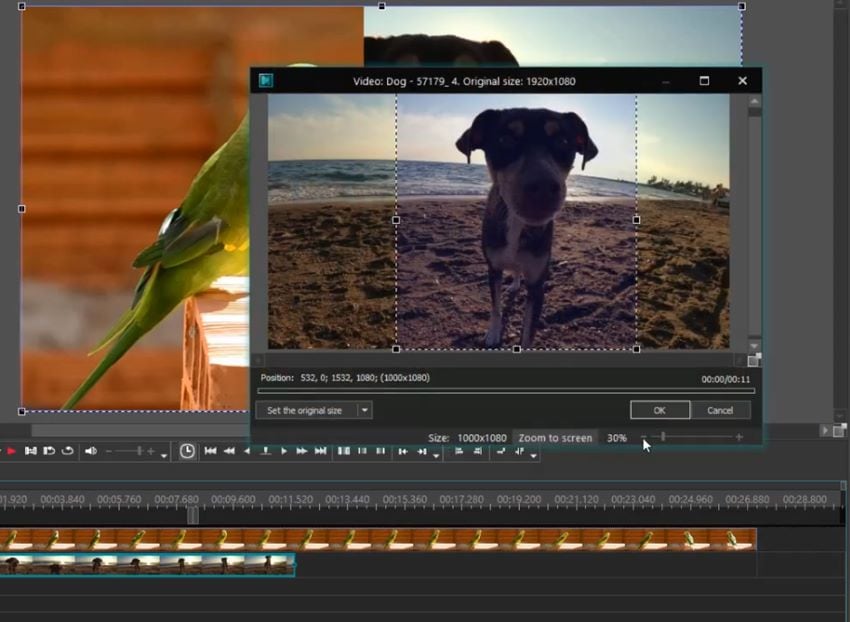
3) And there you have it, two videos side by side. In the end, export them if necessary.
Part II. VSDC Fancy Resources
Like any popular video editing tool, VSDC provides a plethora of transition effects and filters that can make any media stand out on the internet.
How to Use Visual & Audio Effects?
1) To add transition effects, drag and drop your clip onto the timeline and place the cursor at the point where you want it to take place.
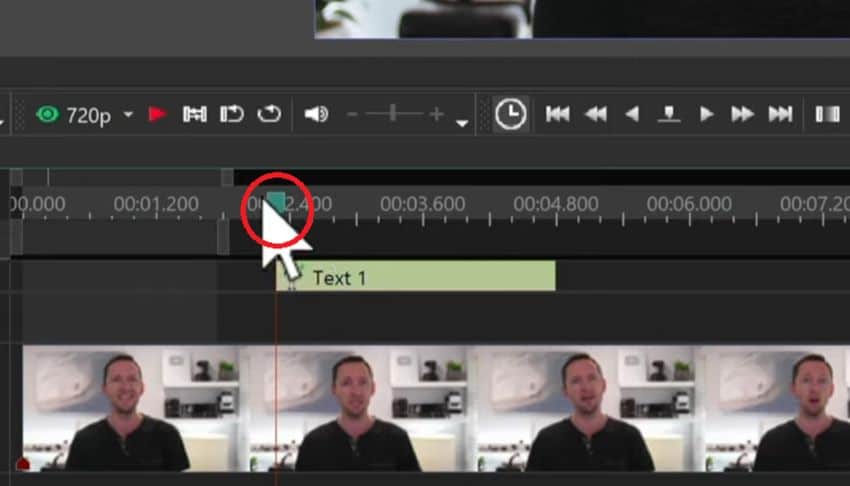
2) Now select the clip, move to the “Video effects” at the top and then open up the Transitions. You will see several options. Select the one that matches your needs.
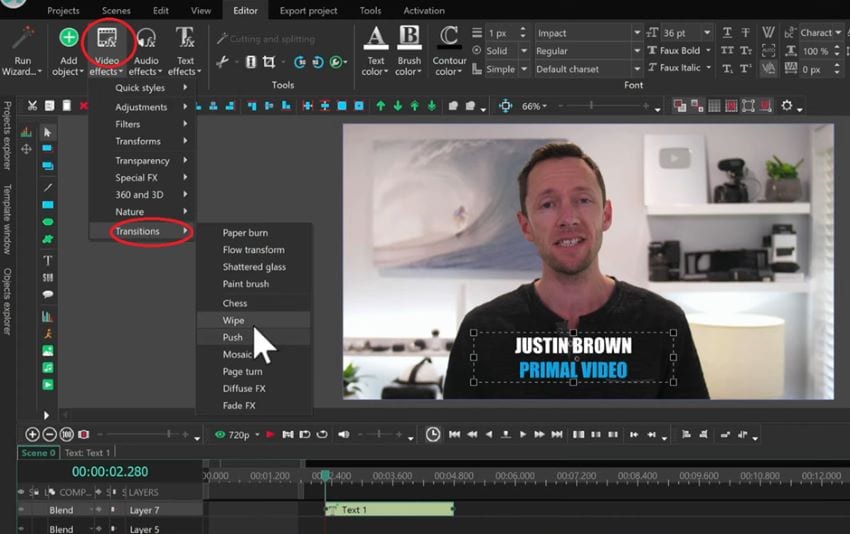
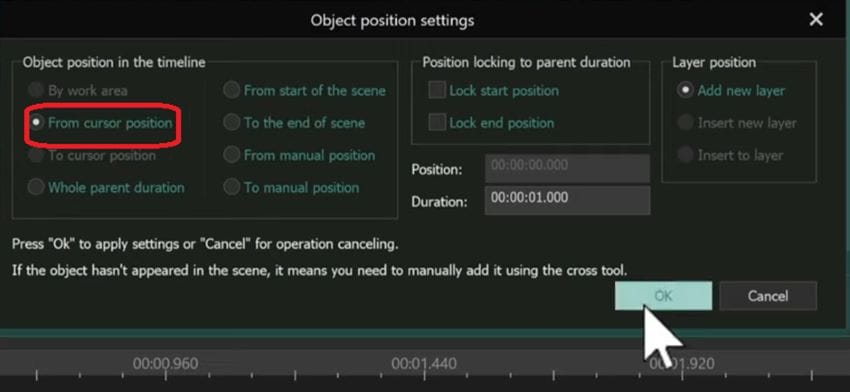
3) A pop-up window will open, asking where you want to apply this effect. Choose “From cursor position” and hit OK.
4) Similarly, to add audio effects, upload your resources onto the timeline and select “Audio effects,” located at the top left corner of the screen.
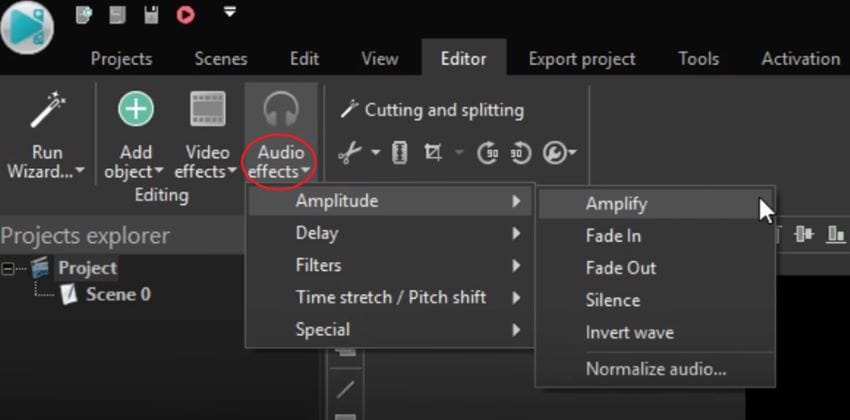
5) VSDC offers quite a bunch of audio effects and filters, each with its use case. So, try out a few of them and see which one seems ideal for your content.
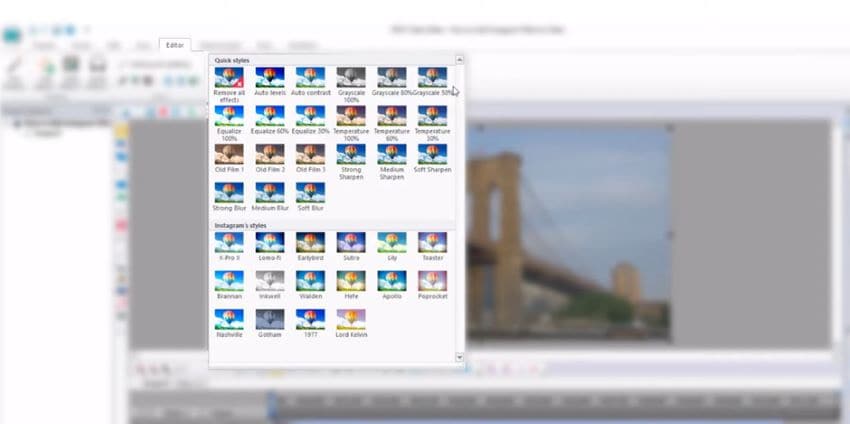
How to Use Instagram Filters?
VSDC doesn’t have any official preset filters for Instagram. However, there is an option in the editing toolbar which will help you create awesome filters and color effects.
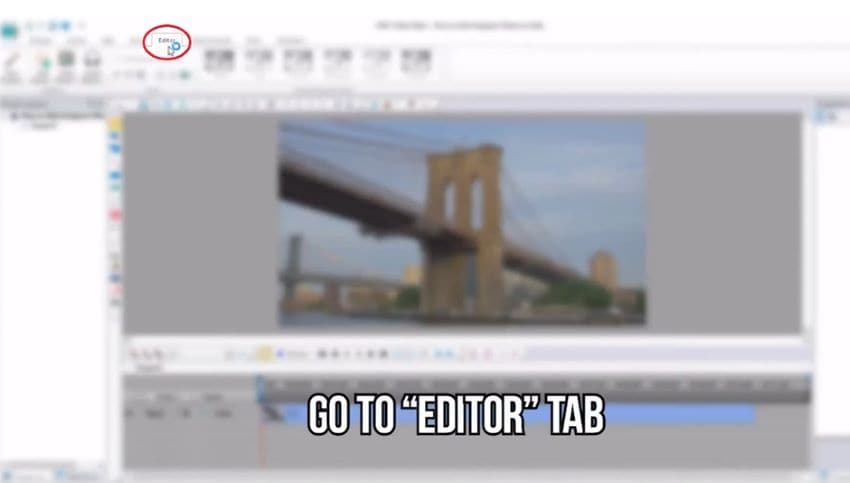
1) To apply these filters, click on your media (video or audio) and open up the “Editing” tab.
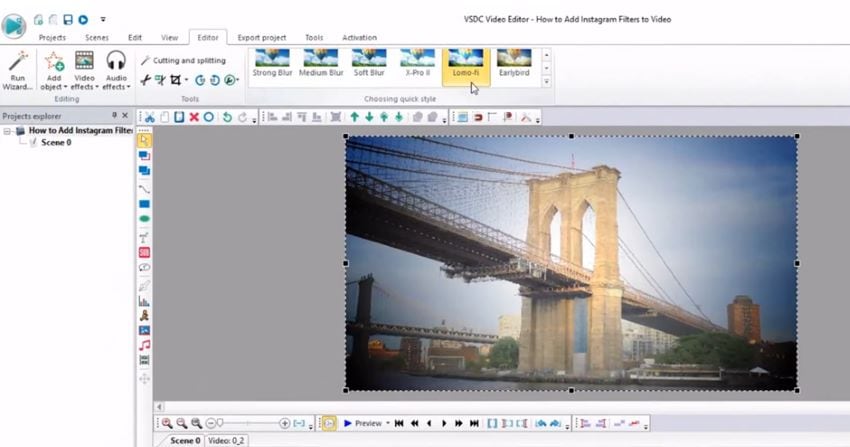
2) After that, choose from the list of color effects and filters that match your post’s mood and ambiance.
3) The filter will be applied; once that’s done, you can export it to the required folder.
Part III. VSDC Troubleshooting - How to Fix VSDC Editing Issues
With the VSDC editing tutorial out of the way, it’s time to address a couple of troubleshoots that every VSDC user might face.
1. Frequent Problems Asked
Q1. How do I fix VSDC preview lag in my project?
Video preview lag issues are common when you are working on high-quality clips. To fix this problem, upgrade your VSDC software to the newest version and head over to the “Options” menu. Now select “Player Options,” which will open up several settings.
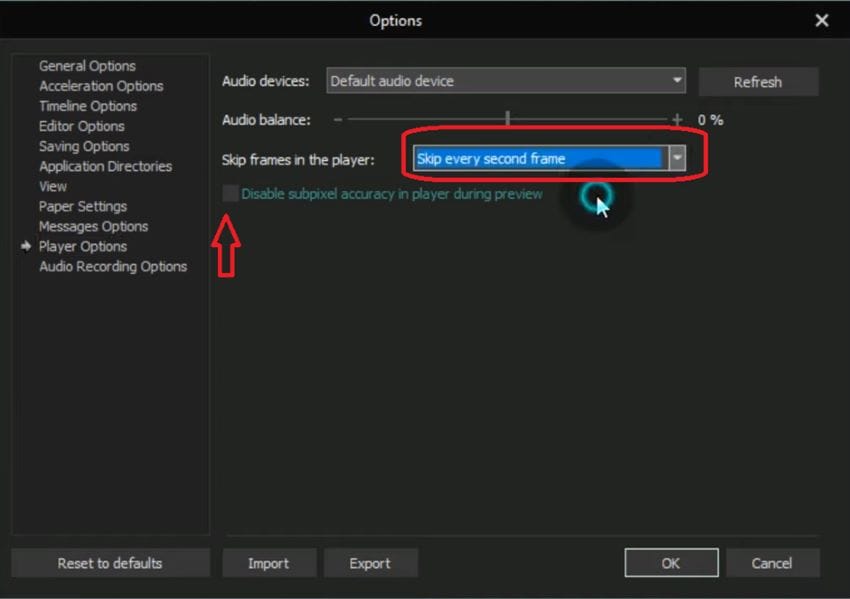
Try using a bunch of Skip Frame options and also disable sub-pixel accuracy. If this doesn’t work, you can also lower your video resolution.
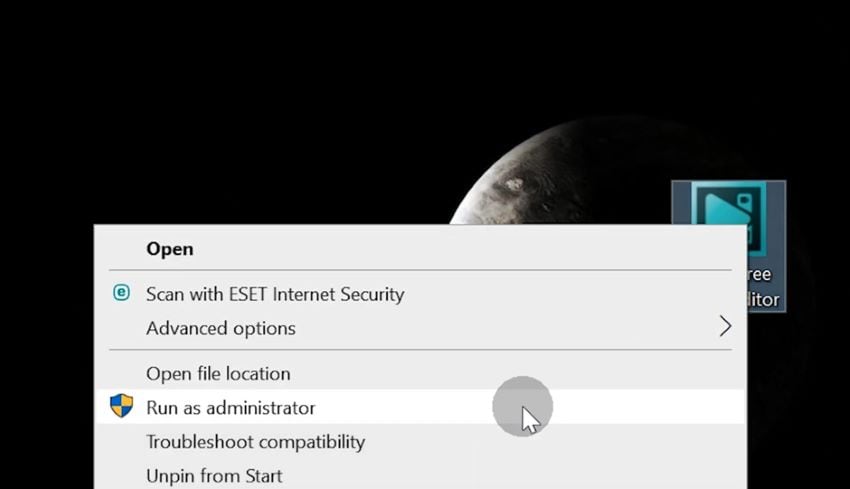
Q2. What should I do if I keep getting errors while exporting files?
If you keep receiving errors while exporting your end clip, then it is advised to change your file name or even the destination folder. A lot of times, your project name matches the file name you are currently working on. This makes it impossible for VSDC to save them in the same place. So, run your app in Administer Mode and replace the directory.
Q3. Can I prevent my videos from flickering in VSDC?
Sometimes when you are recording or editing footage in VSDC, it gets flickered. To fix it, create a duplicate of your clip on the VSDC timeline. Once that’s done, select the “Frame Scale” icon and move the original clip one frame forward.
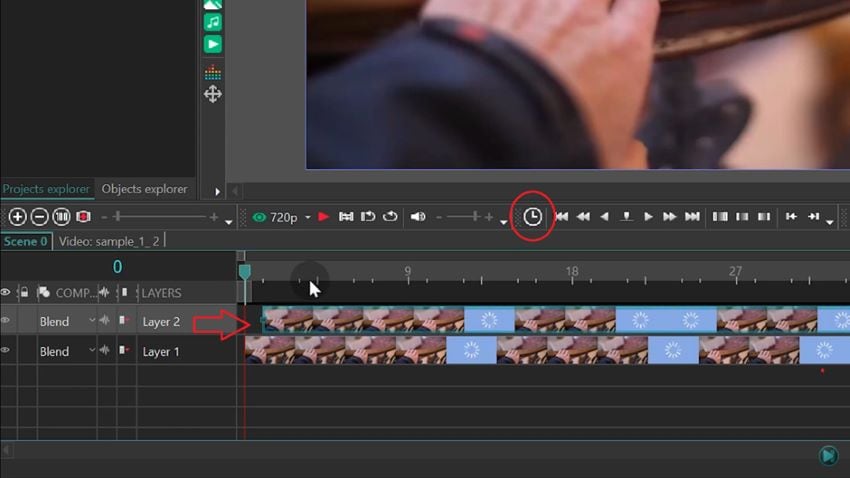
Now reduce the opacity to 50% and hit play. Your clip won’t flicker anymore.
2. An Ultimate Alternative Editor – Filmora
Although VSDC is flexible software, there are no added costs while using it. But when you factor in convenience, it’s not all sunshine and rainbows. Its interface can sometimes feel clunky, and beginners have to invest a lot of time learning about its features and special effects. Not to mention the errors you get while exporting your videos.
But what if there was an editor which was created explicitly for starters and had an attractive interface? Well, this is when Wondershare Filmora truly shines. You will love how easy it is to edit your videos and create video-split content for your platform in this app.
It doesn’t require any technical knowledge, and everything is present right on the main window. Filmora also supports popular operating systems and is even available for mobile devices so that you can get started with your edits.
With this tool, you can merge, split, duplicate and trim your videos taken from a camera or downloaded from the internet.
Recommendation: Filmora Video Editor
- Best video editing software for beginner and semi-professional, that comes with powerful editing skills like trimming, splitting, rotating, editing, etc.
- Advanced video effects like green screen, PIP, audio mixer, etc. can also be found and applied to your video within few clicks.
- 500+ free special video effects to customize and create an awesome movie by yourself.
- 1000+ standalone effects downloading resources to make videos in all kinds of styles.
- Export videos to Chromebooks compatible format with 1 simple click.
PROS:
- Easy to understand Interface
- Edits Require no technical knowledge
- Amazing features and special effects
- Available at affordable prices
- Great User Support
Learn more about Wondershare Filmora here
Conclusion
With this, our VSDC video editing guide is completed. In the end, VSDC is a great editor with a lot of potential and amazing features. If only its interface could’ve been a bit beginner friendly, but other than that, it’s a phenomenal tool. Now, if you really want ease of use, then trying out Filmora is also worth the shot.


