Are you looking for a tutorial on splitting video, audio, or screen in Final Cut Pro? If so, you can't miss this article. In addition, it will introduce an alternative to help you achieve that with simple steps.
- Part 1: 3 Great Video Tutorials of Splitting in Final Cut Pro
- Part 2: How to Crop Video/Audio/Screen with Filmora Video Editor
Part 1: 3 Great Video Tutorials of Splitting in Final Cut Pro
When splitting in Final Cut Pro, you will have the following three options to consider depending on what you are working on:
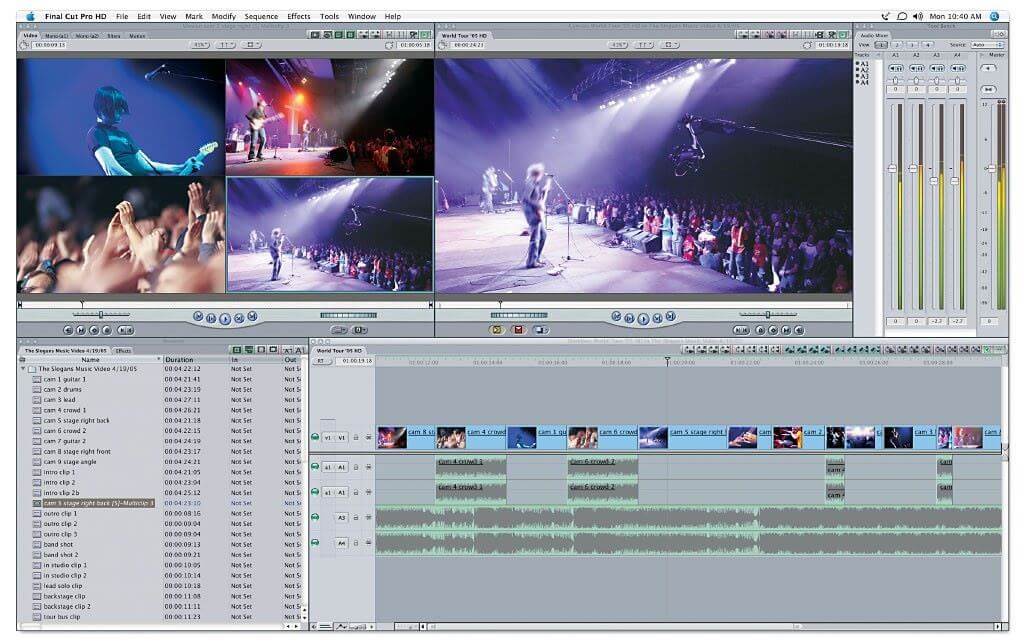
Video - there is a blade tool that Final Cut Pro comes with which you will use to split your videos. You will get this tool from the pop-up menu of the toolbar and you can control it using the "B" key from the keyboard. Then, move skimmer to the specific sections of the clip that you want to split the video before clicking. You will have the choice of splitting one frame at a time or multiple selected frames at once. Whichever of the two you choose; your video will be split successfully.
Audio - you can decide to split your audio edits from the viewer or timeline but the latter is the standard option for video editing. From the timeline, you will be able to see audio files that you are preparing to split and any others imported. Drag the audio file to the timeline and then hold down the option key of your keyboard. Drag the file to mark out points of splitting but make sure no overlaps occur between different files that have been split.
Screen - managing a split screen is one of the easiest things to do with Final Cut Pro when editing video files. There must be a set up of all the files that you plan to use and then move the clip appropriately to determine the exact points of splitting. Make sure you have gotten timing right because that is the backbone of screen split effect. From the timeline window, activate the "split screen sizing" option by clicking and your screen will be split.
Part 2: How to Crop Video/Audio/Screen with Filmora Video Editor
Filmora Video Editor is a top-notch software capable of splitting your audio, screen, or video depending on your interest. The numerous useful features equipped would definitely make your experience unforgettable. This software is not complicated as the interface is clear, well-designed and straightforward. If you have been missing an almost perfect video editing experience, then Filmora Video Editor would prove the ideal tinker tool.

- Filmora Video Editor has an intuitive and total no-brainer interface and consequently less or no user navigation problems.
- The software is capable of splitting your screen/videos/audio with an extremely fast speed with just some few clicks.
- Supports a tone of popular and cross platform audio and video formats such as MP4, MP3, MKV, and OGG just to mention but a few.
- Enables users to import the respective files from online sites including YouTube, Facebook, and Twitter among others.
- Compatible with an array of new hot and popular devices in the market including iPhone, Samsung Galaxy, Huawei, iPad, iPod, and HTC as well as popular operating systems like Mac and Windows.
- Offers several edits options ranging from the basic ones to advanced features and is therefore a good choice for all kinds of users.
How to Split Video/Audio/Screen in Final Cut Pro Alternative - Filmora Video Editor:
Step 1. Upload the Video/Audio Files
Launch Filmora Video Editor in your computer to open the primary interface. Tab “Import” to upload your videos/audios to the “User’s Album”. Also, you can drag and drop your files to the program’s interface.

Step 2. Select split screen preset
Hit the “Split Screen” button just above the timeline. Here you can maneuver through several split screen frame in the library. Select your preference kind and drag and drop it into the timeline. The other option is to the right click on respective preset and from the list of options displayed select “Apply” to add to the timeline.
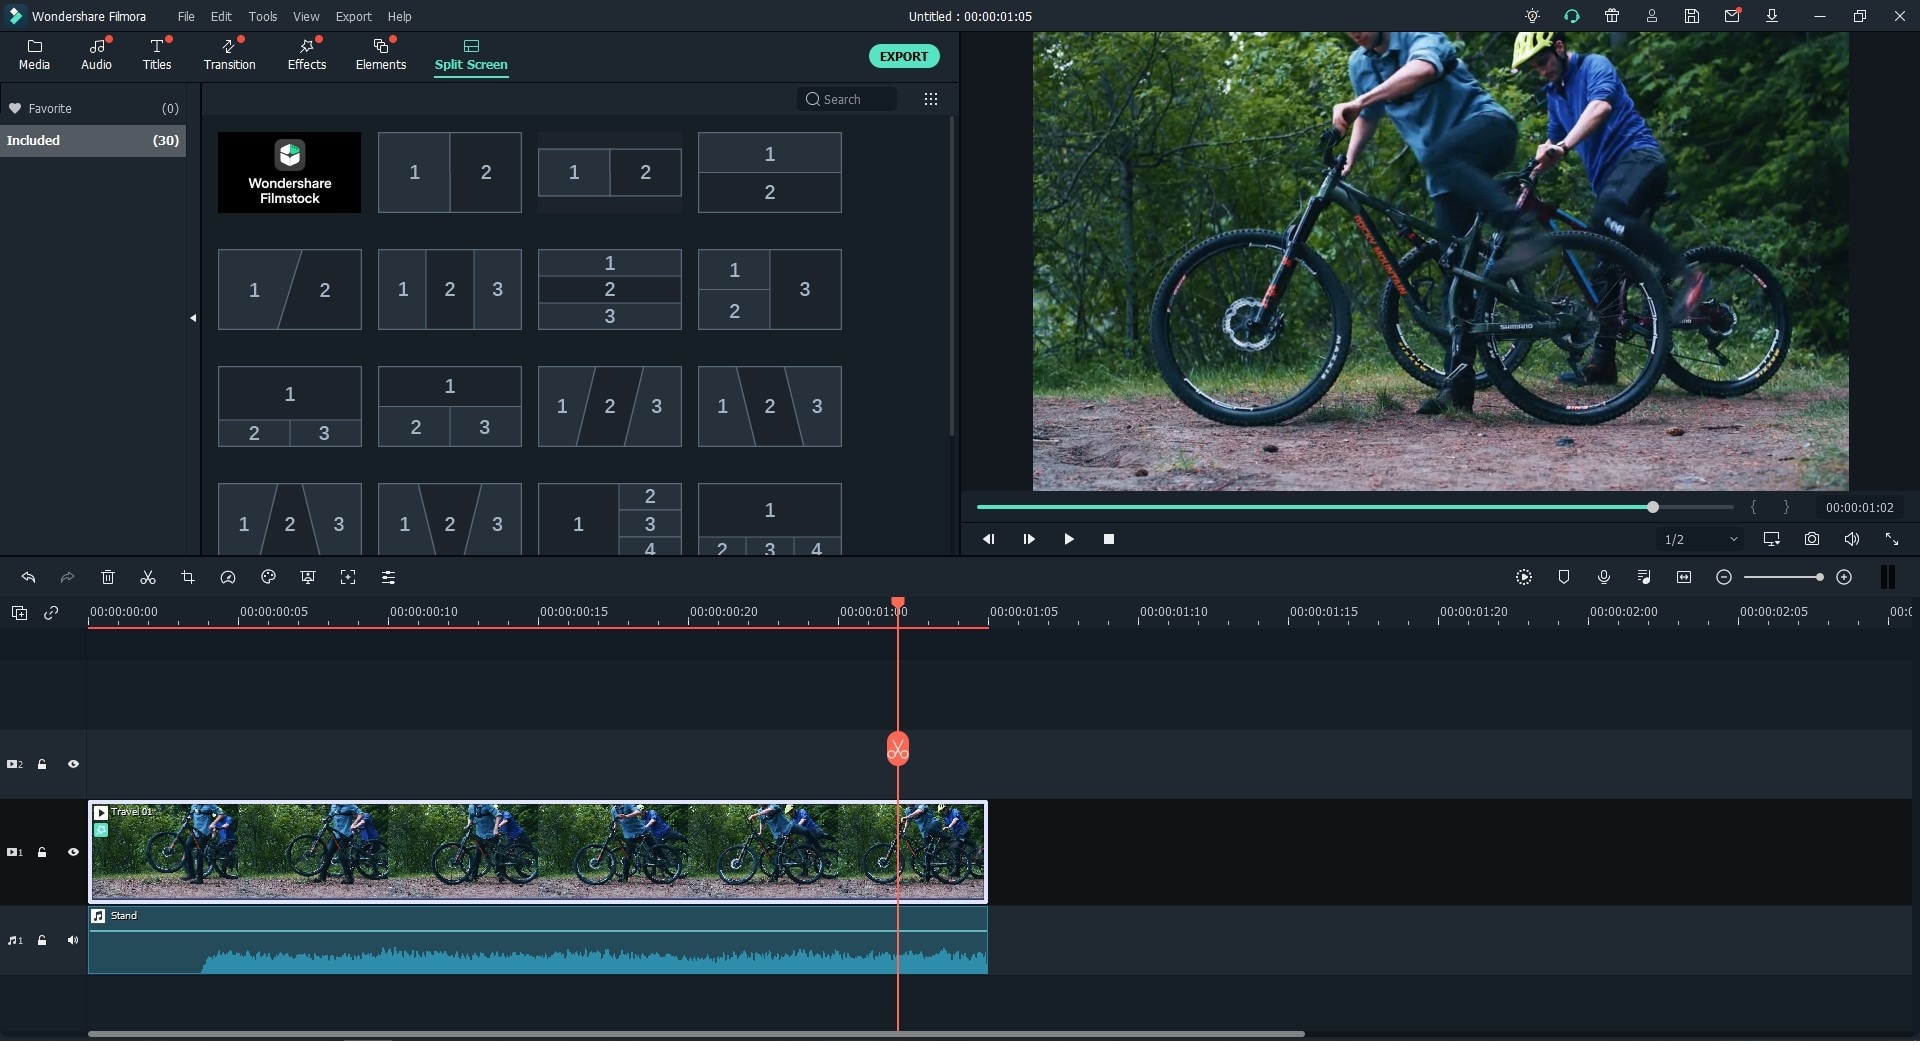
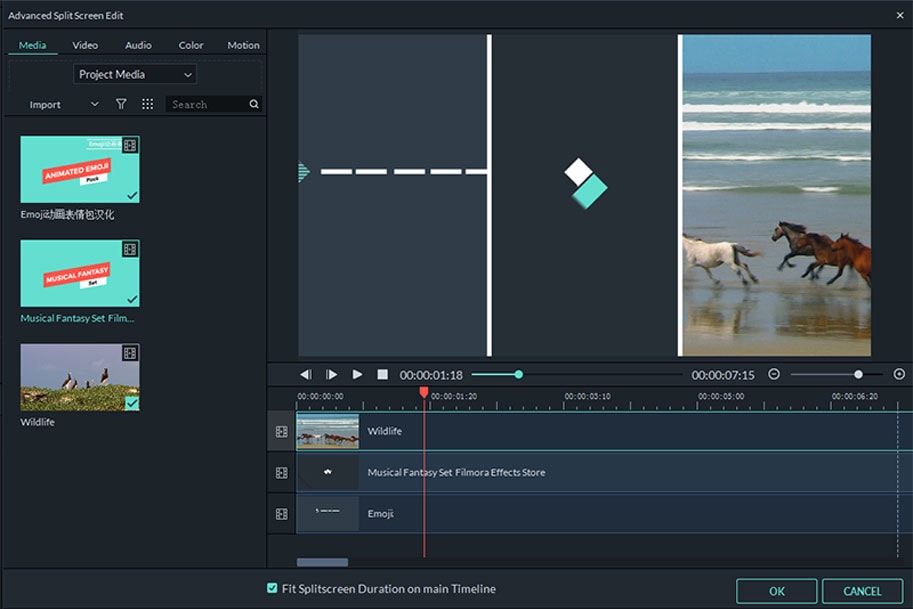
Step 3. Add videos to the preset
On the timeline double click preferred preset. Add your videos to respective “Drop Zone” to create a split screen video. On this interface, you can move the slider below the box to change the timing. To continue customizing your split screen video, check the “Apply border” option and select the border color of your choice.
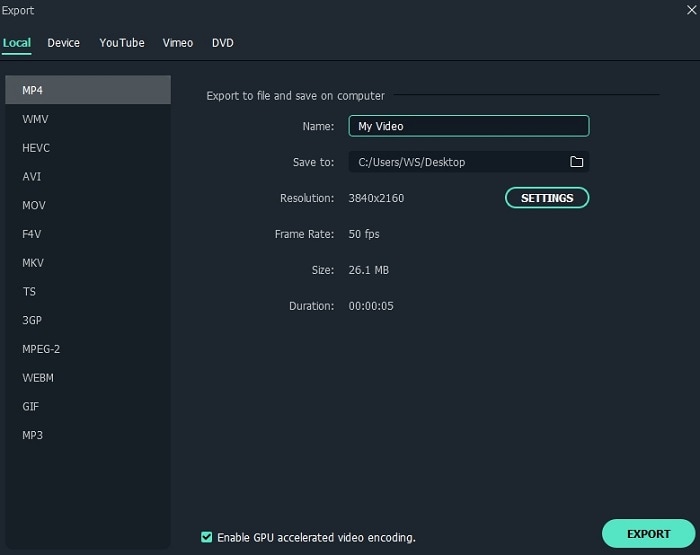
Step 4. Save the split screen video
This program provides multiple options to save the split screen video. Once satisfied with the your project, hit the “Create” button , select the desired file format under the “Format” tab and choose the respective save location before you finally click on the “Export” button. You can also choose to upload your split videos to online platforms like YouTube or simply burn them to the DVD.