


Want to share your photos in iPhoto with your Facebook friends? All you need to do is export the photos from iPhoto to your Facebook account. How to do that? Don't worry. This article will show you the step-by-step guide on how to directly upload iPhoto files to Facebook for more sharing and convenient management.
Step 1. Install Facebook Exporter for iPhoto
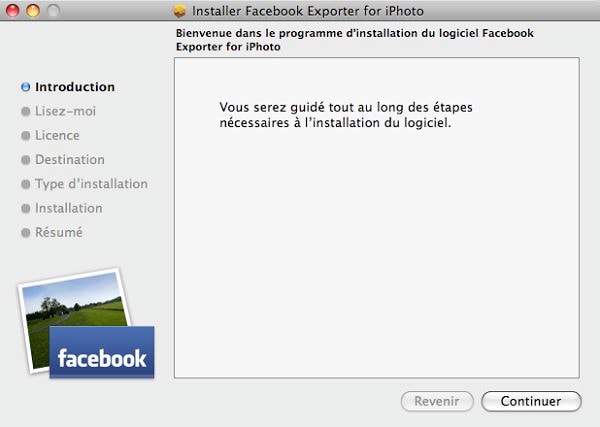
Go to the Facebook Exporter for iPhoto application project's website and click on the download link. Double click on the downloaded file to extract it. Double click on the installer in the extracted folder to begin installation. (Note: Exiting iPhoto at this point may be a good idea.)

Step 2. Check installation
After the installation is complete launch iPhoto. In the iPhoto menu click on File and then Export. Check to see if you have a tab with the title Facebook towards the top of the window that opens, like in the image below. If you do then your installation is complete. If not, then you can try the process again or check the project's website for some help.

Step3. Login Facebook
Click on the Login button. When Safari web browser opens the page http://www.facebook.com, you log into your Facebook account. Then return to iPhoto. You should now be able to access your photo albums from Facebook.
Step 4. Create a new photo album and upload some photos
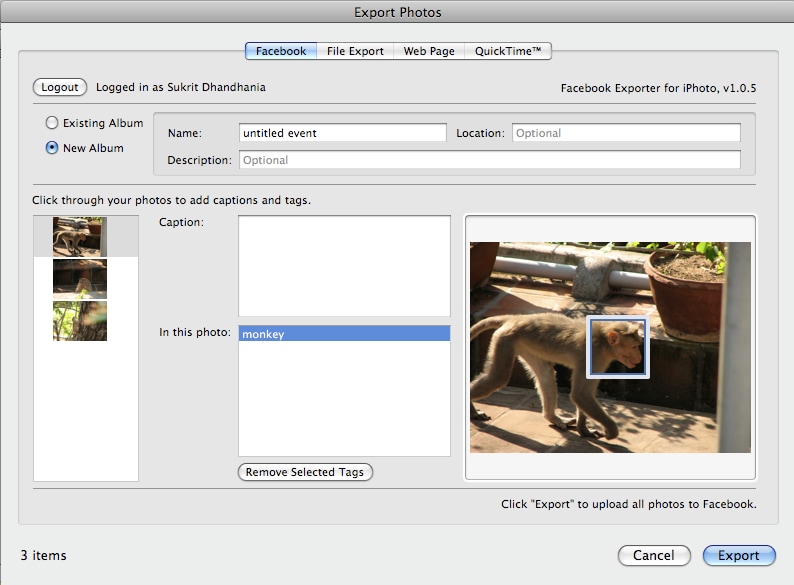
Close the Export window and return to your photo albums in iPhoto. Select the photos you want to upload to Facebook. You can select multiple photographs by using the Command + Click key combination. Once you have selected the photos return to the Export window by going to File > Export. Click on the Facebook tab in the Export window.
The photos you selected for upload should be available here. Select the New Album option. Enter the name and description of the album you want to create.

Step 5. Export the photos to Facebook
Click on the Export button at the bottom of the window, and wait for the magic to happen. After the export is complete you need to go over to your Facebook account and approve the new photographs. iPhoto will offer to take you there. Click Continue.
On your Facebook page you will see a page like in the image above. You can select the photos you want to approve of you can click on the Select All option towards the bottom of the page. Then click on Approve Selected Photos to finish the process.


