


Each image file from your collection holds a different meaning and importance. From your friends to families, digital images clicked through smart devices nowadays hold true memories of each one of your loved ones. But data corruption does not know the real value of those images and may leave any or all images missing on your device. But worry not because we have reviewed here three best ways for image recovery that will make sure no one ever grieves a lost image.
Part 1. How to Recover Image on Mac
For all the Mac users out there, there is no better tool for data recovery than the iSkysoft Data Recovery for Mac. It is a great tool designed for recovering data from a wide variety of devices.
This tool is intently devised with amazing features to help you restore any kind of data that is lost, deleted or formatted on your system. From videos to audios and documents to archive files, you cannot name a single file type that this tool cannot recover with ease. For image recovery as well, this powerful program remains the unsurpassed in its results so far.
Why Choose This Mac Image Recovery Software:
- The tool has remarkable recovery technology for guaranteeing 100% data recovery.
- It performs read-only process which is highly efficient in recovering data in its unchanged form.

- The tool can recover data from any external storage device such as SD cards, USB sticks and more.
- This tool provides the ultimate solution for the safest, fastest and simplest data recovery with its easy to use and attractive user interface.
- The Preview and Deep Scan options are extremely beneficial for precise data recovery.
Step-by-Step Guide to Complete Image Recovery on Mac
Step 1. Use the official website of the application and download it in few simple steps from there. After it is properly installed on Mac, run the program on your system to get to its main user interface. On the interface, you will get 6 file type options in terms of different requirement. Choose "Photo" tab and click "Next" button on this window.

Step 2. Now select the drive you want to scan. Click on "Refresh" icon if the external device you were looking for is not visible on the "External Removable Device" list. The scanning process will instantly initiate once you click "Start" button. After the quick scan process, you can also use deep scan to find more images, enabling deep scan may take more time but it is indeed the most powerful process.

Step 3. All the images that were ever lost on that particular drive will all sum up on the screen. You can use the Preview option for seeing the file before actually retrieving it. Select the files and click on "Recover" option.

Save all your recovered images on a secure external storage media. This will make sure your images remain protected from the future threats of corrupted and damaged data.
Part 2. The Best Image Recovery Software on Windows
None other data recovery tool is as good for Windows users as this amazing iSkysoft Data Recovery for Windows. It looks great, works great and recovers data of almost any kind. Recoverit (IS) for Windows features four recovery modes Partition Recovery, Raw Data Recovery, Lost Data Recovery and Resume Recovery. You can use it for any external storage device such as SD card, memory cards and more. The tool is highly compatible to all these devices and works exceptionally well for recovering any image that is accidentally deleted, lost or formatted. You will be really left amazed with how fast and smoothly this software works when it comes to recover even the hardest of lost data.
Why Choose This Windows Image Recovery Software:
- The tool has outstanding features for Preview and Deep Scan which are really remarkable.
- Read only process of the tool is perfect for retrieving unchanged and flawless data.
- The user interface of the program is very easy to navigate and appealing.
- The tool takes few minutes for recovering any data from any device.
Step-by-Step Guide to Complete Image Recovery on Windows
It is extremely simple and easy to use this wonderful data recovery software. It will only take few simple steps before all your lost images are successfully recovered.
Step 1. Use the official website of the application to download it and then install it on your system. After the installation, run the application on your system and launch its user interface. From the main menu that appears on your screen, select "Lost File Recover mode of all the four modes.
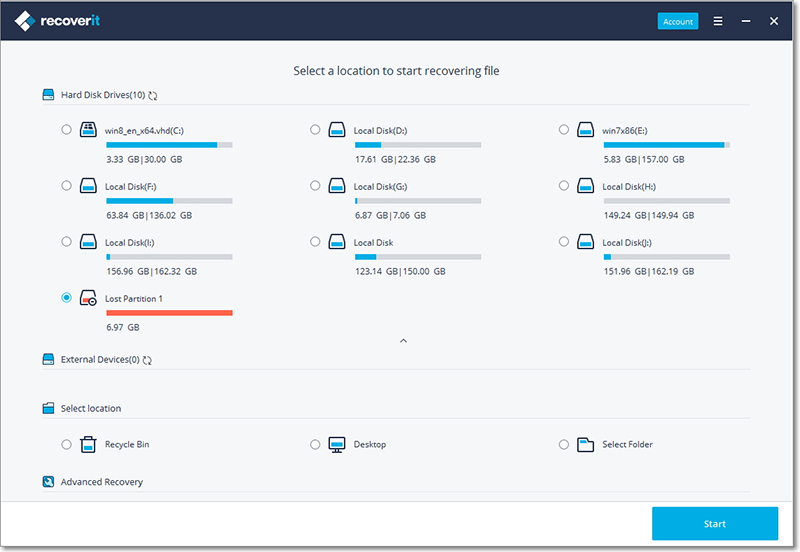
Step 2. After selecting your mode, you will be navigated to a new window with several options in terms of hard drives. You can select any drive for image recovery and also click on "Refresh Drives" in case the drive you are looking for is not shown in this list. Then click the "Start" button at the bottom.
"Enable Deep Scan" option is also there to perform a powerful scanning of the entire system so as to retrieve almost any file. It may take more time but the results will be awesome.

Step 3. The scanning process will start immediately and will begin recovering numerous images that were lost on your drive. It will take time according to the amount of data.
As soon as the scanning is finished, all the images will line up on your program's interface. You can preview them before recovering to make sure you restore the exact files. Now click the images you want to recover and finally select the "Recover" button. All the photos will be available there for future as well so you can recover them later on.

After image recovery, save your photos on some external storage device preferably the one where the data was not stored previously. Saving data on the same drive can cause overwritten files that can also lead to damaged files.
Part 3. How to Recover Image Online
Losing images is one of the most intimidating things for all of us. We never want to lose our valuable memories stored in our various storage media devices in the form of digital images. But unfortunately, unwanted things happen and it takes a while before we realize that all our images are gone.
However, there are numerous online websites specifically designed for image recovery. You can go to such image recovery websites like PixRecovery Online and upload your photos there to recover them.
Step-by-Step Guide to Restore Deleted Pictures
Step 1. Go to the online image recovery tool. Here you can upload all your corrupt JPG files or your memory card directly. The server will read your memory card. If you still have the original data carrier, avoid writing new data on your memory card. This could damage the card further.
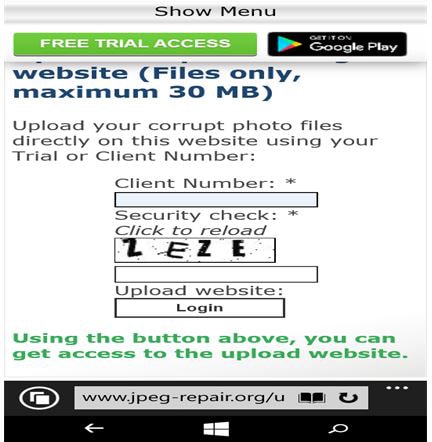
Step 2. The tool can easily recover corrupted JPEG, GIF, TIFF, BMP, PNG or RAW images. The recovered data will be saved into an original photo file format.
In fact, if the file is not successfully fixed, you can also call up the technical team who are experienced to perform a review of the recovered file. They will fix the remaining issues to make sure you receive completely recovered images.


