So you have accidentally deleted or unintentionally formatted your favorite photos from the camera, and you can’t stop blaming yourself? You shouldn't be worried since you can easily recover deleted photos from camera by yourself and without the help of a professional data recovery specialist. There are thousands of professional data recovery software on the web and finding the most effective one can be a daunting task. In this page, we simplify your work by discussing how to recover deleted photos from camera using the world's number 1 data recovery tool.
Part 1. How to Recover Deleted Photos from Camera Without Backup
iSkysoft Data Recovery for Mac (or iSkysoft Data Recovery for Windows) uses the latest powerful scanning algorithm to provide you with a fast, easy, safe and complete data recovery on Mac based hard drives, external hard drives and other portable devices that are compatible with Mac (digital cameras, players, USB, memory cards and more). It can fully recover not only photos, but also documents, video, music, email and archive files from HFS+, HFSX, FAT16, FAT32, exFAT and NTFS file systems.
After installing the program on your Mac, you'll enjoy using the 4 innovative and user-friendly modes that let you recover lost files due to all the data loss causes (formatting, deletion, virus attack, improper operation, power failure and other unknown reasons). All your lost files are recovered in high quality, with the original file and folders names. Moreover, the data in your Mac can never be damaged since the software uses a risk-free read-only process while scanning and recovering lost files.
Why Choose This Software to Recover Deleted Photos:
- The file filters and folder tree allows you to find your files in seconds.
- You can preview photos, videos, documents, emails, audio files and archive files before recovery.

- After a successful scan, you can distinguish the "Good" data and the "Bad" ones with the help of the "Validity" attribute.
- You can pause or restart the scanning process with just a click.
- Scan results can be saved, enabling you to resume recovery when you are free.
Step-by-Step Guide to Recover Deleted Photos from Camera
Step 1. Use your camera's original USB cable to connect it to your Mac. If it uses an external, removable media like a memory card, you can insert the card into a compatible card reader and then connect it to your Mac. You don't need a card reader if your Mac model has a built-in SD card reader.
Using any Mac browser and download the software. Drag the setup files to "Applications" to install the program on your Mac and then you can launch it. The main interface appears like the one shown in the image below. To recover your deleted photos, please make sure you have selected "Photos" option in this step.

Note: In case you want to recover photos from your built-in camera, you'll had better to get another Mac computer, download and install the program on a USB flash drive and then perform photo recovery while the software is installed on the USB flash drive. This helps prevent permanent data loss due to continued operation on the drive where the lost photos were saved.
Step 2.A new window will appear with the list of both internal and external drives. Choose the drive where your deleted photos were saved and then click the "Start" button at the top of the program's interface to start the scanning process. If your drive isn't on the list, just click the refresh icon, and it will appear.

Step 3. Once the scanning process is over, another window will be opened. Here, you can distinguish the validity of your pictures and even preview them before recovery. To start the recovery process, check the pictures in the list and then select the "Recover" button on top of the software's interface. Save your photos to the selected path and not to the same drive from where they were deleted. We highly recommend external drives as the selected destination.

Part 2. How to Choose the Best Memory Card for Your Camera
Most stand alone digital cameras store photos in memory cards, but it can always be a tricky and confusing task to pick the right card for your camera. In this section, we walk you through the process of selecting the right memory card for your camera
Step-by-Step Guide to Choose the Best Memory Card for Your Camera
Step 1. If you don't want to open your camera's housing to swap memory cards while shooting photos or videos, you have to select one with the right memory capacity for your needs. If you are an amateur photographer and you would like to use the memory card to save photos, we recommend that you select a memory card with a standard capacity, (at least 8GB or 16GB).
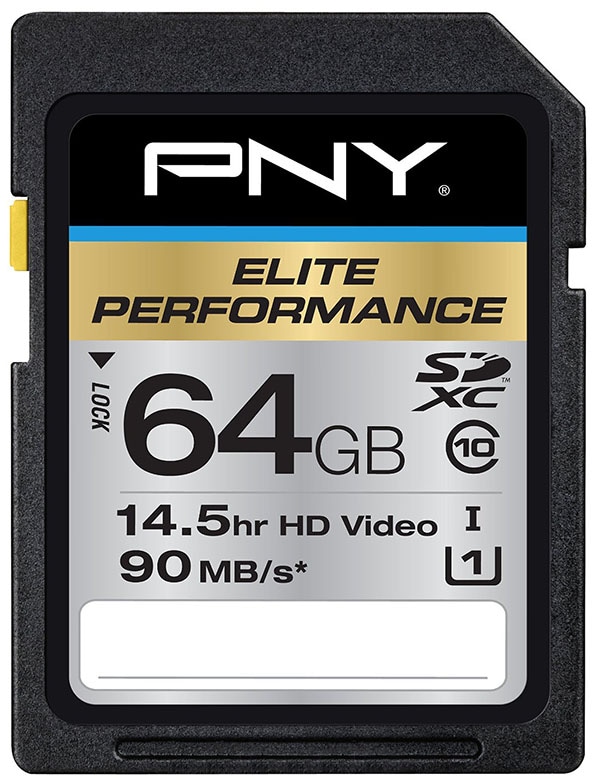
Most memory card companies also publish tables on their official websites to show the total number of photos you can save on their memory card. Therefore, you can visit these sites and make a more informed decision. If you are a pro who would like to shoot HD videos and take multiple photos in continuous mode, you need to select a memory card with high capacity, (at least 16GB, 32GB or 64GB) as long as your camera supports it.
Step 2. You should buy a memory card from a reputable dealer. These cards perform faster, have the least chance of file corruption, support more backup measures, and make it easy to recover lost data compared to the cheap SD Cards from unknown manufacturers. A memory card's useful life can be calculated by its Mean Time Before Failure (MTBF). For example, SanDisk claims that their memory cards have an MTBF of 1,000,000 hours, meaning that the card can serve you for approximately 115 years.

Step 3. The read speed refers to how fast your data can be retrieved from the memory card. It's displayed on your screen when you are transferring files from the card to computers. On the other hand, the write speed describes how fast your data can be saved onto the card. Therefore, if you are planning to capture HD videos, shoot multiple photos in continuous shooting mode or if your camera has a high resolution and shoots particularly large files, you'll have to choose a memory card with fast reading and writing speed. The speed rates and classes can always be found from cryptic markings on the card. For example, SD cards have speed classes of 10 (highest), 8, 6, 4 and 2 (lowest).