- Part 1. Use iTunes to Transfer Purchased Songs from iPhone/iPad before iOS 9 Update
- Part 2. How to Use iTunes to Import Playlists on iTunes?
- Part 3. Use dr.fone to Transfer Songs and Playlists without Duplication (Recommended)
iOS 9 is just around the corner and every iPhone, iPod Touch or iPad wants to update his/her devices to the latest version by Apple to enjoy the amazing features. This article will you to prepare the iPhone and iTunes before you update your iPhone to iOS 9. The first and foremost step is to back up your iDevice, so that you won’t lose any kind of data. Either you are using iCloud or iTunes Back up, we will strongly recommend you to transfer all the purchased items on your iPhone to the iTunes. So, after updating to iOS 9, you can easily transfer them to your iPhone. Moreover, sometimes there are certain glitches with the new software, so, it would prevent you from downloading all apps and music again on your PC/Mac or iPhone.
Part 1. Use iTunes to Transfer Purchased Songs from iPhone/iPad before iOS 9 Update
Steps to Transfer Purchased Songs from iPhone/iPad
Step 1: Connect your iPhone with the computer and launch the latest version of iTunes on your computer. Click on the small down arrow button in the top left corner on iTunes, from the drop down menu, click on “Show Menu Bar”. After enabling it you will see a menu just right below the audio player.
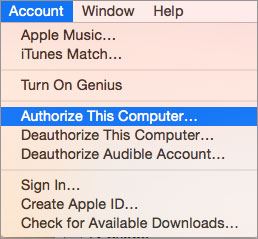
Step 2: Another important thing is that you should have authorized this computer using the same iTunes ID on your iPhone. To do this, Click on “Store” on menu bar and Click on “Authorize this Computer”. Enter the Apple ID credentials and click on “Authorize”.
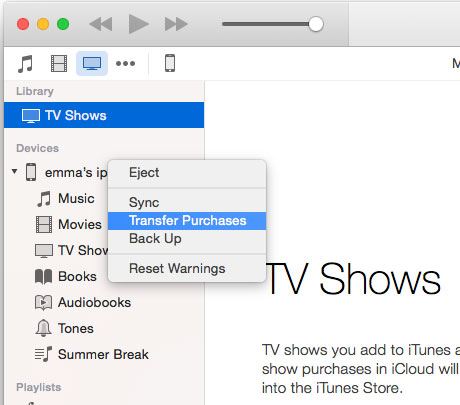
Step 3: Now, Click on “File” and click on “Devices”, hit on “Transfer purchases from the (device-name)”. Wait for a few seconds, till all the purchased items on your iPhone will be transferred to the iTunes. These purchased items will include iBooks, Music, Movies and Applications.
Part 2. How to Use iTunes to Import Playlists on iTunes?
If you have hundreds of songs on your iPhone and also made many playlists on your iPhone for the certain occasions, you can easily transfer these “Playlists” from iPhone to iTunes using some tricks in iTunes. Although it is not so easy to transfer playlists using the iTunes.
Step 1. Connect your iPhone with PC and launch the iPhone. Select the playlist on your iPhone with from the left menu.
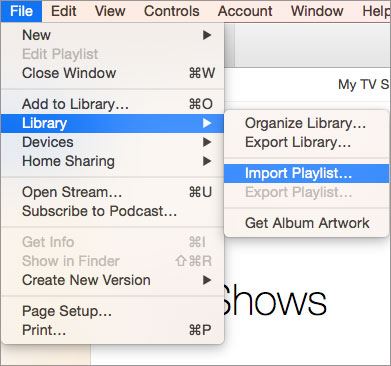
Step 2. On the menu bar, Click on “File” then “Library” and finally, click on “Export Playlist”. Select a location to save the playlist. The playlist will be saved in the form of text file.
Step 3. Now, Again Click on “File” and “Library” and click on “Import Playlist”, select the playlist that you already saved in the above step.
That’s it! In this manner, you can transfer all the Playlists from your iPhone to PC without any problems. This is a tricky solution, however, you can use an alternative software to do this task for you without any problem, dr.fone. This software will not only allow you to transfer the music from iPhone to iTunes, but you can also transfer the music to a folder on your computer without any problem. dr.fone works on a unique mechanism where it will compare all music present on your iPhone with the music on your iTunes Library and will show all the differences, you can select all the songs or playlists which you want to transfer on iTunes. With this best solution dr.fone is available for $39.99 only while the Windows version will only cost you $29.99 only. Here’s how you can do that?
Part 3. Use dr.fone to Transfer Songs and Playlists without Duplication (Recommended)
dr.fone works in the perfect manner to transfer any kind of songs or Playlists to iTunes from iPhone and the best part about using this software is that it will automatically avoid the transfer of duplicate songs and the Playlists. Here’s how it works.
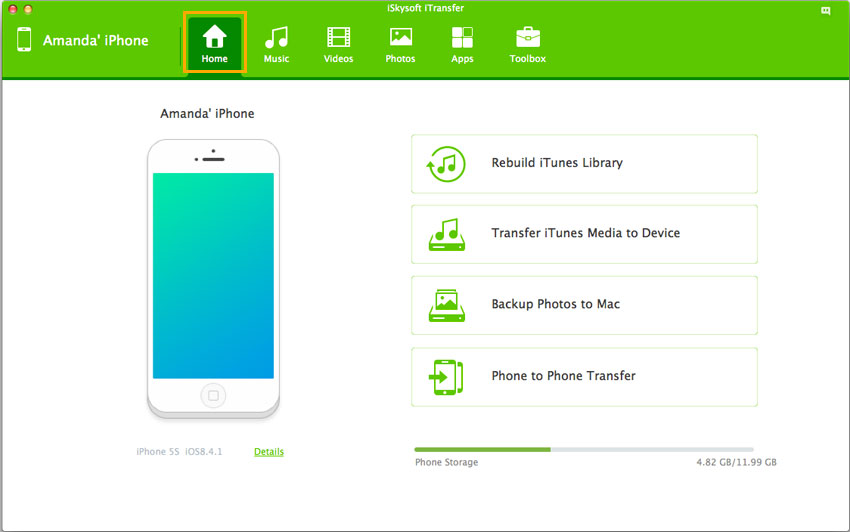
Step 1: First of all, download and install the latest version of dr.fone on your Windows PC or Mac. After installation, you will be redirected to the main screen.
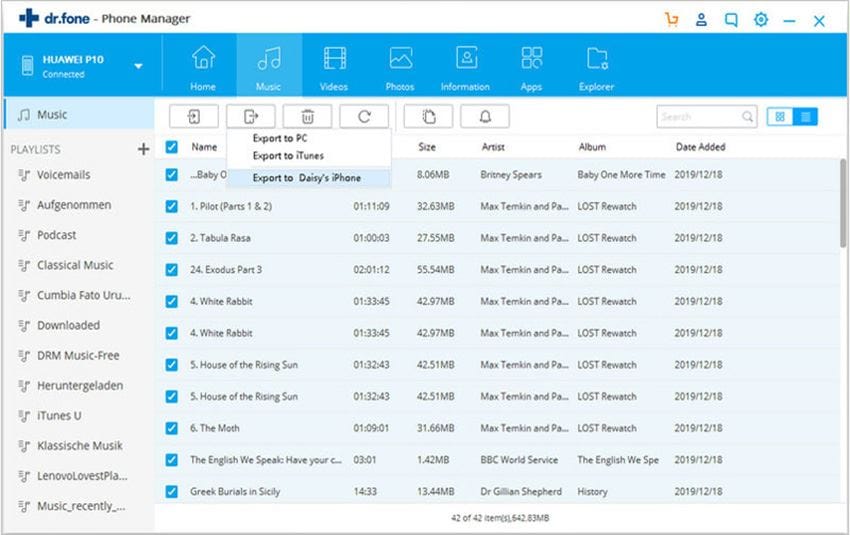
Step 2: Click the “Music” tab at the top of the software to see the audio files management window. Audio file types are displayed in the left sidebar. By default, the selected file type is music. All the songs on your device are displayed on the right side. Tick the songs you need and click “Export” > select “Export to Mac”. Next, find a folder on your Mac to save these exported songs. Done and done!
To export a whole playlist, you can find the wanted playlist at the left sidebar, right click it and export to iTunes or to PC.