


It is not uncommon to find one person with more than one Smartphone. A lot of times, these two devices will be from two different platforms. If you are one of these people and are currently using an Android device as well as an iOS 10 device, you may have found yourself in a situation where you need to transfer data between these two devices. You may also be aware that transferring data across these two very different platforms is never easy especially when you don’t have the right know-how or a tool to help. The transfer process is often difficult because Android and iOS are as different as can be. They both utilize different data storage service and there is usually no clear link between the two. If you have tried to transfer data between an Android device and an iOS device to no avail, this article will help you. We will primarily focus on the different ways you can transfer photos from Android to iOS 10.
Part 1 : The Best Way to Transfer Photos from Android to iOS 10
One of the best ways to transfer Photos from android to iOS 10 is to employ the services of a third party app that is designed to make the process easy by allowing to bypass the differences in the two systems and easily transfer data between them. There are so many different types of data transfer apps in the market and finding the right one is the hard part. Lucky for you, we have found the single most effective software to help you easily transfer data between devices regardless of the platform they are on. This software is MobileTrans for Mac (or MobileTrans for Windows). This program is designed to easily allow users to transfer files from one device to another in easy steps and in the shortest time possible. But MobileTrans for Mac can do more than just transfer files between devices.
Key Features of MobileTrans:
- We've already said that it is very easy to use but this point is worth repeating at least a few times. This is because no one wants to spend countless hours trying to figure out how to us a program. But if you are still skeptical, worry not. We'll show you how to use it.

- It can be used to transfer more than just photos between devices. You can also use it to transfer contacts, call logs, messages, music, videos and even documents.
- It also offers additional features that allow users to backup and restore their devices. You can back up your device to your Mac and restore data to your device from all backup sources including iTunes and iCloud.
- You can also use it to selectively transfer, backup or restore data. This means that you can choose to transfer certain photos and exclude others.
Step-by-Step Guide to Transfer Photos from Android to iOS 10
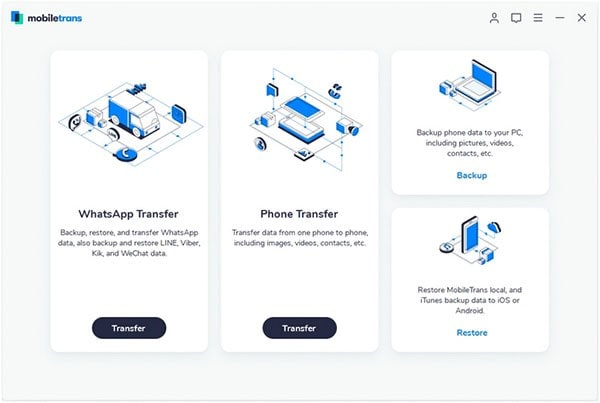
Step 1. Download and install MobileTrans for Mac in your Mac. Once it is fully installed, launch the program and you should see the following primary window.
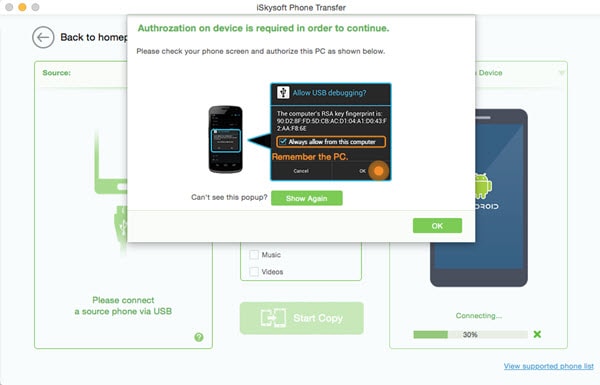
Step 2. Now connect the two devices to your Mac using USB cables. You may need to authorize the Mac on your device to continue. If you see a "remember this PC" message on your device, check "Always allow from this computer" and then tap "OK" to continue.
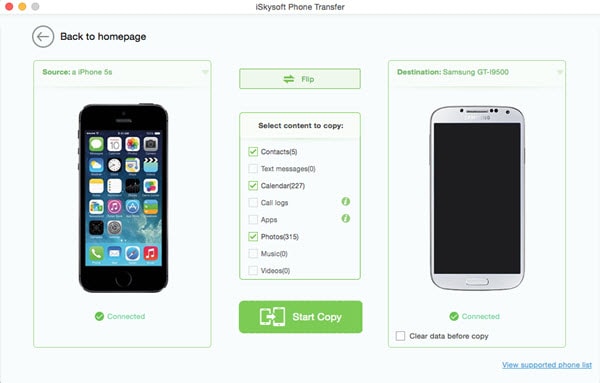
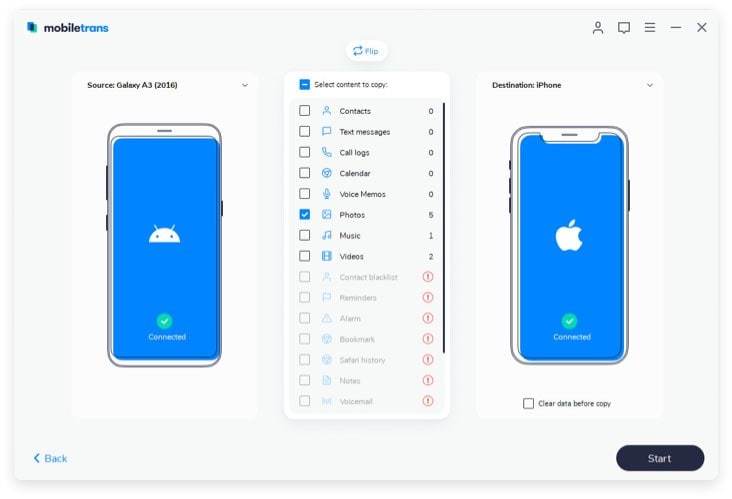
Step 3. Once the devices are connected correctly, click on the "Phone to Phone transfer" tab to launch the transfer window. You should see the two devices displayed in the next window. You will also see all the data from the Source device displayed in the middle panel. The Source device in this case should be the Android device. If it is not, you can change the order of the devices by clicking on "Flip".
Part 2 : How to Transfer Photos from Android to iOS 10 Manually
You can also manually move photos from your Android device to an iOS 10 device using a computer with iTunes and a USB cable. The following is a simple step by step guide on how to do it.
Step-by-Step Guide to Transfer Photos from Android to iOS 10 Manually
Step 1. Connect the Android device to the computer using USB cables and find the photos. On most Android devices, you will find your photos in a folder marked DCIM > Camera. If you are using a windows computer, you can access this folder directly. If you are on a Mac, you may need to use "Android File Transfer" to open the folder.
Step 2. Once inside the folder, select the photos you would like to transfer to the iOS 10 device and then drag them to a folder on your computer.
Step 3. Disconnect the Android device and then connect the iOS 10 device to your computer.
Part 3: How to Transfer Photos from Android to iOS 10 Using Cloud Service
Another great way to transfer files from one device to another is to use a cloud service. Cloud services make it very easy to transfer certain types of data including photos and videos because all you have to do is transfer the data from the Android device to the cloud and then sign in to that cloud service on the iOS device to access the data. The downside is that you may not be able to transfer some types of data such as call logs and sometimes even contacts, depending on the cloud service. Bu since we want to transfer photos, here are some of the Cloud services that may help.
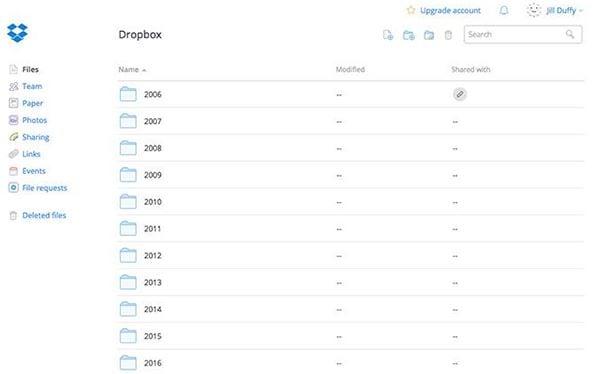
1. Dropbox
As one of the most popular cloud storage and file syncing service, Dropbox offers a simple and elegant solution to file storage and sharing. One of the main reasons why it is so popular is because it makes it very easy for users to access files from nearly anywhere and on any device. you can install Dropbox on your computer, Android and iOS devices easily, giving you access to all your files regardless of what device you decide to use.
It also offers an excellent solution for online storage and also now supports real-time collaboration for office online users. This means that you and a colleague can access and edit the same document on Dropbox.
If you want to transfer photos, Dropbox might be your best bet. This is because it comes with a camera upload feature that ensures every photo you take is uploaded to your account as soon as you take it. All you have to do is sign in to your account on another device and the photos will be available there.
Pros:
- File synchronization with Dropbox is almost effortless.
- Dropbox apps are available for every platform.
- Supports file sharing and the Dropbox server never has issues.
- It also shows history of actions and allows access to deleted or earlier versions of the file.
Cons:
- It is slightly more expensive than its competitors but users can create a free account.
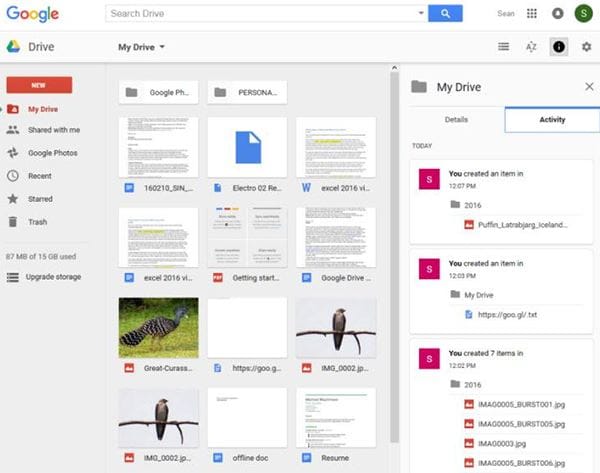
2. Google Drive
The Google Drive is more than just as cloud based storage and syncing service. The service excels at helping users create, edit, store and collaborate on documents with changes made and views in real-time. In this, the Google Drive far surpasses all other cloud based storage services. The fact that it also comes with companion apps including Google Docs, Sheets and Slides is another added advantage that makes it the Go-to storage choice for most users.
Pros:
- Google Drive comes with a built in office suite that is very easy to use.
- Collaboration and functionality make it very useful.
- It also offers generous free storage space as compared to its competitors.
Cons:
- It can be a little bit confusing to navigate especially if you are new to the process.
- Offline editing is available but not so simple.
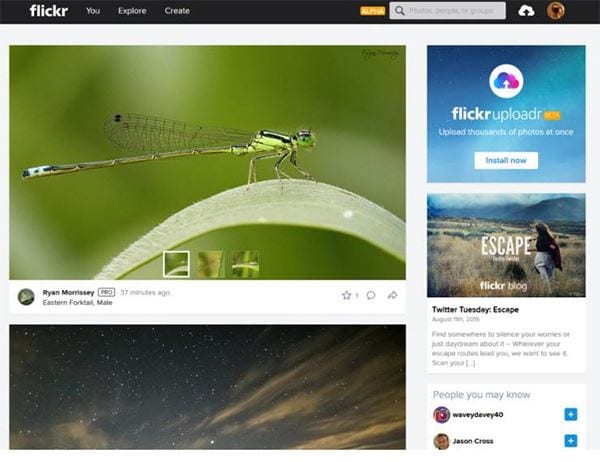
3. Flickr
Flickr is synonymous with photos and if you take photos, you might already have a Flickr account. It is a great solution if you want to upload, organize and even backup all of the shots you take either on your phone or camera. You get a free TB of storage for your photos when you sign up and you can expand this storage depending on your own particular needs. A $5.99 premium account and you will get a desktop uploader, ad-free services and unlimited storage. Signing up for a Flickr account is also very easy. In fact, if you already have a Yahoo account, you have a Flickr account. You should however know that Yahoo will require you to enter a mobile number to create an account.
Pros:
- The service automatically categorizes the images you upload.
- The 1TB of storage you get for free is very generous.
- The service makes it very easy to share large files and offers a large community to share photos with.
- There are a lot of other options on the site including geo tagging, people tagging and keyword tagging.
- You can edit photos online.
Cons:
- The user cannot control the layout of the profile page.
All of the above Cloud storage service will work the same way to transfer any type of data between devices. For the sake of this tutorial, we are going to use Dropbox.
Step-by-Step Guide to Transfer Photos from Android to iOS 10 Using Cloud Service
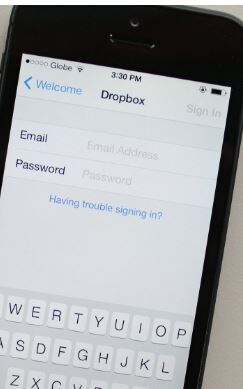
Step 1. First of all, you need to install the Dropbox app on both devices. The app is free to download and really easy to install. If you don’t already have a Dropbox account, creating one is very easy.
Step 2. On the Android device, upload the photos stored on the device to your Dropbox account. You can ensure that the photos on your device are automatically uploaded to your Dropbox account by enabling the Camera Upload feature. With this feature, every photo you take will be uploaded to your Dropbox account automatically. You can also upload photos to your Dropbox account manually. To do this tap on the Menu button (the three dots) within your Dropbox app and tap Upload. Select the photos we want to transfer and wait while they are uploaded.
Step 3. Now that the photos are in the cloud, it is time to enable the iOS 10 device to receive them. If you are using the same Dropbox account, this is very easy, simply log in to your Dropbox account on the iOS device and you should see the photos in your account. If you are not using the same Account, you can simply share the photos or the folder containing the folder. To do this tap and hold on to the folder name in Dropbox and choose "Send Link".


