When you create a slideshow with photos, videos or audio files on Mac, you'll be able to recall some of the most important moments of your lifetime such as Christmas parties, birthday celebrations, wedding and more. So, how to make a slideshow on Mac? There are multiple third party slideshows makers available on the web, but in this article, we focus only on the most comprehensive one that can help you create impressive slideshow on Mac.
How to Make a Slideshow on a Mac (macOS Sierra)
Preserve your gorgeous moments by creating slideshows movies with iSkysoft Slideshow Maker for Mac. You simply need to download and install the program on your computer, collect all your images, videos, and audio recordings, customize them and make your personalized HD DVD slideshows. The program comes with tons of editing tools that lets you customize your slideshows like a pro. You'll be able to use clipart, arrange audio/music files according to your needs, rotate pictures from any angle up to 360 degrees, crop photos, add texts, adjust brightness, make use of intro and credit, utilize the filter and effect functions, and do so much more. (iSkysoft Slideshow Maker for Windows is also available.)
Why Choose This Mac Slideshow Maker:
- The slideshow movies can be saved in HD quality of up to 1080p.
- Users have the freedom to utilize rich templates that outshine the old ones.
- Red eyes in photos are easy to repair.
- The slideshow movies can be saved in HD quality of up to 1080p.
- The "Motion" tool allows you to add titles to your videos.
- Slideshows can easily be shared on multiple platforms including online, TV, Mobile devices and more.

Steps on How to Do a Slideshow on Mac (macOS Sierra)
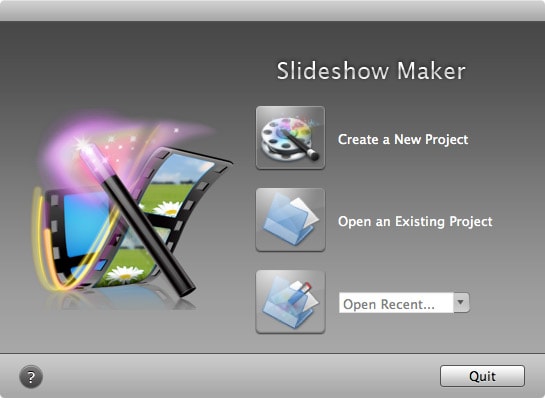
Step 1 Launch the Slideshow Maker
First download the software. Drag the "downloaded file" to "Applications" to install it on your computer. Once the installation process is finished, launch the software, and you'll then see the main interface.
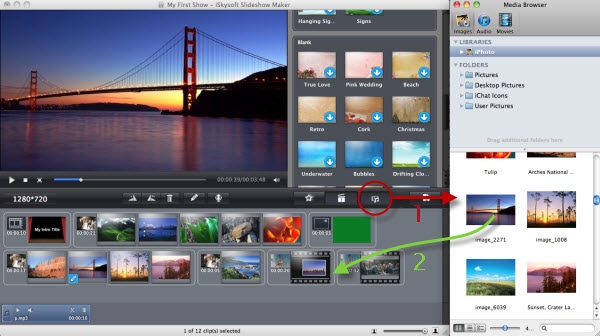
Step 2 Import Picture or Videos
The software uses a media browser that lets you upload videos, audio, and images to the program. Select the browser's icon so as to activate or deactivate it. When the media files are added to the story-board, you can drag and drop particular slide so as to arrange it. Note that you can also drag any media file out of the program to delete it.
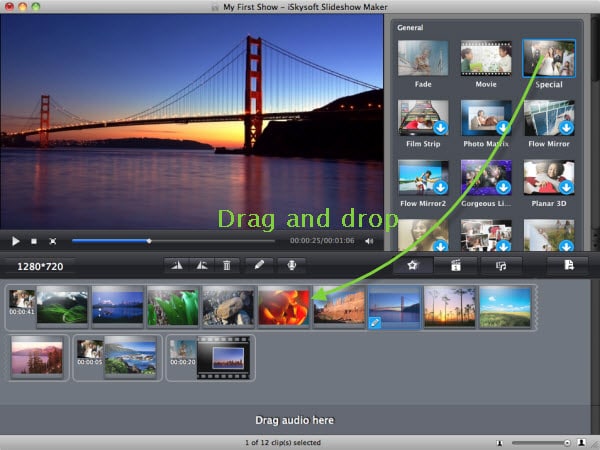
Step 3 Change Styles
When a video or photo is uploaded to the program, random themes are applied automatically. You can either keep or change them at any time. Over 30 Styles are included. If you would like to add a "Style" to a video or photo slide, just drag and drop your desired style and the existing one will be replaced.
You can also drag a video or photo from a style to another. An alternative way involves increasing the media files in a "Style" as shown below. To access this dialog, just mouse over any "Style" and select the setting icon once it appears.
Step 4 Edit Pictures and Videos
Editing buttons such as "Delete," "Edit," and "Rotate" can be accessed with ease. Moreover, you can right-click a video or photo and access the same editing options.
If you like, you can also change the length of your clips or the background of a style. Just check the "Apply to all clips" option and all the clips will have the equal lengths. Alternatively, you can right click on any slide, and a menu will appear from where you can select the individual duration by the "Duration" option.

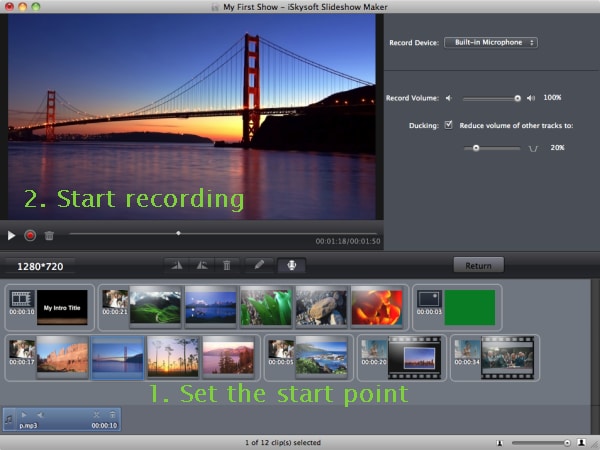
Step 5 Add Music to the Sldieshow
You'll see various buttons appear on the audio bar just after after adding music. Preview the music file by clicking the "Play" button or you can cut a portion by selecting the scissors button. Moreover, you can also add a voiceover by clicking the "Voiceover" button.
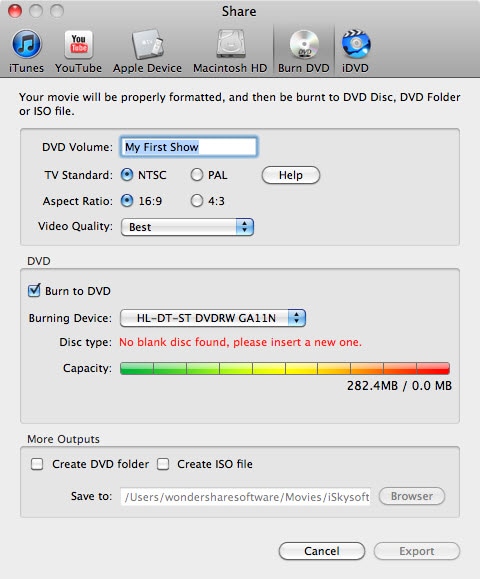
Step 6 Create Slideshow on Mac
Preview the slideshow movie and if you think that it's perfect, go to the "Share" menu located at the top of the program's interface and then select how you would like to share the slideshow with others. Alternatively, you can hit the "Share" button located at the middle left side of the software's interface and then upload the slideshows to YouTube and Facebook, or burn to DVD.