


Do you want to create awesome web slideshows in minutes without a line of code? If this is the case, then you have come to the right place. One of the best ways to make picture slideshow for website is use of a picture slideshow program. There are several of such programs on the internet which you can download to help you make the slides in minutes. Some comes with great editing feature, stunning templates, good encoding speed, awesome photo effects and sharing features. Here we help you to pick up the best one.
The Best Way to Make Photo Slideshow for Website
One of the best tools to make image slideshow for website that we recommend users to try is Filmora Video Editor. This program makes fantastic slideshows movies out of your photos, videos, music and text on your Mac in minutes. You can also use it to burn your slideshows to DVD.
Its key features include:
- Allows you to share slideshows on social media, iTunes, iPhone, iPad, DVD, YouTube or burn to DVD.
- Lets you add music in the presentations with custom options.
- Comes with an intuitive and easy to use interface, making the program fast and intuitive.
- Features a wide range of professional themes and editing features.
- The drag-and-drop feature, making the program fast and intuitive.
- The media editor which supports rotating, cropping and special image effects.

How to make a slideshow for a website
In this part, we have provided a detailed tutorial on how to use this web slideshow maker to create awesome web slideshows in minutes.
Step 1 Launch the program
The first step is to download and install this web slideshow maker on your Mac. Then click on the desktop icon to launch the program.

Step 2 Import pictures
In the main interface, you will access options such as Create a New Project, Open an existing Project and Open Recent. Proceed by clicking on the "Create a New Project" to start a new project. This Photo Slideshow for Website comes with a built-in Media Browser. This feature allows you to import your pictures and other media files directly to the program. Simply drag your photos from the Media Browser and drop them on the program’s timeline.
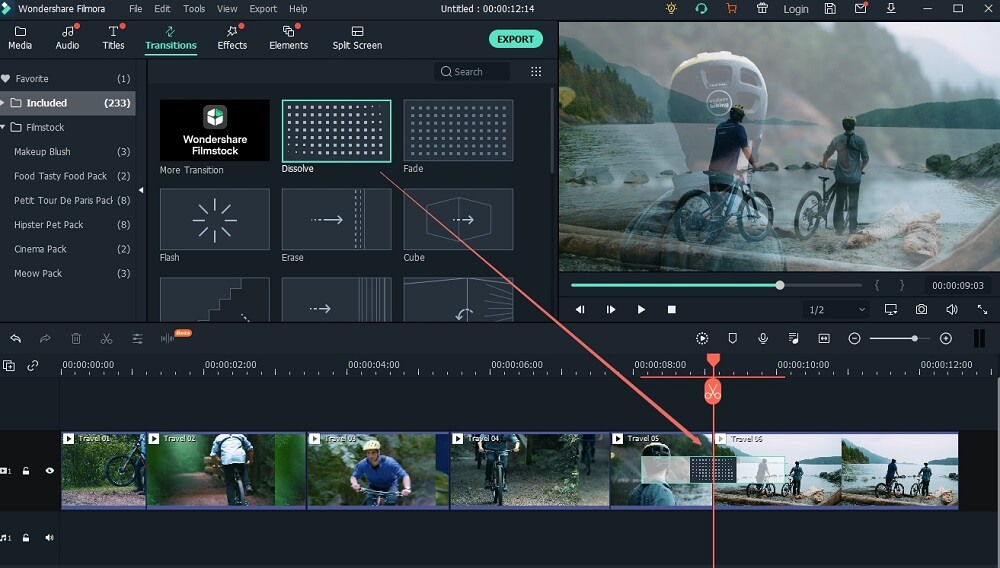
Step 3 Change Styles
You can select transitions for your slideshow. To add your favorite transitions into the pictures you have imported, drag and drop a desired transition to the timeline.
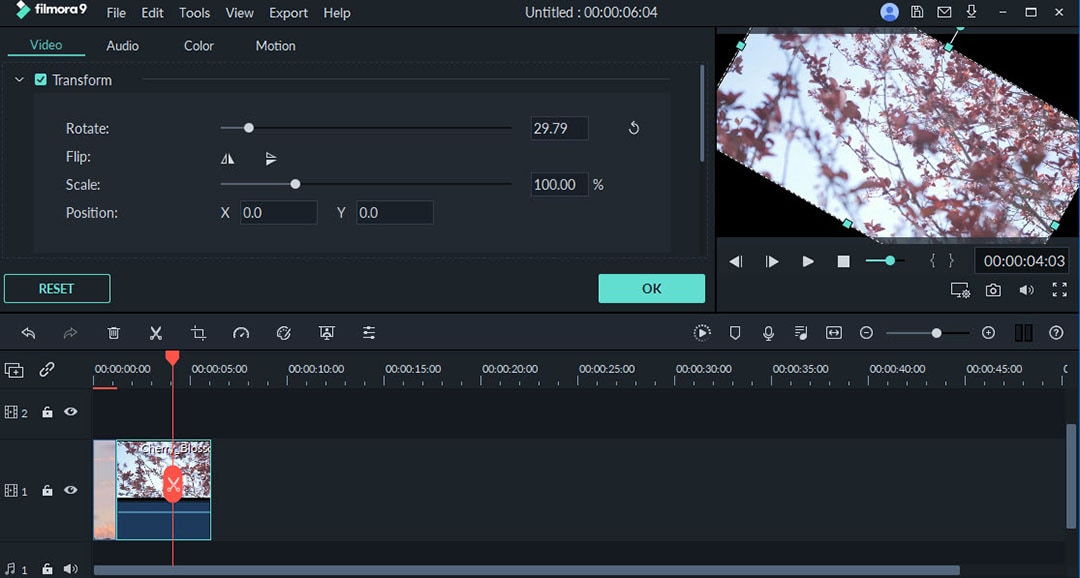
Step 4 Edit pictures
You can also edit your pictures before you create the slideshow, thanks to the program’s in-built editor. This editor allows you to trim, crop, add background music, add effects and do other changes if needed.
Step 5 Create the picture slideshow
When you have finished changing the styles, editing your videos and photos, and adding the background music, you can export the slideshow to YouTube, click "Share" to publish the video to YouTune or other websites.


