


Animation-based edits after one of the most popular types of video content creation that many companies focus on. Focusing on keyframe control is essential since functionality is highly influential in creating animated effects in motion graphics and animation. However, the procedure is not highly complex to master if you know the steps correctly and utilize capable software.
The feature of Keyframing in After Effects is a notable example of high-quality keyframe-based edits that professionals try out for creating animated videos or including this effect in standard videos. Yet, there is confusion about how to utilize the software efficiently to do different functions like duplicate keyframes After Effects.
Read this post to know what Keyframe types you can use on After Effects and the process of doing so.

In this article
Part I. Types of Keyframe Options in After Effects
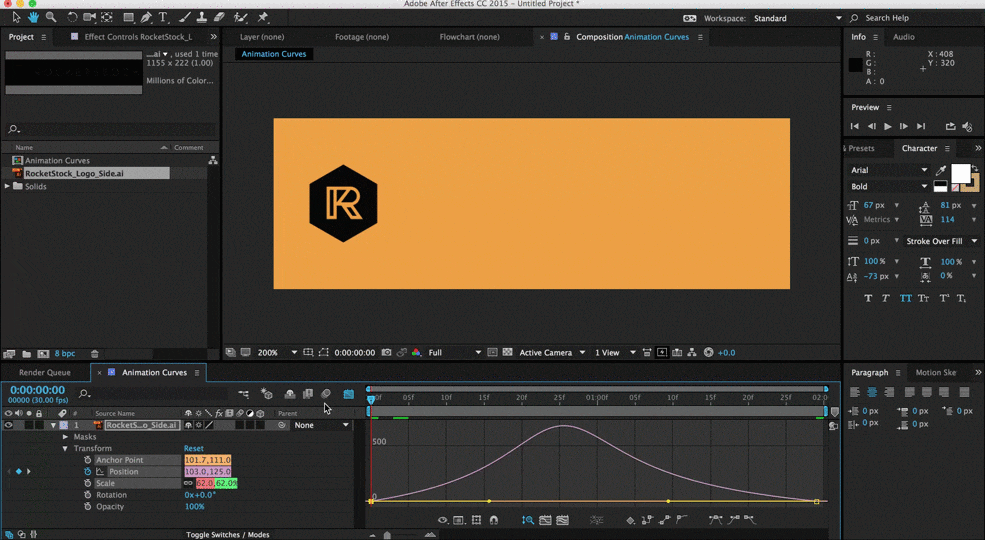
Before focusing on the keyframing process in After Effects, let's understand what keyframing is. This refers to the balance of the frame-by-frame sequence, which all gives the animation effect in videos and graphic motions. Under the After Effects solution, the main approach of keyframing is keyframe interpolation, and understanding both aspects is essential.
In this process, the software measures the values in between dual points while animating elements via keyframes. The technology in the software determines the elements' motion after you set the keyframe in After Effects.
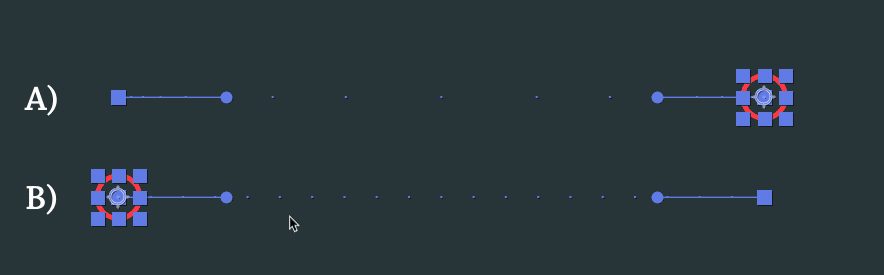
Two notable variations of this occur within After Effects, namely spatial and temporal interpolation. The former applies to adjusting the keyframes path from smooth to harsh or the opposite. The software adds the dotted red line while the line handles the space (motion path), and the dots represent time (temporal interpolation). Essentially, the temporal type focuses on changes in time, while the spatial deals with motion and space.
Five types of keyframes are commonly related to After Effects keyframe interpolation:
Linear Keyframes
The linear keyframe type is available as default and related to a preset starting point. Visually, they create mechanical-looking animations with uniform change rates. On any of the layer properties, you can find the stopwatch icon. Tap on it to create a keyframe After Effects in a linear format.
Bezier Keyframes
This type of keyframing style allows more control over the motion settings of users. You can choose the keyframes and right-click on them, go to Keyframe Assistant, and click on Easy Ease. The F9 button on Windows and the function key on Mac before pressing the F9 key also work.

Auto Bezier
With this type, you can expect smoother transitions automatically, and users do not have much control over the sequence. It creates the curved effect using an extra keyframe under the spatial interpolation format for a smoothly bent motion path. Pressing the CMD (Ctrl) button works to insert the keyframe After Effects of the Auto Bezier format.
Continuous Bezier
This appears similar to the regular Bezier keyframes and is helpful in creating smoother change rates. You have to choose the keyframes, press the CMD + Shift + K keys to access Keyframe Velocity, and manually change the interpolation here.

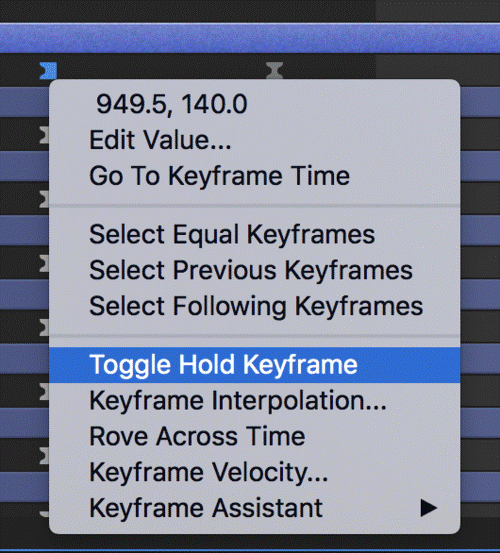
Hold Keyframes
The Hold Keyframing type freezes the value at which the animated property stays until a second keyframe changes it within the timeline. This keyframe helps create a frozen video screen or prepare a jumpy movement in the animation. Users have to choose the keyframes and right-click on them. Then, they have to press the Toggle Hold Keyframe After Effects option.
Part II. How to Incorporate Keyframes in After Effects?
Different methods are available to configure keyframes within After Effects, specific actions like adding, editing, or removing wrong ones. Here are the steps to follow.
Set and Add Keyframes
The following are the main steps to follow for adding new After Effects keyframing.
Step1 Launch the After Effects software after downloading it to your device. Open the project panel using Ctrl + O in Windows or ⌘ + 0 on Mac.
Step2 Click on the P key to show the keyframes and select the first one by moving the property value or layer to the desired spot. When placed in the correct position, toggle downward on the property you will animate.
Step3 Tap the stopwatch icon beside the rotation and position words.
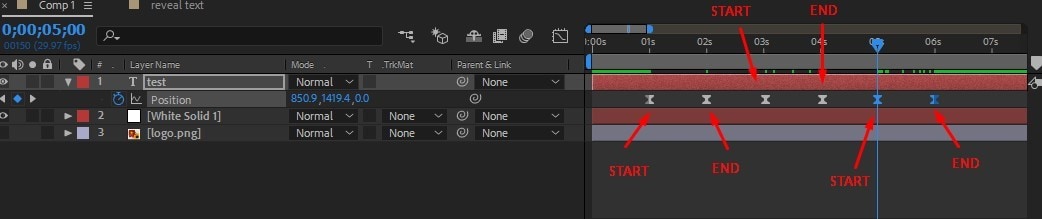
Step4 The elements will turn blue when you select the stopwatch icon. The diamond-shaped icons are the keyframes.

Step5 After setting the first keyframe, you can drag the playhead along the timeline to create movement with the next keyframe. Keep dragging it for the duration that the animation movement will occur, e.g., 4 seconds.
Step6 Adjust the property value on the timestamp where you will add the new keyframe. After Effects instantly creates a new property when you change the value.

Step7 Use the Spacebar for RAM Preview by tapping Ctrl + 3 or ⌘ + 3 to see the layer change in the animated preview.
Remove/Delete Keyframes
After adding the keyframes to create the animated effect in videos, it might not work accurately to what you desire in some cases. Then, you should carry out specific steps to remove the keyframe from the project. There are specific steps to handle this procedure in After Effects carefully.
Step1 Use the same shortcuts for creating the keyframes on the timeline to delete them. These include Alt/Option key + A/P/R/S/T keys. Keep the playhead over the visible keyframe and select the layer. The After Effects keyframe shortcut will remove all keyframes in the layer.
Step2 To remove many keyframes, you should check the keyframes in blue and grey. The former are ones with the playhead over them/that you created recently, and the former are other keyframes.
Press Ctrl + A on Windows or ⌘ + A on Mac to choose all keyframes. They will all turn blue > press the Delete or Backspace key to remove them.
Copy/Duplicate and Paste Keyframes
It is possible to handle multiple keyframing edits like copying keyframes in After Effects, pasting new ones, or duplicating them. The following are the main steps to copy and paste the keyframes into the After Effects software.
Step1 Within a non-empty composition, choose the position of any layer property value and tap the stopwatch icon to prepare the keyframe simultaneously.
Step2 Move the indication to another timestamp. Choose the keyframe icon beside the stopwatch icon to insert a new keyframe. Repeat multiple times to add more keyframes.
Step3 Select multiple or one keyframe in After Effects, choose Ctrl + A, and tap on ⌘ + C or Ctrl + C. Here, ensure access to the hidden properties before viewing the keyframes. Tap the U key to see them in the present selection sequence.
Step4 Choose a position on the timeline and place the indicator on the area where you will add the first keyframe. Then, tap the Ctrl + V or ⌘ + V keys.
Step5 For pasting multiple keyframes in positions on the timeline, select all available keyframes in a layer > press the Ctrl + C/⌘ + C keys > press the ⌘ + V/Ctrl + V keys.
Part III. Why Use Wondershare Filmora instead of After Effects for Keyframing?
Setting keyframes in After Effects is very efficient due to the various keyframing types available. However, the process of doing so, including understanding the various keyboard shortcuts, can confuse beginners. Comparatively, Filmora is a much more user-friendly software to try out.
There are various advanced functions available on this simple-to-use video editor. Here, you can use the preset features like Instant Mode for automatic video editing or utilize the customization-centric resources, like Keyframes. Overall, there are 80+ templates available for adding keyframe adjustments to the video projects. Utilize them or other advanced functions for optimized video editing experience and animations.
How to Use Keyframes With Filmora?
Step1 Launch the Filmora software on your Windows or Mac.
Step2 Click on New Project > Import the video/image file(s) by clicking on the area where you have to insert media files from on the editor screen. Drag it to the editing timeline below.
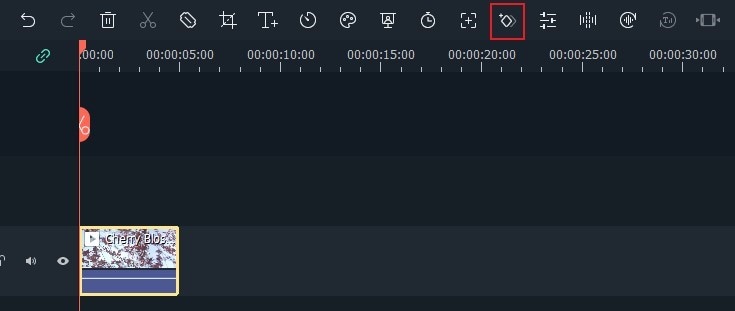
Step3 Click on the clip in the timeline and choose the Keyframe icon.
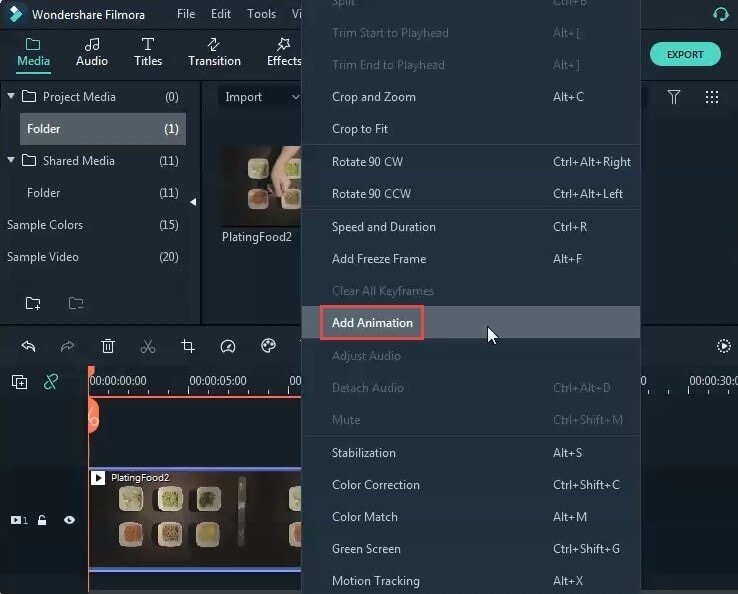
Alternatively, you can right-click on the clip and then select the Add Animation option.
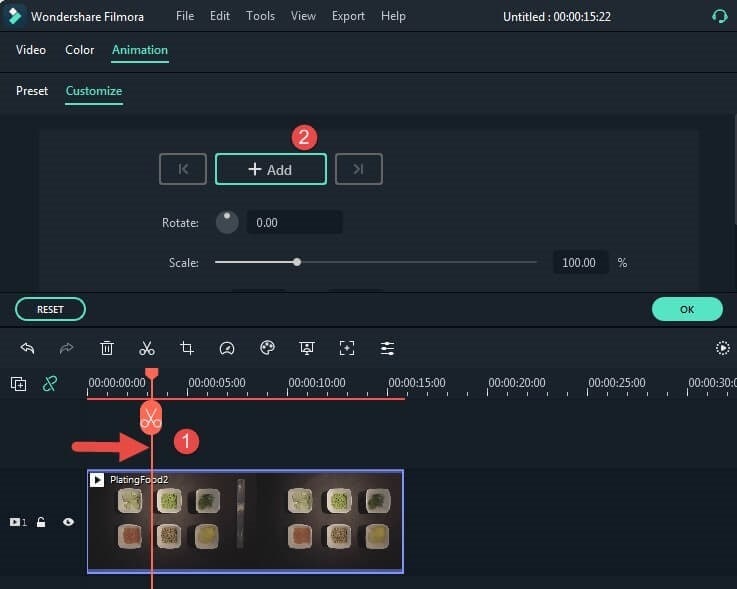
Step4 In the next window that appears, choose the Animation tab > Customize.
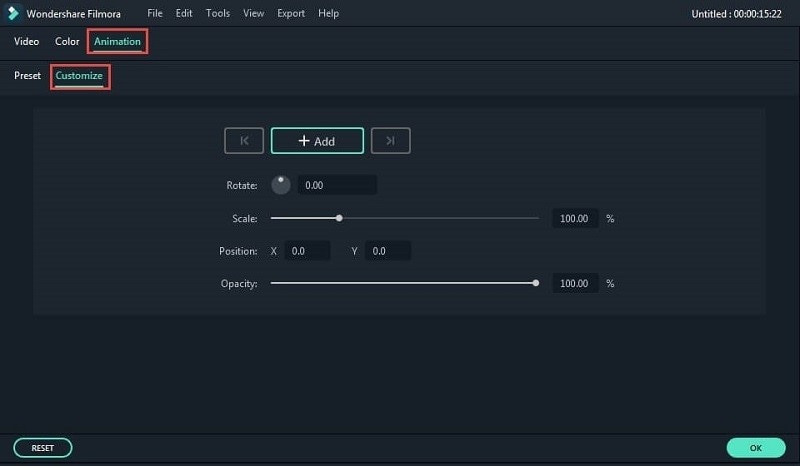
Step5 Tap your indicator on the timestamp where you will add the keyframe. Then, tap the Add button.
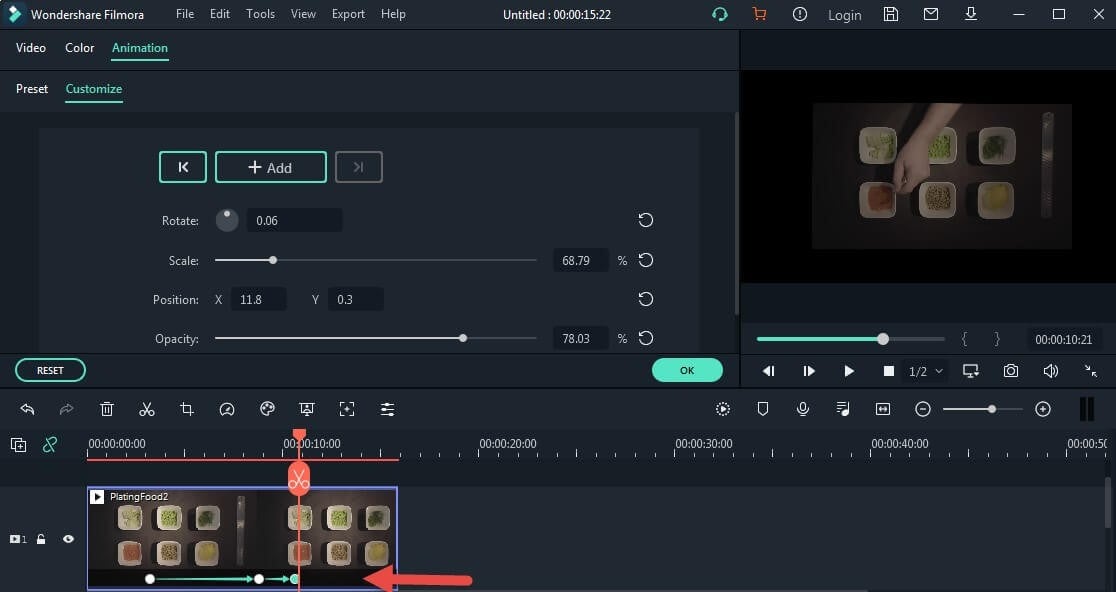
Step6 The keyframe you inserted will appear in the video clip. Under the keyframing menu, adjust values like rotation, scaling, opacity, and position. Then, press the OK button.
Step7 Drag the indication to the second, third, and more timestamps on the clip to insert more keyframes. Change the values for them as well, repeating Step 6 each time.
Step8 Finally, play the video on the Preview window to see how the animation is placed on the screen. If not satisfied, right-click on the keyframe you added to the video clip and choose Edit Keyframe, Clear the Keyframes, or Delete Keyframe options.
Watch this video for a better understanding of how the process works.
Conclusion
Overall, it is possible to add and edit keyframes easily on After Effects, if you know the steps to do them effectively. Multiple keyboard shortcuts are available to continue the insertion and editing process of keyframes. You can activate different types of keyframes in spatial and temporal interpolation quality on this project via this software.
Alternatively, Filmora is another efficient software with a more user-friendly keyframing functionality. Either way, follow the steps carefully to get the proper animation effects in your final project.


