


In video editing, keyframing is one of the main concerns for many different users, and rightfully so. This functionality makes it easy to manage different editing work, like adding animated effects with keyframe-based control.
The Keyframing in iMovie is helpful for many professionals who turn to this software for video editing work. However, it can get complex for complete beginners to understand or operate the functionality on iMovie properly. Here, we present all related details like what keyframing is, how to use the iMovie keyframe feature, and other alternative solutions to consider.

In this article
Part I. Basic Understanding of Keyframing in iMovie
Firstly, let's take some time to understand what keyframes are. This is one of the most crucial aspects of animation effects and refers to all animation frames in sequence. With keyframe control, you can change the visual changes in character depictions with expression and movement changes.
In the context of digital animation and motion graphics, professionals focus on keyframes to understand the change from one moment/pose to the next. Based on that, the animation effect occurs when editors interpolate the sequence between keyframes with pacing and timing. Using the iMovie keyframe function deals with this action when professionals work to create animated movies.
Rules of Keyframing on iMovie- Important Points to Note
The keyframe iMovie function is one of the functions available on this macOS or iOS video editing software. It is one of the valuable features like other ones like preset filters, effects, and the Cinematic Mode effect. However, using the feature is complex and applicable to all types of videos.
While you will get the Keyframing function on this software, it is not easily visible like other features such as trimming. Users can see the feature in a diamond shape icon after they do the cropping function on this software. Plus, one has to apply it alongside the picture-in-picture functionality.
This is a downgrade for most users compared to other video editing software like Adobe AE or Filmora. Unlike the iMovie keyframe, they come with a more spartan feature version for keyframing.
Pros and Cons of the keyframe function on iMovie:
Part II. The Process of Applying Keyframes via iMovie
There are specific steps to follow with the iMovie keyframe function.
Step1 Launch
Download the iMovie software on your macOS device and launch it after completing all installation steps.
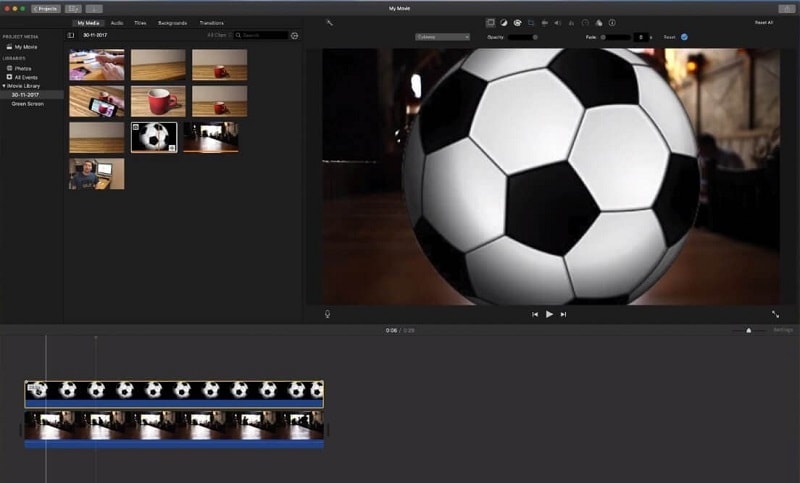
Step2 Download 2 different clips in Timeline
Next, go to the My Media section, insert a video clip, and drag it to the editing timeline. Insert a second clip or PNG image and drag it over the first clip, or drag it over the entire video if you add an image.
Step3 Picture-in picture
Click on the Cropping function on the editor timeline. You can adjust the image or video on top of the primary one through this section. If you have added a PNG file, the image will look zoomed on opt of the video after just overlapping it.
From the Cropping feature, click on Crop > Fit. This will align the image over the video clip by height and width.
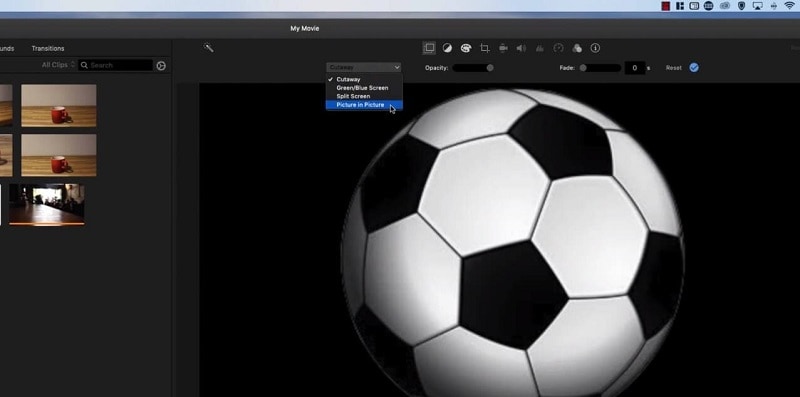
Then, tap on the Video Overlay Settings option and choose the Picture-in-Picture option.
Step4 Add Keyframes
There are different ways to add keyframes.
You can go to the parameters list and hit the Animation menu on the left side of Keyframe Editor. Then, choose Animation Menu and tap the Add button. The keyframe will apply to the playhead location.
Alternatively, you can tap on Option and drag the curve segment under the Motion tab. The keyframe value will appear at the location of the point.
Or, if you are planning to insert the keyframe within the animation curve, choose Option. Then, click or double-click the curve within the graph area. The keyframe will automatically appear in the pointer location.
Step5 Adjust Keyframes...
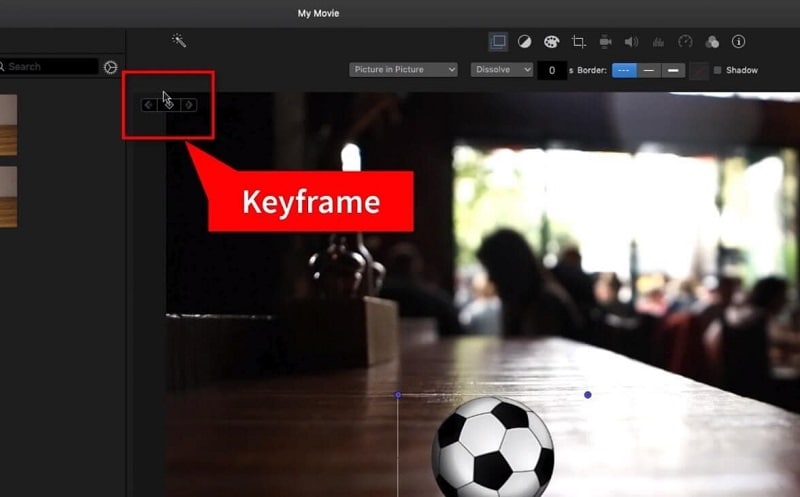
Next, you have to adjust the keyframes with the position of the object in the overlaying image for animating it in the video. Drag the object to the location from where the motion will begin. Then, tap the Video Overlay Settings option. Choose the Keyframe icon and include the first keyframe.
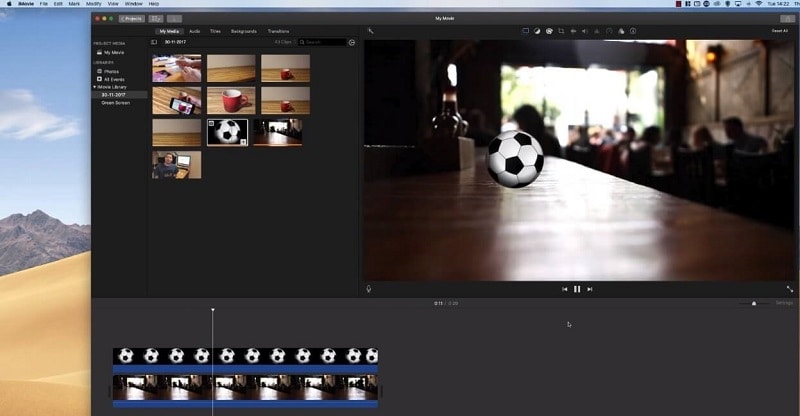
Hit the Space bar on your keyboard to allow the video clip to start playing for approximately 3 seconds. Then, drag the object in the picture upwards for a bouncing effect or other directions depending on the type of animation movement you want.

You can remove a keyframe after if you want to edit it. Drag the image objects in different directions for a specific period, like three seconds, for different animations. Allow the video to play for a more extended period to allow a slower movement.
Add more keyframes this way to your video project on iMovie.
Part III. Wondershare Filmora- Why You Should Switch to Filmora as the Better Alternative to iMovie for Keyframing
iMovie is a capable video editing software, and that is true. However, the keyframing functionality in this software is complex, especially for users with limited technical skills or experience.
Comparatively, Wondershare Filmora is a comprehensive video editing software for professional-level editing experts and beginners just starting out.
What is Filmora?
The UI in Filmora is simple to use and has advanced built-in functions that are easy to operate for high-quality video project creation. Plus, it is equally usable on Windows and Mac and has robust editing software and resources compared to other video editors. In terms of animation, the Keyframe function on Filmora is simple to use and powerful in its functionality.
Users can narrow, enlarge, and rotate the video clips for custom animations, choosing the starting and ending keyframes easily. Add effects like fade-in/fade-out and change parameters like clip transparency and size with a click of a button. Not to mention, there are 80+ animation templates available beforehand for instant customized animations.
How to Use Keyframes With Filmora?
Step1 After launching the Filmora software on your device and importing the video file, you can add a secondary clip, motion element, or image. Drag it to the editor timeline below and click on it. Then, tap the Keyframe icon above the timeline.

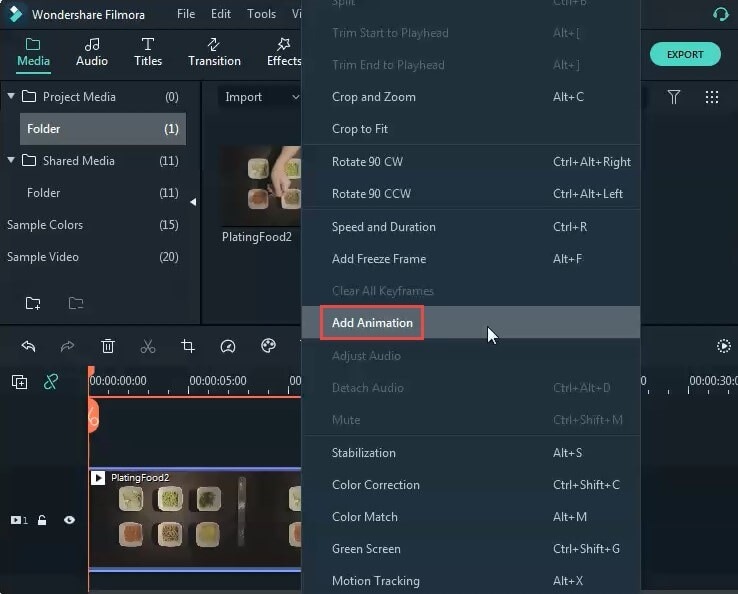
Alternatively, you can right-click on the file and tap the Add Animation option from the drop-down menu.
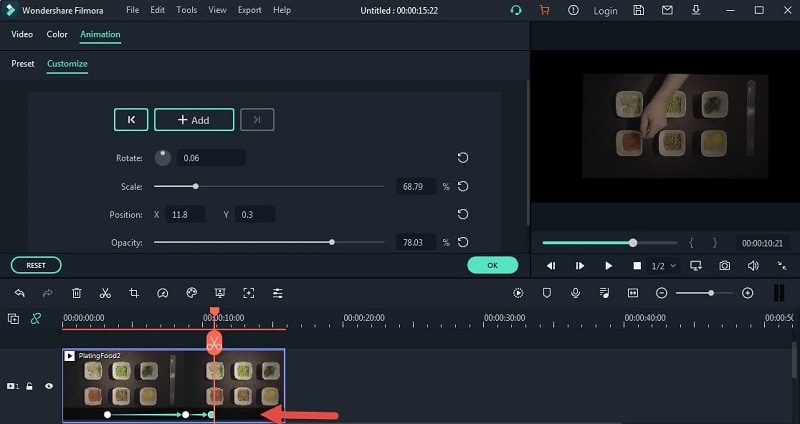
Step2 In the following menu, tap on the Animation tab, and choose the Customize option.
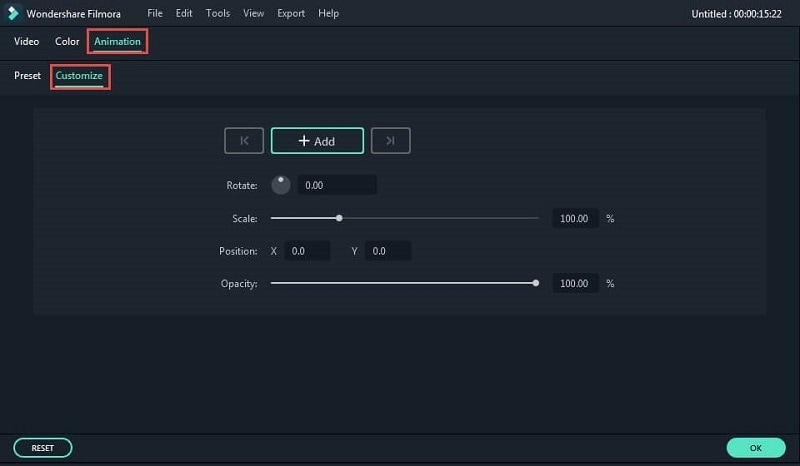
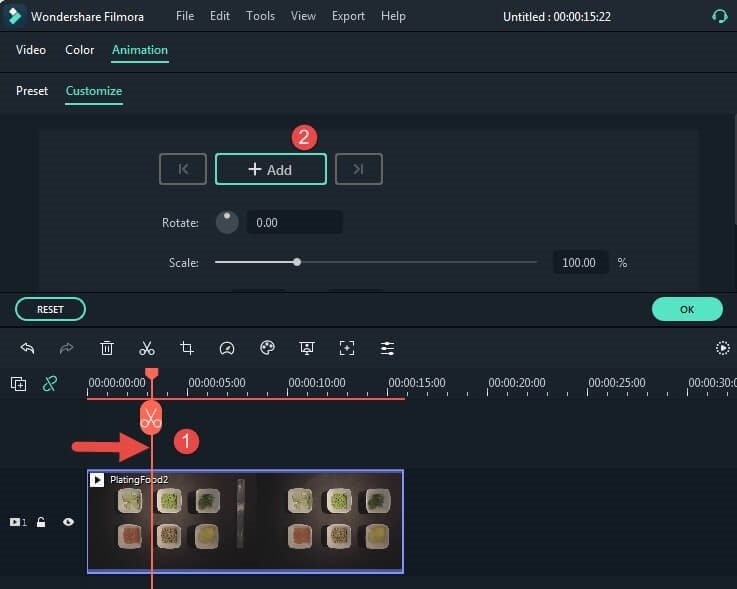
Step3 Move your cursor/indicator to the specific timestamp on the video file where you want the keyframe to start from. Press the Add button.
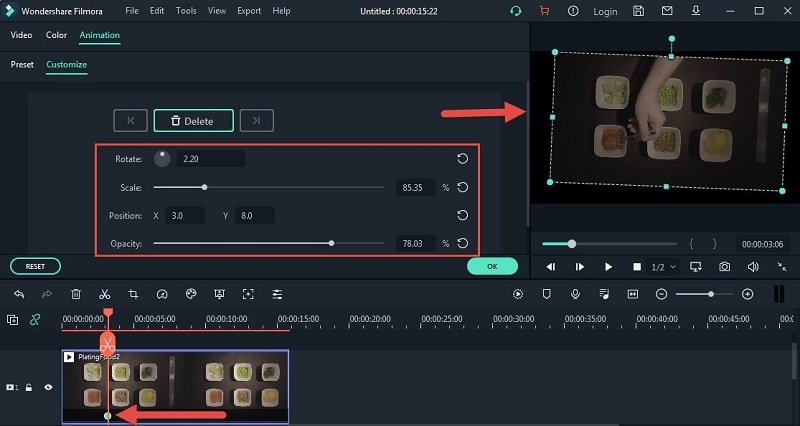
Step4 Change specific settings like rotation, scaling, placement, etc. You can drag the media file in the preview area for keyframe adjustment.
Step5 Move your indicator on the timeline to the next timestamps and press the Add button. You must include at least two keyframes in the video to create an animation. The first keyframe is how the animation starts, and the second one shows the change in the clip after the movement. You can insert more keyframes one by one and adjust their values like the first option.
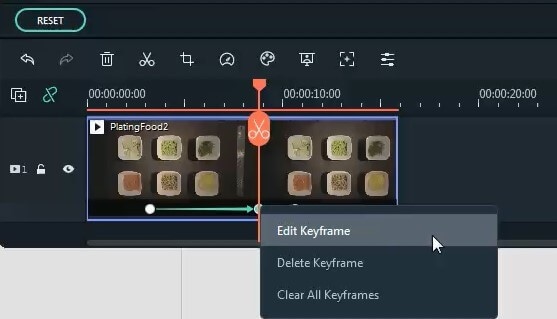
Step6 Preview the video on the timeline to evaluate the quality of the animation. Right-click on the file and choose to edit keyframe, delete keyframe, or other options.
For an easier understanding, watch this video.
Conclusion
Indeed, iMovie is a capable video editing software that offers users a wide range of functions. However, it is possible to adjust the keyframe iMovie as well, but the process can get complex for many users. Alternatively, you should try Filmora for the more straightforward keyframing function on the software and use other useful advanced features.
Based on your needs and what additional benefits you want in your project, utilize the video editing software that works for you.


