


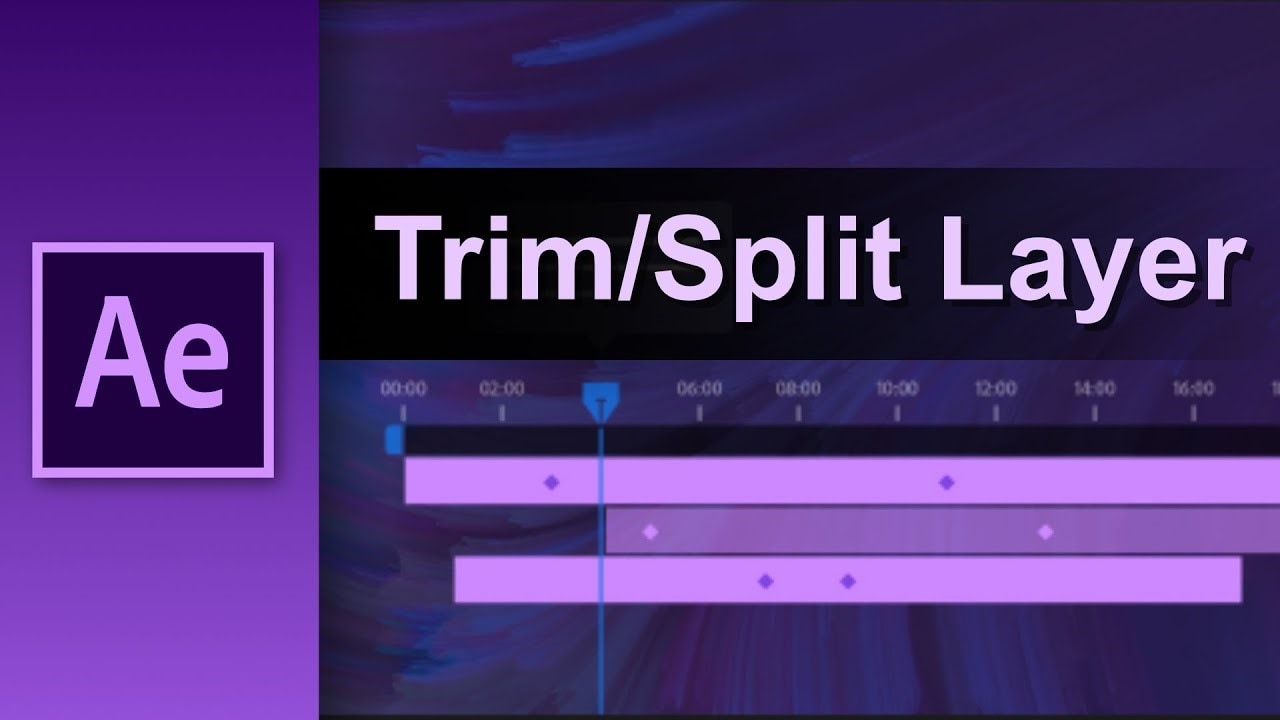
Splitting a layer in After Effects means that you are taking the selected layer and breaking it into two layers where the Current Time Indicator is. Nothing else is affected. Keyframes don’t move. The layer’s start and end points don’t move. It is just karate chopped at the Current Time Indicator into two layers.
If you’re active in the world of motion graphics, then you’re probably very familiar with the split-layer style of animation, and rightfully so. Conventionally, if a motion graphic artist wanted to get this type of animation style, they would either have to do it by hand (which could take a very long time) or they had to fork over a lot of money to buy a script or template from an online marketplace.
In this article, you will be enlightened on the basic understanding of Layers, the essence of Layers, how to split a Layer in After Effects, shortcut tips, and many more. Keep close!
In this article
Part 1. Basic Understanding of Layers
What is a Layer?
Layers are the elements that make up a composition. Composition is nothing more than an empty frame without layers. Create your composition using as many layers as necessary. There are compositions with thousands of layers and compositions with just one layer.
Moreover, tracks in Adobe Premiere Pro are comparable to layers in After Effects. The main distinction is that a Premiere Pro track often comprises many clips, whereas an After Effects layer can only have one video item as its source. Although the interface for working with layers differs, layers in After Effects are comparable to layers in Photoshop. Comparable to working with layers in the Layers panel of Photoshop, working with layers in the Timeline panel of After Effects.
Types of Layers
| Types | Examples |
| 1. Video and audio Layers (based on footage items that you import | still images, movies, and audio tracks |
| 2. Layers that you create within After Effects to perform special functions e.g., lightning and coloring adjustments | cameras, lights, adjustment layers, and null objects |
| 3. Solid-color layers | solid-color film objects |
| 4. Artificial layers | Shape layers and text layers |
Importance of Layers in Video Editing
In a video project timeline, layering is the stacking of media pieces to allow for the simultaneous playback of numerous elements. The split screen layout with numerous video "windows" playing simultaneously is the most popular layering effect.
Additionally, an editor can produce engaging video montages for music videos, bumpers, and teasers by changing the stacking order and resizing, rotating, and moving each clip.
Part 2. How to Split Layers in After Effects
Unlike other editing software, After Effects divides your Timeline into Layers, and even if clips play directly one after the other, you can’t have more than one clip on a Layer. When you split a clip, After Effects will divide your single layer into two. Here is the quick method to split layers in After Effects:
- Import your file – go to the File > Import and then select the source where you want to import your masterpiece.
- Select the video track in the timeline of the editor – move the manual for the specific point you need to cut the track, and afterward, you can either utilize the alter menu Edit > Split layer or the alternate way.
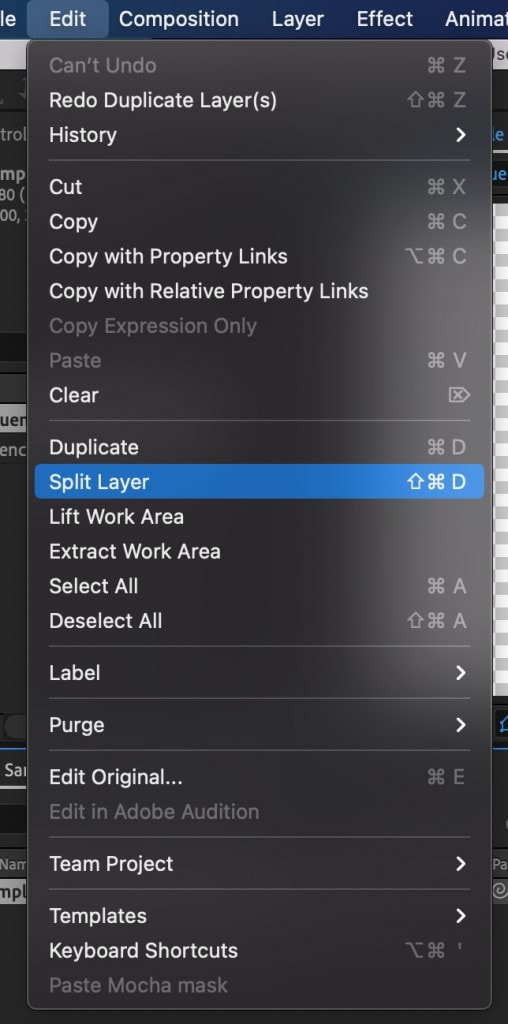
As a result, your video track is split, and the next section is moved to a separate layer so you can add change effects, etc. as needed. You are not limited to making a single cut; instead, you are free to make as many as you like and have the ability to rearrange them as you see fit.
- Export – export the completed video from the file>export menu. Picking 'add to deliver line' gives you the render menu permitting you to pick the settings, filename, and objective of the last yield as you need.
Shortcut Tricks to split Layers
It is always interesting knowing that you can achieve your aim by spending lesser time. This shortcut method will equally help you split Layers.
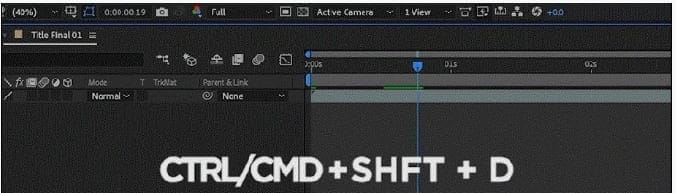
- For Windows –: Ctrl+ Shift + D – Quickly split any layer or set of layers by hitting Ctrl + Shift + D.
- For Mac –: Cmd + Shift + D – Quickly split any layer or set of layers by hitting Command + Shift + D.
Layers’ editing tips
In addition to how to split Layers in After Effects, there are a few useful tips for you:
- Composition – The majority of your work in After Effects will be placed within a composition. The layers of your animation or video are generally stored in a composition. Go to Composition > New Composition to create a composition.
Click OK after making necessary changes to your composition's size, framerate, and duration.
- Blur and Sharpen – From the Effects and Preset menu, you may access all the blur and sharpen effects. Drag and drop any of these blur effects into the composition to use it.
After application, the blur can be modified by modifying the value in the Effect Controls panel. Your image will appear blurrier the higher the value.
- Drop shadow – A drop shadow can make it appear as though an object is elevated over the background object.
Type "Drop Shadow" into the search field in the Effects and Presets tab to apply this effect. To apply it, choose one from the list and drag it onto the logo.
Then, you may modify how it appears by visiting the Effect Controls tab and altering the settings (e.g. color, opacity, direction, and distance).
- Glow – Go to the Effects and Presets section and enter "Glow" in the search field to apply this effect to an image. Drag it onto the image after choosing it from the list to apply it.
Then, you may modify how it appears by visiting the Effect Controls tab and altering the settings (e.g. color, radius and whether it is behind or in front of the object).
Part 3. The Ultimate Alternative to Split Clips - Wondershare Filmora
Layers are not only designed in After Effects. Layers can also make your video clip more attractive and the best choice for you will be Filmora.
Advantages of Using Filmora
The key advantages of Filmora are its user-friendly toolkit and feature set. Details are as follows:
- Split-screen is one of Filmora's notable features. With the help of this function, users can create their own videos with simultaneous playback of footage and clips. Selecting the split-screen icon from the tool's main menu will accomplish this for users. The icon is located beneath the icons where users can add text, audio, video, and filters, as well as perform video transitions.
- Advanced text editing is also included with Filmora Reviews. From where the text is located, users can lower the clip volume. The text and its components, as well as any accompanying effects, are copied and then pasted into other areas of the clip. Users can divide specific clips at this point so that texts can be added.
- Filmora has Power Tool and Mosaic functionalities. They can blur certain areas in a clip via “percentage” adjustment which can increase/decrease the “square” where the blur is currently being applied.
How to Apply Layers in Filmora
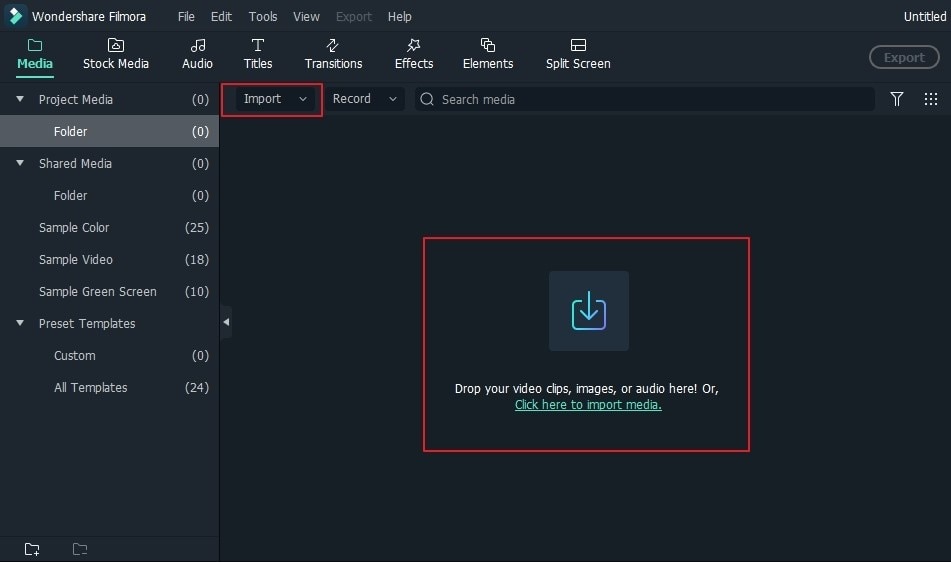
Step1 Import your photo and video files to Media Library
To use the Picture-in-Picture functionality of the Filmora video editor, launch it after downloading and installing it. Both your video overlay and photo overlay files should be imported into the Media library along with the main video clips.
Step2 Add Video Overlay/Photo Overlay to Timeline
Drag and drop the main video to the main video track on the timeline panel after importing videos and photos into the program's media library, and then drop the overlay material (videos or images) to another track. A raw picture-in-picture video will then be provided to you. To view a preview of it, click the Play button in the Preview window.
Step3 Customize the video overlay in Picture-in-Picture Track
Next, you may customize your Picture-in-Picture overlay track using a variety of adjustable parameters. When you double click a video or image that has been added to the timeline, the editing panel will appear. To add the motion effect to the video overlay, double click on it.
You may adjust the Position of the Overlay Video: Click the image or video in the PIP overlay track and you will see there is a green box around the media in the preview window. Just drag it to any position you want in the video.
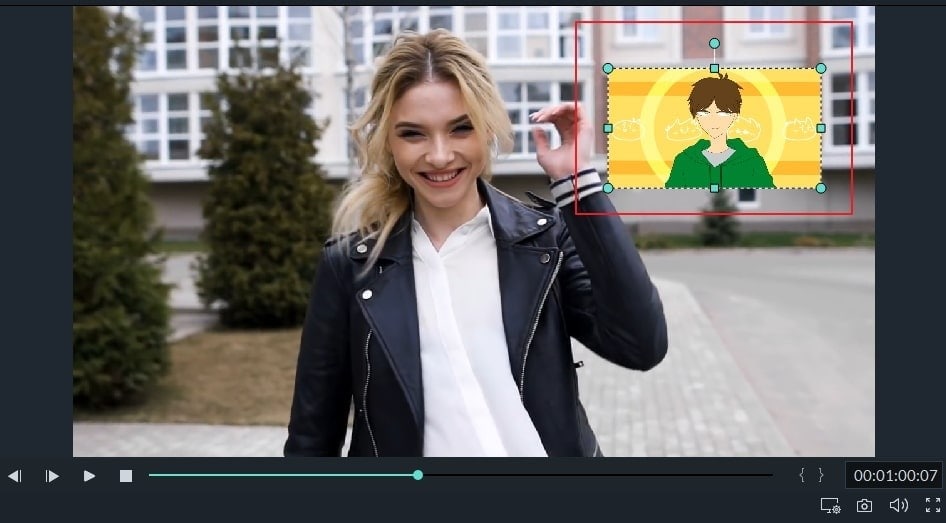
Change the size of the overlay video by dragging the rectangle handles on the video/image playing window.
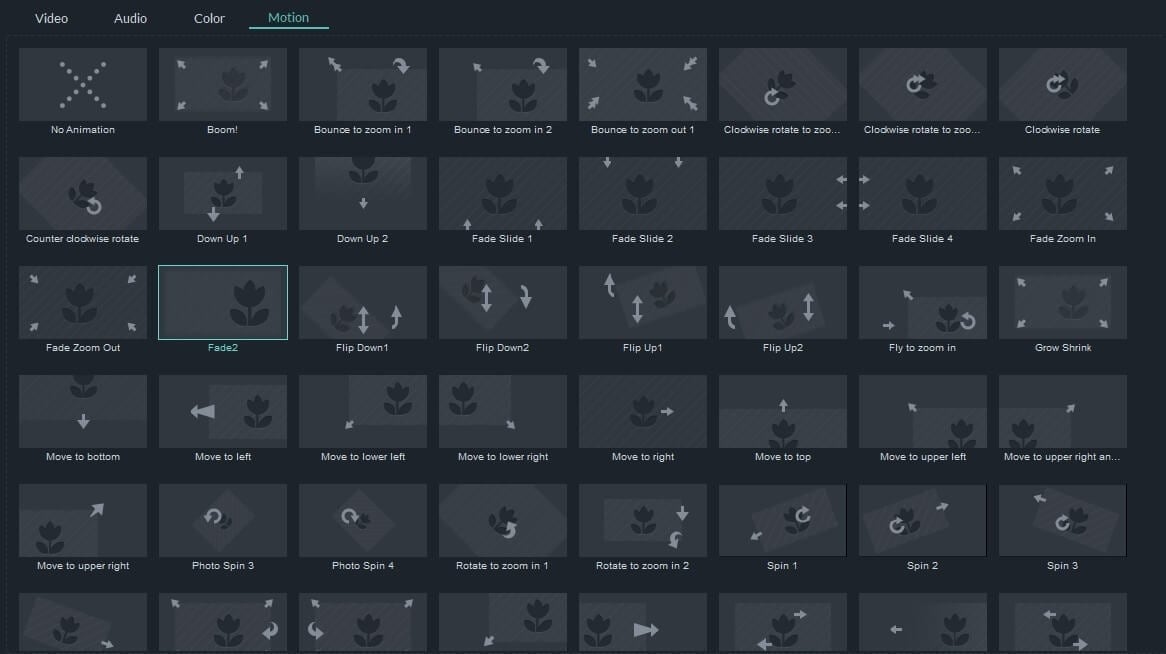
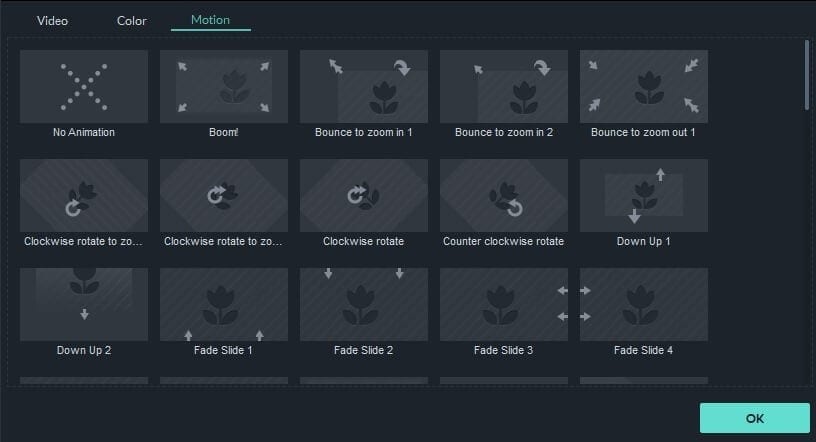
Apply motion to the overlay video to make it animated. There are more than 60 motion effects available. When a move is included in a PIP, a sign will appear.
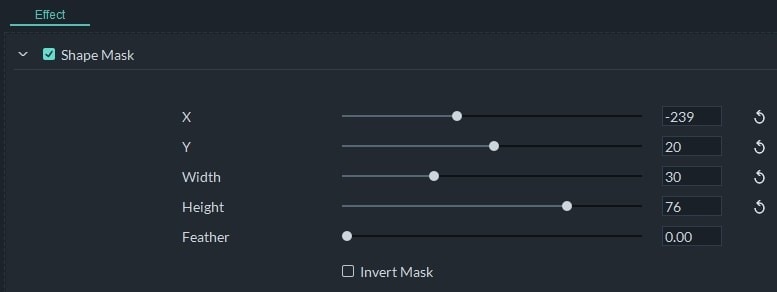
Add Mask to photo/video overlay – Go to effects. Next, select Utility from the left. For it to be applied to the video/image overlay, choose Image Mask or Shape Mask. By double clicking the overlay, the X, Y, Width, Height, and Feather of each mask may be changed.
Step4 Adjust the main video and the overlay video
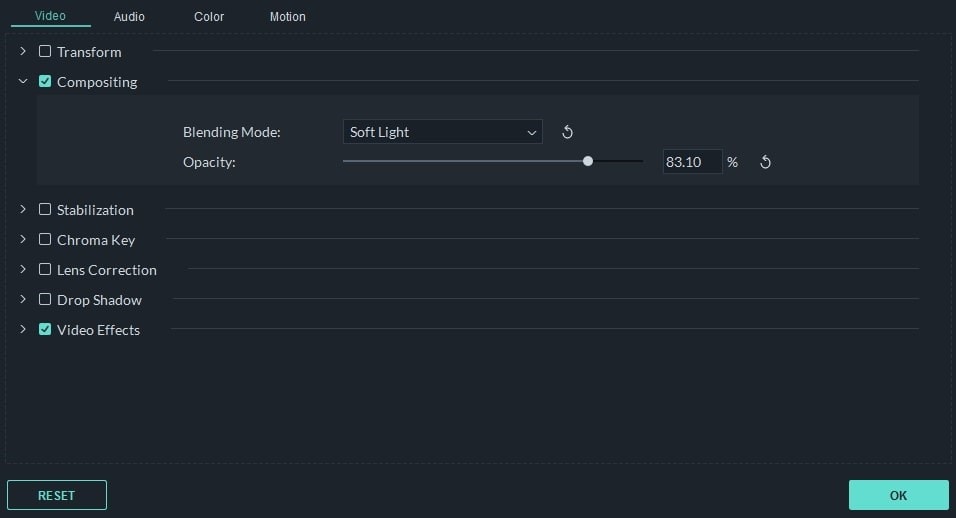
By changing the blending mode and opacity, Filmora makes it possible to composite the overlay video/image with the main video in a better way. Double-click the timeline overlay. You can select a target blending style from Darken, Multiply, Color Burn, Screen, and many other options on the video tab (if your overlay is video) and modify the opacity of the video. The blending effect can always be seen in the preview pane.
Step5 Save picture-in-picture video
You can save the Picture-in-Picture video on DVD, a device, and YouTube by clicking the Export option on the right when you are satisfied with the Picture-in-Picture effects.
Watch this video to know the easiest way to apply Layers in Filmora.
Conclusion
Splitting and trimming your layers is a vital skill for any After Effects user, and once you’ve mastered the hotkeys, you’ll be slicing and splicing quicker than ever. Adobe After Effects is a versatile software that can be used for much more than just trimming films. It goes beyond simply splitting or chopping the videos.


