


“How can I make bomb cooking videos and create a legendary cookbook of all time like Chef Sanjay on YouTube?”
Well, with consistency and discipline, anyone can make the best cooking videos on YouTube, even make a good career out of it. One thing is for sure, though, it is not easy. But this shouldn’t make you cringe and toss your desire to be a renowned chef with the best cooking videos on YouTube. To get there, you will need to start somewhere, and you are in the right place this very moment.
In this article, we shall address how to make the best cooking videos precisely for beginners. If the video isn’t the best you can do, why bother? The goal is to give your viewers the wow feeling and have them eagerly waiting for your next upload, right! If that’s the case, get your cooking hat on and prepare to get smoked!
Tips on How to Make Cooking Videos for Beginners
Before the main course, we have the preamble. It would be insane just to get up and start making a cooking video without planning, right. Therefore, to avoid flopping headfirst on your first cooking video, you must first plan for it. How? You ask. The answer is right below.
Step 1. Planning before Making Videos
How does that famous saying go? If you fail to plan, you plan to fail! Well, you should make it your slogan for life, especially for this adventure on making cooking videos you are about to get started.
Now, the first move towards making the best cooking video on YouTube is to get all your ideas neatly laid out.
- Are you looking to remodel an existing recipe?
- Is it something completely fresh?
- Do you want to combine more than one method to make something interestingly yummy and unique? Or is it a pretty simple recipe?
- What would you need to make a complete meal or snack? How much time would the cooking take?
- What is the theme of your cooking clip?
- Will you have background music for cooking videos? What kind of music and when will it be playing in the video?
You ought to know all the answers to these and more questions you could ask yourself before making cooking videos. It is advisable first to try a new recipe with no recording, as this will make it easy for you to follow and minimize editing out a lot of mishaps when you are making the actual cooking video.
Step 2. Using one or two Equipment
Next, you have to determine how many cameras you will need to make YouTube cooking videos. As a newbie, you probably could use two. It enhances the quality of your video besides making it spicy since the video will be from two different perspectives. Achieving good quality output with two cameras on your own can be quite cumbersome. Thus, you will need another pair of hands, a friend or sibling or partner could hold the other camera for you. The two cameras don’t have to be the professional kind, recording in HD on your phone is just as good, so don’t feel pressured to get the pretty expensive ones just yet.
Also, having a tripod accessorized to your equipment is very vital since it ensures a steady output of your cooking videos. You might need to get it ASAP before you embark on making your first YouTube cooking video.
Having checked off everything you need on your ‘YouTube cooking video essentials’ list, you are ready for the drumrolls and ‘lights, camera, and action’ moment. After an hour or so of recording, you finally have your first cooking video shot! But that’s not all. You have some editing to do. See, it’s not as easy as reciting the alphabet.
Read on to learn how to edit your cooking video recipe before sharing it with YouTube and other social media platforms. It only gets more captivating!
Step 3. Editing Cooking Videos
When it comes to editing cooking videos, there are hundreds of video editing tools swarming the Internet. Some are free, while others have subscriptions you pay for to make use of the apps’ features. Other video editing tools are pre-installed in PCs (Windows Movie Maker) and Mac’s (iMovie). You can go berserk, trying to find the best video editing software that best suits your needs.
Hence, to save you all that trouble, we recommend that you get Filmora Video Editor. It is an inexpensive feature-packed easy to use application that will assist you in making a cooking video story ideal for sharing on YouTube, Instagram, Facebook, Twitter, etc. It is very accommodative of new users and works smoothly on Windows and Mac computers.
Filmora Video Editor
- Easy to use intuitive interface with powerful editing tools.
- Cut and combine video clips with ease, edit videos with attractive video effects packet.
- Provides multiple advanced effects like green screen, split-screen, and others.
- It allows you to upload a video to YouTube directly after editing.
Step-by-step Guide: How to edit the cooking videos to make it outstanding
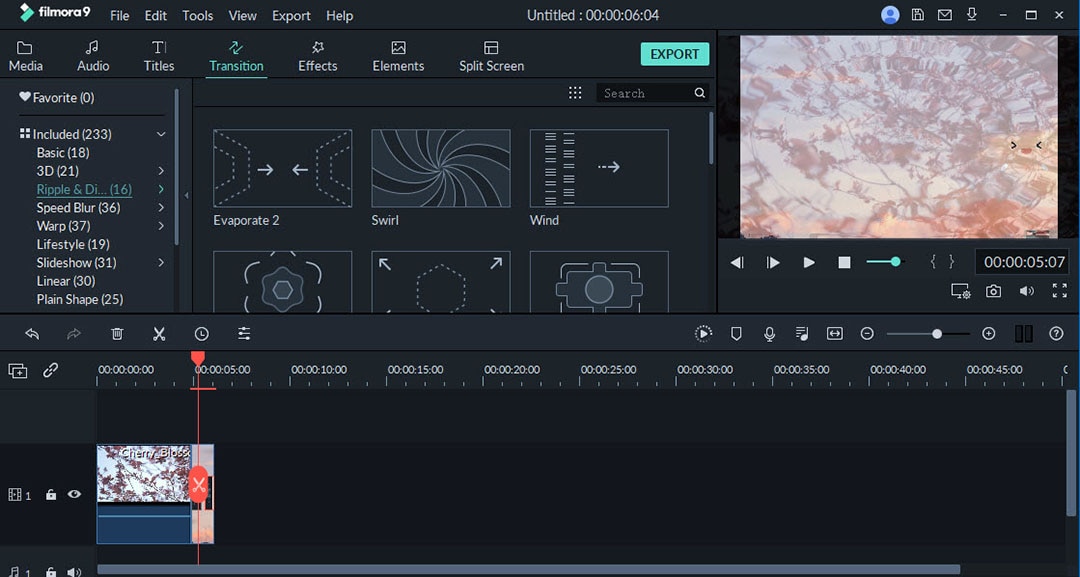
1. Add Transition: To make the best YouTube cooking video, you will need to add transitions to merge two different scenes into one clip. Luckily, Filmora Video Editor presents you with up to seven types of transition options to choose from plus more than 200 free video transition effects. To add transition effects to your cooking video, follow the guideline below:
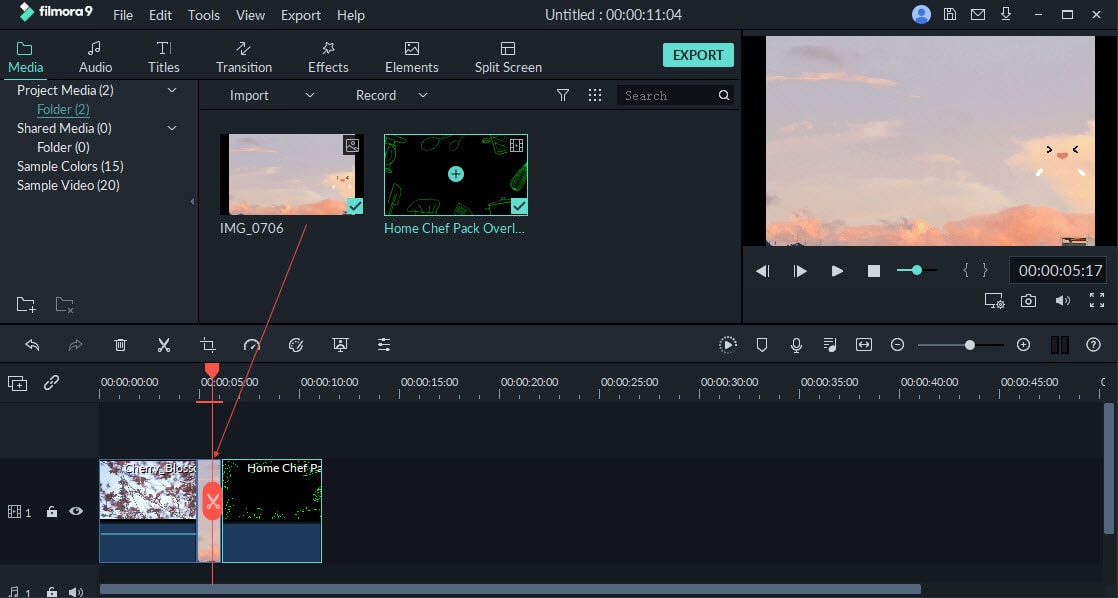
Step 1. Choose the video clips you would like to merge: Pick the cooking video files to add, then drag and drop them on the Timeline of the program, and they will get automatically added.
Step 2. Go to Transition module: Next, find the Transition option and tap on it to have a glimpse of the effects available for use.
Step 3. Add Transition effect: Finally, after deciding which effect to use, add it to the videos, either one by one or all at ago. You are better off working on a single clip at a time to avoid any confusion.
2. Add background music: A cooking video with some fresh and calm music playing in the background is just super likable. Fortunately, Filmora Video Editor provides you with a Music Library with multiple music styles. Besides that, you can download music from other sources and add them to the cooking clip in Filmora. To add background music to YouTube cooking video:
Step 1. Put the video on the Timeline: As always, drag and drop the said cooking video to the Timeline and tap on the Music tab. Next, choose the desired sound effect and get it to the soundtrack in the timeline.
Step 2. Next, launch the sound editing interface by double-clicking on the soundtrack. Now, adjust the speed of the music, fade in and fade-out effects, volume, etc. to achieve smooth synchronization of the background music and the cooking video. You can also mute any unwanted noises in the video here. Wants to sync your video to the beat of the music? Right click on the audio file and select the "Beat Detection" option.
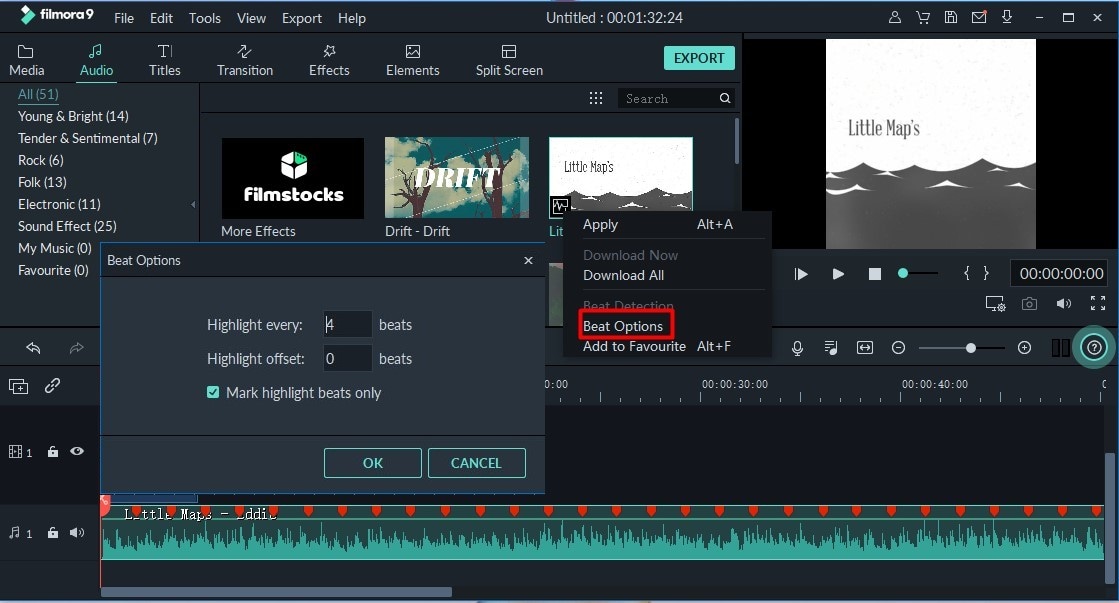
Pro Tips: Wants to sync your video to the beat of the music? Right click on the audio file and select the “Beat Detection” option. Then you will find the beat marks and easy to adjust your video clips to the background music.
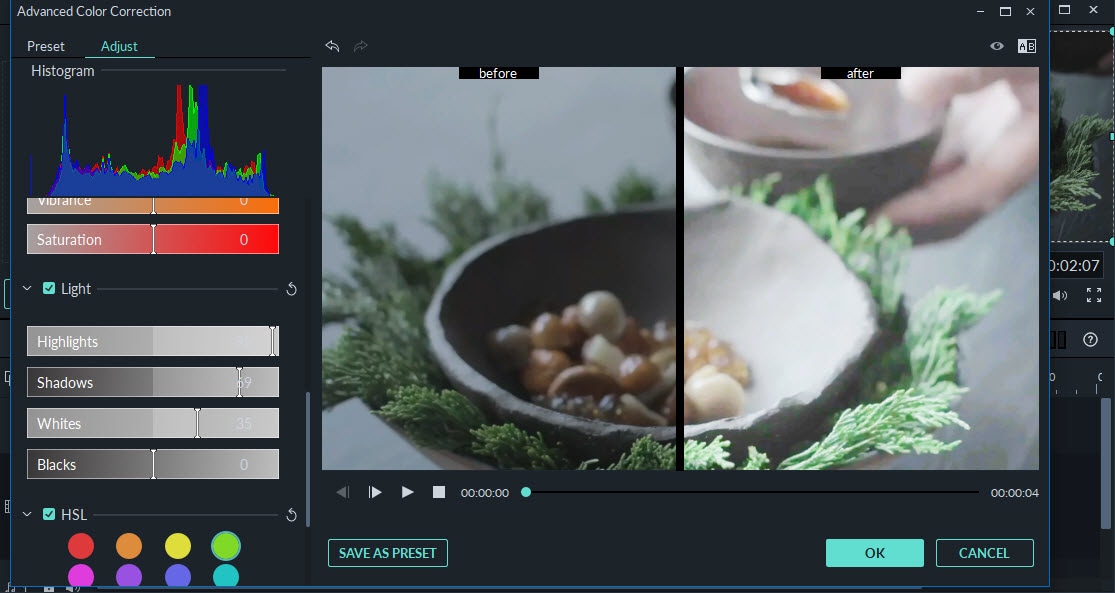
3. Adjust brightness: Double click on the video clips, you will have not only the chance to adjust brightness, but also the video’s contrast, tint, saturation, and so much more to realize the 3D LUT effect in the video file. If you are unable to make the adjustments yourself, check the Auto Enhance option and let the software decide for you.
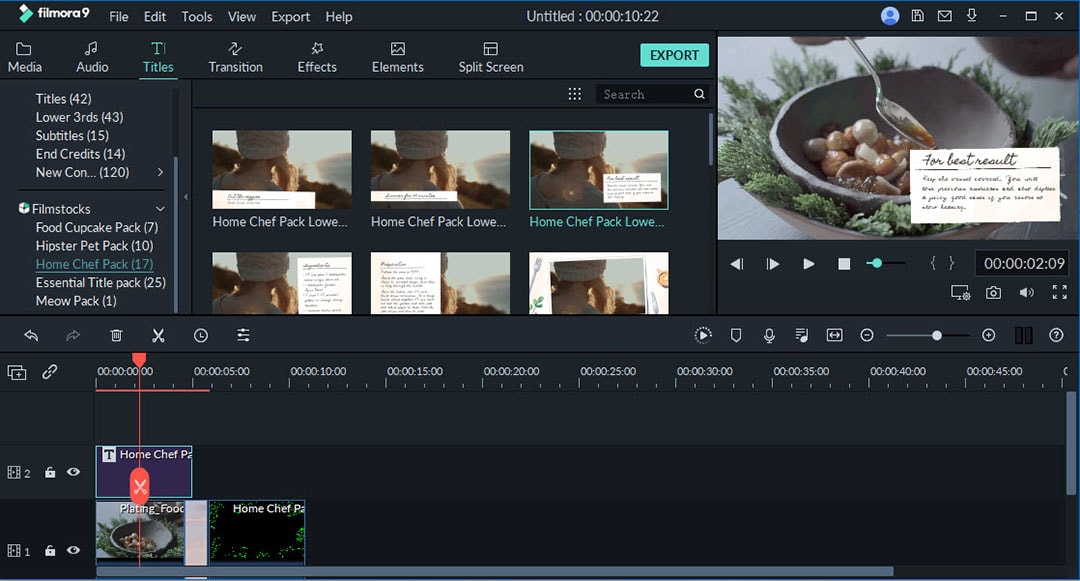
4. Add Title and Recipes: Simply drag it from the animated text generator and drop it to the Timeline. On the left panel, there is a toolbar, check it and click on the ‘Title’ icon to see the variety of text templates. Next, right-click on the text file to avail the drop-down menu and select Show Inspector to proceed. A window will display for you to write in the text box the title and recipes for your cooking video, an item at a time. This feature allows adjusting the text position, font type, size, and color to your liking. When satisfied with the final result, tap on OK to save the changes you just made.
5. Sharing your Cooking Videos: On successfully editing your cooking video, after you are satisfied with all the adjustments you have made, tap on the Export button to save it to your computer or directly share it to YouTube and other social media apps.

Conclusion. Cooking on its own is so much exciting! When you add making cooking videos to it, the whole experience becomes super exciting. Now, the process of creating the best YouTube cooking video is pretty tedious and requires a dash of wit and a pinch of skill here and there. Thus, don’t forget to use Filmora Video Editor to edit and make the best YouTube cooking video of all time. Enjoy and share widely.


