


How do l trim a QuickTime video on mac?
Like a lot of built in software, Apple's QuickTime is a useful video player that comes with various other functionalities. In fact, it's not only a video player but also a great tool which has many basic video editing options that will help you a lot.
This software is not used by Apple users that much because there is iMovie and a lot more other software that are better than it. But if you want to learn how to trim video with QuickTime, then you have come to the right place. With the help of this article, you'll be able to trim QuickTime video free by following a step by step guideline. The basic way to trim QuickTime video on Mac is by cutting out as much as you want from the beginning and end of a video clip.
- Part 1. How to Trim Video in QuickTime
- Part 2. Best Alternative of QuickTime to Trim Your Video - Filmora Video Editor for Mac
How to Trim Video in QuickTime
It's really easy to trim QuickTime video on Mac. Follow the below steps properly to learn how you can do it.
Step 1: First you need to launch QuickTime player in your Mac.
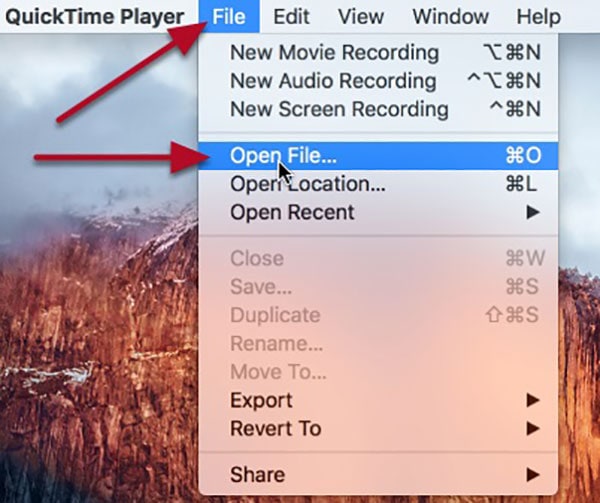
Step 2: Then you need to click on "File" from the menu bar and select "Open File" to open the video you want to edit.
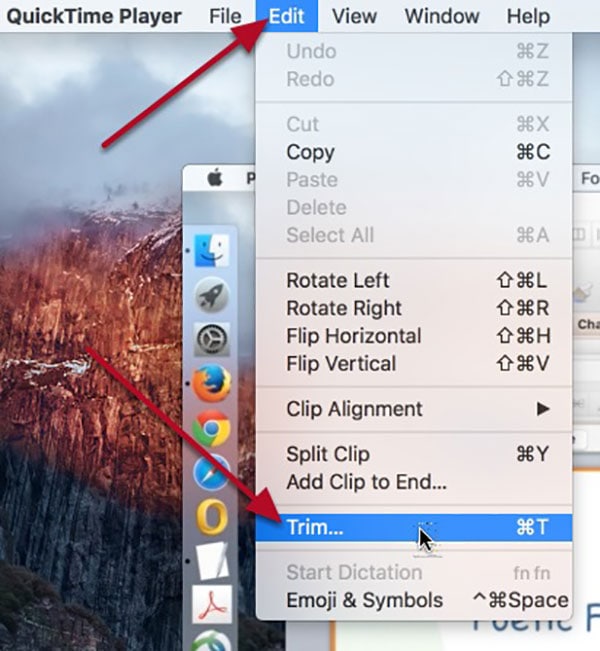
Step 3: Next click on "Edit" option from the menu bar and then select "Trim" from the options.
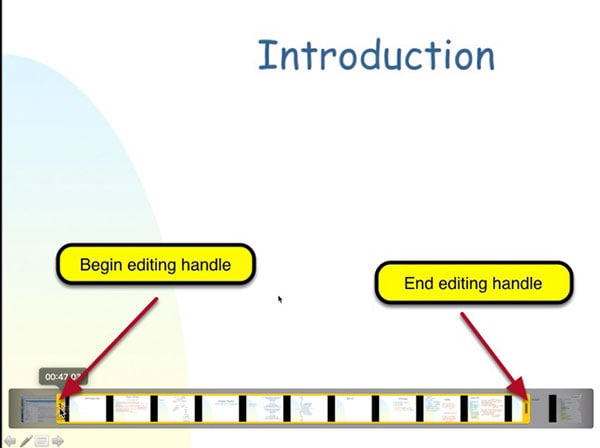
Step 4: Now you need to adjust the beginning and ending handles by dragging them left and right according to your need. This will allow you to determine the main part of the video clip that you want to save.
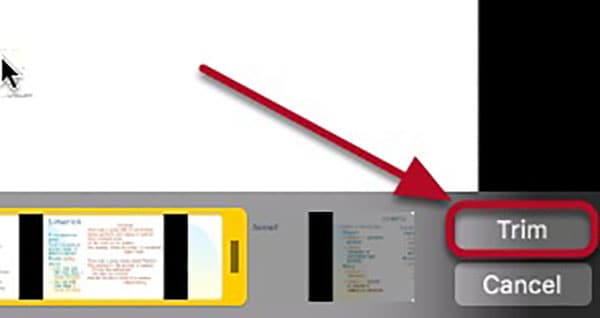
Step 5: Then click on the "Trim" button like the below image to keep the portion of the video that you selected.
Step 6: Now you can play the video clip that you have trimmed to ensure that it was right.

Pros
1. It can covert images to different formats.
2. It can save videos from the web.
3. Allows you to create and edit videos with special FX.
Cons
1. You need to install extra codes manually to play back some videos and audios.
2. It doesn't have any playback support system for files including AVI and FLV file formats.
Quicktime is easy to use , but it's obviously not appreciated by a lot of people because when you need to trim a clip not from the beginning or the end, you won't be able to do it by using QuickTime. It also doesn't has any effects, text or more advanced editing options in it. So if you want a better option for yourself, then you should start using Filmora Video Editor to edit all your videos easily.
Best Alternative of QuickTime to Trim Your Video - Filmora Video Editor for Mac

Filmora Video Editor for Mac or Filmora Video Editor can be the best alternative of QuickTime to trim your video. It has a lot of features that includes – rotating, trimming, splitting, cropping, joining, etc. and more. Anyone can use this tool to create videos, edit audio, apply effects and share the new video in YouTube and other social media websites or devices. If you start using Filomora Video Editor, you will understand how easy it is to edit a video by using this advanced video editing tool for beginners.
Key features:
- It can import more than 24 types of file formats that include MP4, MP3, WMV, 3GP, AVI, etc.
- It has video color correction, personalized watermark, green screen and scene detection.
- It allows you add animated titles to your video to make it more special.
- It can quickly export videos in the format and platform that you need.
- Provide more than 300 effects in your videos.
How to Trim Video on Filmora Video Editor
Filmora Video Editor is an advanced video editor for any beginner who doesn't know how to trim or edit videos easily within a few clicks. You can start editing your videos by using this tool anytime you want. All you need to do is follow the below guideline to learn how to trim video on Filmora Video Editor.
Step 1: Start the software
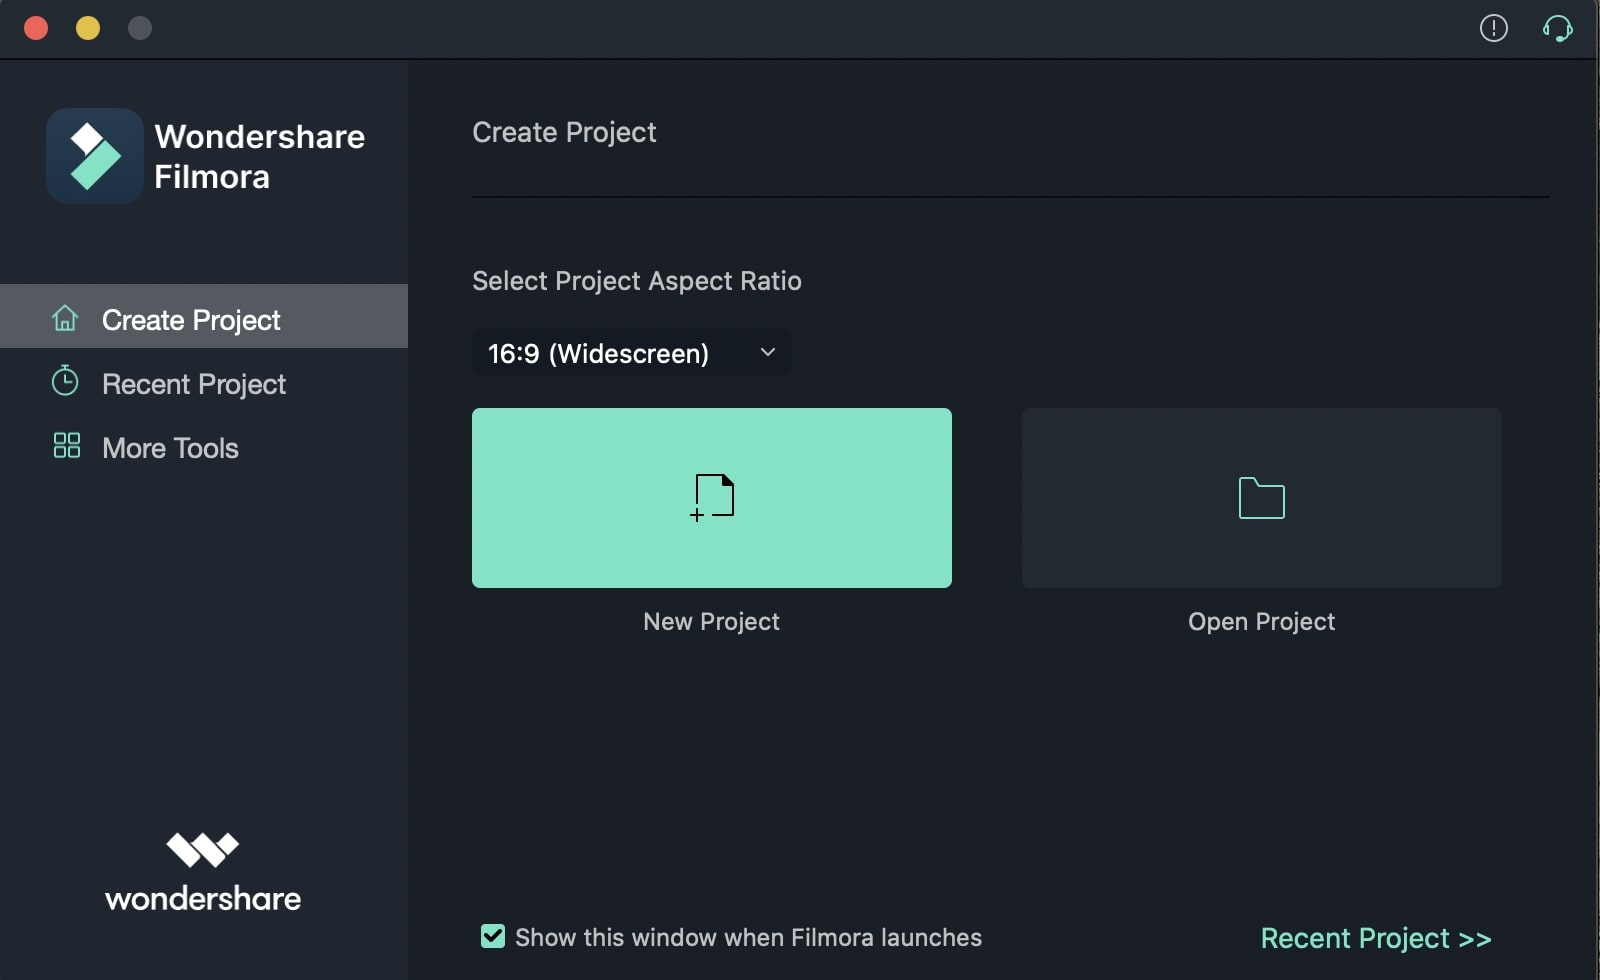
First you need to download and install the software in your computer and then launch it. After that you will get the below home interface and proceed by clicking on "New Project".
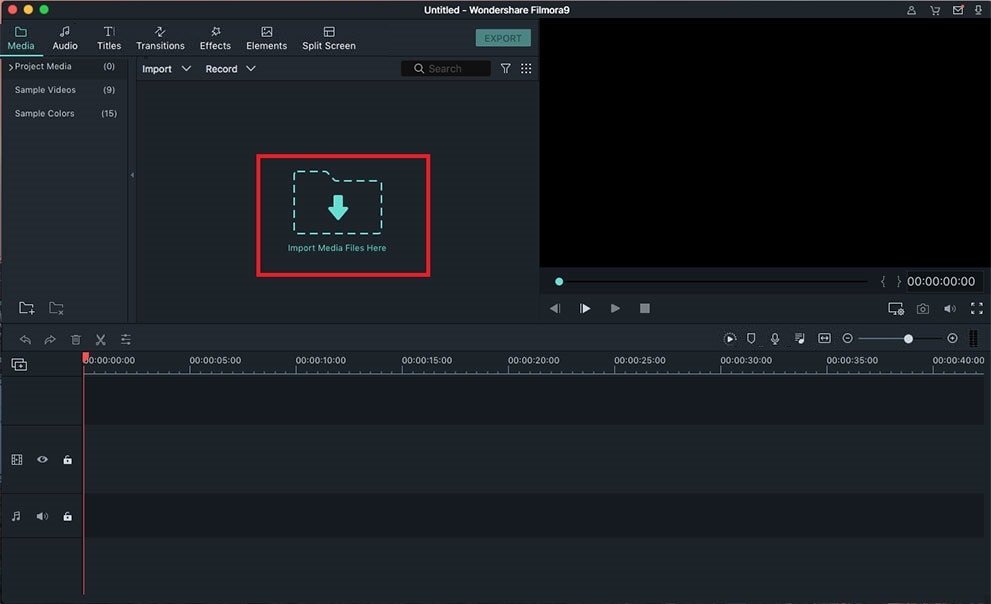
Step 2: Import video to the program
Next, clicking the "Import Media Files Here" button in Filmora Video Editor which will enable you to import the video into the program. Then you can copy and paste the video you want by using your mouse.
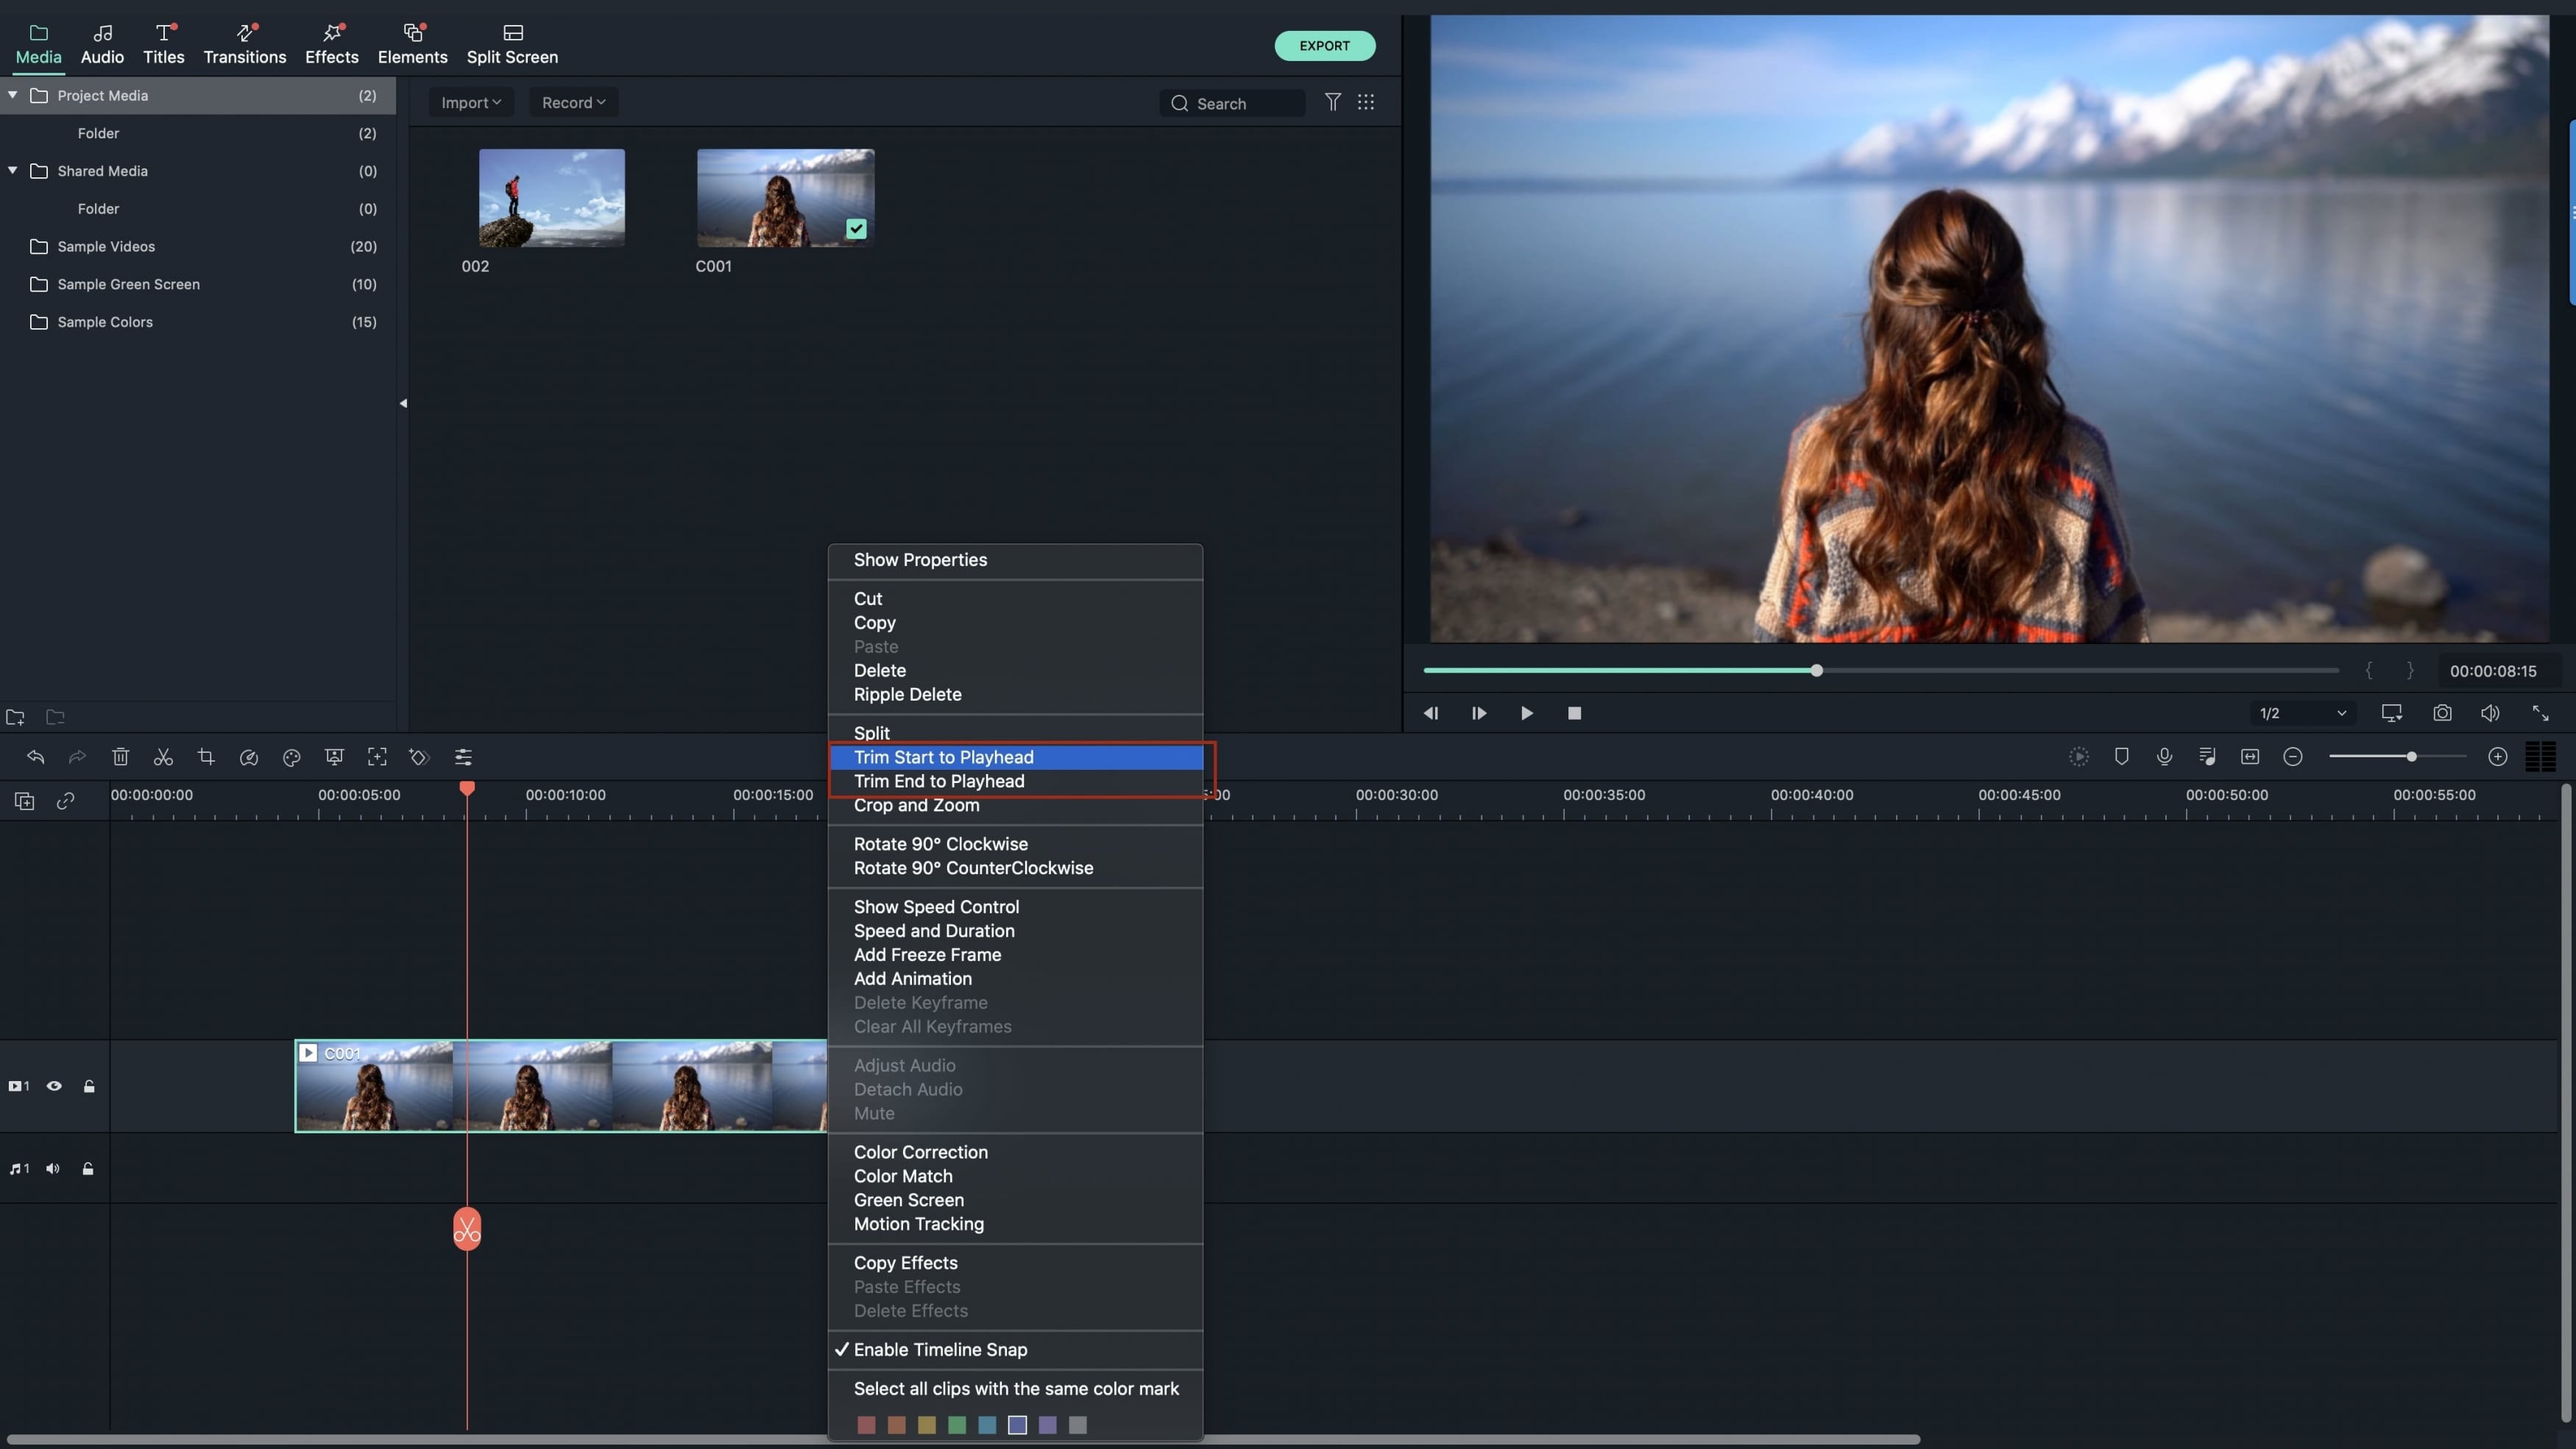
Step 3: Trim video from the beginning or the ending
Once the video has been imported, move the cursor to the end and beginning of the clip till it changes to "I" pointer. Then move this pointer back and forth to trim the video from beginning and end.
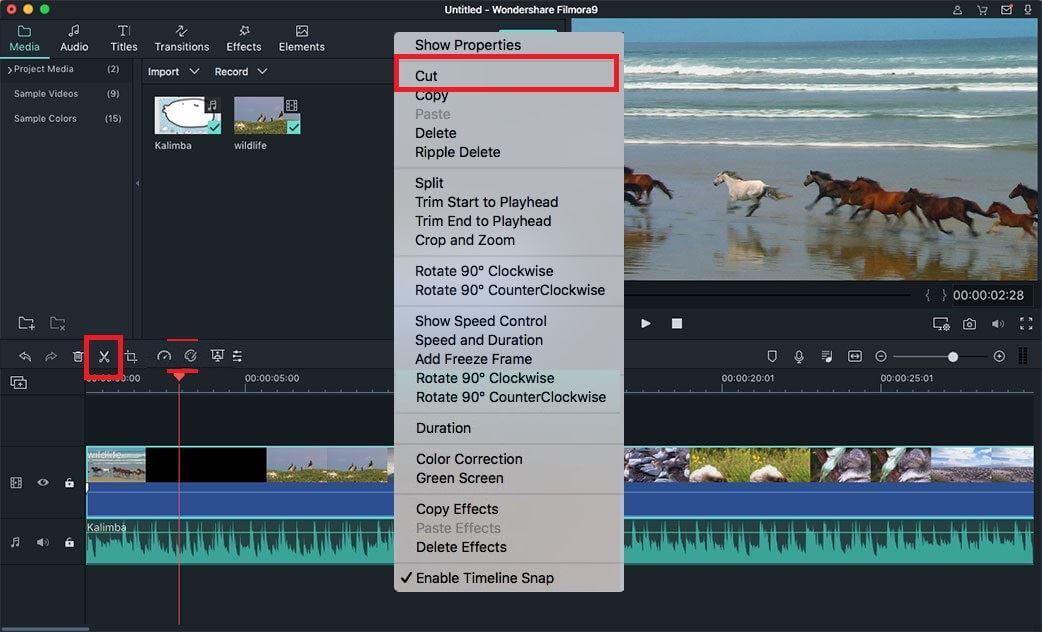
[Optional]: Cut the video into sections
To cut a video segment, you need to initially make it an independent part at first. Move the mouse pointer to the start and end of the video area you need to cut. And tap the scissors symbol to isolate it from the first video cut. After at that point, right-tap on the video and select "Delete."
Step 4: Export Video
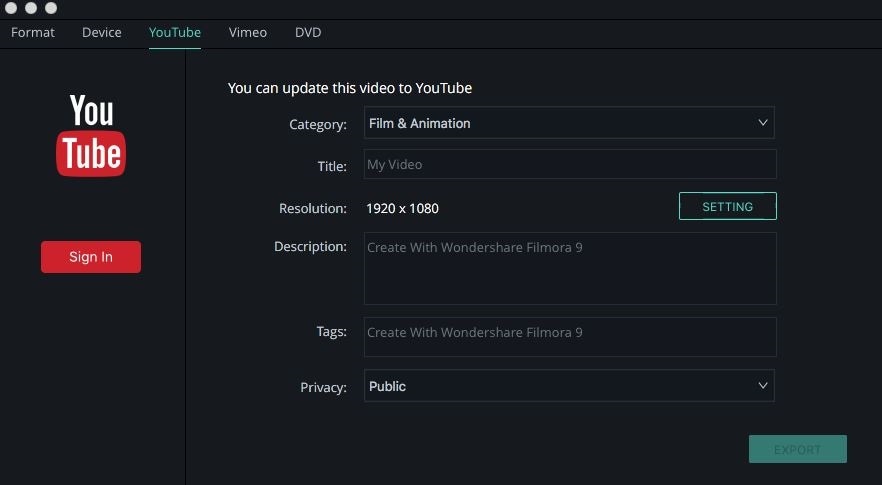
After you trimed the video, you can click on "Export" and choose the output device or social media and video format. Then click on "Export" to save the video in your computer.
Advantages of Filmora Video Editor Compared to QuickTime
1. You will never find such simple video editor with powerful options.
2. Very easy to use for any beginner but with varieties of functions.
3. You can completely control every video project.
4. It has a lot of options available when you want to export a video.
Conclusion
Though QuickTime is Apple's official software that can be used to play videos and also perform some basic video editing stuff, it will always lag behind when compared to an advanced video editor like Filmora. After reading this article, you already know how to trim video with QuickTime and you also know how to trim video in Filmora. If you compare both of these softwares, Filmora will always be the better option.


