


The most amazing time of the year, Christmas and holiday season has finally come. As it is the most precious time of the year, so, most people will record these moments in the form of the beautiful videos. The most common device for shooting the Christmas videos is the Smartphones because everyone has a smartphone and the video quality is better than shoot cameras. However, there is a problem associated with the Smartphone cameras, and it is the orientation of your mobile while recording the videos. After shooting videos, you might need to rotate the Christmas videos to the right orientation.
Here I’d like to recommend you Filmora Video Editor to rotate your Christmas videos, because besides it is far easier to help you rotate the videos to the right orientation, it also allows you to export a professional-looking video after you editing it with this software with some great effects and Christmas elements: add Christmas songs to videos and add Christmas effects to videos.
The rotating feature in Filmora Video Editor will let you change the direction of a video as you want. If you have recorded a part of video in portrait mode and the other part in landscape mode, you can easily split the clips and change the direction of the specific part. To make your videos even more beautiful, you can use overlays to add picture-in-picture effect. This picture-in-picture effect is also very much useful to apply green screen effect on your videos. When the final video is ready, you can select from a list of different filters or overlays to change the overall look of your video, from beautiful Instagram like filters to the old school black and white filters.
Step-by-Step guide to use Filmora to rotate Christmas videos
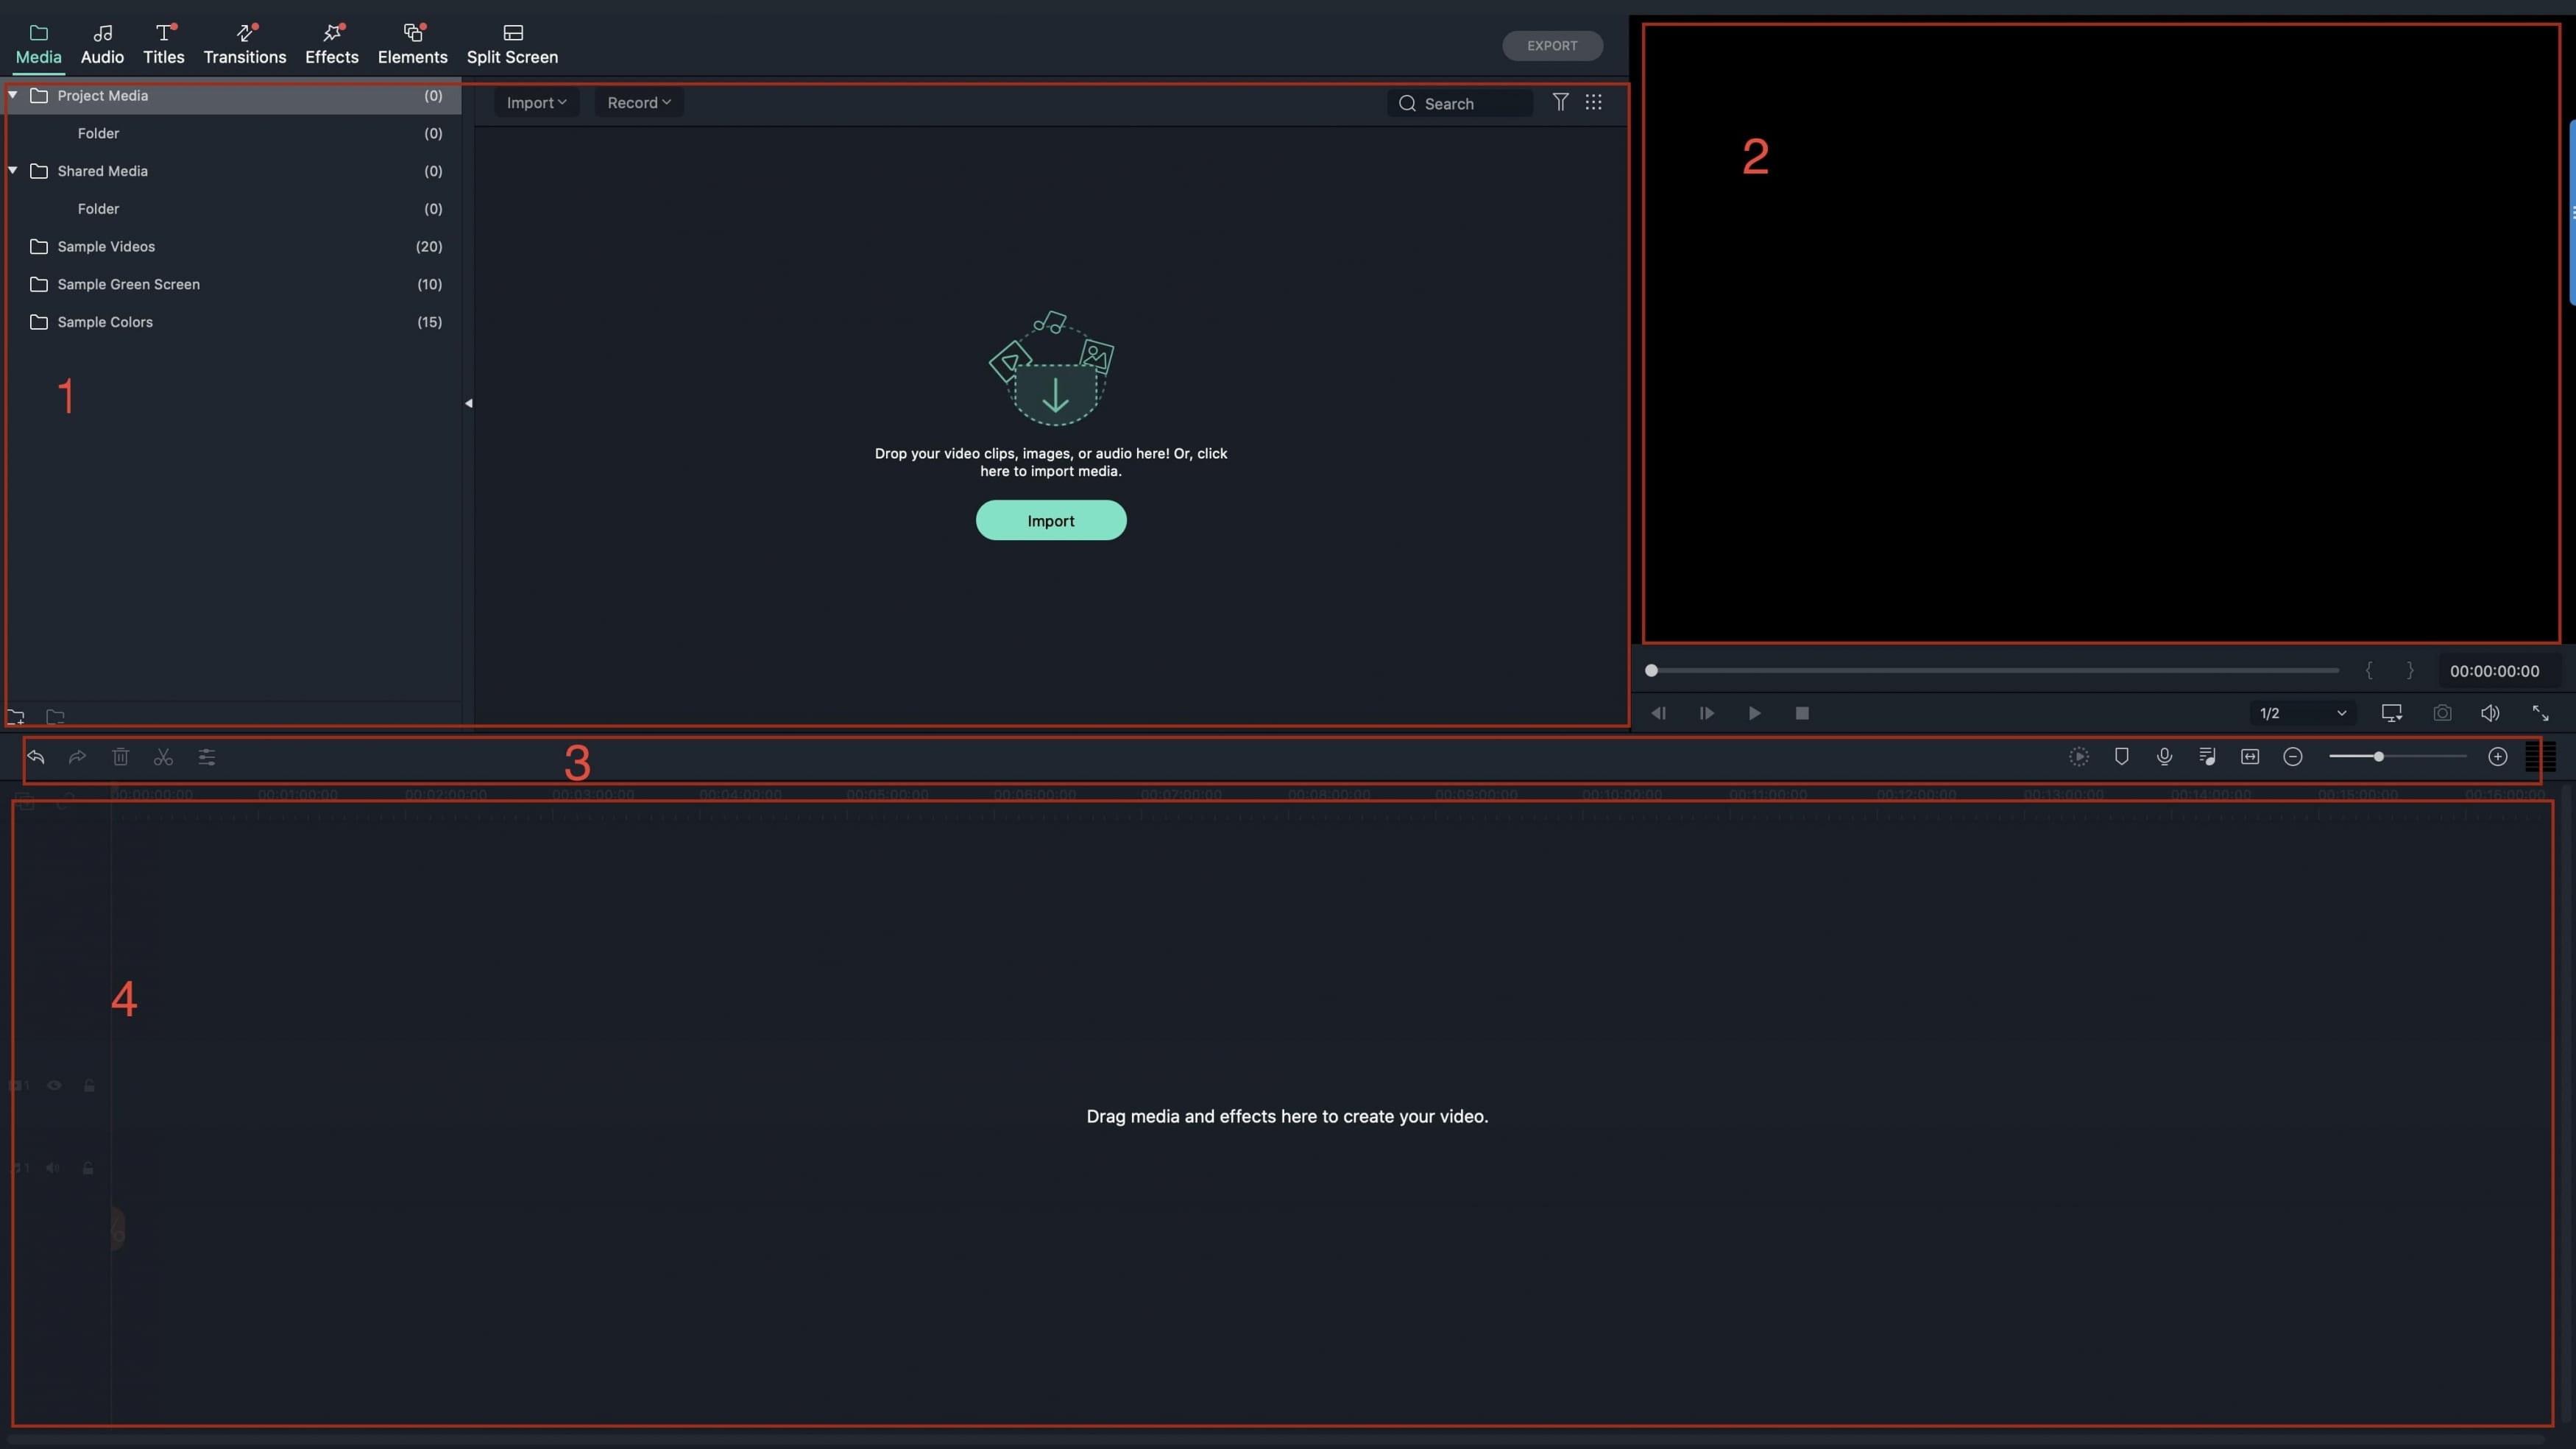
Step 1. Click on the “Import” button as shown in the screenshot below. You can import the audio, video and photos from a folder on your computer or Facebook and Instagram. For online service, login with the Facebook or Instagram account and select the media that you want to transfer. Alternatively, you can click on “Import Media Files Here” button which is present right at the center of media library of filmora.
Step 2. The next step involves transfer of the recently imported media from the media library to the Project or timeline. Simply, drag a file to transfer it to the timeline or Click on the little plus button to add the file directly to the project.
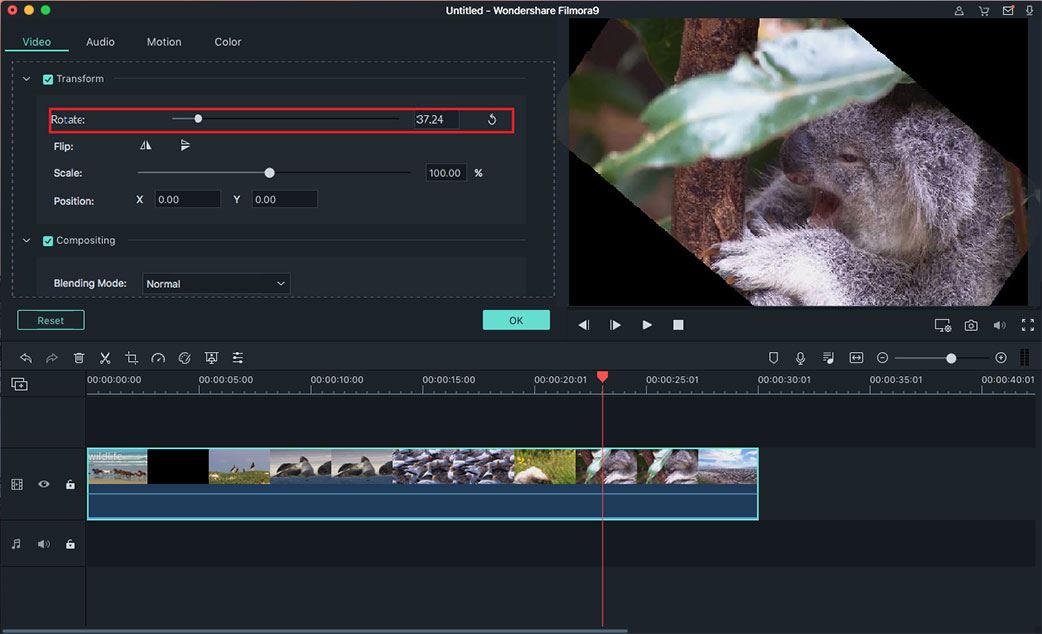
Step 3. Double-Click on a video in the project to reveal the rotating feature. Top left on this panel is the option to rotate the videos. You can’t only rotate the videos in anti-clock wise or clock wise direction by 90 degree, but can also flip the videos upside down. Once you have set the proper position for your video, Click on OK to save the file. This method will apply the rotate on the whole video clip, however, you can always split a clip into different portions to change the rotation of a specific part. In the project panel, move the black cursor to an appropriate position and use the scissors tool to split the video clip into different clips.
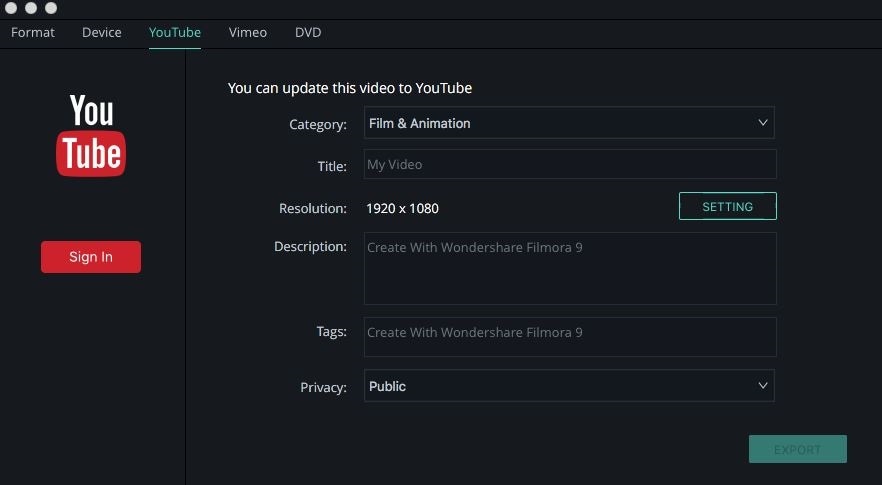
Step 4. Click the "Export" button on the right side of the Timeline to export the video. There are some options for the exported videos: to devices, to YouTube, to Vimeo, to Facebook, to a specific video format. It's your option for the exporting due to the usage.


