There may be different kind of videos on your iPad, they must have been either recorded from the camera of your iPad or downloaded from the iTunes Store. There are plenty of reasons to transfer these videos from the iPad to Mac such as it will let you save a lot of storage on your iPad and store permanently these videos on your Mac. Videos taken from the iPad can easily be transferred using the ImageCapture or Preview application in the Mac OS X while transferring videos from Video Library your iPad to Mac is not an easy task, you can either use the iTunes to transfer these videos or can use the third party software to transfer all these videos. While transferring the videos using iTunes, you should keep in mind that iTunes will only let you transfer the videos purchased from the iTunes Store using the same account.
- Part 1. Transfer All Videos from iPad to Mac via dr.fone
- Part 2. Import Captured Videos from iPad to Mac through Preview
- Part 3. Copy Captured Videos from iPad to Mac with Image Capture
Part 1. Transfer All Videos from iPad to Mac via dr.fone
dr.fone is one of the best media managing application for the iPhone, iPod and the iPad. It does not only work with the videos but will also let you transfer the photos, videos from the camera roll or the videos application on your iPad. One of the best feature of the dr.fone is to transfer the videos using one click option. You can transfer all the videos from the iPad to a folder or the iTunes library. Apart from the one-click option, there is an option to transfer the selected videos from the iPad to computer. This amazing program will work perfectly with the recorded or the downloaded videos from the iTunes Store. Moreover, users can also transfer the videos from the Mac OS X to the iPad. Once the videos are selected, they can be either added to a folder or directly to the iTunes Library on your Mac OS X. Here’s the step by step guide to use dr.fone to transfer the videos from iPad to Mac.
Step by Step guide to use dr.fone to transfer videos from iPad to Mac:
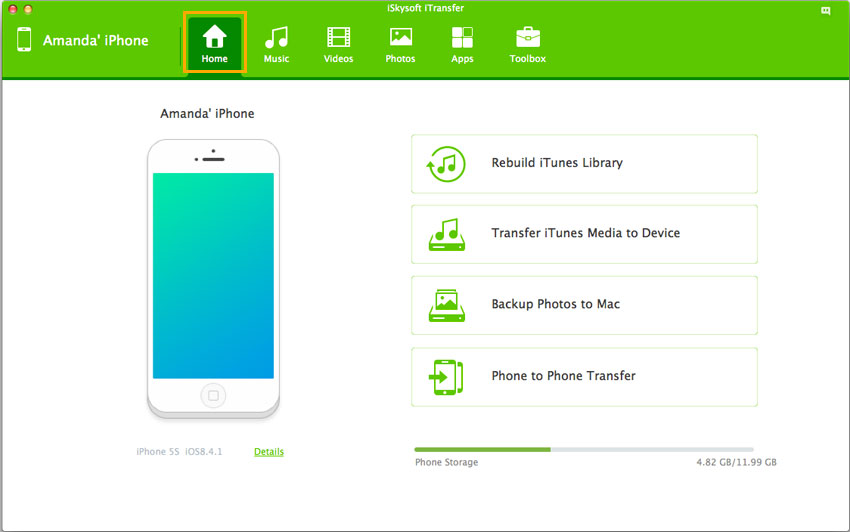
Step 1. Before you continue, download the latest version of the dr.fone on your mac and with two easy steps, you can install it on your computer. After installation of this software, connect your iPad with the computer and launch recently installed dr.fone.
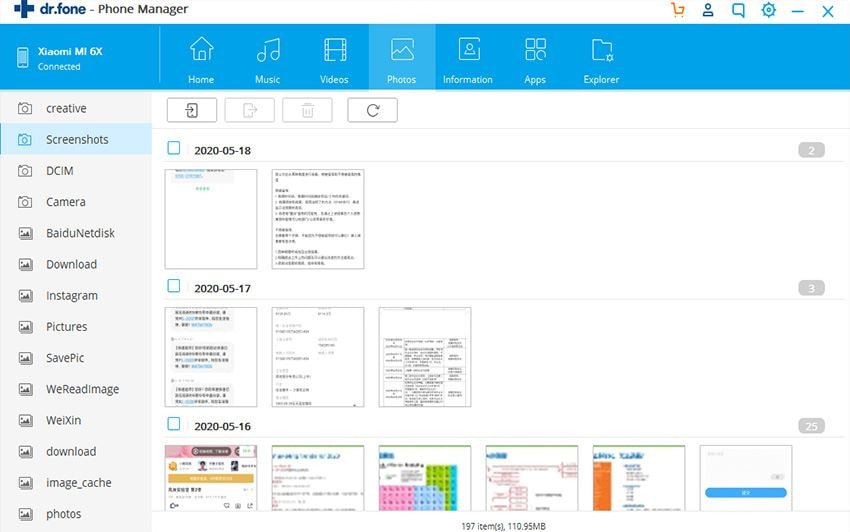
Step 2. On the main screen of the dr.fone for Mac, click on the Photos under your iPad. Select the Camera Roll in the left side menus. Now, select the videos that you want to transfer to your Mac and click on Export to copy the videos to a specific folder or the iTunes Library on your Mac.
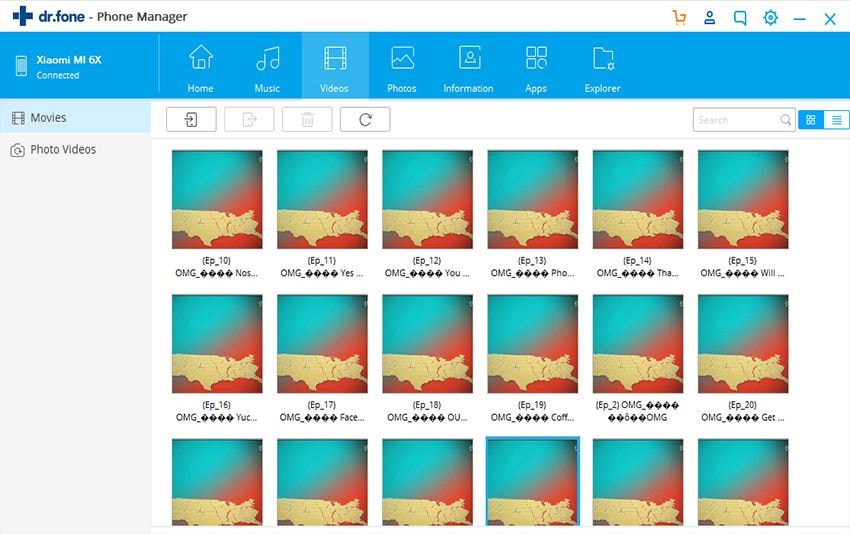
Step 3. If you want to transfer the videos from the video library of your iPad to the iTunes, click on Videos tap and select the videos that you want to transfer to your Mac, and click on Export button. Now, select “Export to My Computer” or “Export to iTunes”. Finally, select the folder where you want to transfer the videos and click on OK.
Part 2. How to transfer videos from iPad to Mac via Preview
Connect your iPad with the Mac OS X and launch the Preview application from the Launchpad.
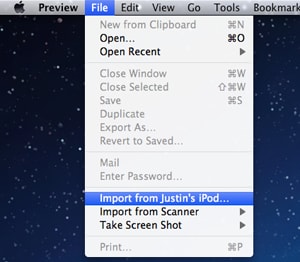
Now, click on the File button in the top bar and select Import from your iPad.
Select the videos that you want to transfer to the Mac and click on Import button on the screen.
Finally, select the destination where you want to save these file. This may take some time depending upon the number of videos that you want to transfer.
Part 3. How to transfer videos from iPad to Mac via Image Capture
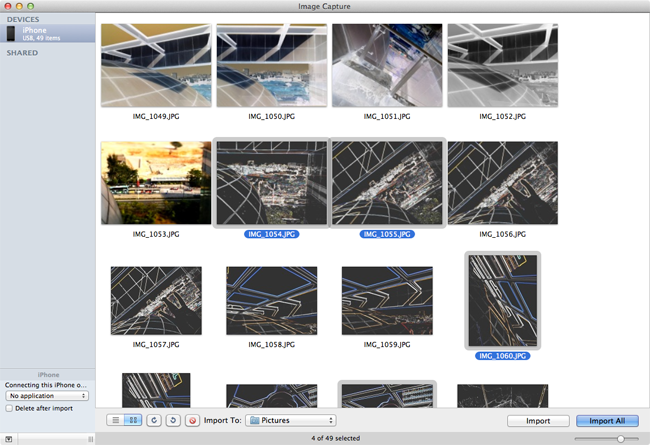
Image Capture is another built-in software on Mac OS X which will let you transfer the videos from the iPad to Mac without any problem. It is so far the easiest way to transfer the videos from the iPad to the Mac. First of all, you will have to connect your iPad with the computer.
Search for ImageCapture and launch it on your Mac OS X. On the left side of the software, it will show all the devices connected with your Mac. Select your iPad from that list.
Select the videos that you want to transfer to your Mac OS X.
Now, select the output folder for your videos and finally click on the Import button in the bottom right corner of the screen.
That’s it! You have successfully transferred the videos from your iPad to the Mac OS X. Which method did you like? Let us know in the comments section below.