
Choose a YouTube Banner Maker from the Top List we rounded up for you. Then, start to create captivating banner for your YouTube Channel.
Channel banners play a huge role in making a channel look professional and impressive. It’s basically a custom branding of the channel in simple words. Why is it necessary? Why everyone does that? It is necessary because it helps grow the channel. It helps reach more audiences by making the channel's identity more prominent and consistent. A professional and creative banner can amp up the overall vibe of the YouTube channel by making it look cleaner, aesthetic, informative, and, most importantly, unique. So, is making banners difficult? No, it’s not! We’ll provide you 5 best YouTube banner makers and guide you through step-by-step methods of making banners for your YouTube channel.
In this article
Part 1. Top 5 YouTube Banner Makers [With Step-by-Step Guide]
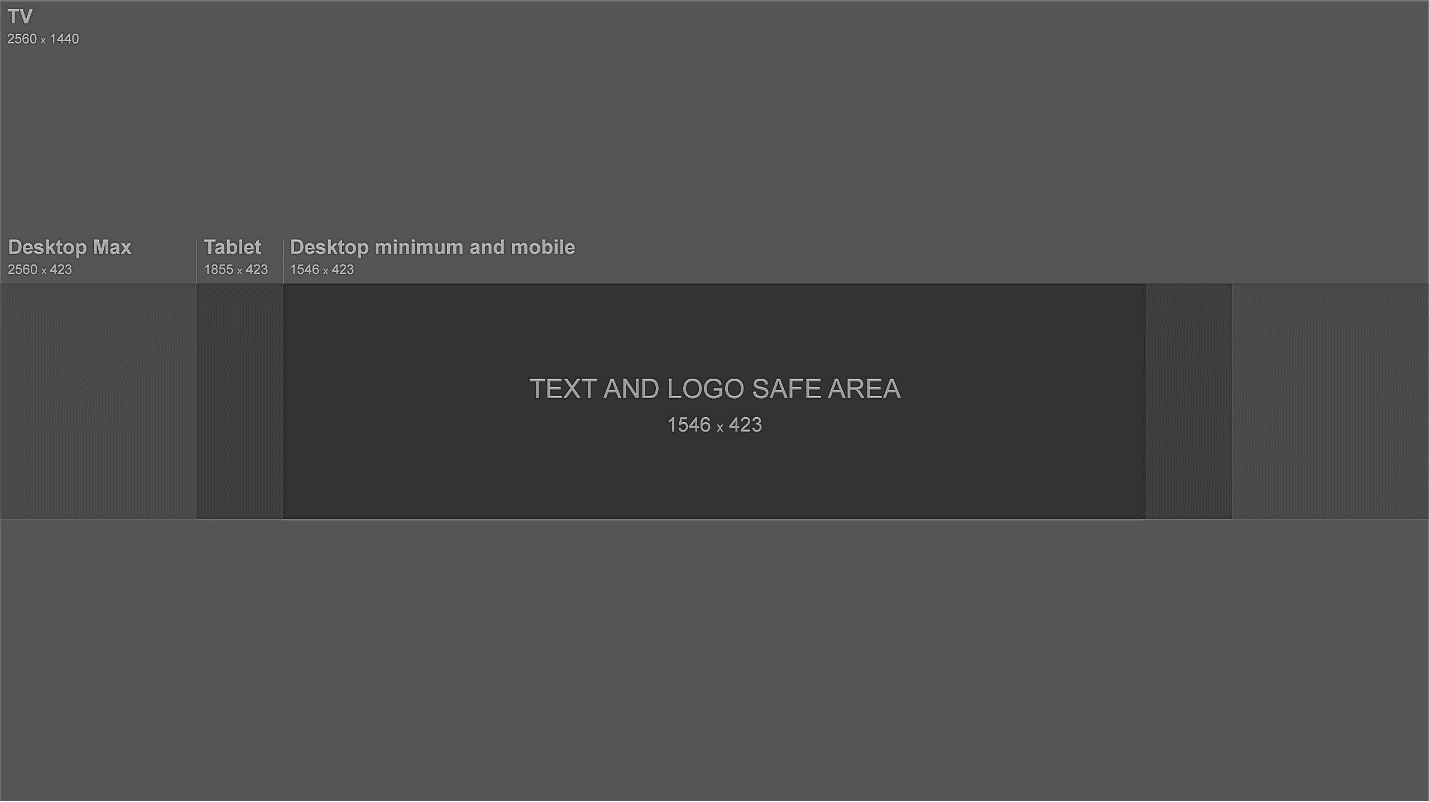
First, let's talk about the size and dimensions of the YouTube Banner. The banner image resolution should be 2560 x 1440 pixels, and the file size should not exceed 6MB. The banner image is adjusted based on the following template.
#1. Wondershare Filmora
Filmora is professional video editing software by Wondershare. Filmora has all the advanced tools you’ll need to edit a video while being simple and sleek. It has an interactive user interface that makes it easier for users to do it. Unlike other video editors, Filmora is very light on the system resources and works well even in low-end computers.
For Win 7 or later (64-bit)
For macOS 10.12 or later
How to Use Filmora to Create YouTube Banner
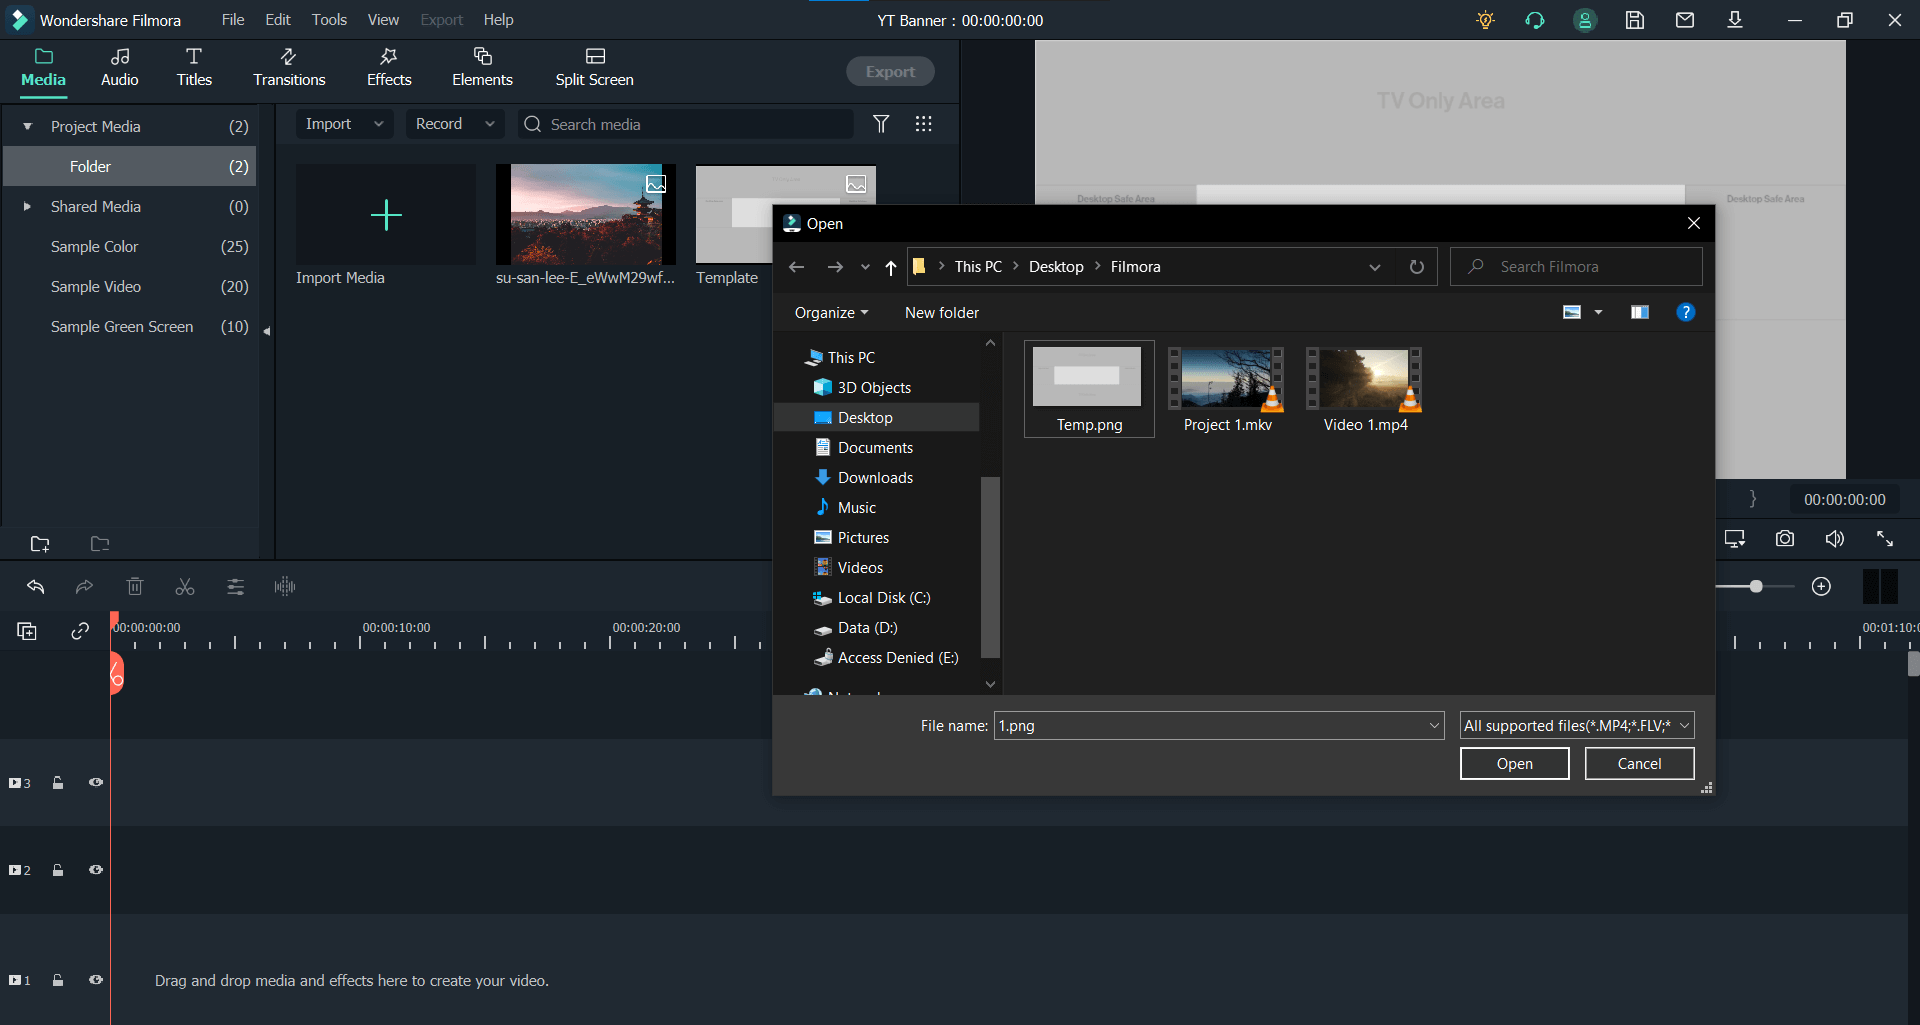
Step 1Import the Resources
Import the photo you intend to use as the background image and the banner template from YouTube in Filmora. To get pictures for your banner, you can use Unsplash. Unsplash is a platform where you can find copyright-free, high-quality images for free.
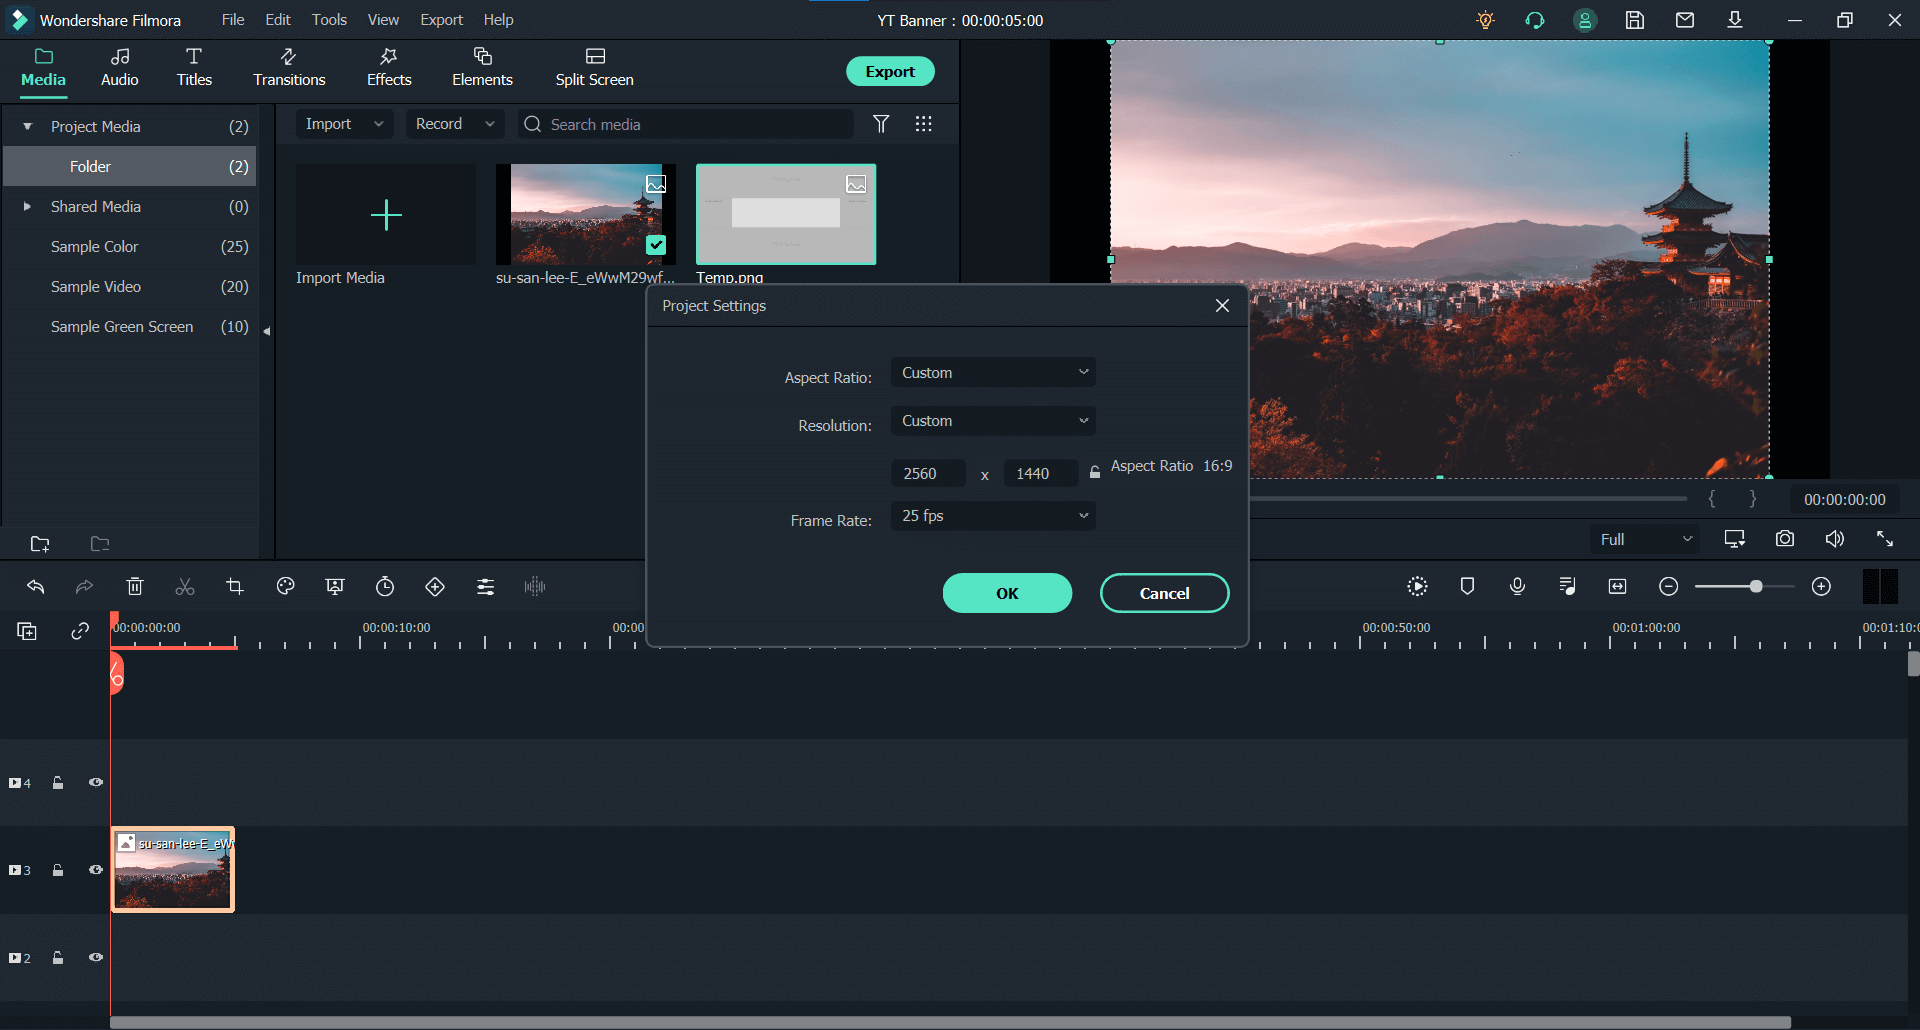
Step 2Resize the Project and Canva Size
Once the image is dragged into the timeline, go to “File - Project Settings” to change the project resolution. Once in the project settings, change the project resolution to 2560 x 1440 pixels. Leave the frame rate untouched as it is of no importance right now.
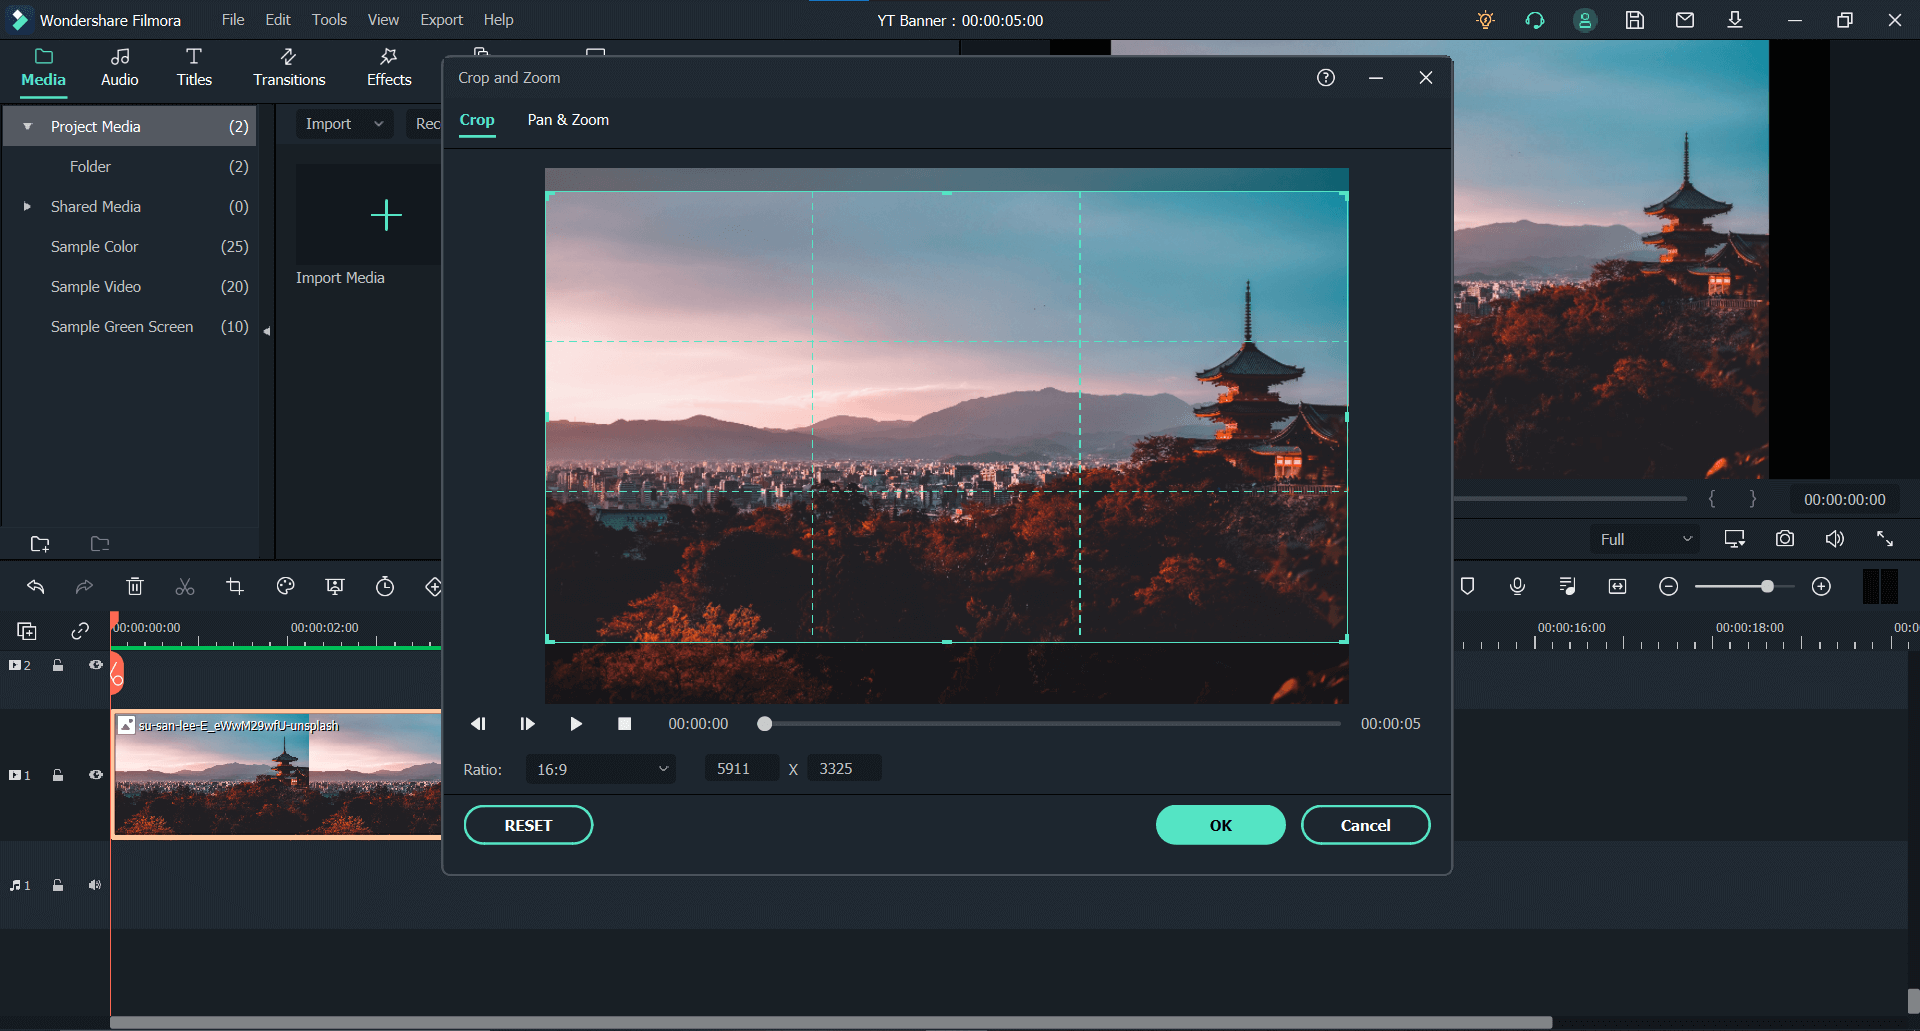
Step 3Crop the Image
Press the Crop button to open the “Crop and Zoom” window. Here, Change the image's aspect ratio to 16:9 and press OK. Leave the resolution untouched. This is done to avoid any black space at the sides of the canvas.
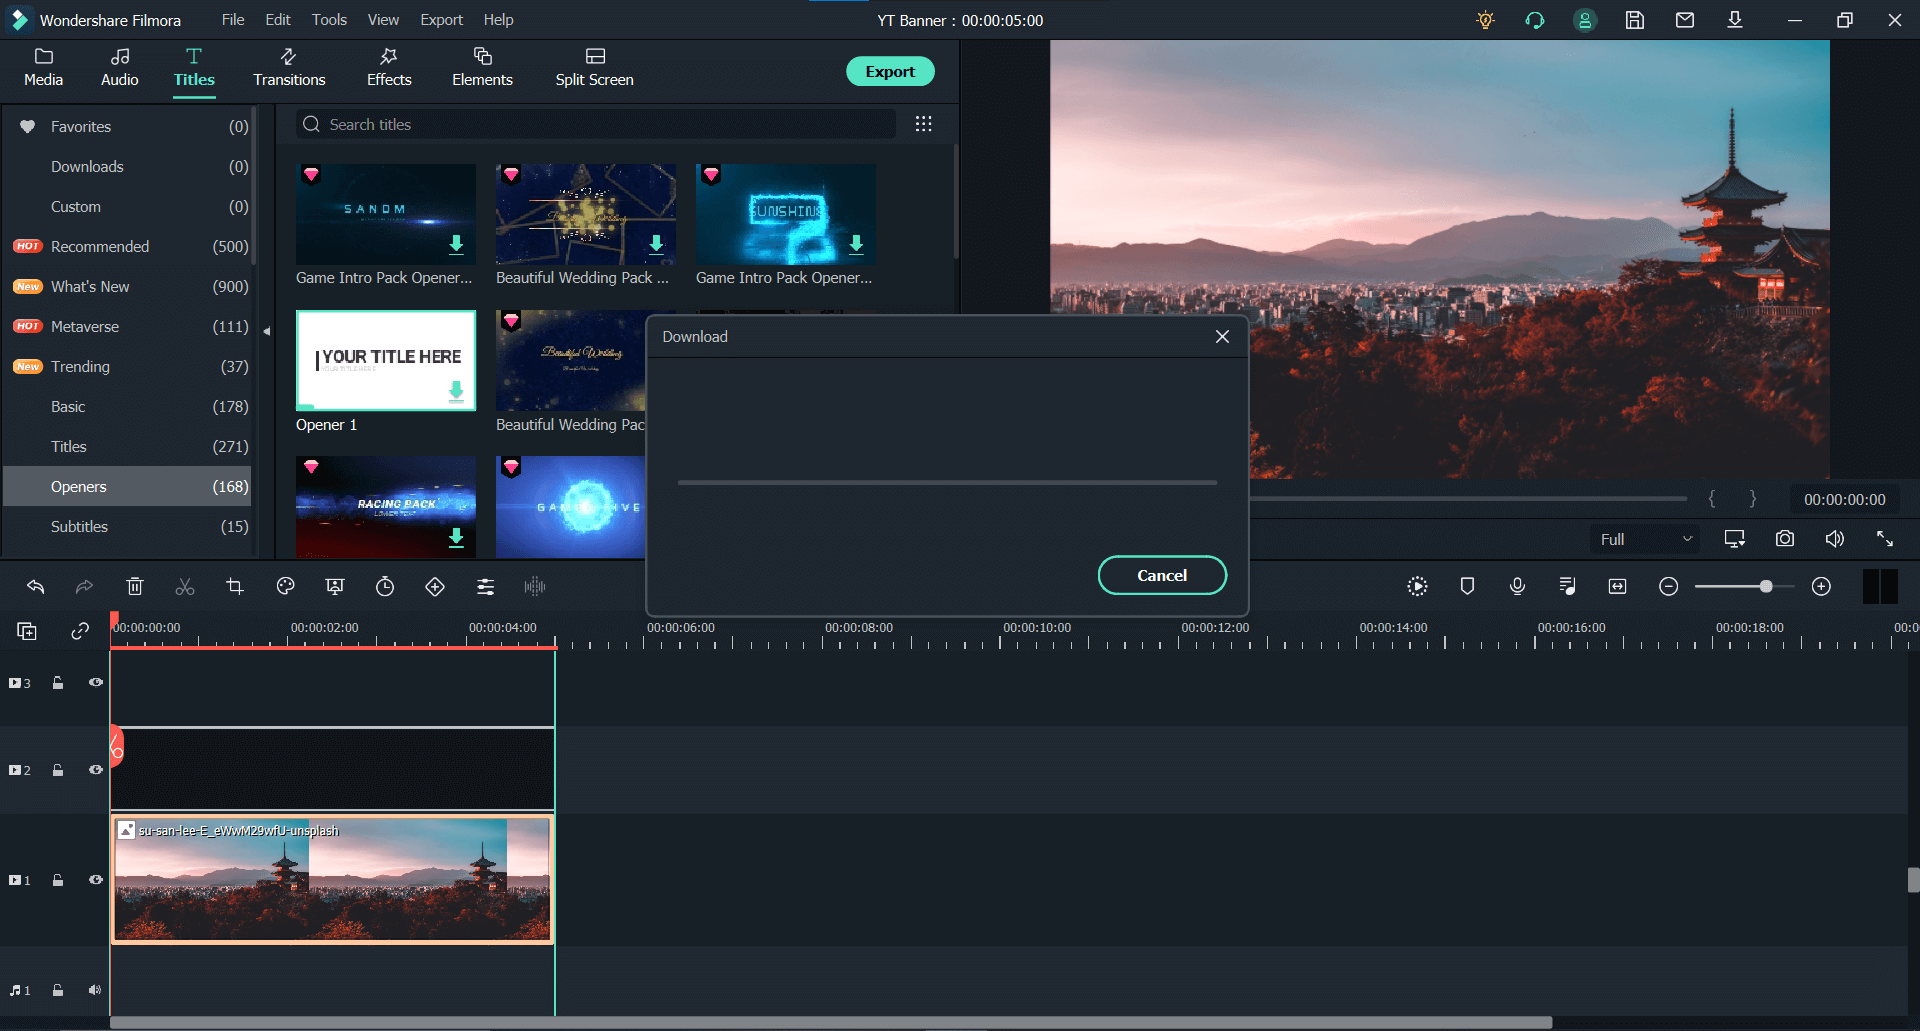
Step 4Add Titles
Press the “Title” tab at the top and search for a relevant title or pick anyone you like. Remember that the text should not be too big; otherwise, it will be cropped. Keep the template in mind.
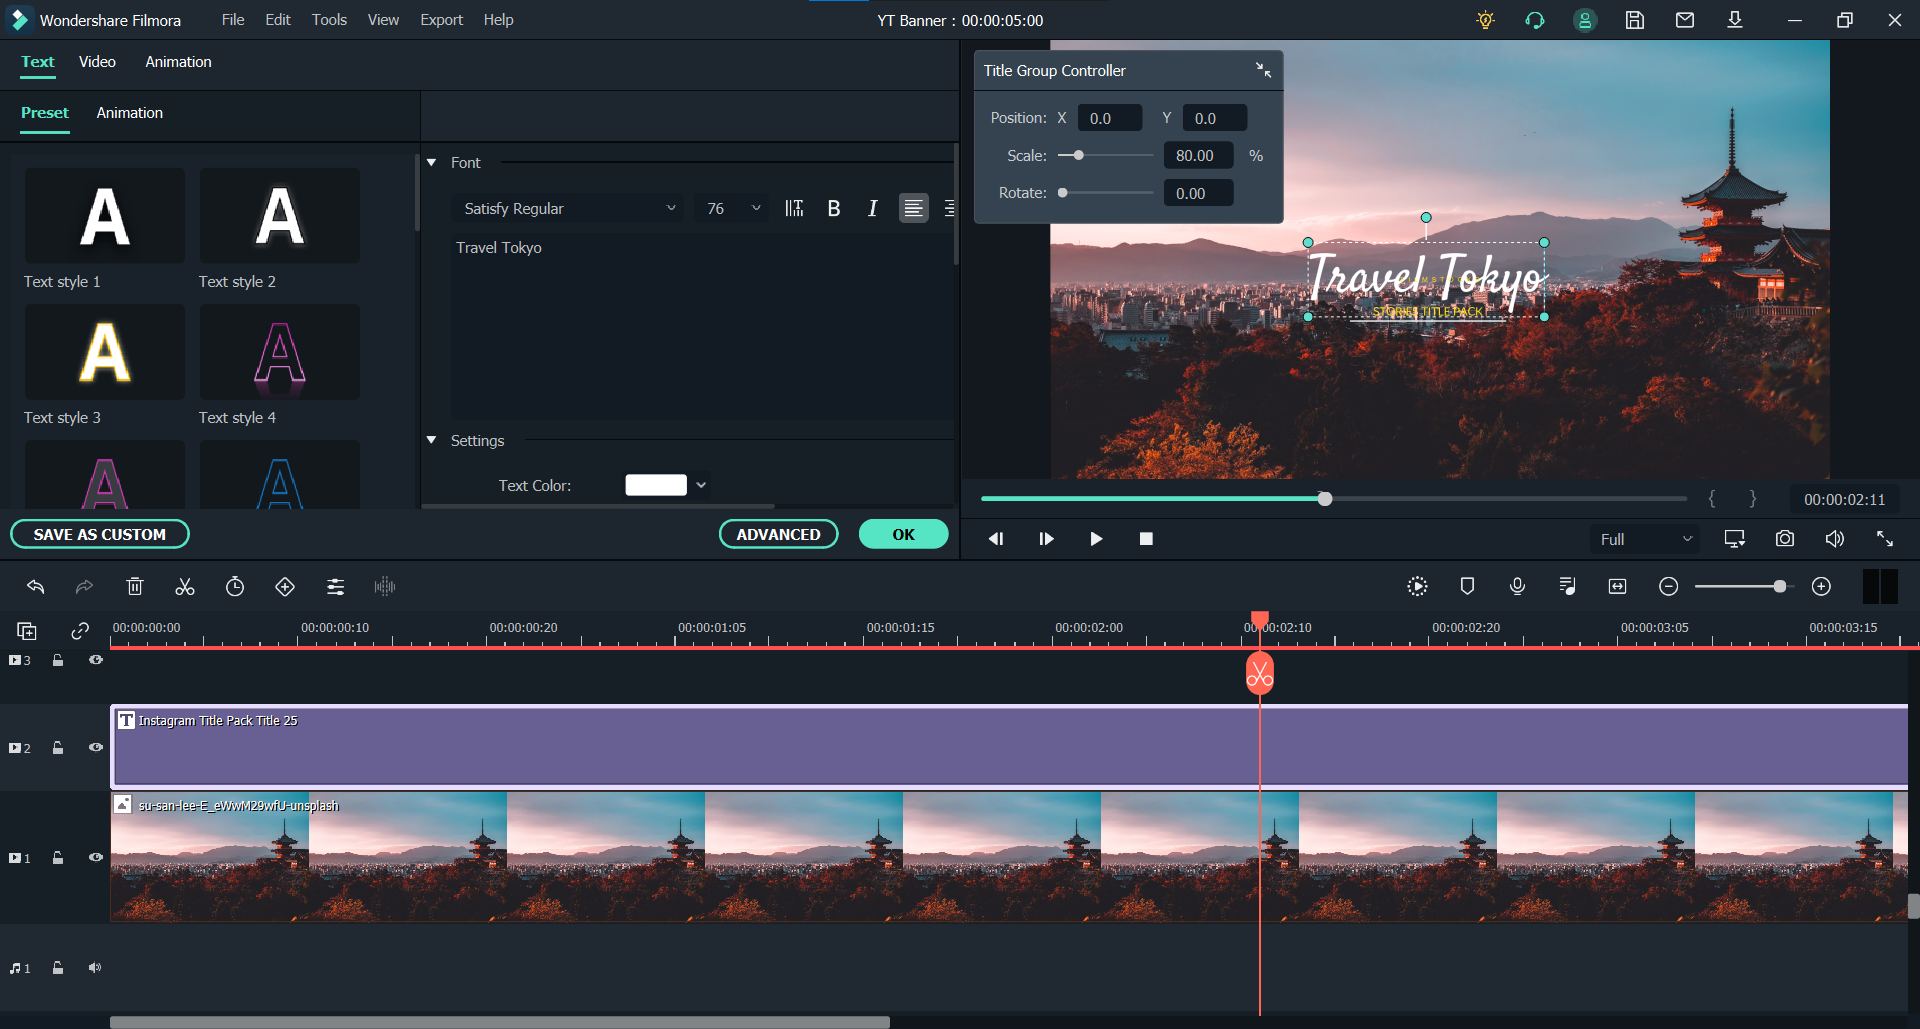
Step 5Adjust and Rescale the Titles
Once the adjustments have finished, play the timeline and stop when the text appears right. At that point, select the text, adjust its position, size, and fonts, if needed.
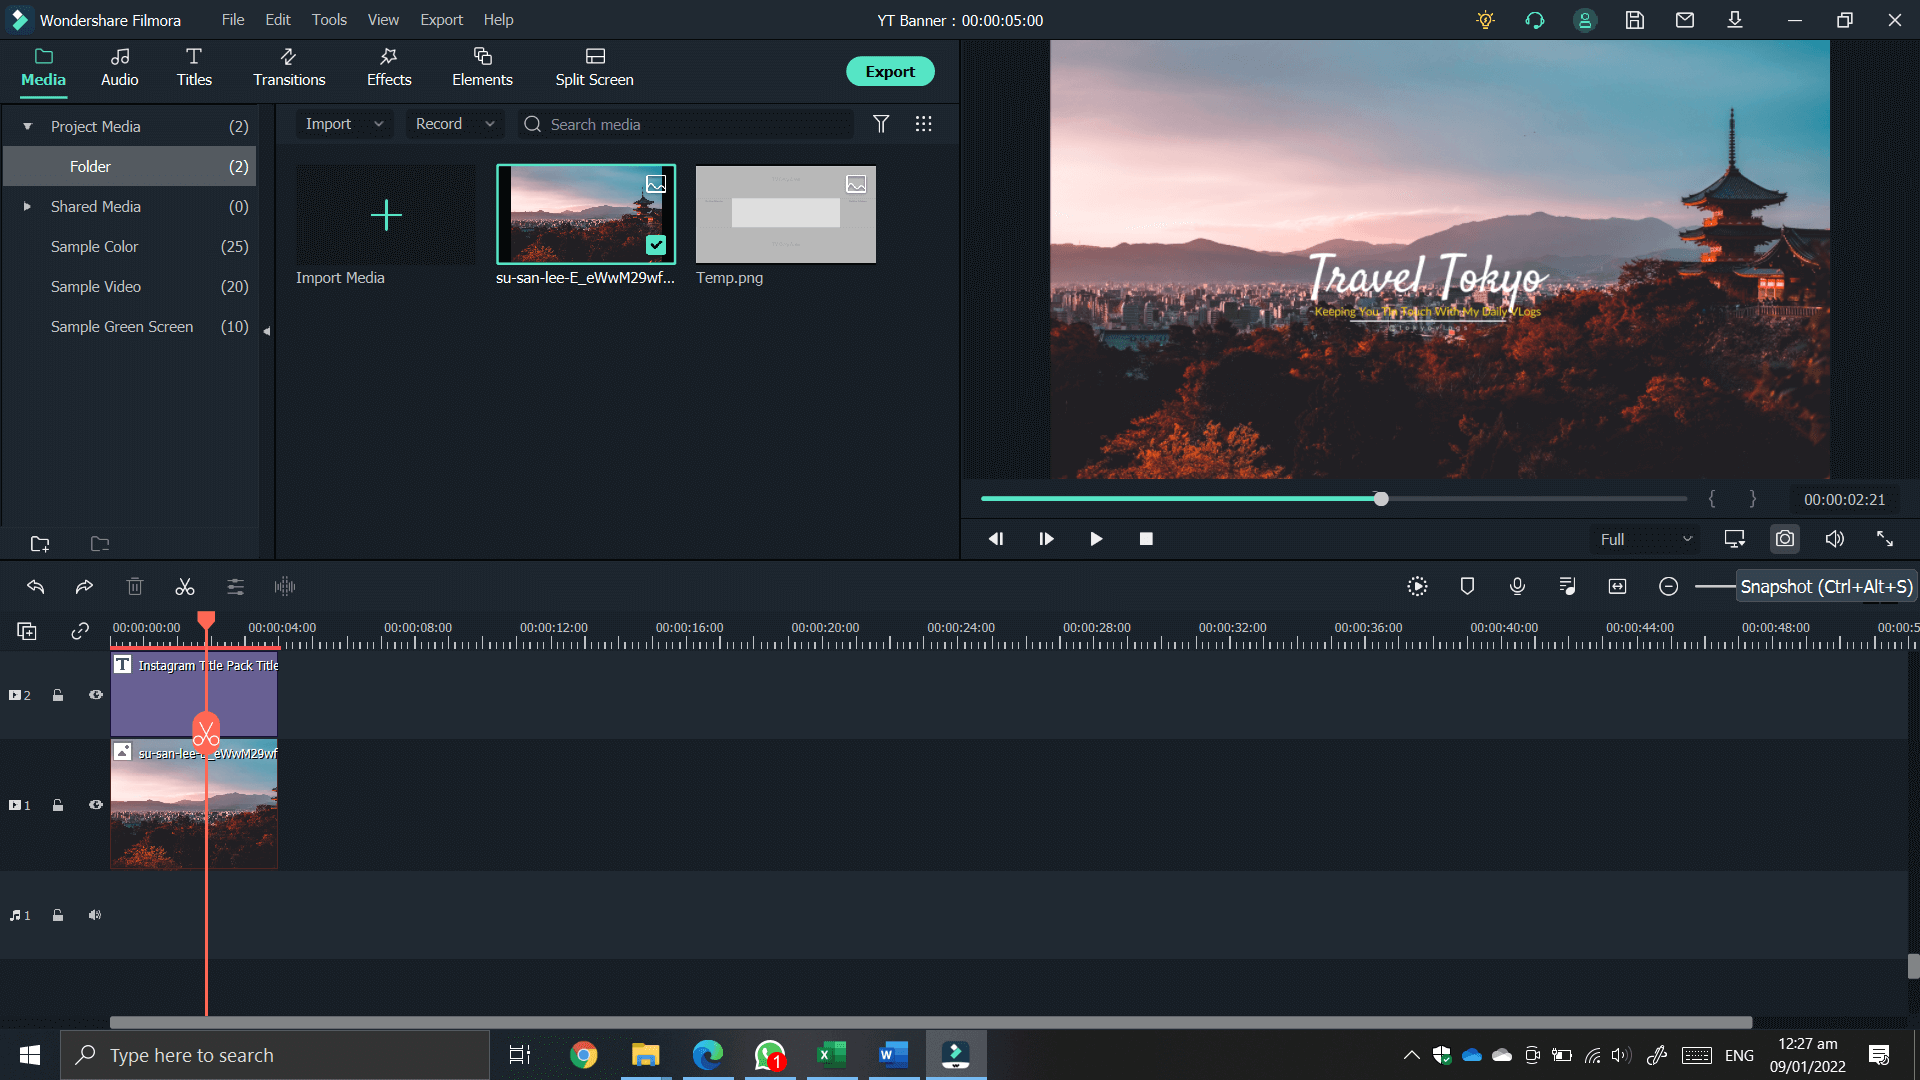
Step 6Snapshot
When everything is at the right spot, click the “Snapshot” button to save that frame as a photo. That frame would be used as the YouTube Banner.
Wondershare Filmora - Best Video Editor for Mac/Windows
5,481,435 people have downloaded it.
Best video editing software for beginner and semi-professional, that comes with powerful editing skills like trimming, splitting, rotating, editing, etc.
500+ free special video effects to customize and create an awesome movie by yourself.
1000+ standalone effects downloading resources to make videos in all kinds of styles.
Record voice in real-time: you can have you voices recorded in realtime and instantly add them to the video files.
The software supports almost all available videos, images, and video formats. Besides, it also supports GIF files and 4K resolution videos.
Since the project resolution is 2560 x 1440 pixels, the snapshot would also be this exact resolution. The snapshot would be saved in Filmora’s default directory.
#2. Adobe Creative Cloud Express
Adobe Creative Cloud Express is an all-in-one online photography solution best for designing web and social media graphics. Adobe Creative Cloud has a huge catalog of graphics, templates, and design assets to choose from. Adobe Creative Cloud requires you to sign up as a free user to access the platform.
How to Use Adobe Creative Cloud Express to Create YouTube Banner
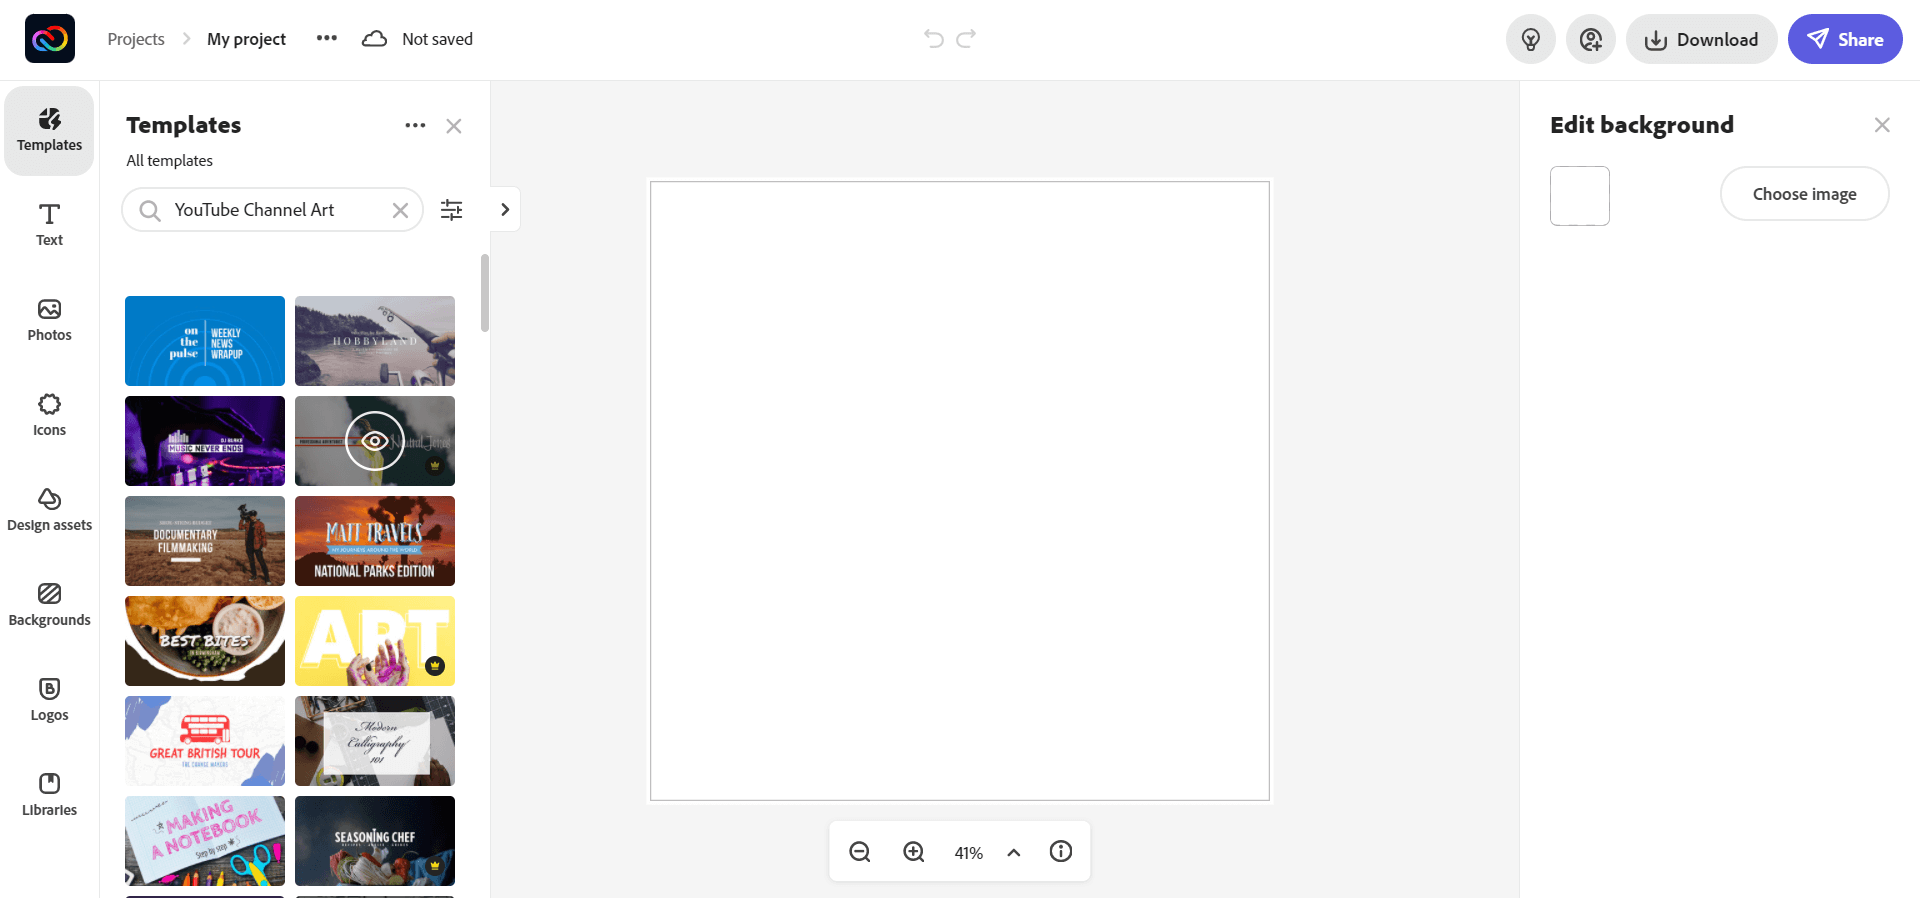
Step 1Find a Template to Begin With
Once you have logged in to Adobe Creative Cloud Express, type “YouTube Channel Art” or “YouTube Banner” in the template search, it will show you a variety of templates to choose from. Select the one you like. We suggest starting with the templates because their resolutions are already set to YouTube banner resolutions. That is 2560 x 1440 pixels.
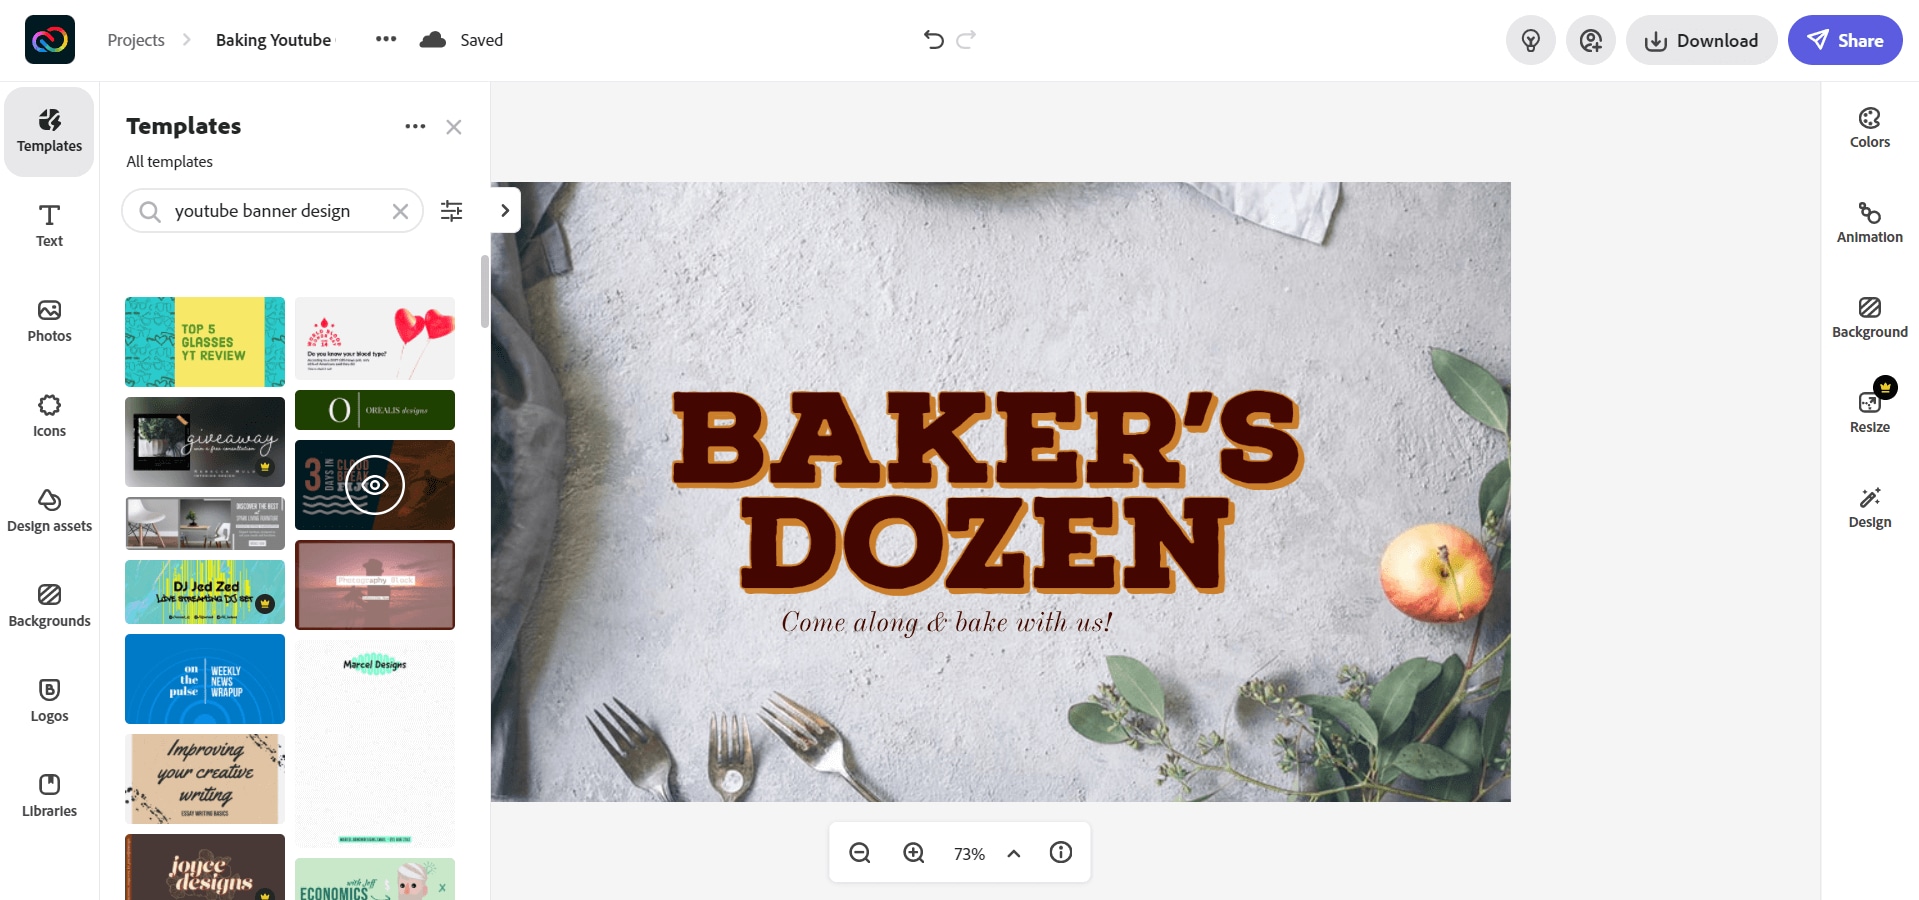
Step 2Tweaking the Template
The template will appear on the main canvas as soon as you select it. Now, you can tweak anything you want. You can change wallpaper, text, text style, fonts, level of blur, drop shadows, etc. You can tweak it until it you’re satisfied with the final result.
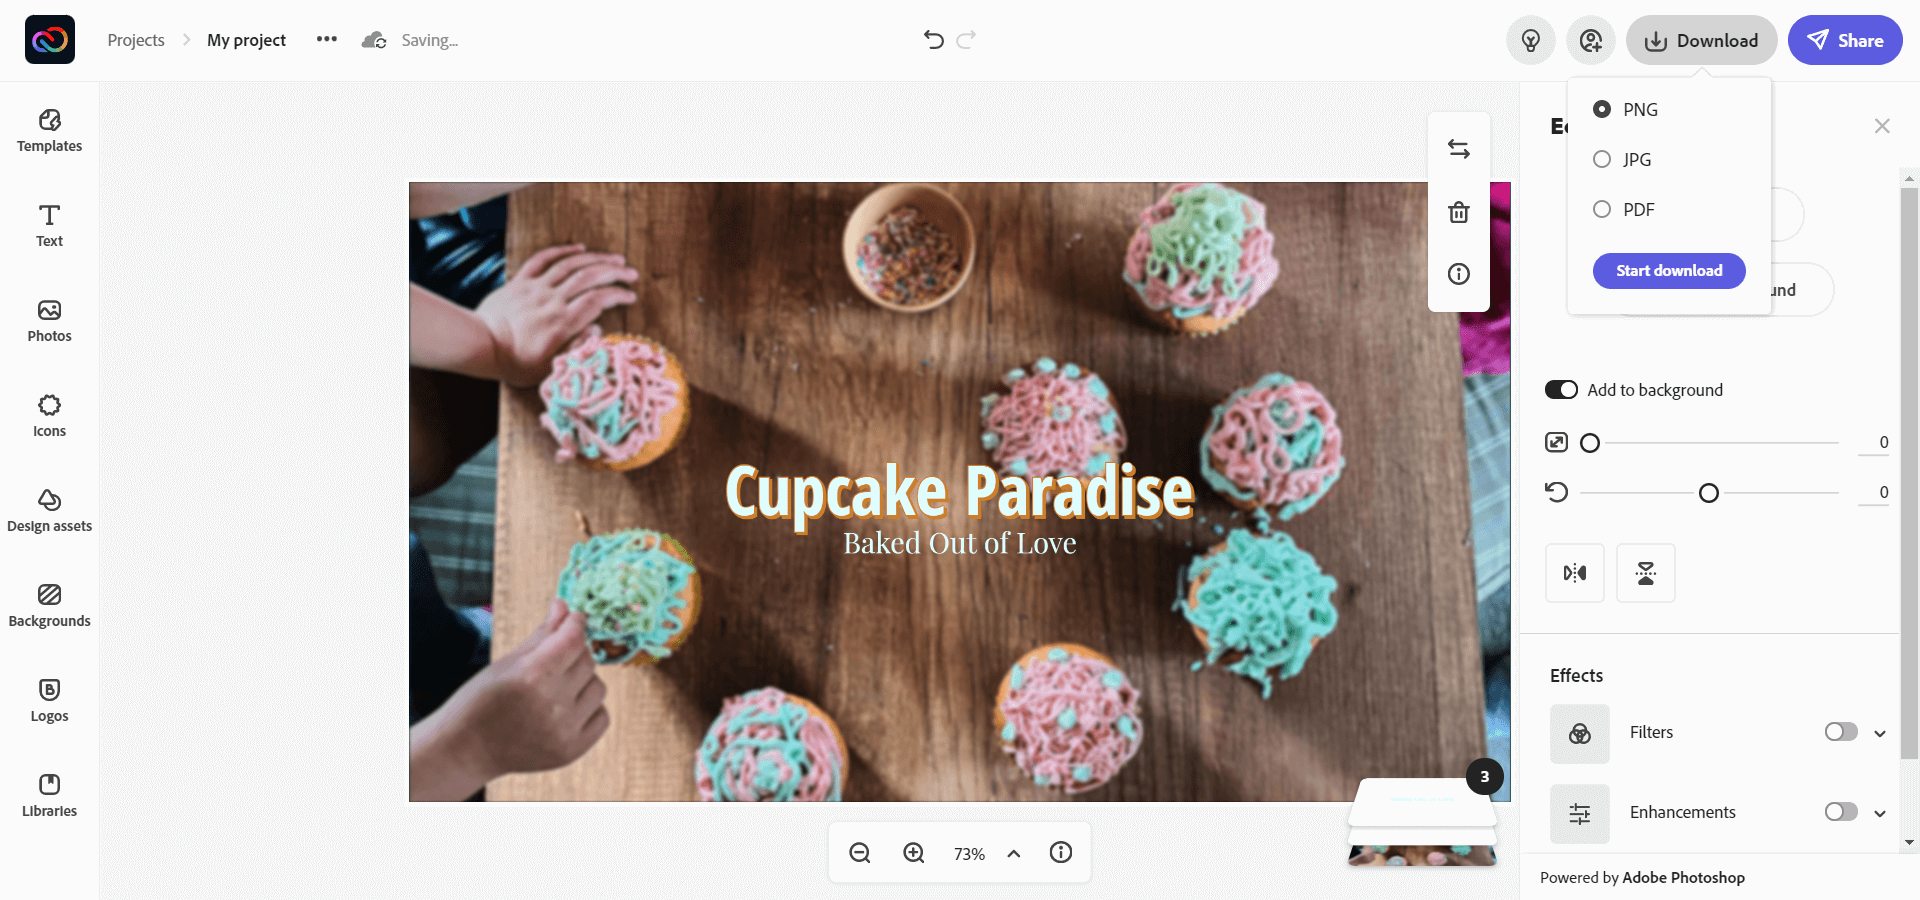
Step 3Adjusting and Downloading the Banner
Adjust the banner according to the template and once you are satisfied with the edits, go ahead and click the download button and choose the file format you wish to save your banner in.
#3. Canva
Canva is an online graphic designing platform mainly used to create social media graphics, posters, and banners. Canva is free to use but also offers Canva Pro for additional functionality. Also, specific graphical resources are paid. Canva also has an Android and iOS app as well.
How to Use Canva to Create YouTube Banner
As we used a template in Adobe Creative Cloud Express, let's create everything from scratch in Canva.
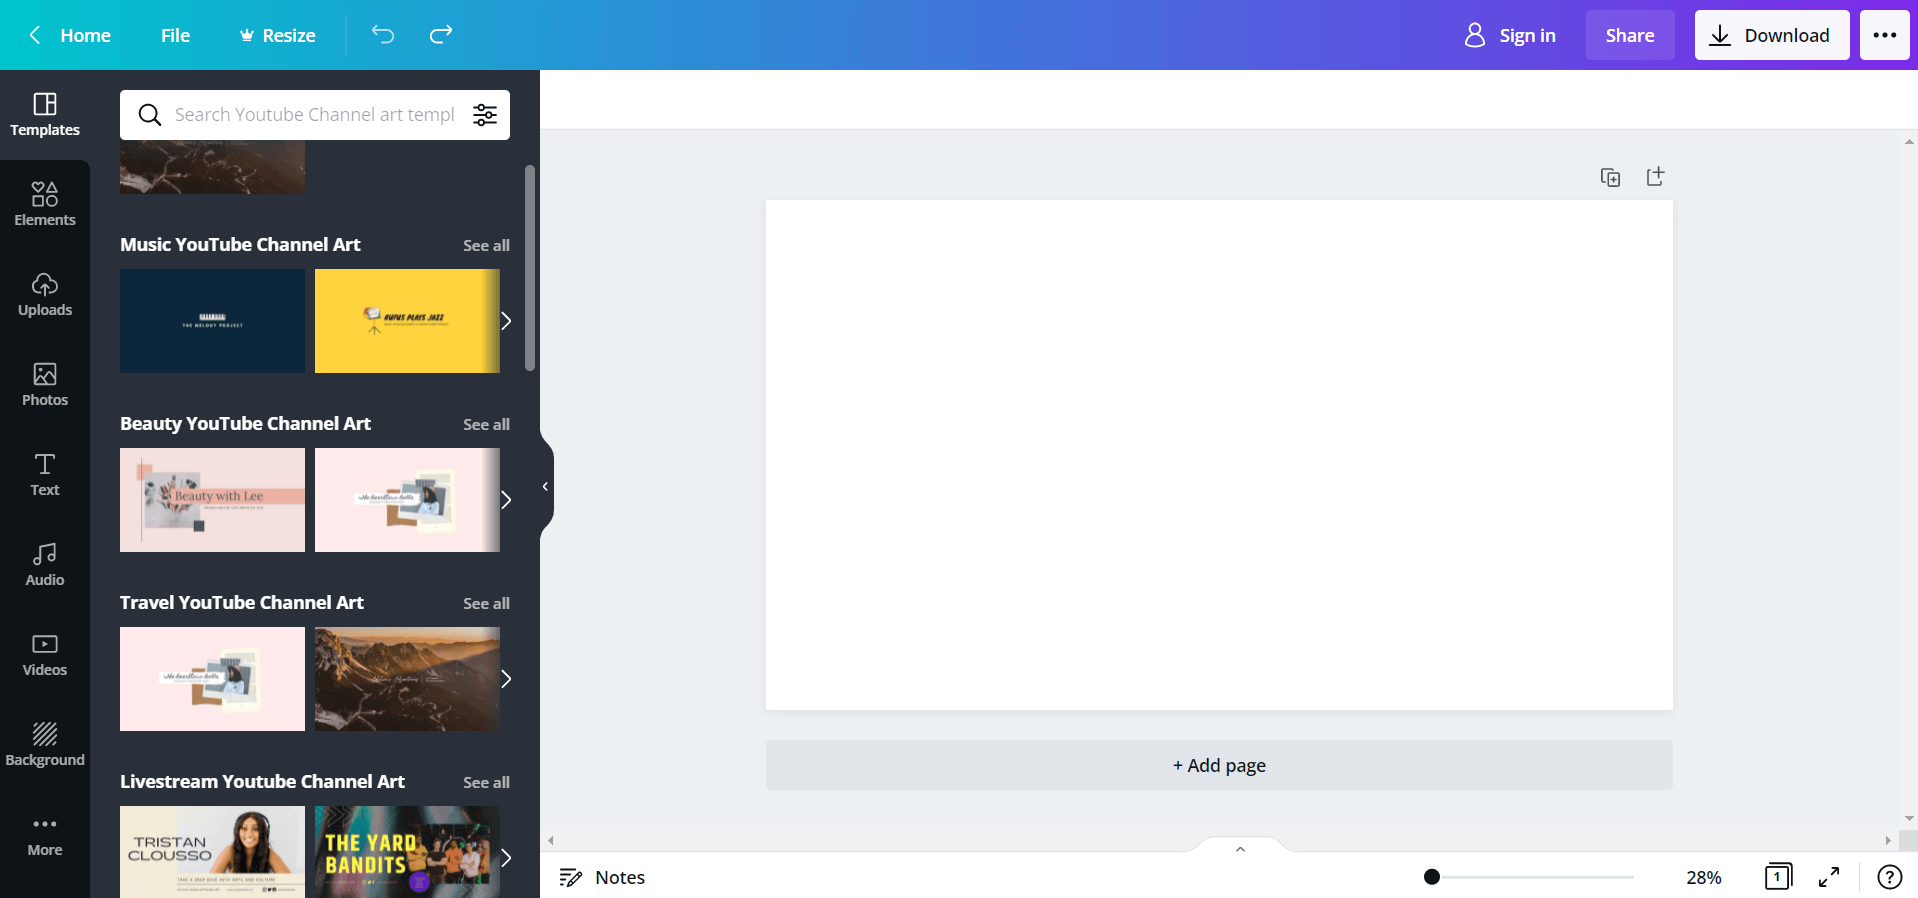
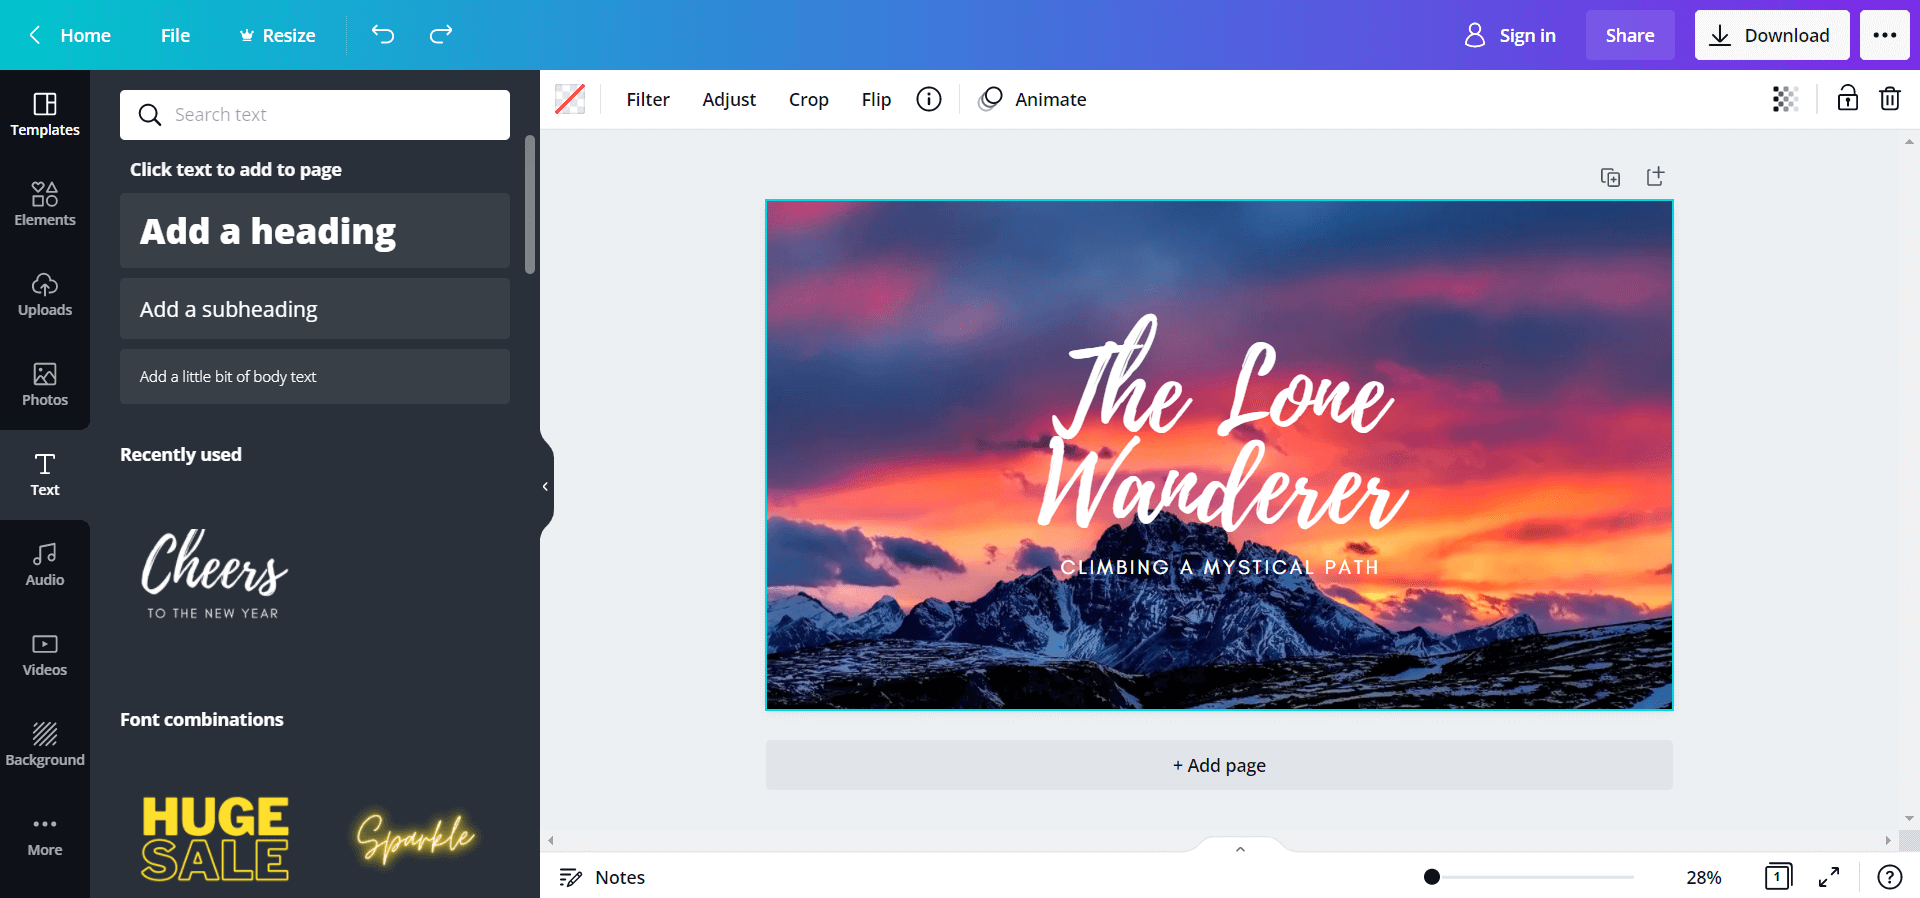
Step 1Choose a Background
Once you have logged in to Adobe Creative Cloud Express, type “YouTube Channel Art” or “YouTube Banner” in the template search, it will show you a variety of templates to choose from. Select the one you like. We suggest starting with the templates because their resolutions are already set to YouTube banner resolutions. That is 2560 x 1440 pixels.
Step 2Write Text on the Background
Next, you’ll write text on the background that would define your channel the best. Canva gives you a variety of fonts, font styles, and font combinations to choose from.
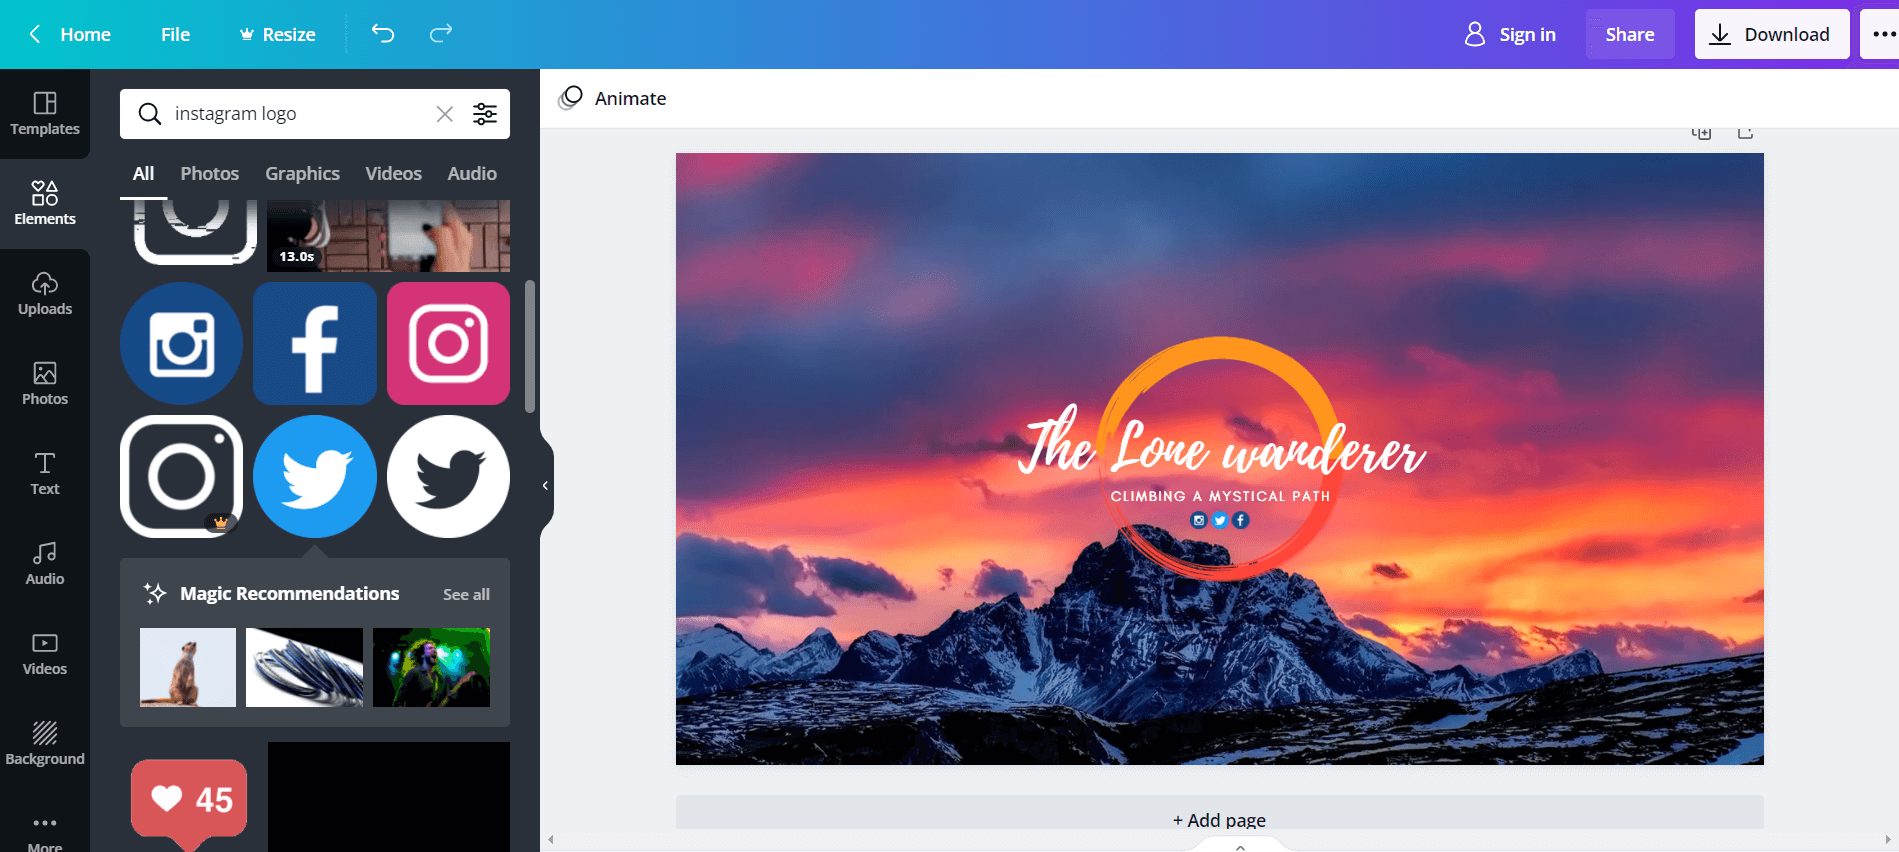
Step 3Final Touch-ups
Now adjust the banner as per YouTube’s template. You can further refine your banner by adding your Instagram and Twitter handles if you want.
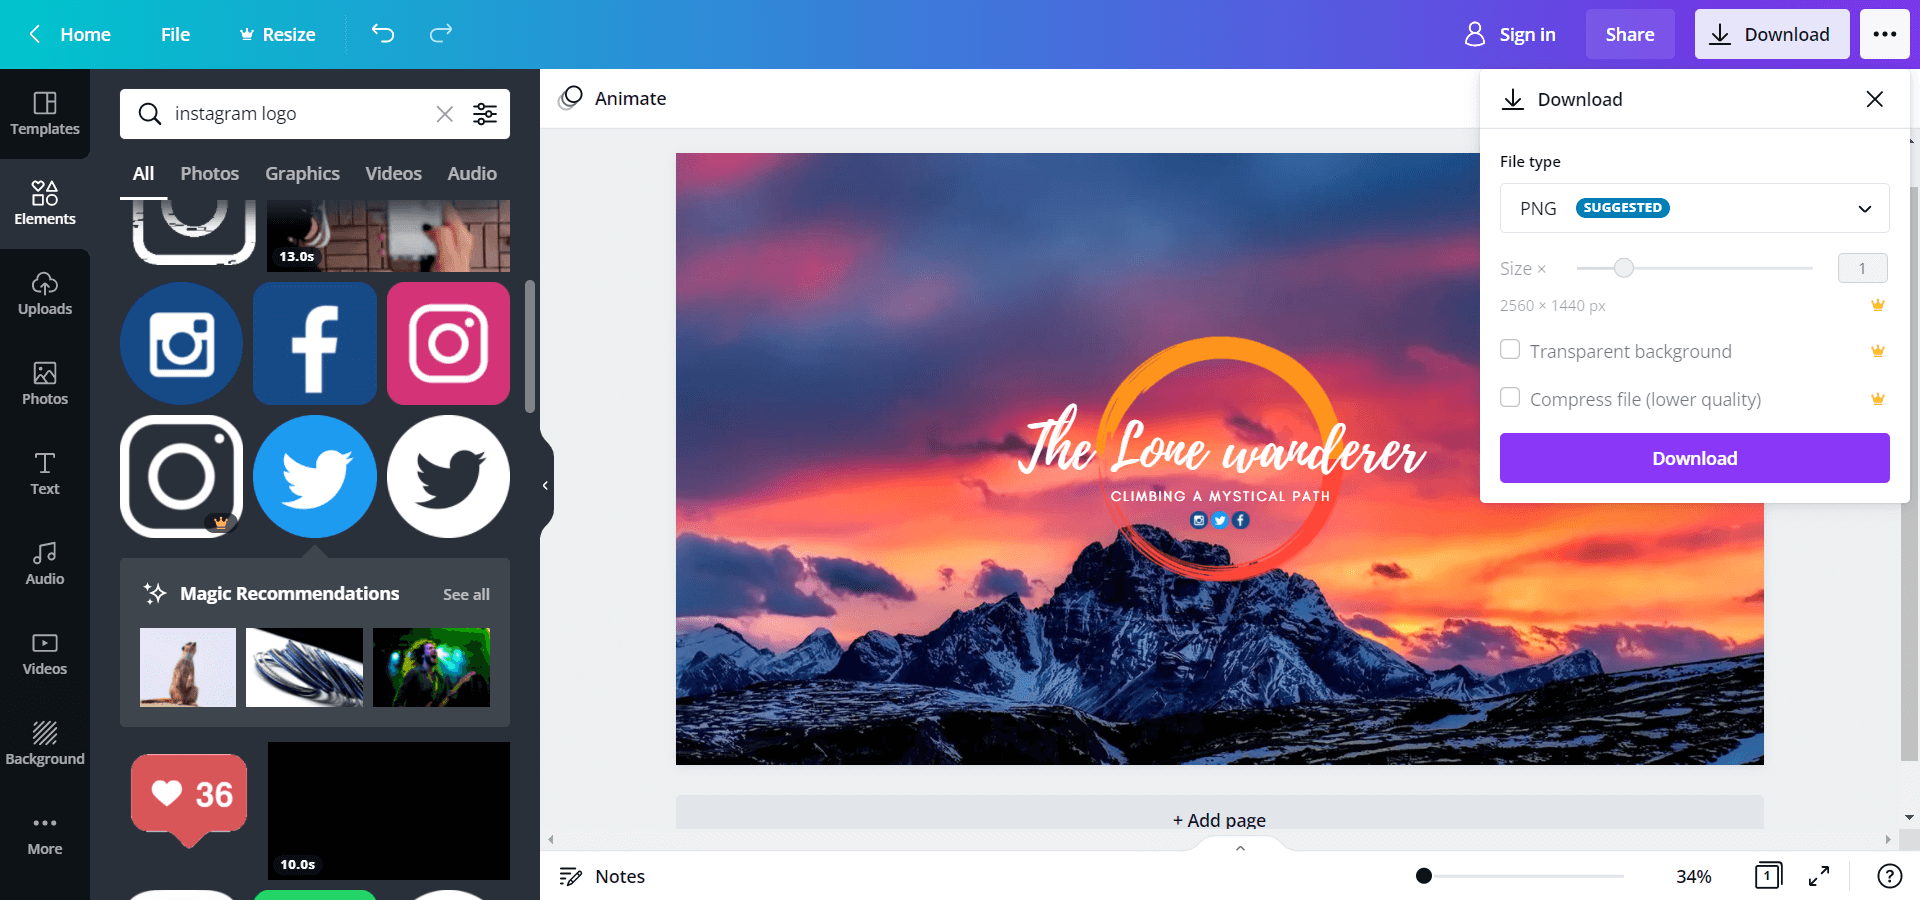
Step 4Download the Banner
Once you have finished the final touchups, you can download the banner in a few given file formats. Before downloading, make sure that your banner fits well according to YouTube’s banner template.
#4. Snappa
As the name suggests, Snappa does the graphics creation in a snap. Snappa is an online graphic editor with a relatively fast, easy-to-use, and unified user interface compared to other web graphic designing apps. Along with that, Snappa has a wide variety of graphical assets to choose from.
How to Use Snappa to Create YouTube Banner
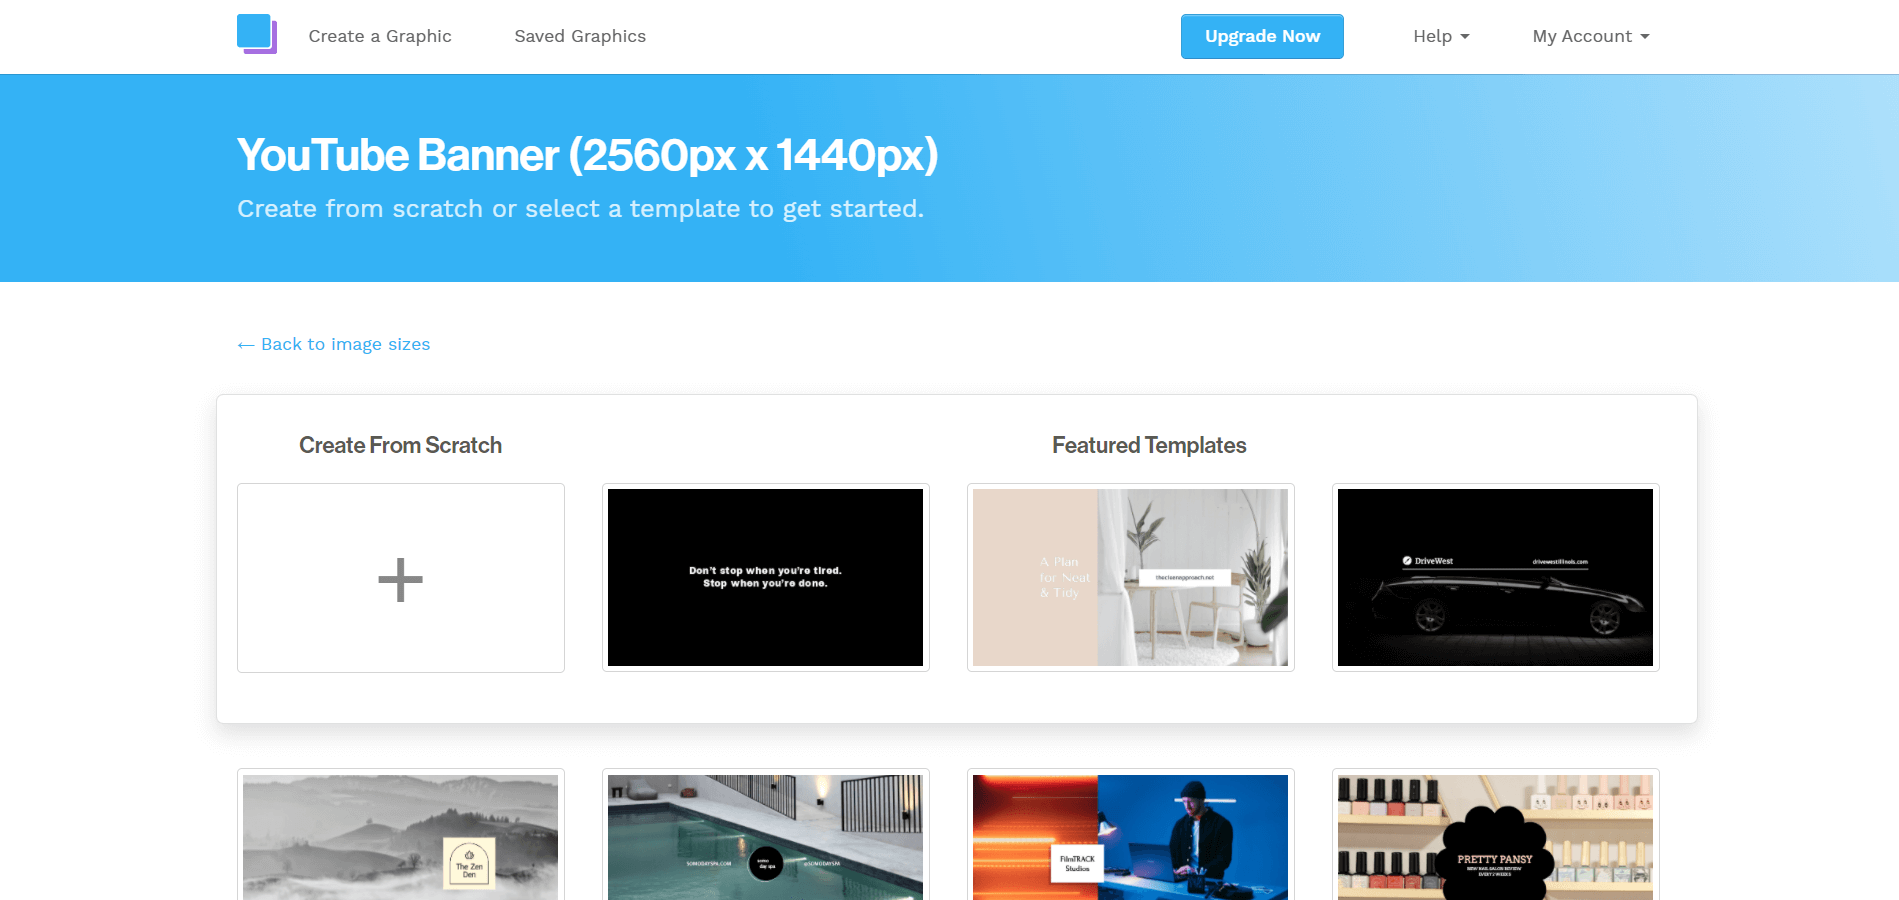
Step 1Login or Sign-up for Free Account
Once you have logged in to Adobe Creative Cloud Express, type “YouTube Channel Art” or “YouTube Banner” in the template search, it will show you a variety of templates to choose from. Select the one you like. We suggest starting with the templates because their resolutions are already set to YouTube banner resolutions. That is 2560 x 1440 pixels.

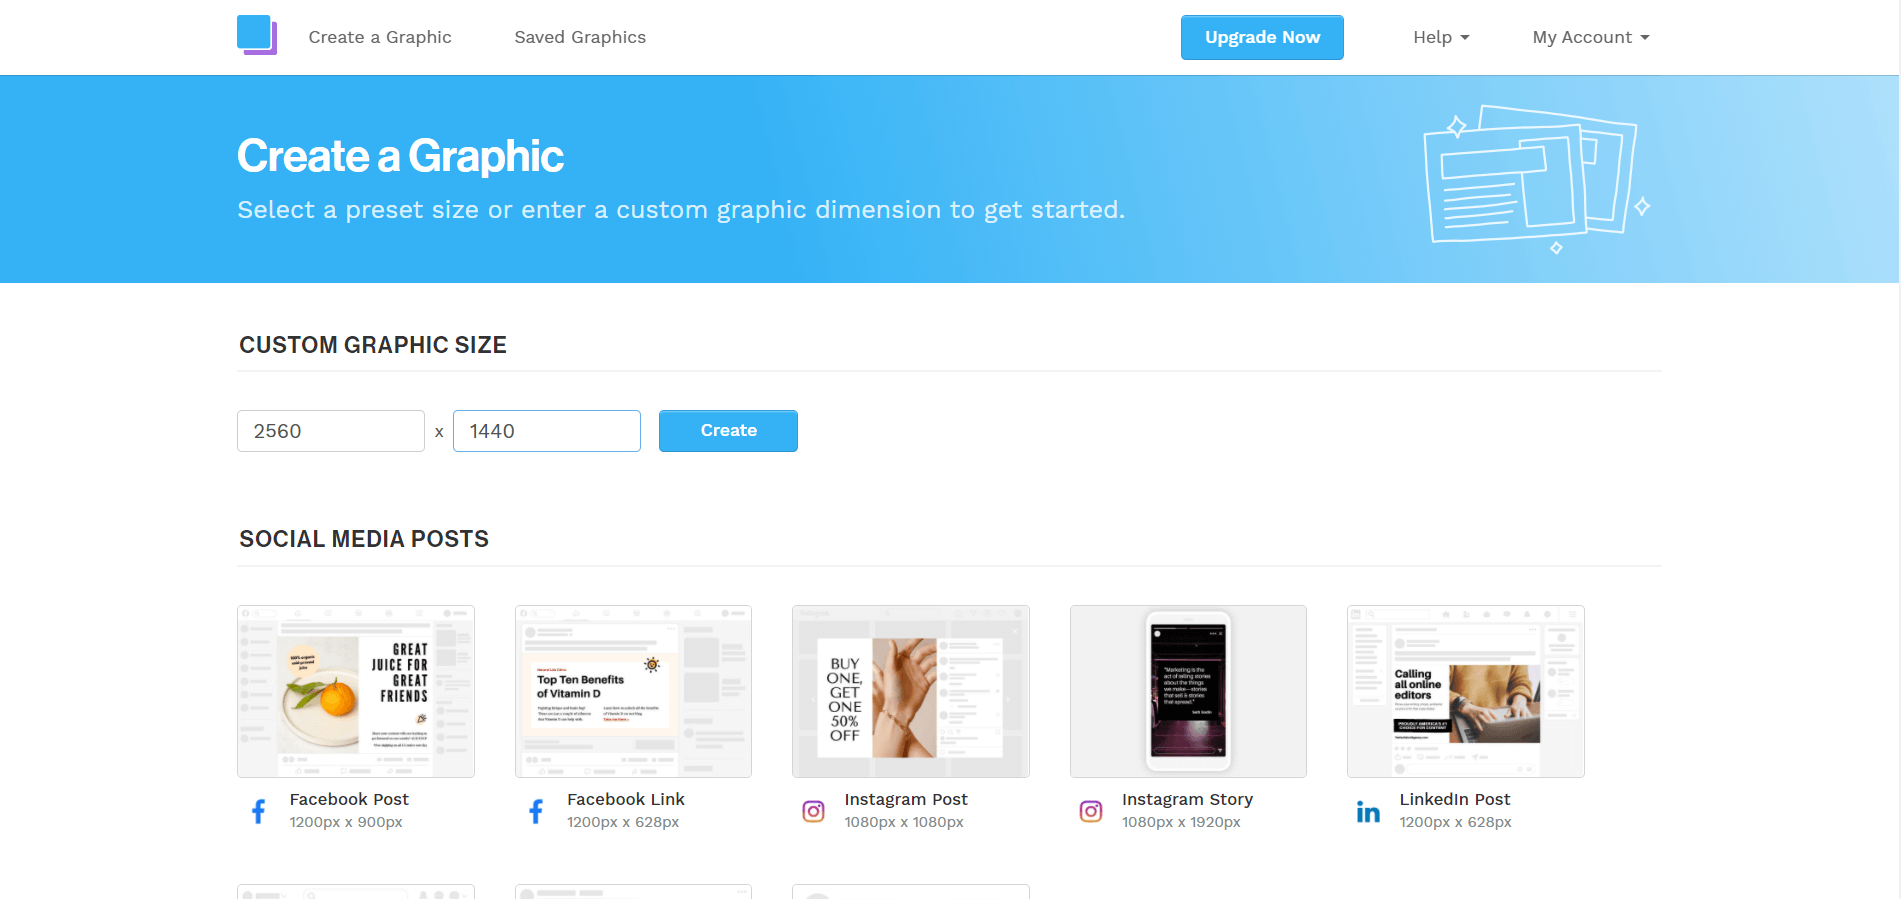
Step 2Select the Preset or Manually Set the Size
Scroll down in the preset page and select “YouTube Banner” to get started. Alternatively, you can manually set the size to 2560 x 1440 pixels.
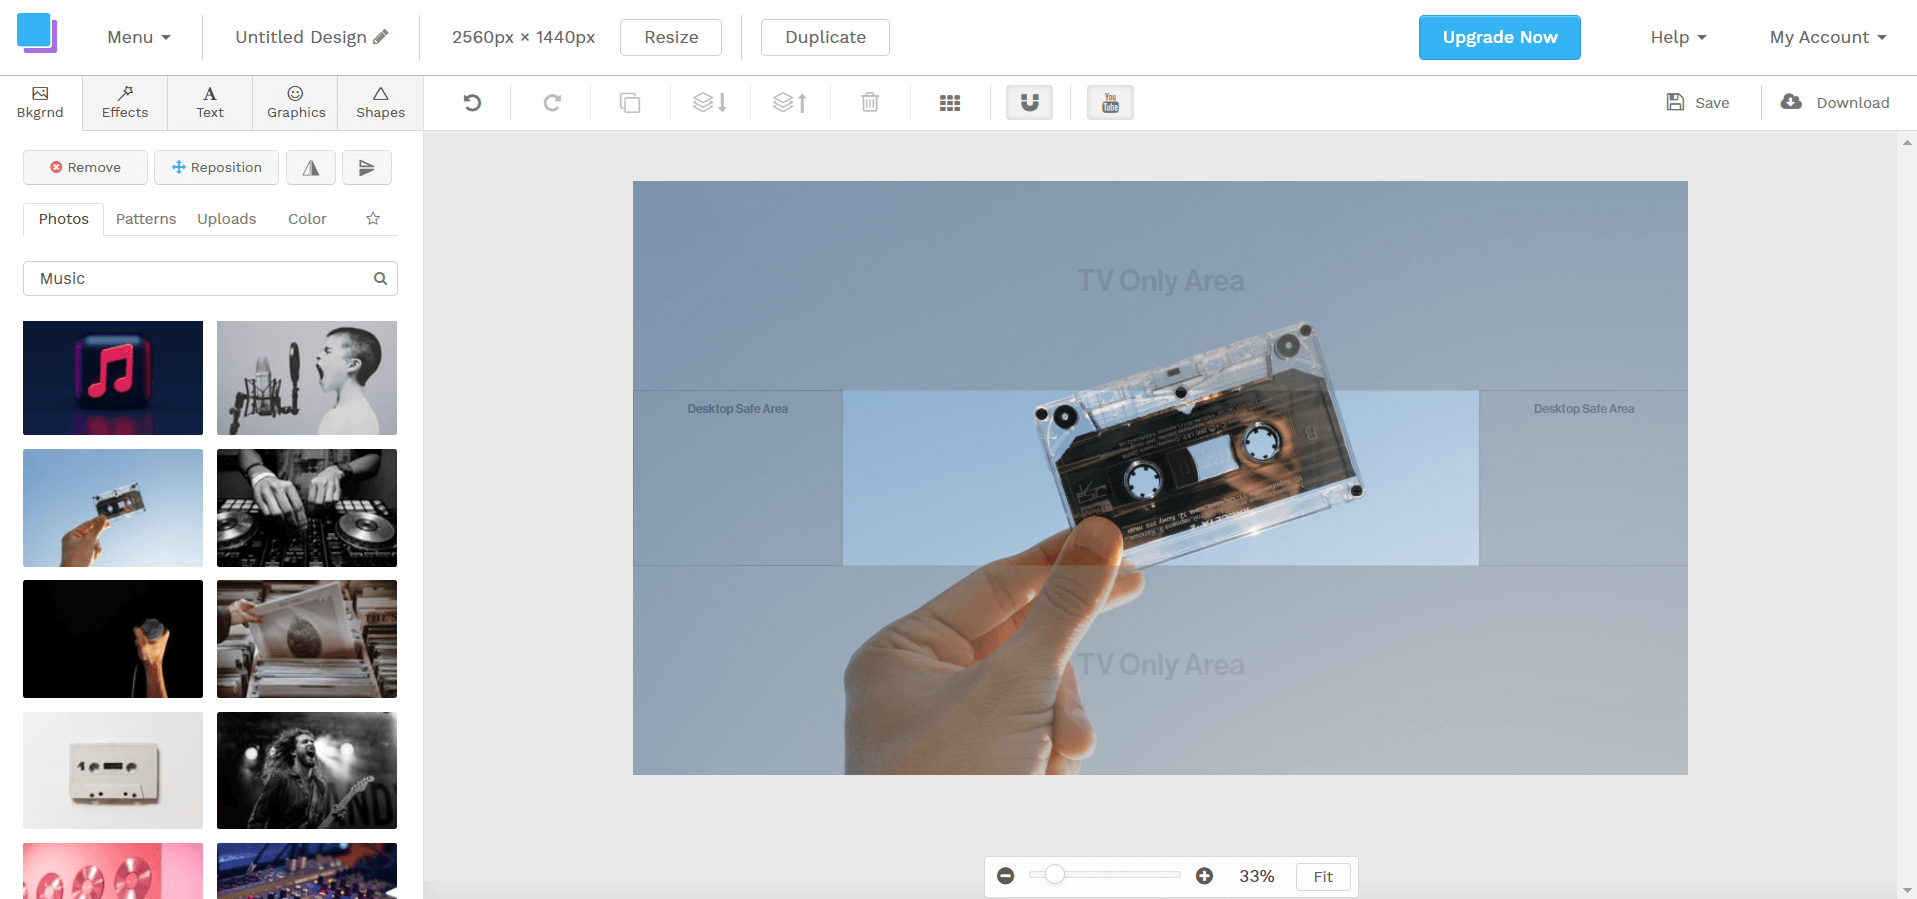
Step 3Setting the Canvas
Once you select the preset, you’ll have the option to use a template or create from scratch. For the sake of this guide, we’ll be making everything from scratch. The theme for this banner would be music.
Step 4Set the Background
Snappa also gives you a visual representation of your banner on a different platform. Choose your desired background accordingly. Also, you can reposition every background to fit your canvas if needed.
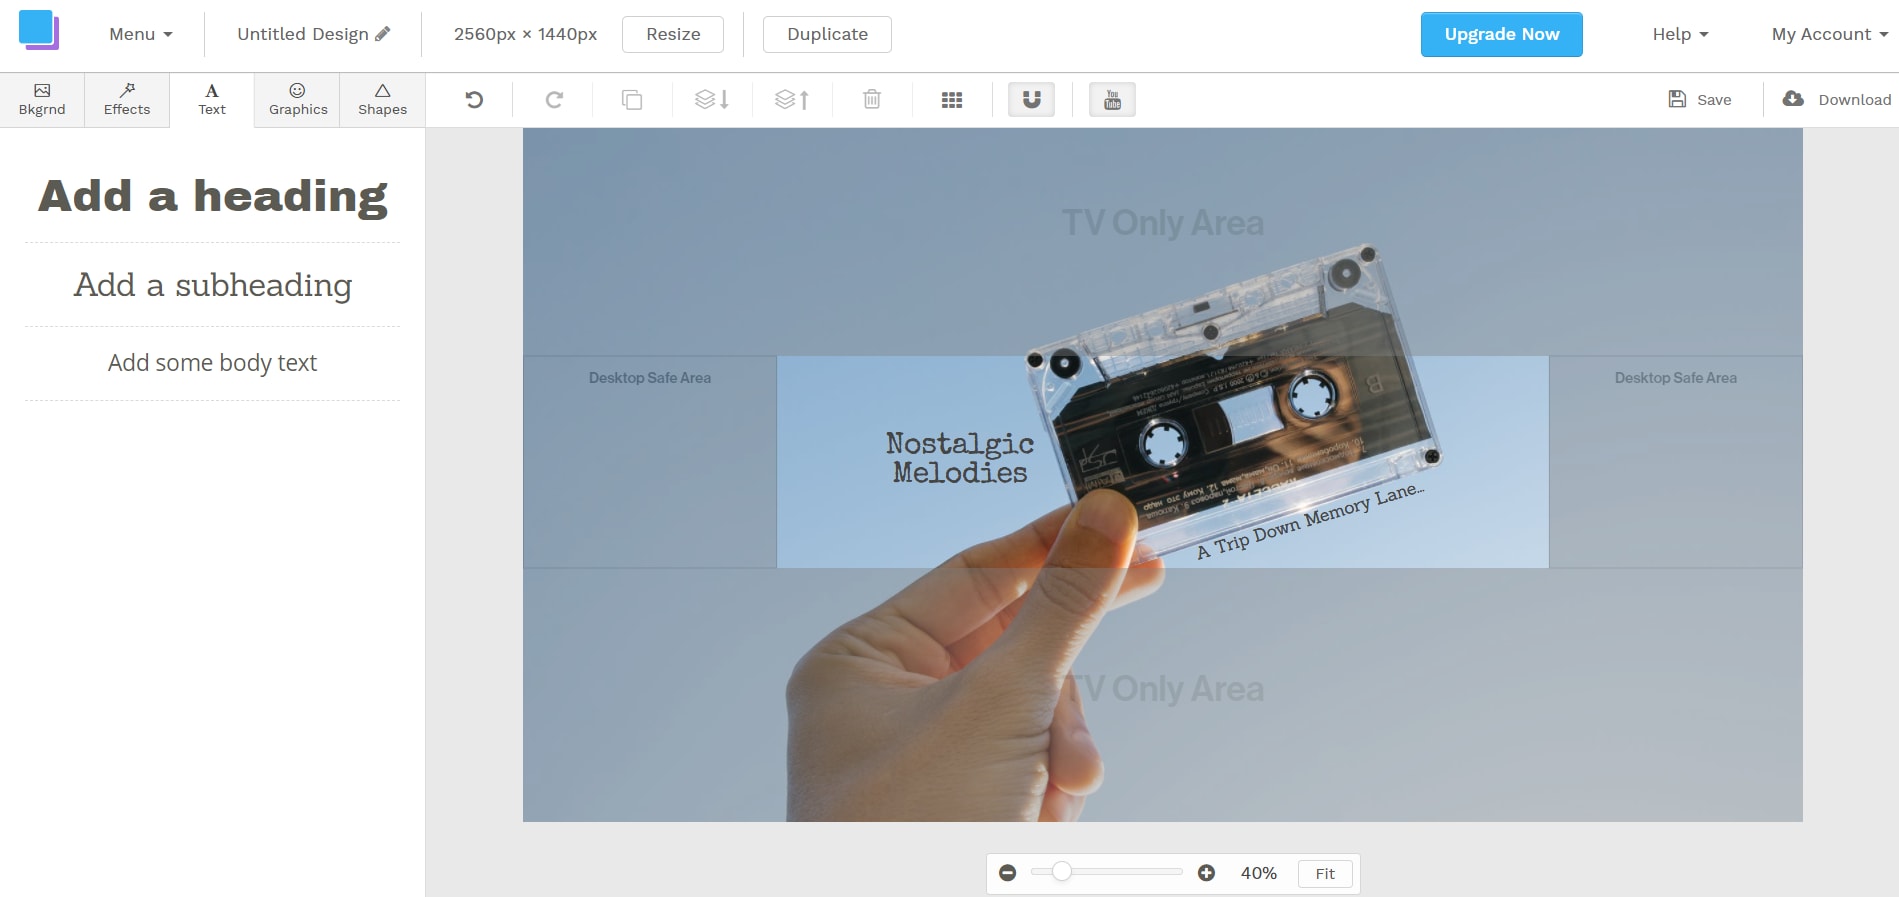
Step 5Adding Text on Background
You can add text to the background choosing from a wide variety of fonts and custom adjustments.
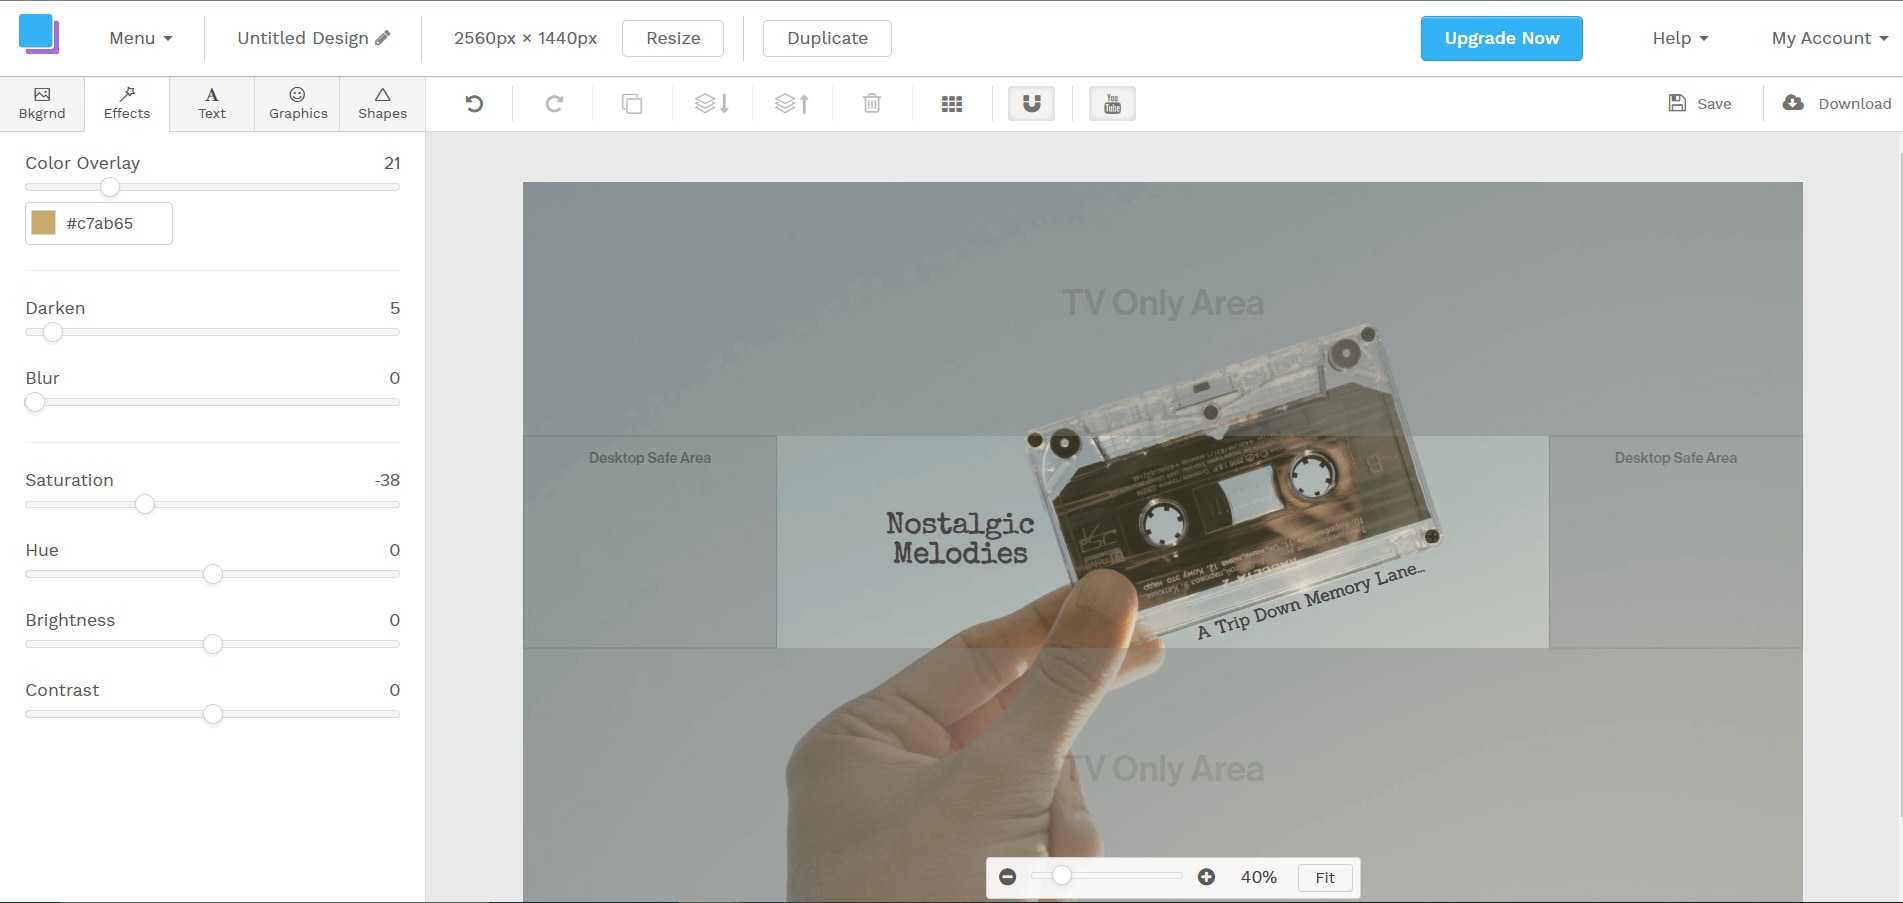
Step 6Adding Effect
Although Snappa has a limited number of effect; but they can be pretty useful if used properly.
Step 7Adding Graphics
You can use icons, vectors, or photos on your banner as well. Also, you can upload your own photos to be used in the banner.

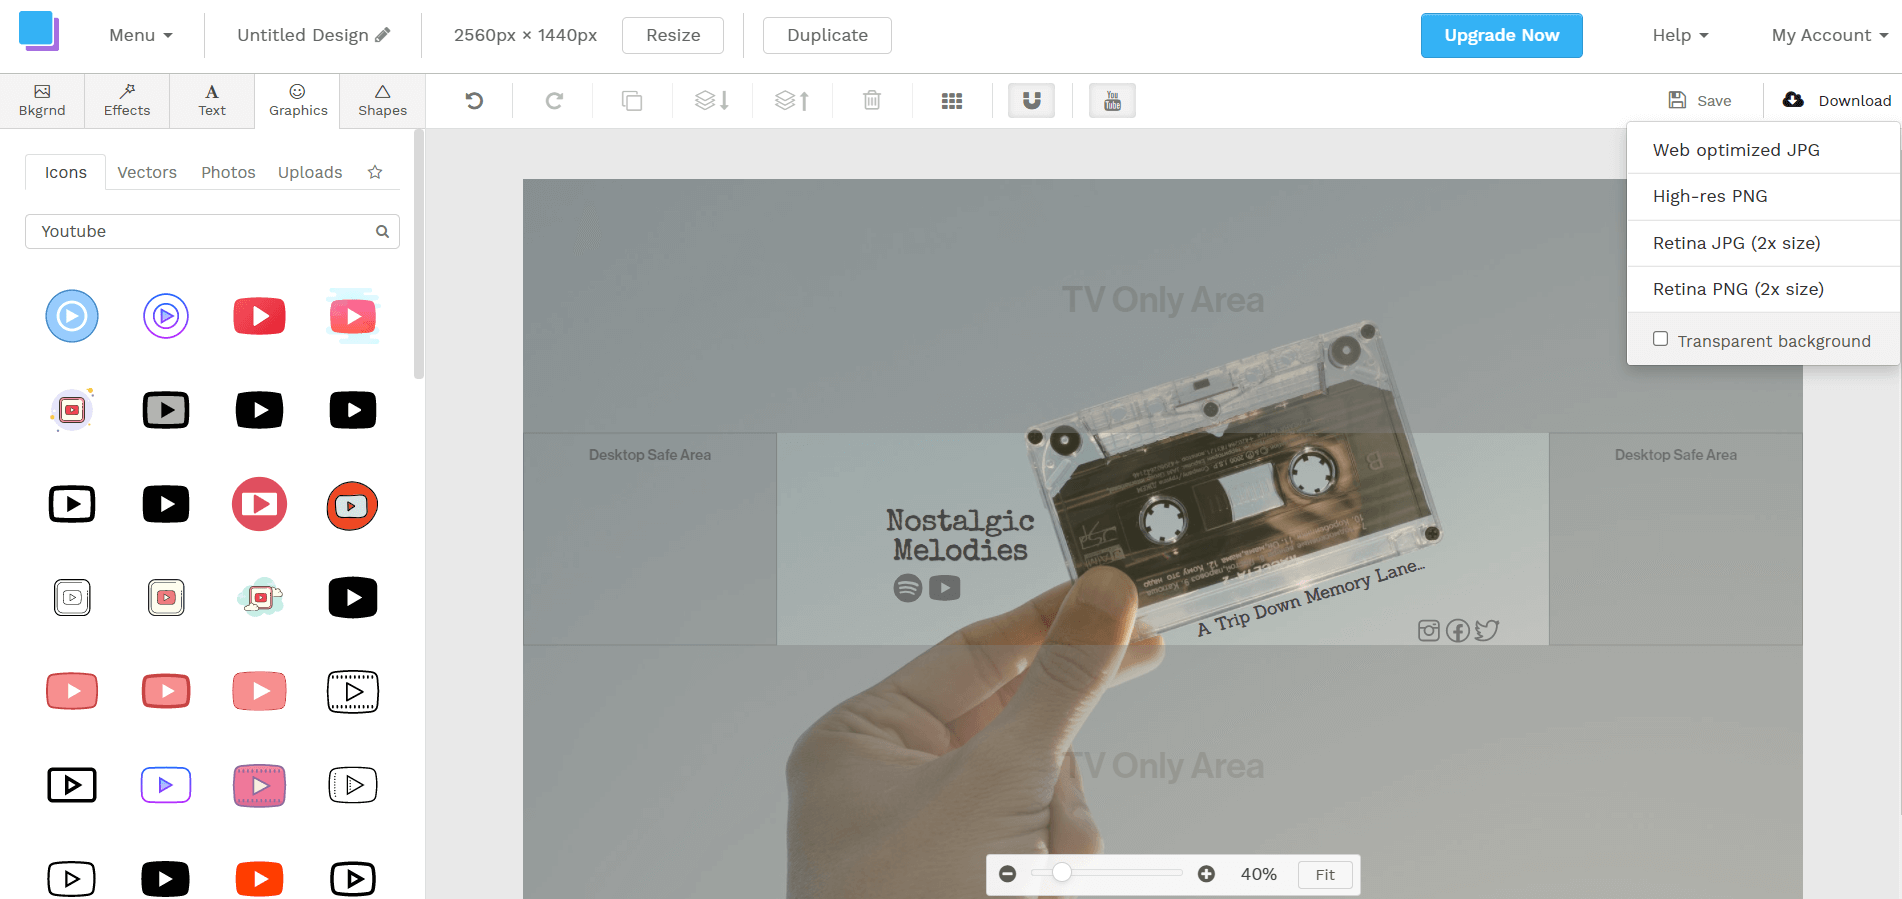
Step 8Download the Banner
Once you’re satisfied with the edit, click the download button and choose the desired file format to download the file. Make sure to save your file as PNG if your file contains any transparent graphics.
#5. Picmaker
Picmaker is a free tool that lets you design YouTube banners from countless templates. All you have to do is just sign-up for a free account and that’s it. Picmaker has a lot of different presets and templates to get you started.
How to Use Picmaker to Create YouTube Banner
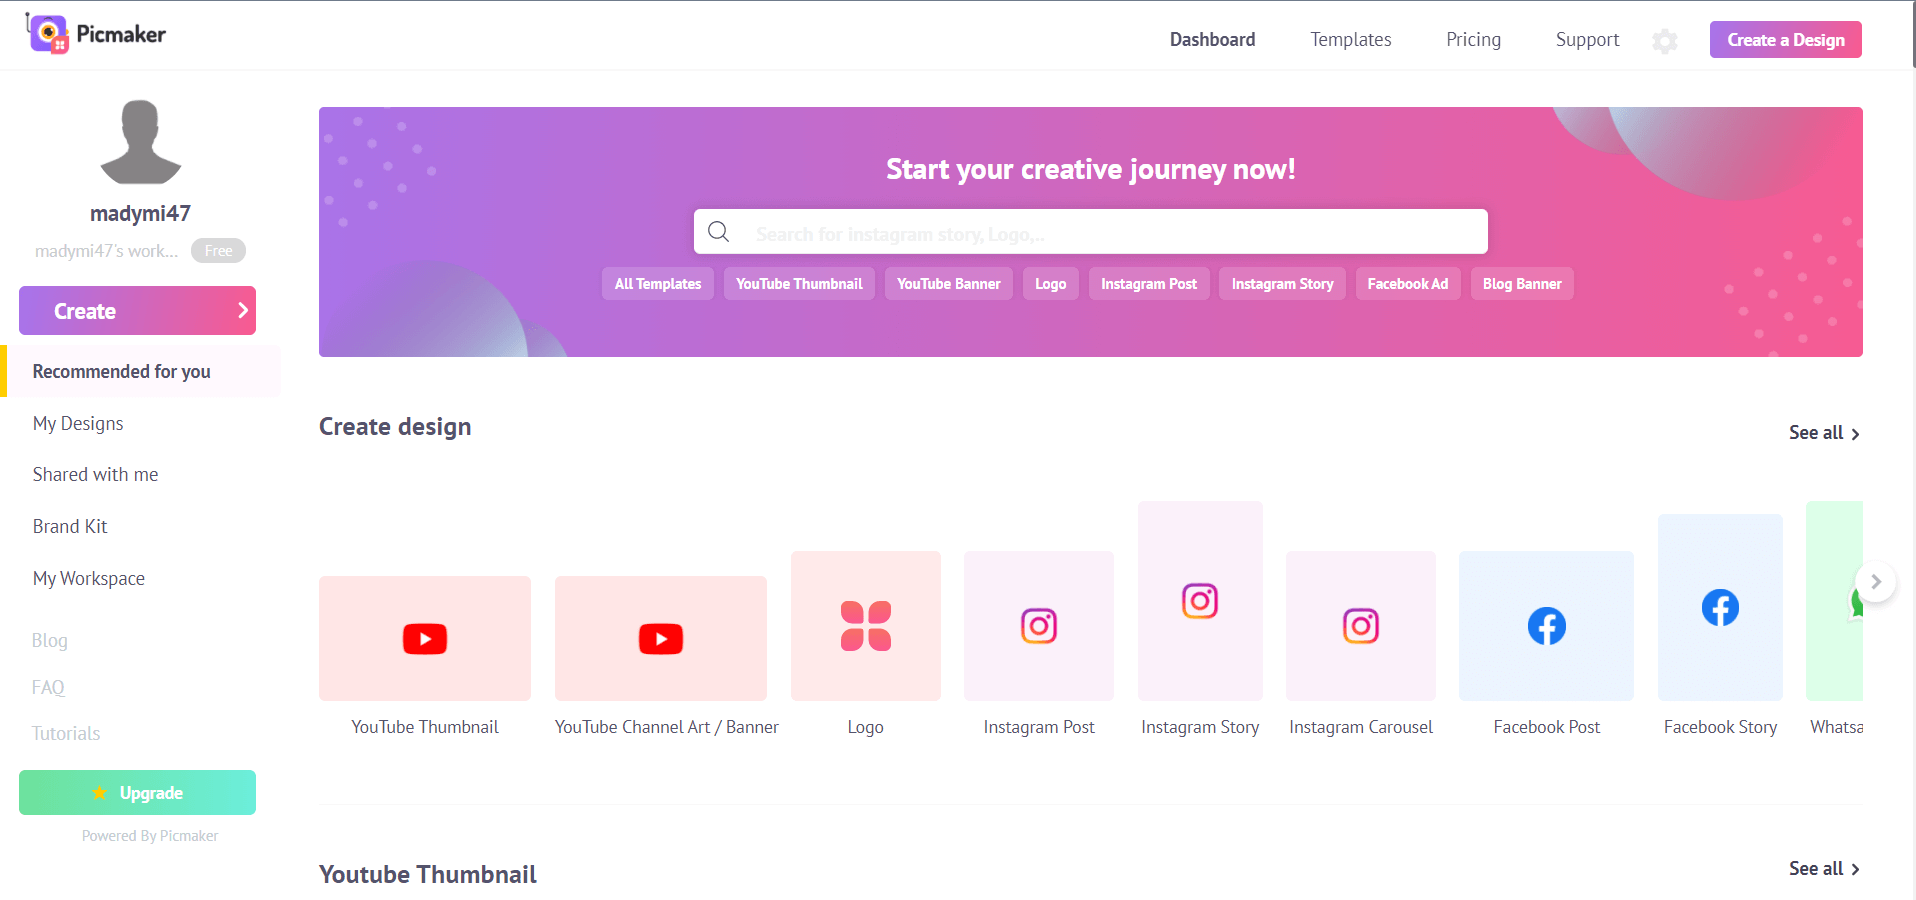
Step 1Login and Select the Preset
Once you login, you’ll see a wide range of presets. Choose “YouTube Channel Art/Banner” preset to get started.
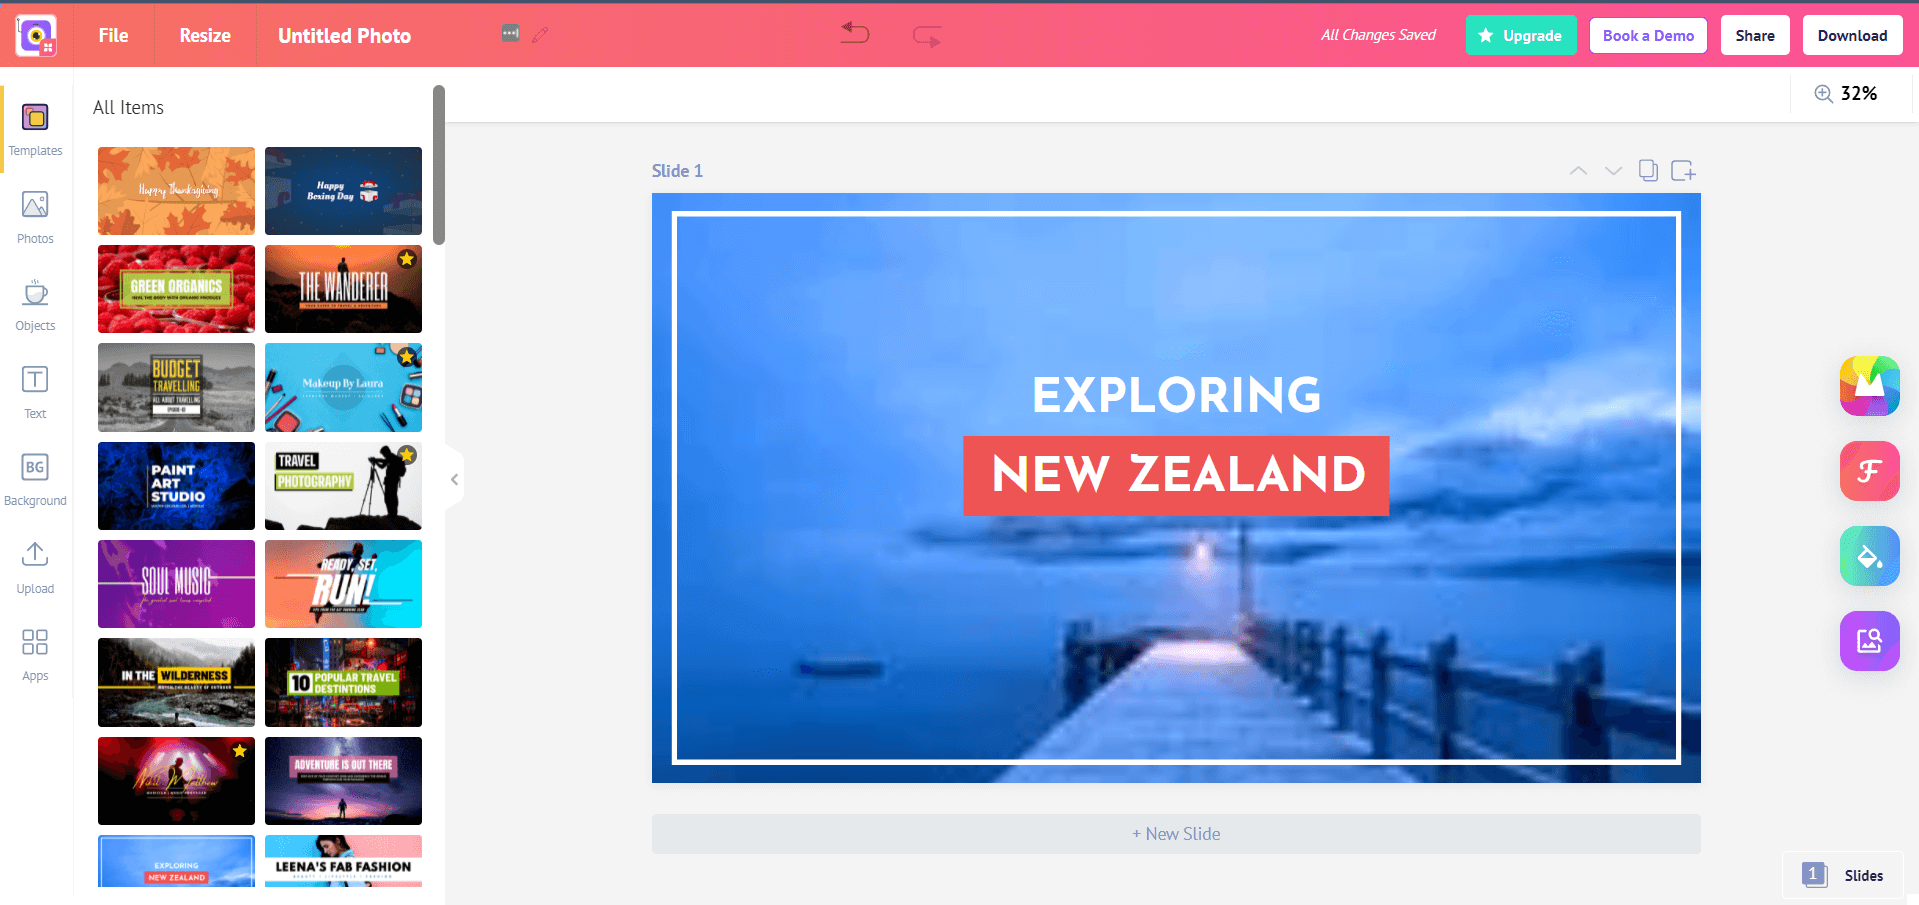
Step 2Choose a Template
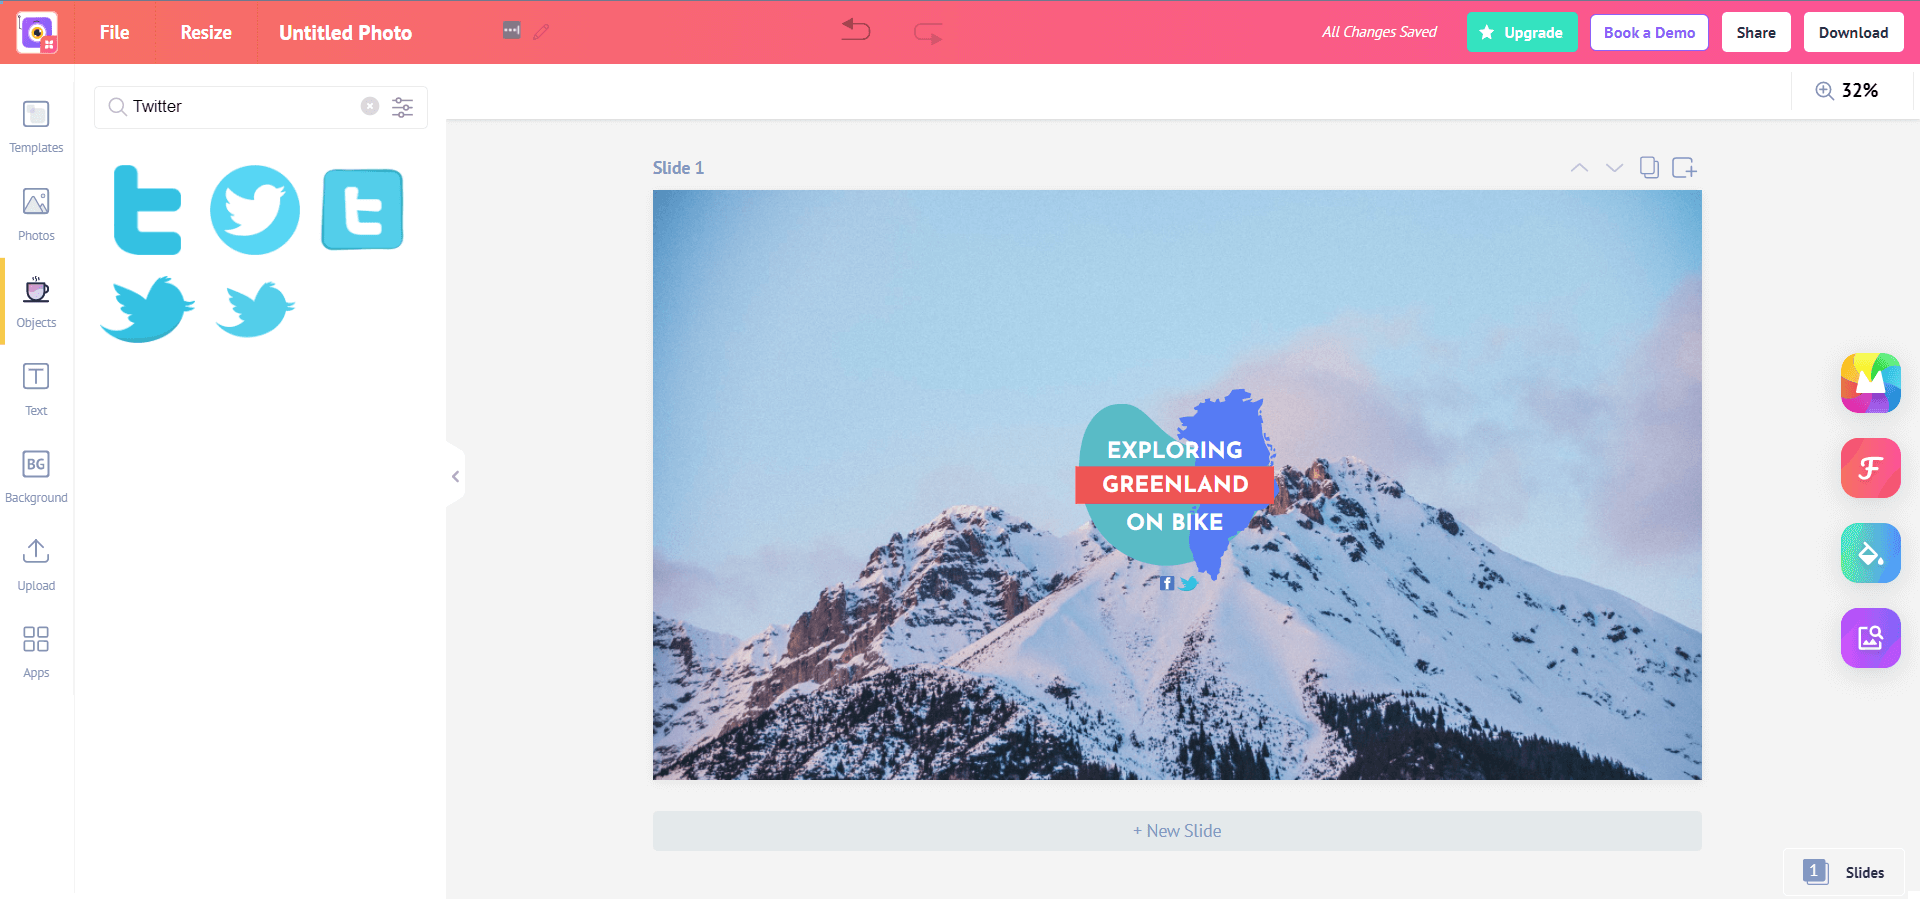
For this one, we’ll be working with a template. The theme for this banner would be traveling. You can choose any template that you like. It can be entirely customized if needed.
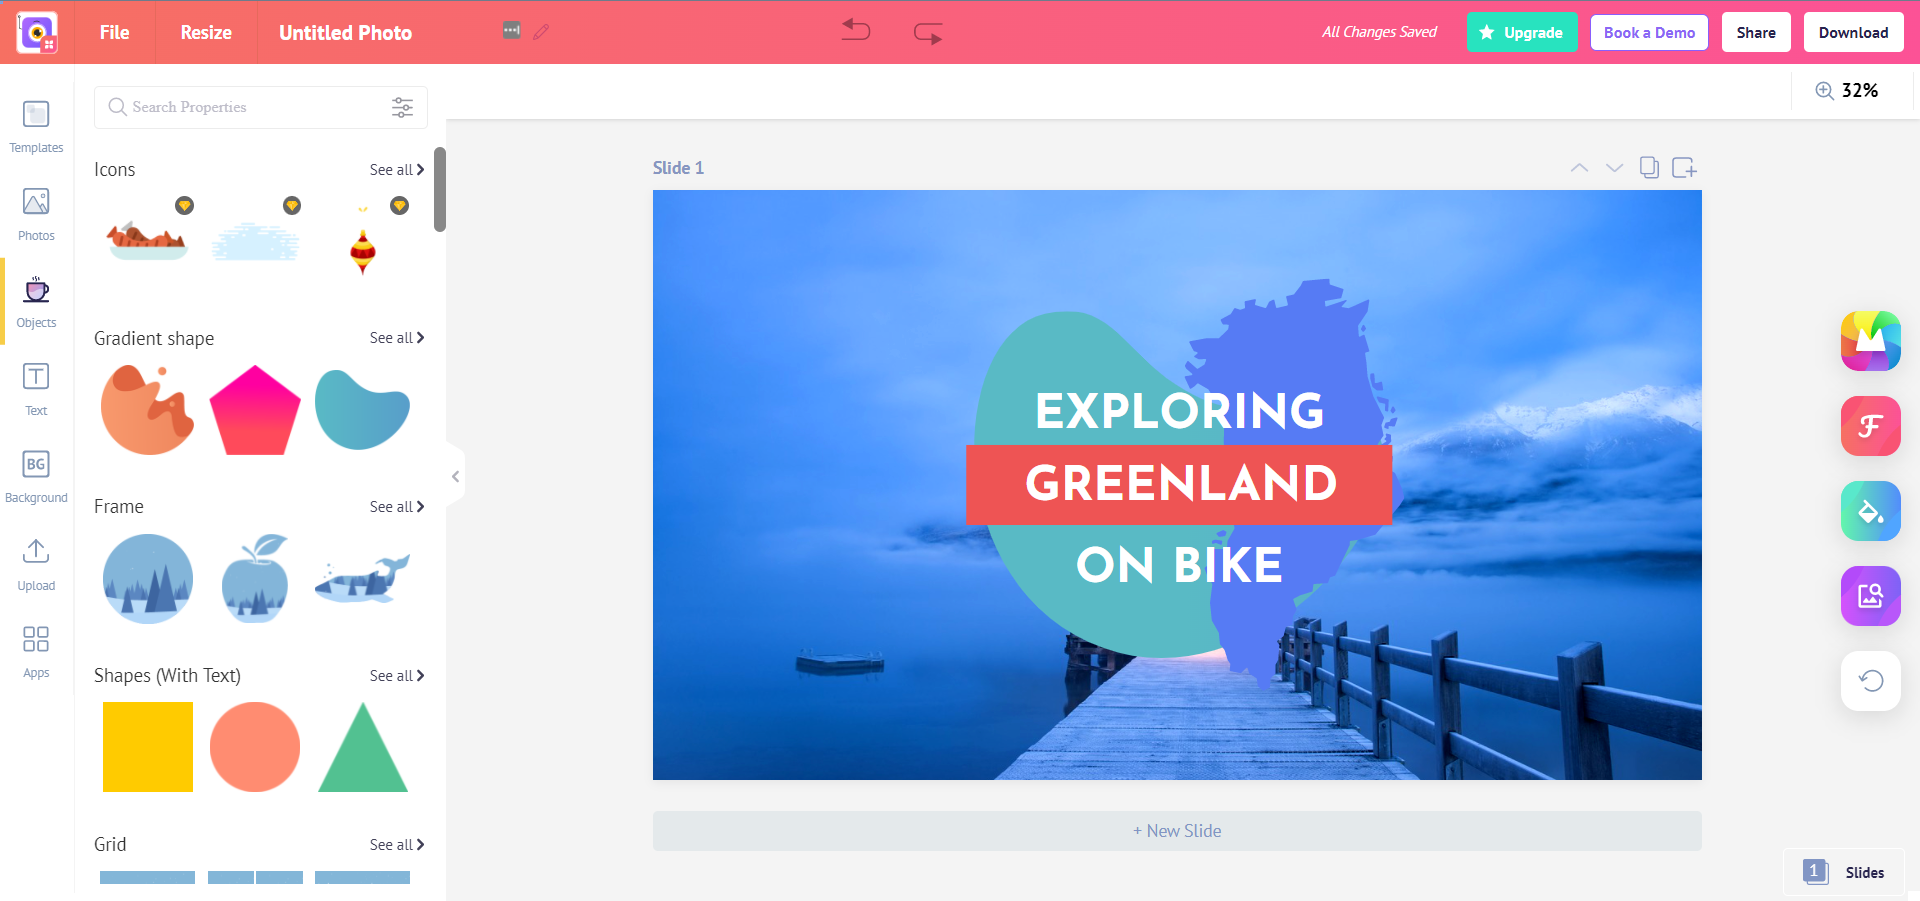
Step 3Adding Additional Graphics and Changing Text
If you feel like your template does not match the theme well, you can always tweak it the way you want it to be. You can customize the text and graphics from the “Text” and “Objects” tabs, respectively.
Step 4Changing Background & Adjusting the Final Edit
Once all the tweaks are done, take an overlook on the banner to see if it looks natural. If it doesn’t, try to adjust it further or change the background. Also, make sure that the banner fits well with YouTube’s template.
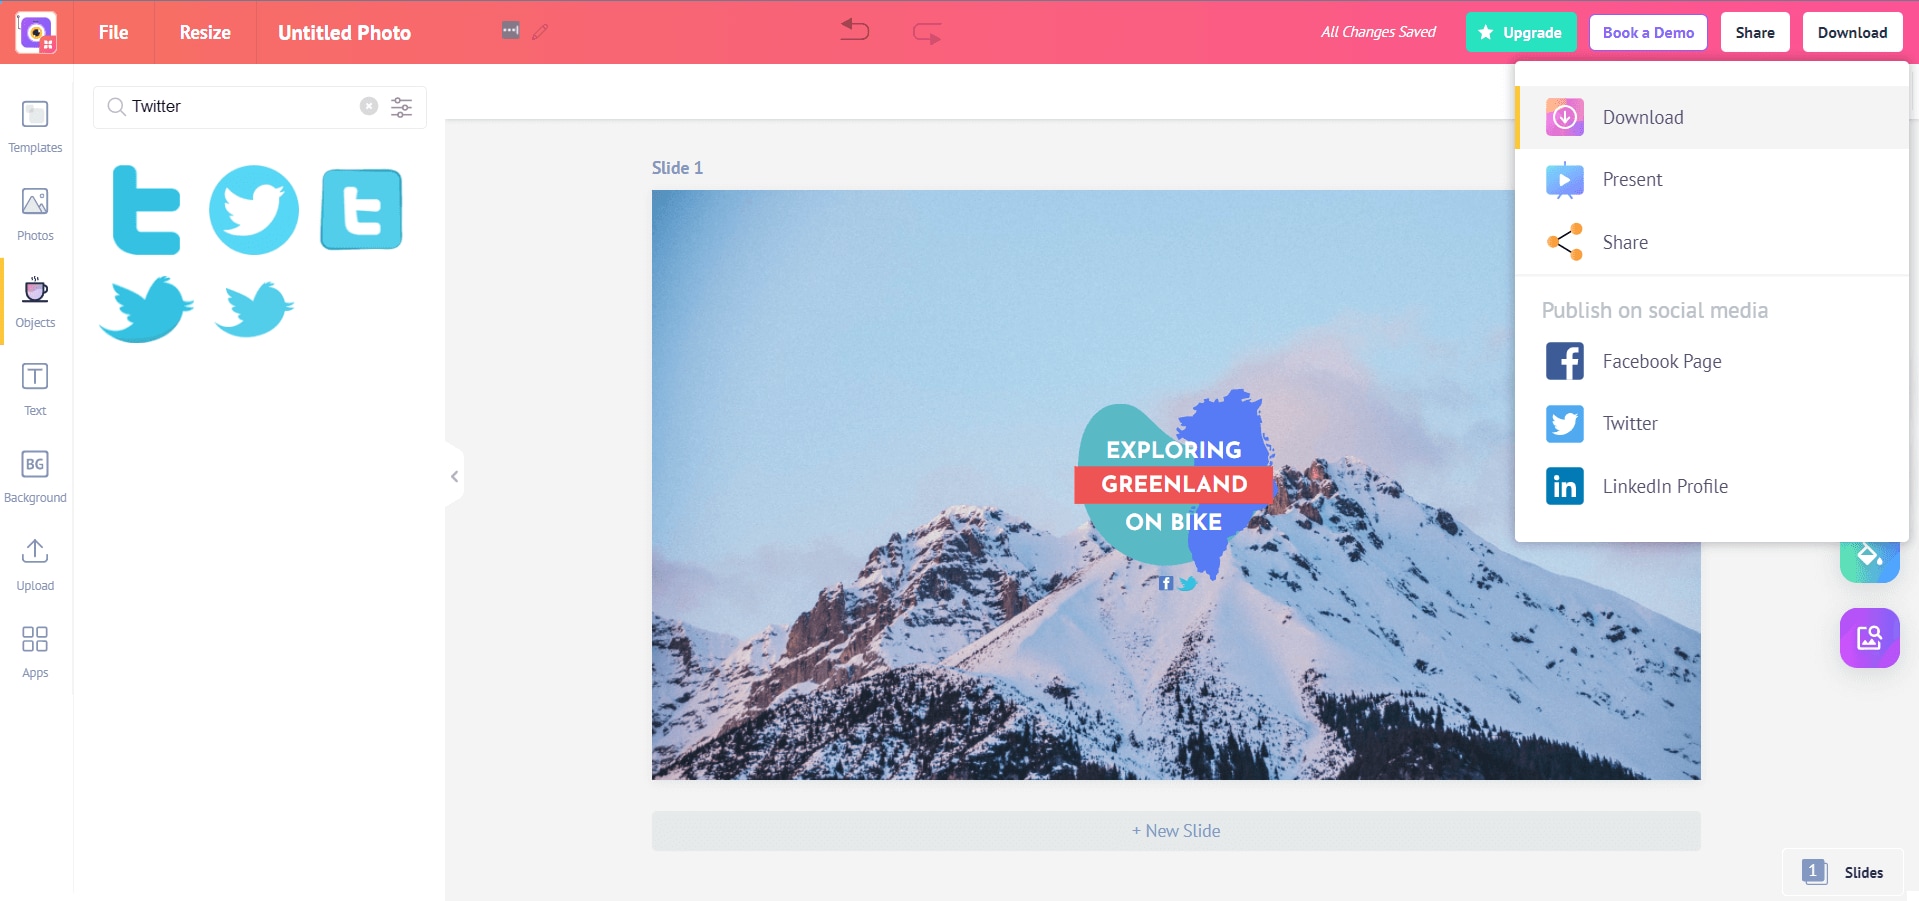
Step 5Downloading
Once you are satisfied with the edit, click the download button at the top-right corner and choose “Download” from the drop-down menu. After that, choose the file format and you’re good to go.
Part 2. Frequently Asked Questions
1. What is the best YouTube banner size?
The ideal size for YouTube Banner is 2560 x 1440 pixels. The safe size that shows on all devices is 1546 x 423 pixels. The supported file formats are JPG, PNG, BMP, and GIF. The File should not exceed 6MBs.
2. How to change my YouTube banner?
On computers, sign in to YouTube Studio. In the menu at left, select Customization - Branding. To change the banner, select “Change” and choose the file you wish to set as the new banner. After that, click “Publish.”
On Android, tap your profile picture. After that, tap “Your Channel.” Tap “Edit Channel” and then tap the banner to change it. After that, select a file to set as a new banner. Click “Save” once the new banner is applied.
3. How to make a good YouTube banner?
To make a good banner, pick a banner layout that is consistent with your channel. YouTube banner design should remain simple. Use your channel’s slogan or tagline. Use colors and fonts that reflect the mood and vibe of your channel and its content.