Filmora Video Editor for Mac
User Guide
- Tool of Instant Cutter
- Tool of Action Cam
Instant Cutter Tool in Filmora
The Instant Cutter tool allows you to upload videos shot with your motion camera including GoPro, and videos in format of MTS/M2TS or MP4/MOV, so that you can directly trim and merge video without re-encoding the video.
In this tutorial you will learn:
1 How to Trim A Video
If a portion of the video doesn't seem right to you, you can trim down the video either from the start or the end. It's quite easy with Filmora for Mac.
Step 1. Import Video Clips: To open the Filmora instant cutter window, you can click on the "Import" button and select the "Import with Instant Cutter Tool" option.
In the "Filmora Instant Cutter" window, you can click on the "Open File" button under the "Trim" tab to select video from local folder to import. Then the video will display in the trimming timeline panel automatically.

Step 2. Trim Video Instant cutter tool provides you 3 easy ways to trim video with ease.
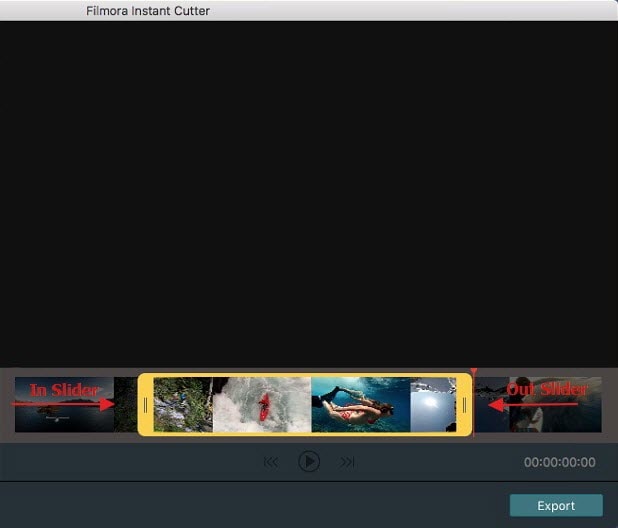
Way 1. Trimming slider: You can see the blue in/out slider in the timeline. Simply drag the in slider to set the beginning and drag the out slider to set the ending. The video will be trimmed left only the highlight part that you want to keep.
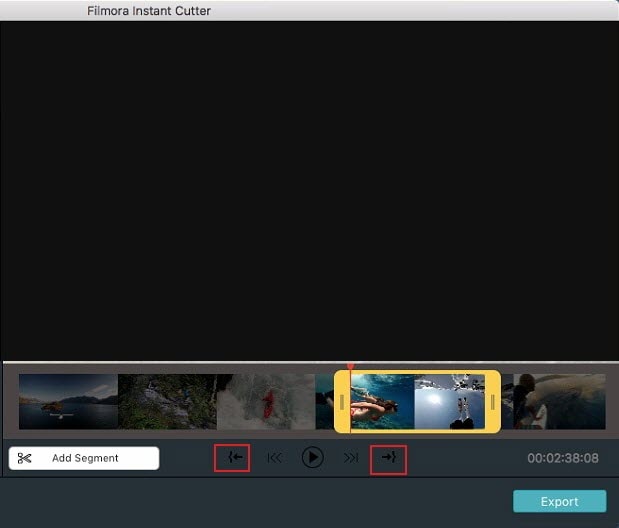
Way 2. Set in/out points:: There is a "Set in/out point" button under the timeline. Place the Playhead at the position you want to set as beginning, and click the "Set in point", the slider will jump to the Playhead position to set it as beginning. Then place the Playhead at the position you want to set as ending, click on the "Set out point", the slider will jump to the Playhead position to set it as ending.
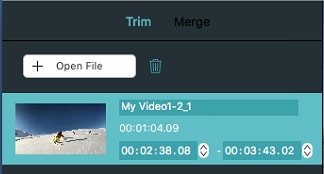
Way 3. Setting duration time: Click the thumbnail of the video on the left side of the trimming interface, and you can directly set the starting and ending time for trimming the video.
Way 4. Preview the Video: To preview the trimmed video, you can click on the "Play" icon.
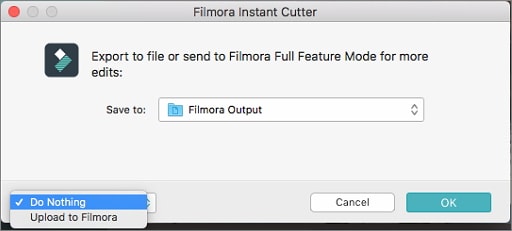
Way 5. Export trimmed Video: After you've trimmed the video, you can click on the "Export" button to export trimmed video to the local folder you like.
2 How to Merge Video Clips
Combining multiple elements, such as video clips, photos and audios together is the basic editing feature for Filmora for Mac.
Step 1. Import multiple Videos: After you've opened the Instant Cutter menu, choose the "Merge" option. Click on the "Open File" button to select multiple media files to import. All the imported videos will be listed in the left of the screen.
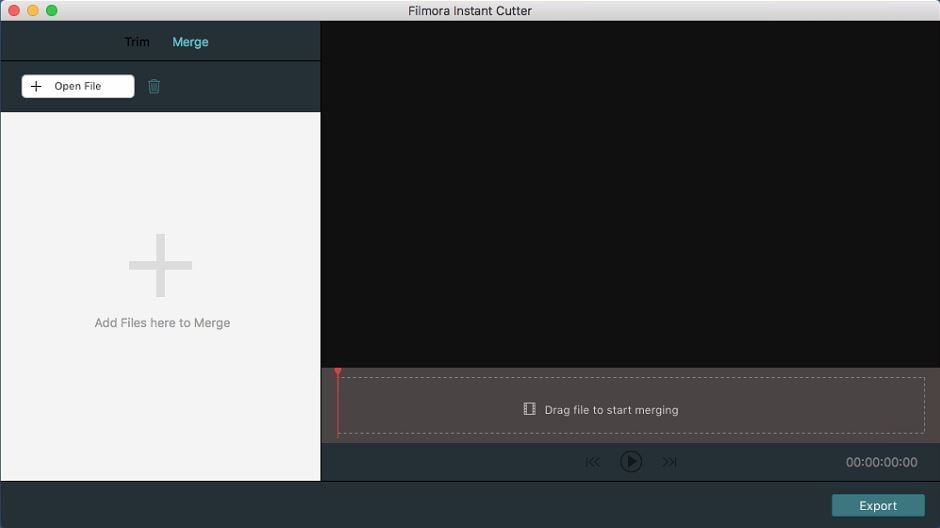
Note: To merge videos, you need to make sure that all the videos you import must have been recorded with the same device, and they should have the same resolution and frame.
Step 2. Reorder Video Clips: By dragging the "Drag" icon in the left bottom corner in the media menu, you can easily change the position of the videos. By doing this, the order of the merged video will be also changed.
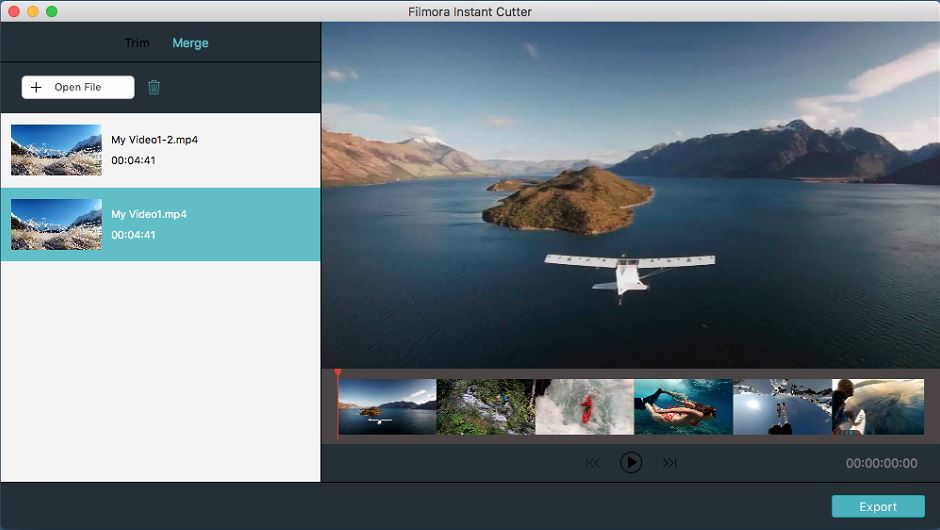
Step 2. Preview and Export: After you've merged the videos, you can click on the "Play" button to preview. If you are satisfied with the merged videos, you can click on the "Export" button to export the new video to your local folder.
Popular Products