


Can you cut videos on Adobe Premiere?
On the chance that you have been considering how to cut video in Adobe Premiere, then that will be the right decision to make because it is well suited. Its power of editing is more than many other programs can manage so you should expect a much better performance. There are other basic editing tools and features that this software program comes with and should be considered as well. The following article will show you how to cut video in Premiere Pro.
- Part 1: Simplest Way to Cut Video with Premiere Alternative
- Part 2: How to Cut/Trim Video in Premiere
Part 1: Simplest Way to Cut Video with Premiere Alternative
Best Premiere Alternative to Cut/Trim Video – Filmora Video Editor
Filmora Video Editor for Mac (or Filmora Video Editor for Windows) is the best Premiere Alternative and an easy-to-use video editor which also provides plenty of powerful video editing features. It allows you to edit your videos in an easy to use and trendy technique. Any novice will instantly get going and start editing any new movie project, whether adding unique features, importing and editing fresh content, or uploading your end product on social media, burning edited video to DVD, etc.
Key Features of Filmora Video Editor:
- Supports all the popular media formats so no need to worry about the incompatibility problem.
- Basic video editing tools to make video cutting, rotating, trimming, cropping and joining easily.
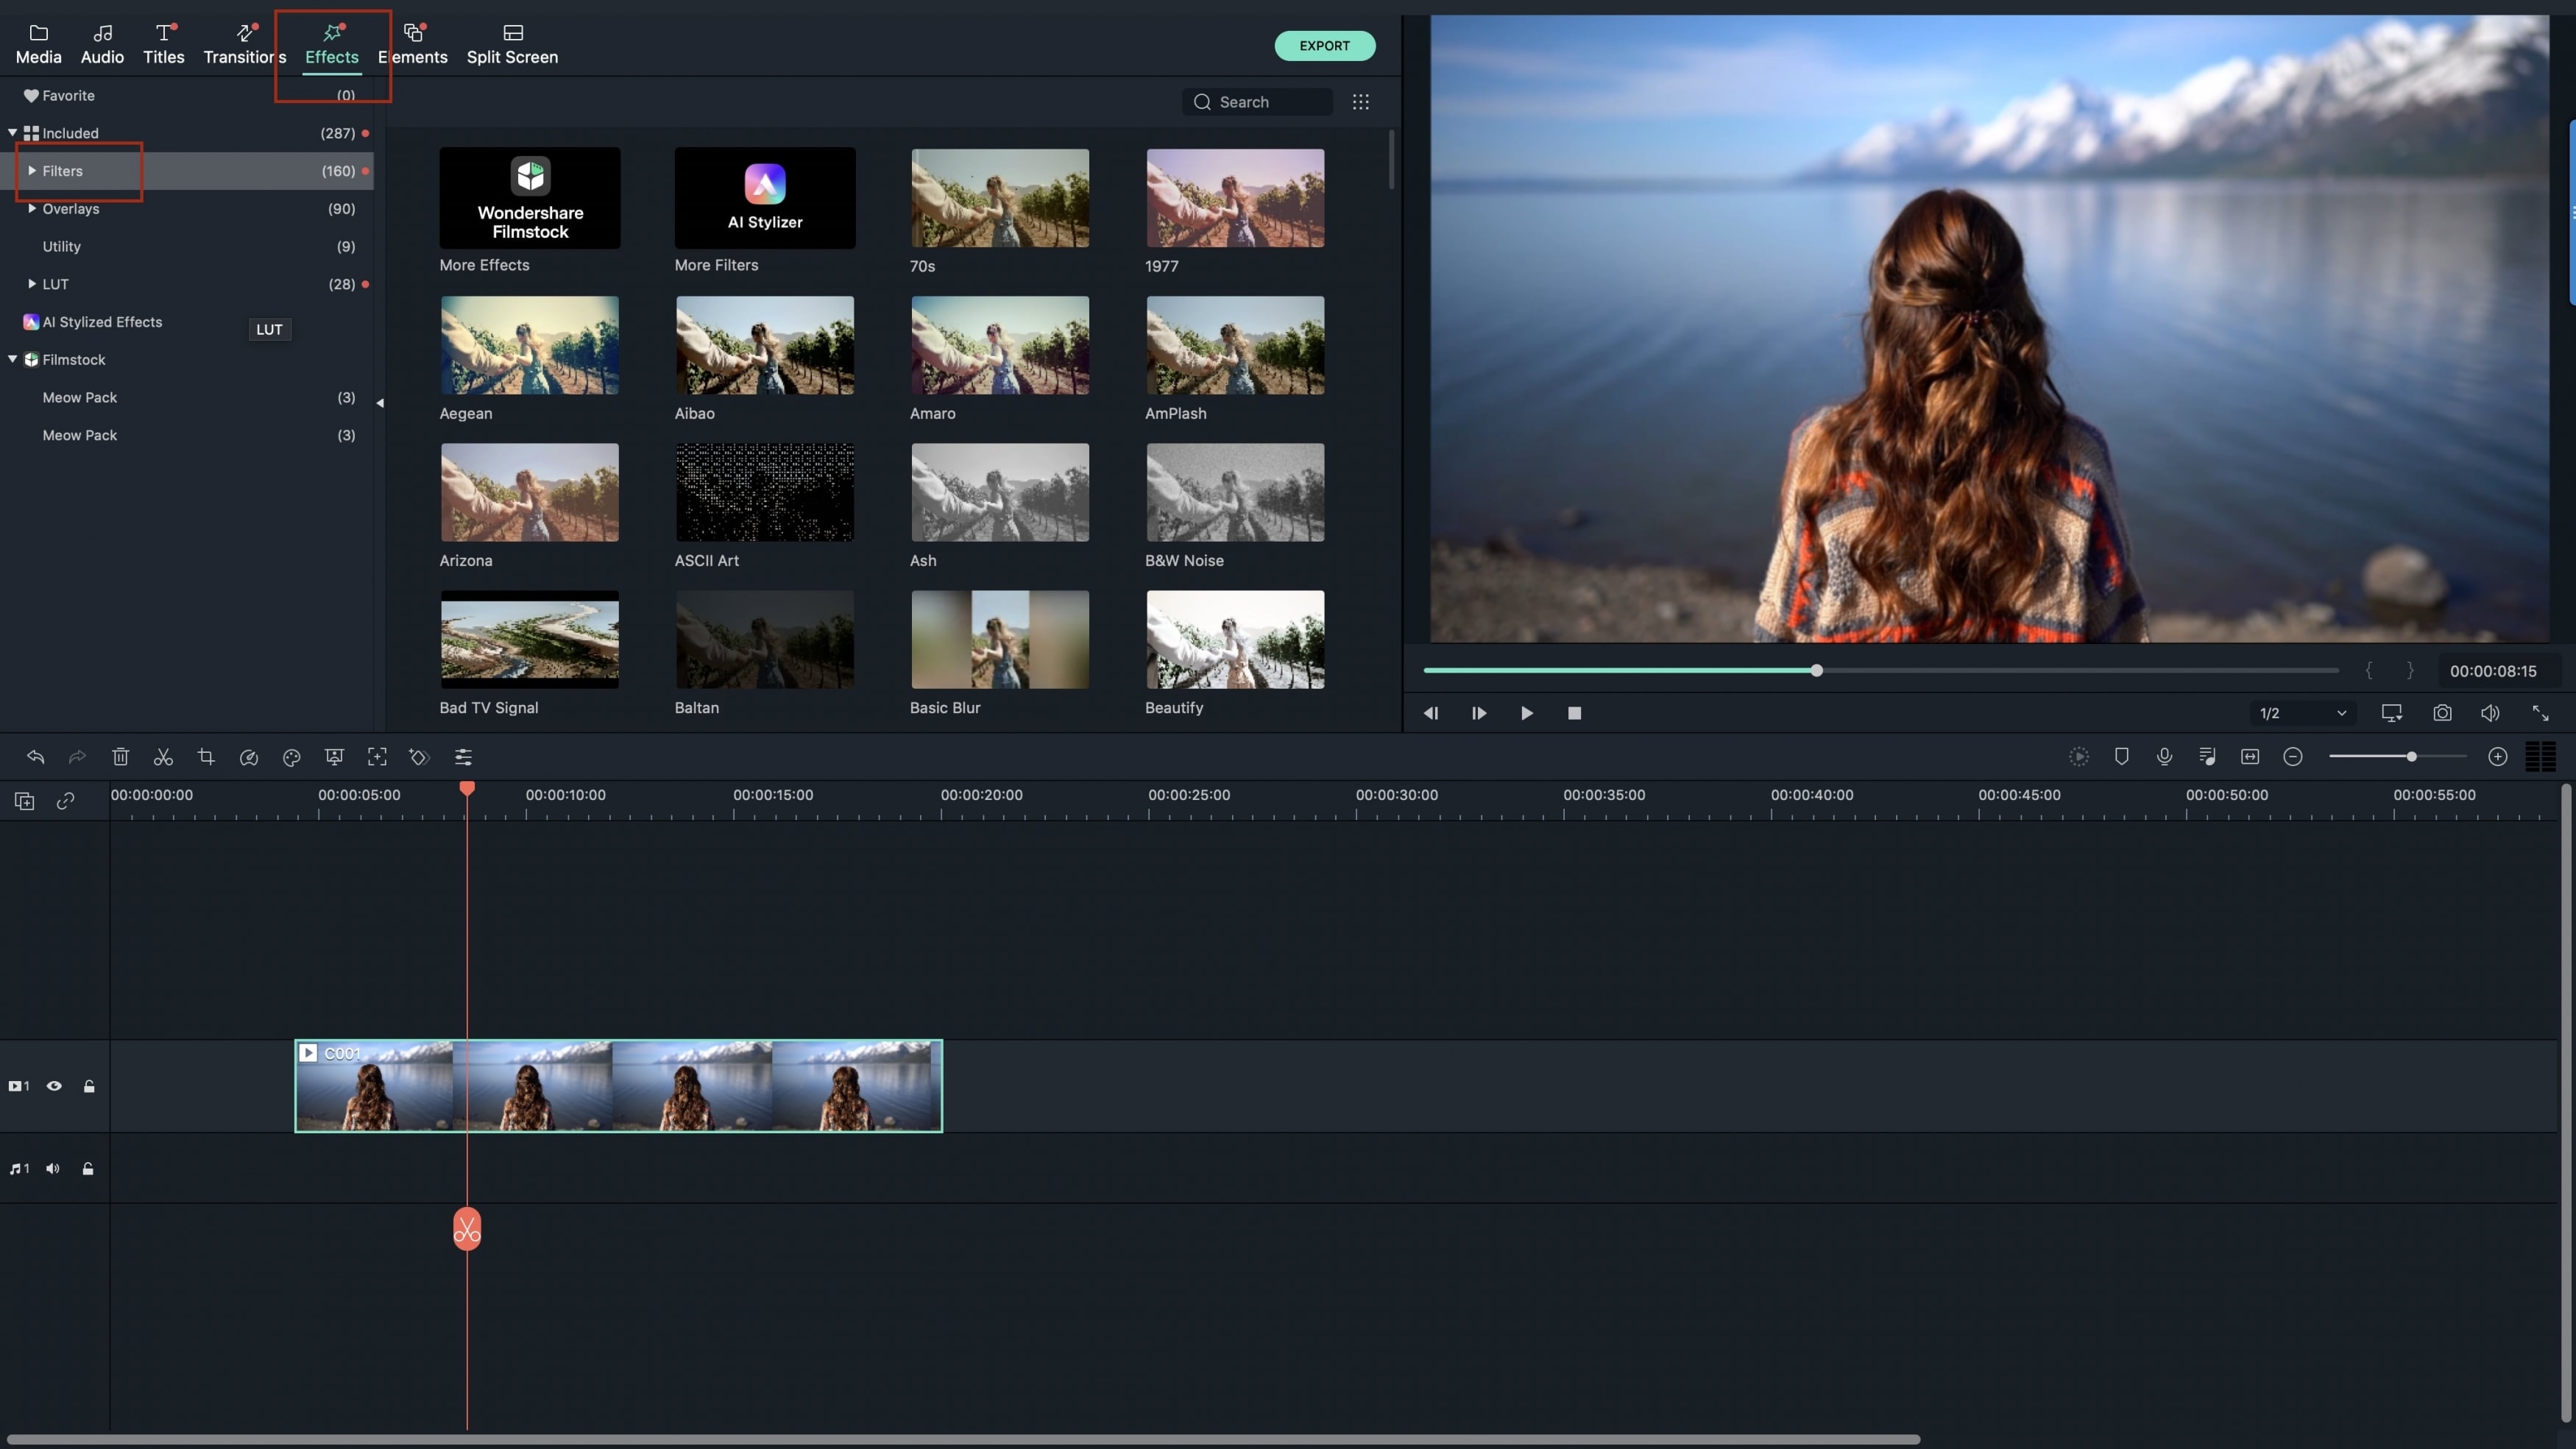
- More than 200 type of overlays and filters are designed to create stunning movies.
Steps to Cut Video with Filmora Video Editor for Mac
Many people have longed to have Filmora Video Editor for Mac to edit video. But, they are pulled back because they don't know how to use it. There are no unusual instructions other than these discussed below which you must follow on how to cut a video using Filmora Video Editor on Mac.
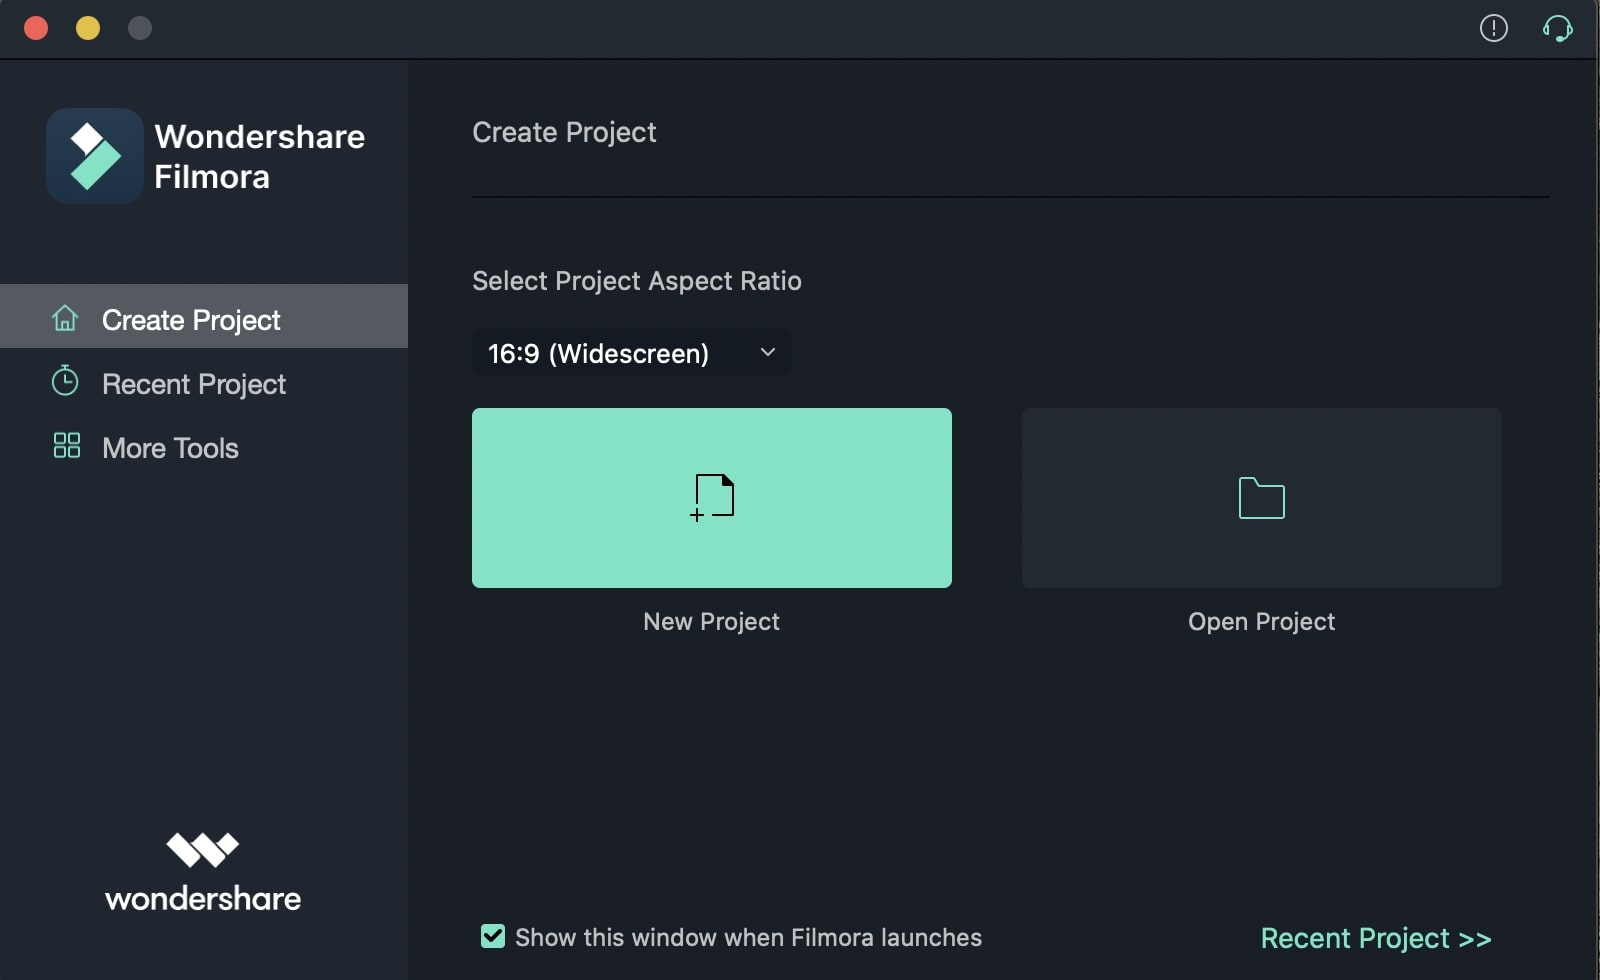
Step 1. Launch the program
Launching Filmora is very simple. You click the Filmora link online, and you are in the software.
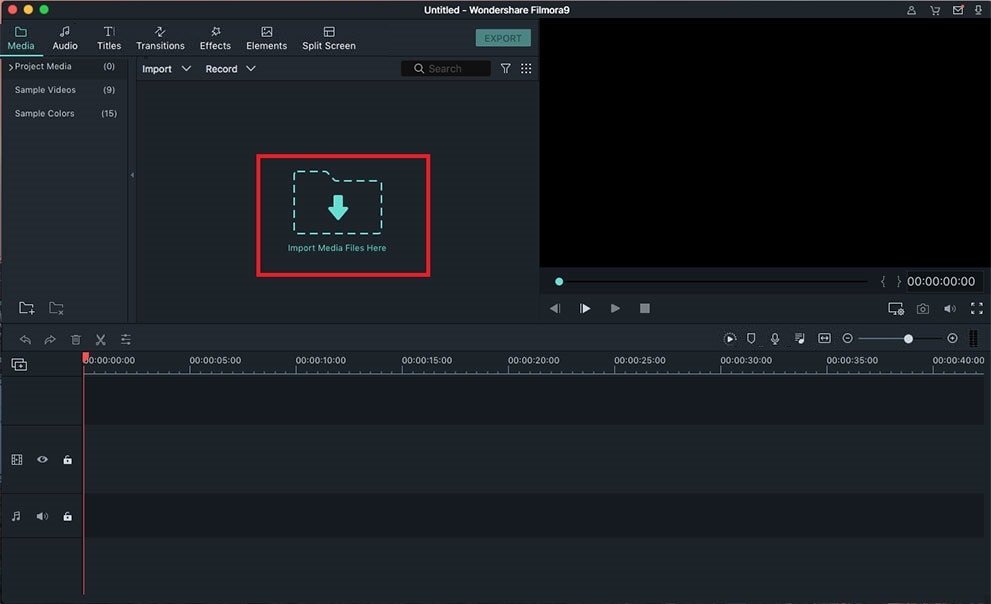
Step 2. Import video to the program
Importing the video can be done by either browsing the video you want to trim then double-clicking it. The other alternative is clicking the import video button in filmora which will enable you to import the video into the program. Filmora also allows you to copy and paste the video you want into the software.
Step 3. Trim video from the beginning or from the ending part
Filmora video editor enables you to trim video from either side.You can trim from the front or from the back. The trimming is very accurate because of films time tracker which tracks from the front and the back.
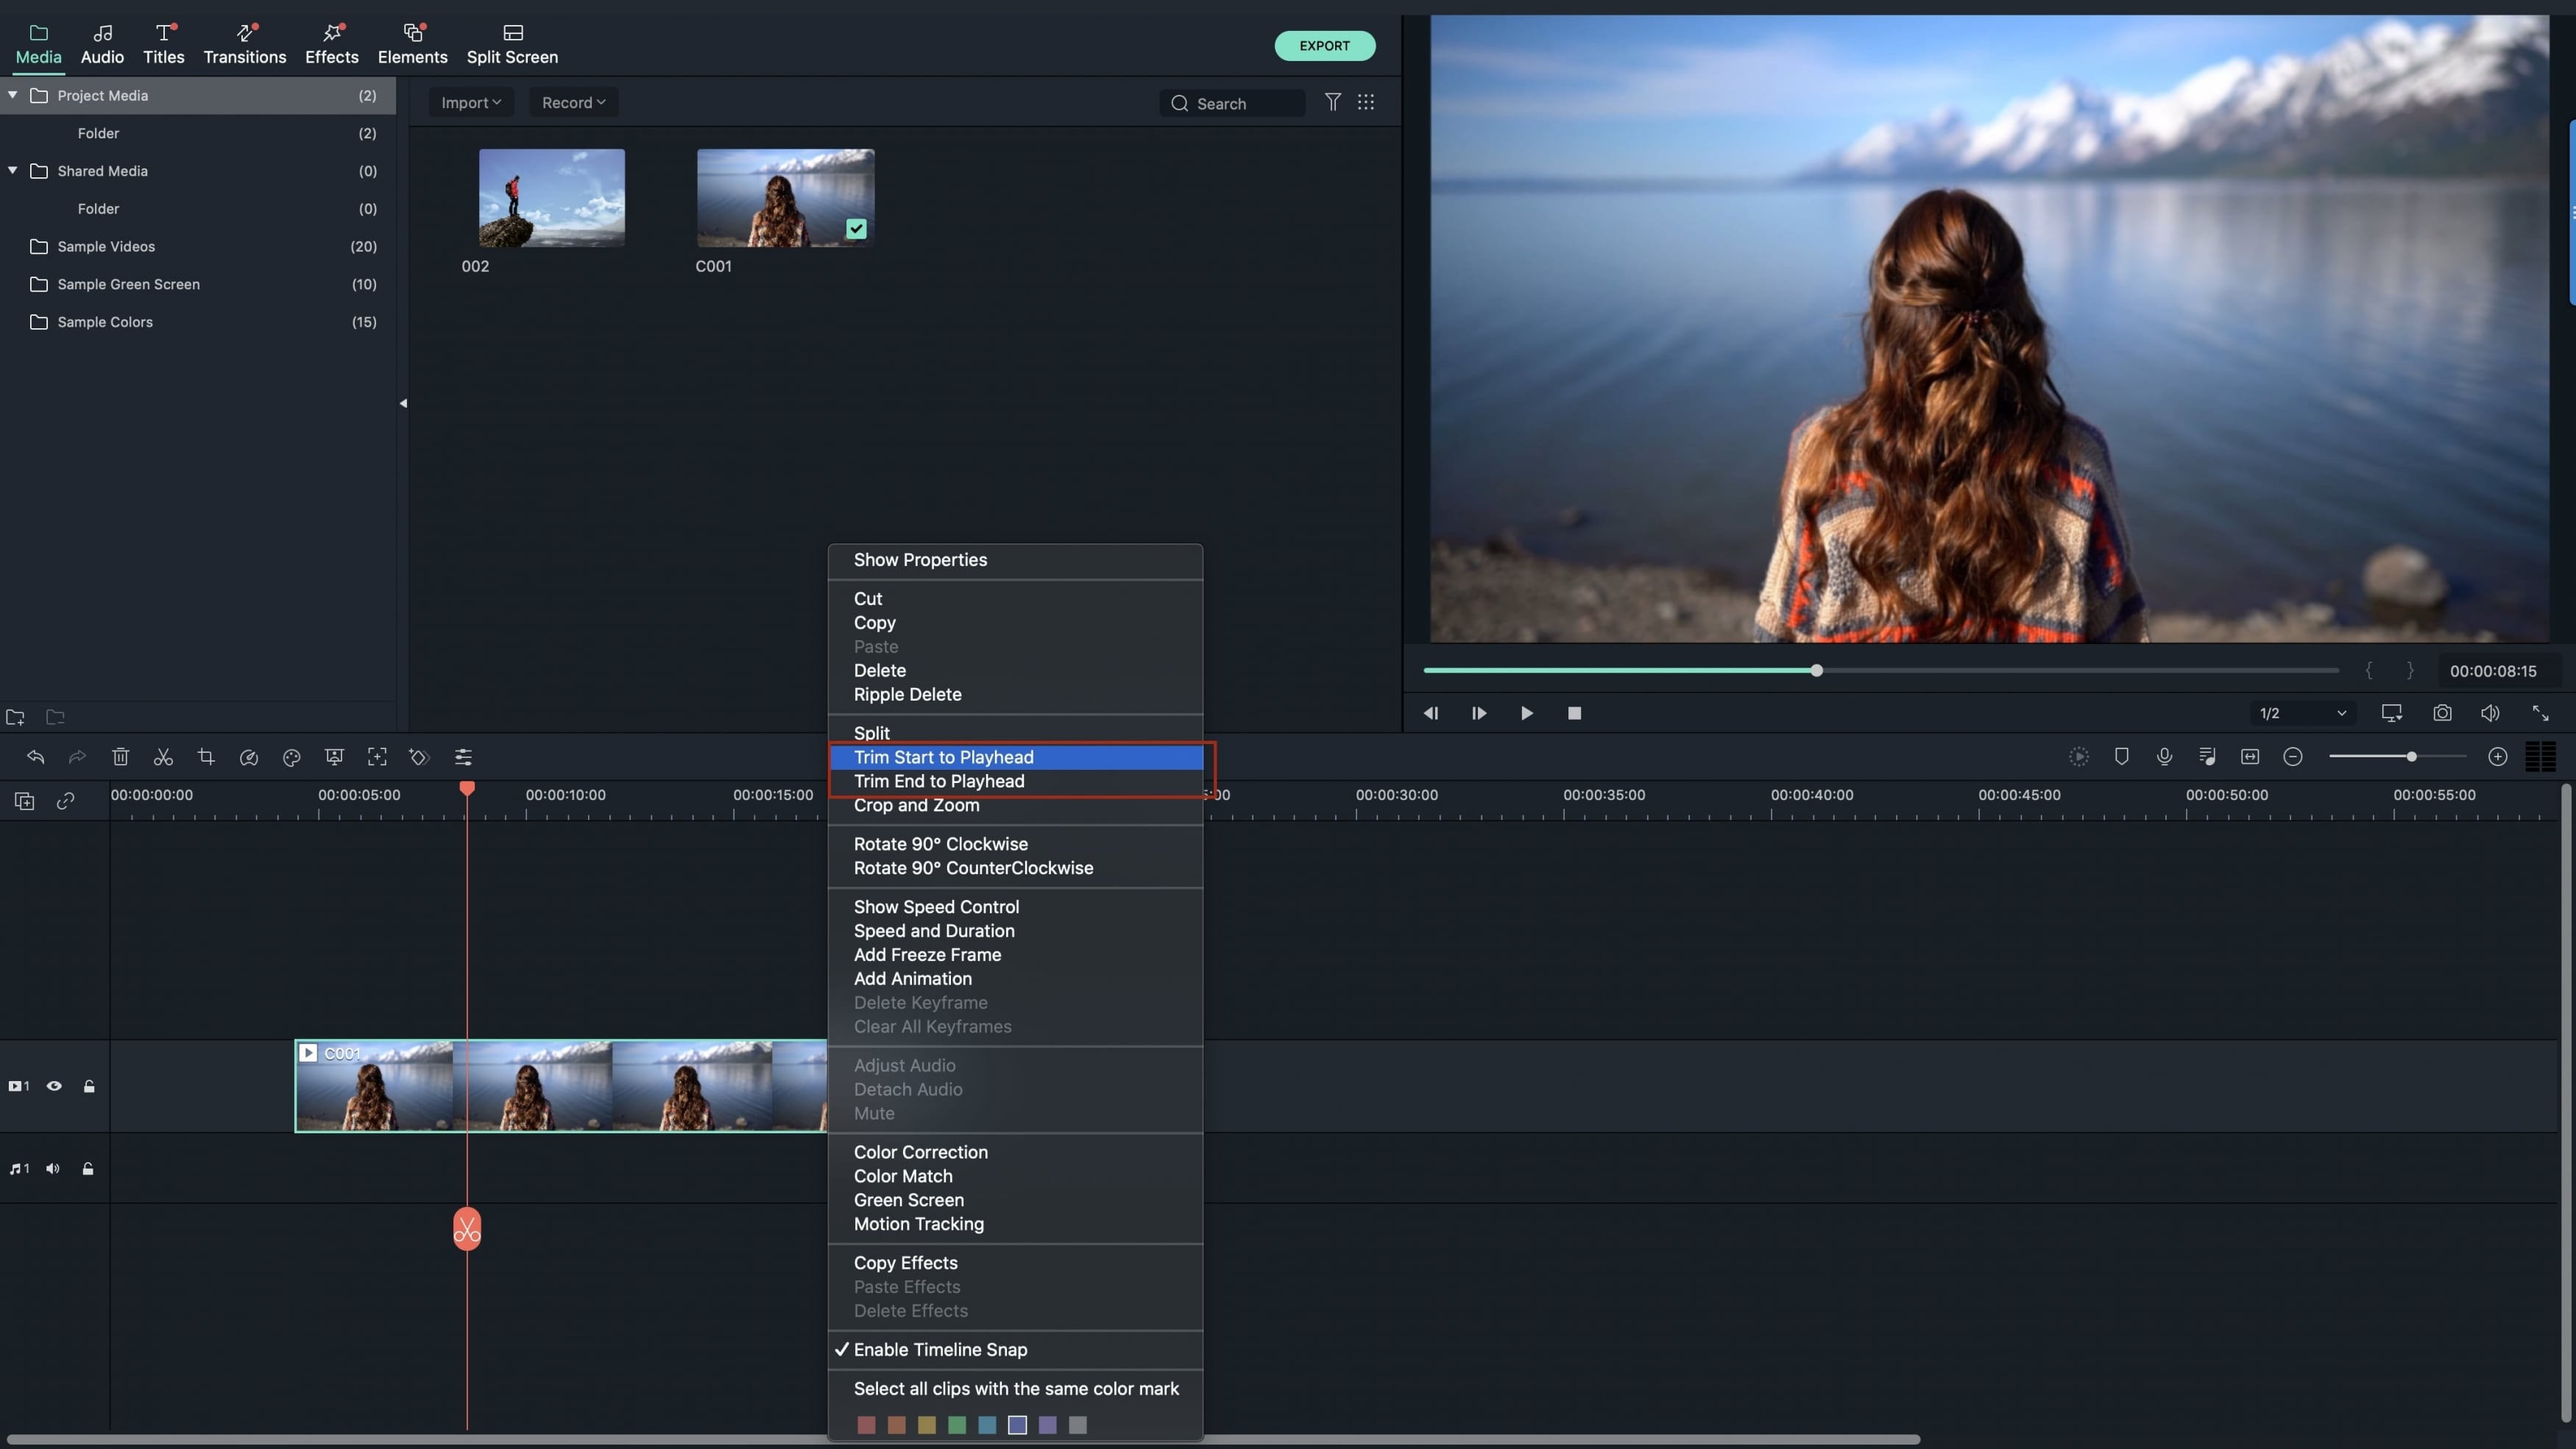
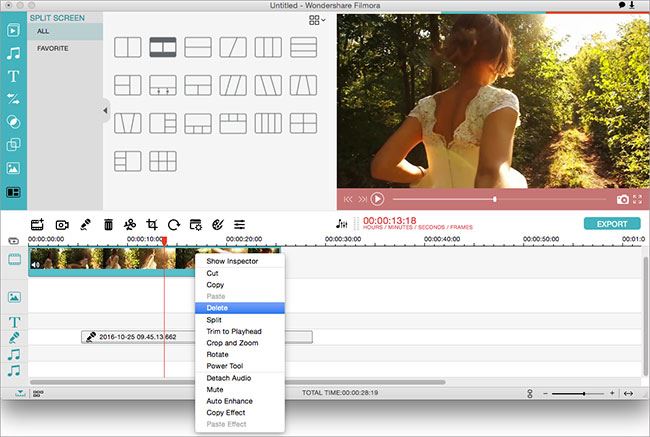
Step 4. Cut video from a middle section of a video
To cut a video segment, you ought to initially make it an independent part. Move the mouse pointer to the start and end of the video area you need to cut and tap the scissors symbol to isolate it from the first video cut. After at that point, right-tap on the video and select "Delete."
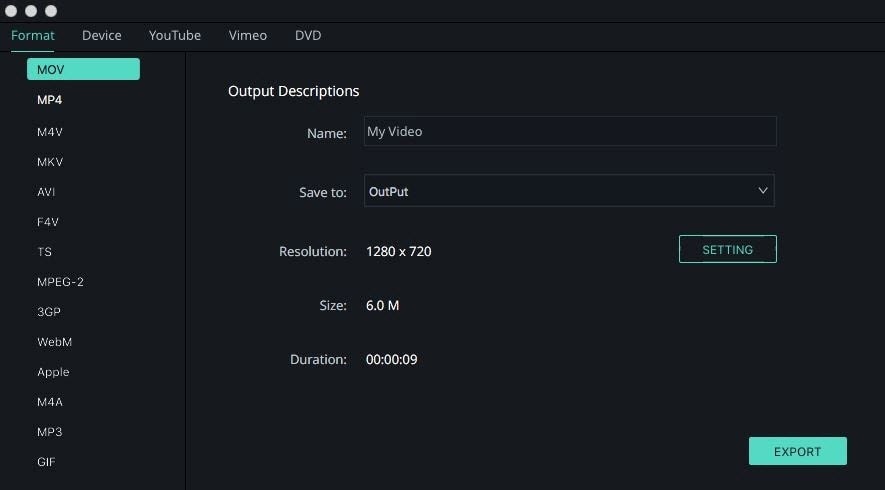
Step 5. Save or export video
After you are satisfied with the trimming. Click save, and you can now share your video with friends or use it for other purposes. For export you have to choose the destination media so that that you can format the video to a compatible format to that device the click export and its automatically transferred.
Part 2: How to Cut/Trim Video in Premiere
The techniques you will use with Adobe Premiere to cut video are not very different from what many other non-linear programs use. If you are new to the program, just play around with it and you will learn all the tricks for cutting videoon Premiere. Just basics are enough to help you accomplish your video cutting mission.
Steps to cut video with Premiere:
Step 1. Import files - this is the step you must give a lot of priority. The project wizard of this program will launch automatically once it’s running which is when you will load your video files. You can as well start up a fresh project.
Step 2. If the files have been imported correctly, you will be able to view them on the timeline. Make sure you have a good understanding of the timeline to ensure you get maximum benefit from its use. This will have a huge effect on how effective it is.
Step 3. To trim a video on Premiere, move your eyes on the timeline until you see the "cut" tool which is the one to use in trimming your video. For you to get good results with this tool, transfer the timeline slider to its right position and it will take control of everything showing up on the preview window.
Step 4. The video will be trimmed at the precise location of the slider. Press the "delete" key on the keyboard to get rid of the trimmed parts since they cannot be stored.
Adobe Premiere Cut Video Not Working? Fixed
Adobe Premiere Cut video not playing after pressing the space bar to play. This problem has been major with the old versions, especially the 2014 and 2014 version. Solving this problem can be done by updating to the more convenient new version or simply playing the video manually without using the spacing bar.
No sound of videos after trimming which makes them irrelevant. This has been a common problem, especially with the 2016 version. The problem can be fixed by upgrading to the Adobe Premiere Pro which has this problem fixed.
Crushing of the Adobe Premier software when uploading the videos you want to trim. This has been a common problem. The problem can be solved by relaunching the app or the computer you are using. Or choose Filmora Video Editor as the best Adobe Premiere alternative to editing videos.


