


"I have a MacBook Pro with Mavericks and I want to make DVDs and play on my TV. I installed iDVD, but this software wouldn't launch. Anybody can help me?"
As we all know, there is no update for iDVD since Lion. So if you have got your Mac machine updated to Mavericks, you are unable to use iDVD with Mavericks. However, it does not mean that you cannot burn DVDs on this new OS X Mavericks. Instead, you can use an iDVD alternative for Mavericks to help you.
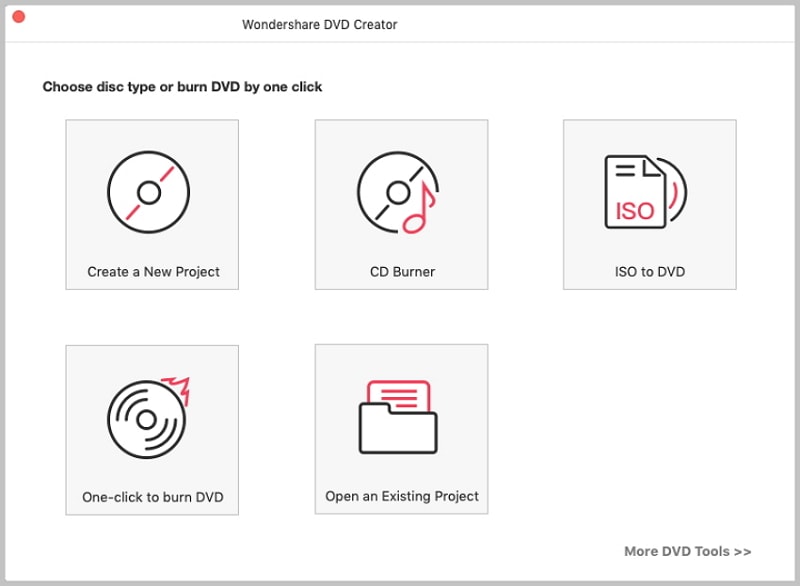
Here I would like to introduce you to iSkysoft DVD Creator for Mac, which is an easy-to-use and reliable DVD burner for Mavericks and OS X Yosemite. You can use it to burn your home movies or downloaded videos into DVD disc. It can help you to burn various video formats like MOV, MP4, MKV, AVI, WMV and more to DVD with a few clicks. And you also can use this iDVD for Mavericks to create photo slideshows with music background.
In addition, it provides you with many wonderful DVD menu templates that enable you to customize your DVD according to your DVD themes. The built-in video editing tools can help you to personalize your videos to make them special. You can just follow the below simple steps to burn your DVDs. If you're using Mountain Lion or Lion, see iDVD for Mountain Lion, or iDVD for Lion.
Why Choose iDVD for Mavericks
Burn Any Formats
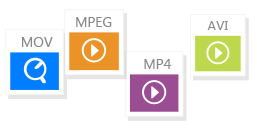
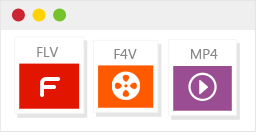
You can burn videos in any formats like MOV, MP4, WMV, VOB, AVI, M4V, FLV, MKV, 3GP, and more to DVD easily.
Burn Web Videos
Burn videos from YouTube, Facebook, Dailymotion, and more. Also burn any home movies to DVD.
Multiple DVD Themes

Edit videos and choose any free DVD menu template to fit your video theme.
Make Photo Slideshow

Import any photos to create photo slideshow then burn to DVD for sharing.
Steps to Burn DVD with iDVD for Mavericks
Step 1
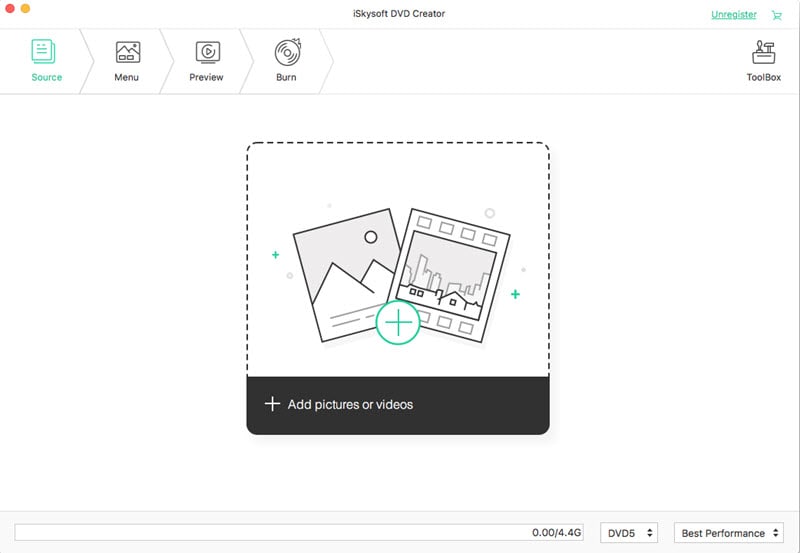
Download and install this Mavericks iDVD. Click the above Free Download button, and the program file will be downloaded to your Mac automatically. After that, you can double click the program file to launch the installation wizard and follow up the easy steps to install the iDVD for OS X Mavericks. When you're done, run the program and you will see the interface as the below picture.
Step 2
Import video files to the program. Click the Create a New Project icon to open the main interface. And you will have two options to import files to the program. The first option is to drag and drop the videos, movies, slideshows or photos to the program. And the files will be loaded to the program immediately. The other option is to click the "+" icon on top right corner of the main interface and select the files from your local folder, and then import them to the program.
Step 3
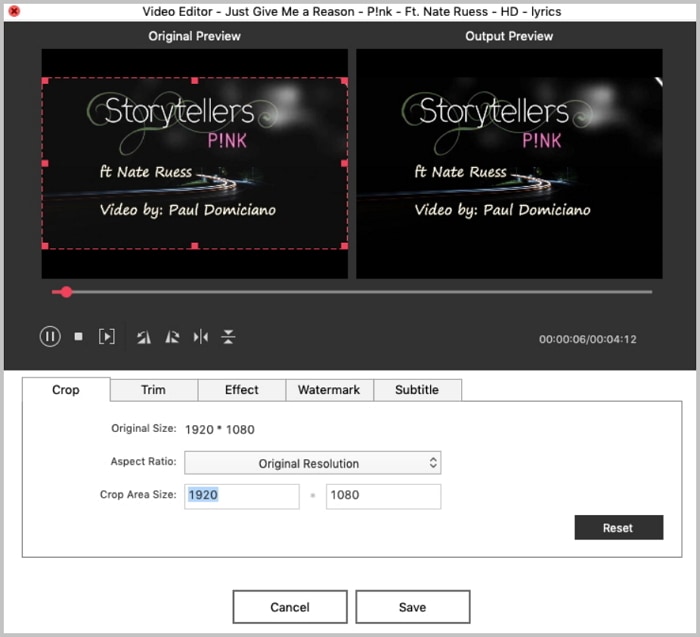
Edit your videos before burning (optional). Click on the file thumbnail, and you will see the Edit button. You can click the Edit button to open editing window. Here you can crop or trim the videos. And you also can add watermarks or effects to the videos. For slideshow files, you can add texts and background music to make your show looks wonderful.
Step 4
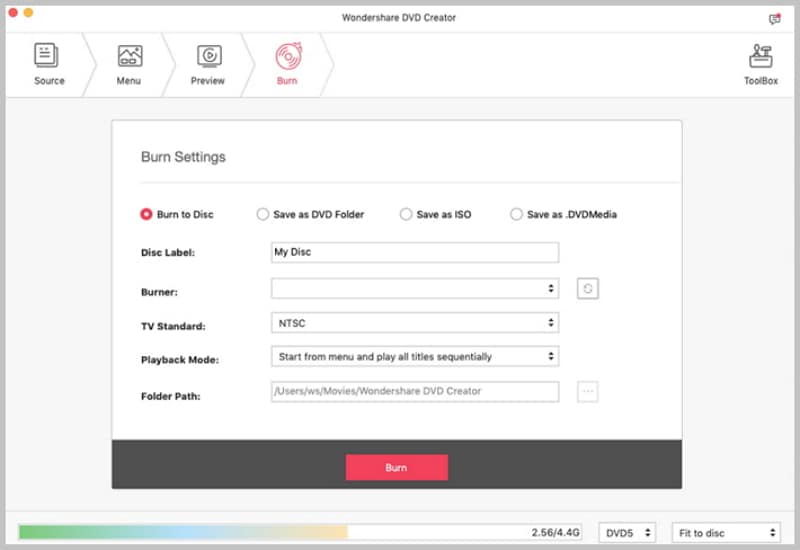
Start to burn DVD disc on Mavericks. Then click the Menu button and choose your desired DVD menu that fits the DVD theme. Now insert a blank DVD disc to your Mac and click the Burn button. You will get a pop-up window to select the output parameters. Check DVD Disc and give a name to your DVD, and then set proper output parameters for your DVD. Lastly, click Save to start burning DVD.
When you finish the burning, you can play your DVD on TV with DVD player anytime you want. Just try out this Mavericks iDVD.
Tips about iDVD Install on Mavericks
Apple discontinue iDVD since Lion, but they do provide you with more expensive DVD burning applications like Final Cut Pro X ($299.99) or iCloud to work on DVD. However, not all the people will accept this.
You will not be able to find iDVD in Apple Store, but you can buy a iLife 11 box with iDVD. Then you can install iDVD and update it to the latest iDVD 7.1.2. Now you can import your movies to iDVD and save it as a disc image by clicking File > Save as Disc Image. Then launch DVD player and play it to check whether it can play well. If it is OK, the encoding is good. Lastly, burn to disk with disk utility.


