


Have you ever wondered how time-lapse is done on video in Final Cut Pro? Worry no more because this article will discuss all the important information regarding how to make time-lapse video with Final Cut Pro.
- Part 1. How to Create Time-lapse on Video with Final Cut Pro Alternative
- Part 2. Tutorial on How to Make Time-lapse Video in Final Cut Pro
Part 1. Best Final Cut Pro Alternative to Make Time-Lapse Video – Filmora Video Editor
To make time-lapse video, besides Final Cut Pro, there are many cheaper yet powerful video editor that can be your choice. Filmora Video Editor is the best one among them. It has almost all the features that Final Cut Pro provides, but the interface is much more user-friendly.
Key Features of Filmora Video Editor:
- This video editor provides both Windows and Mac version.
- Contains most of needed video editing tools such as rotating, trimming, cropping, joining, etc.
- Provides plenty of special effects such as overlays, motion graphics, filters, transitions, animated titles, etc.
- Many advanced features like green screen, picture in picture, split screen to make videos more professional.
Step-by-step guide of how to make Time-lapse video with Filmora Video Editor for Mac:
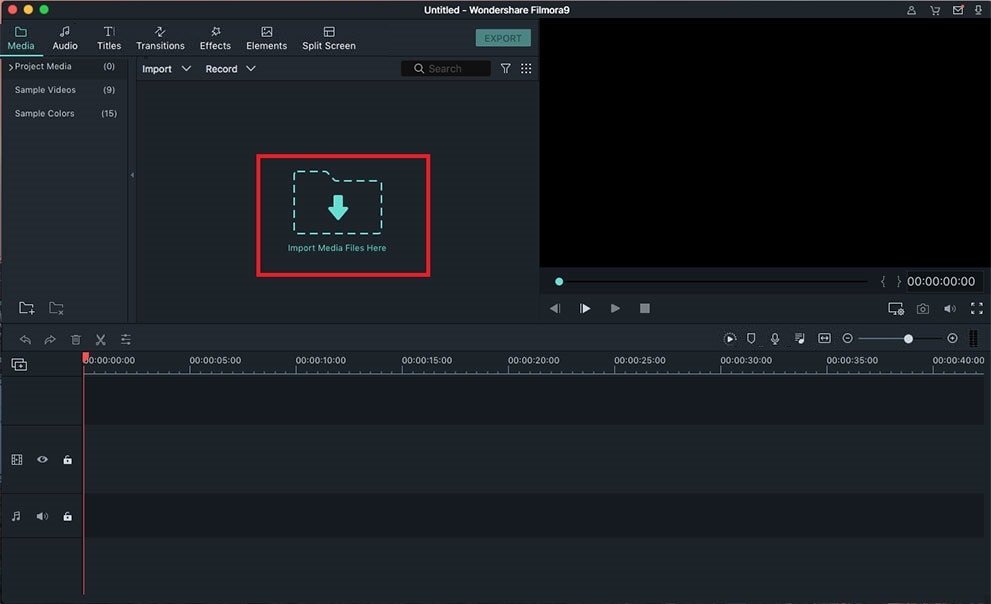
Step 1.To start with, you need to import videos to this program with drag and drop method. Alternatively, you can go to "+" then "add files" to load your videos.
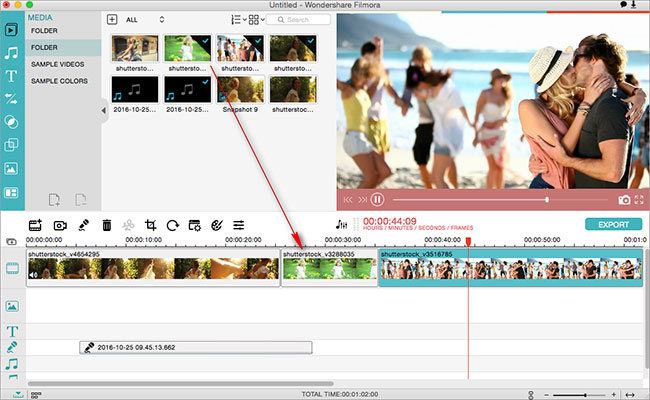
Step 2. The next step will be adding the imported files to the timeline.
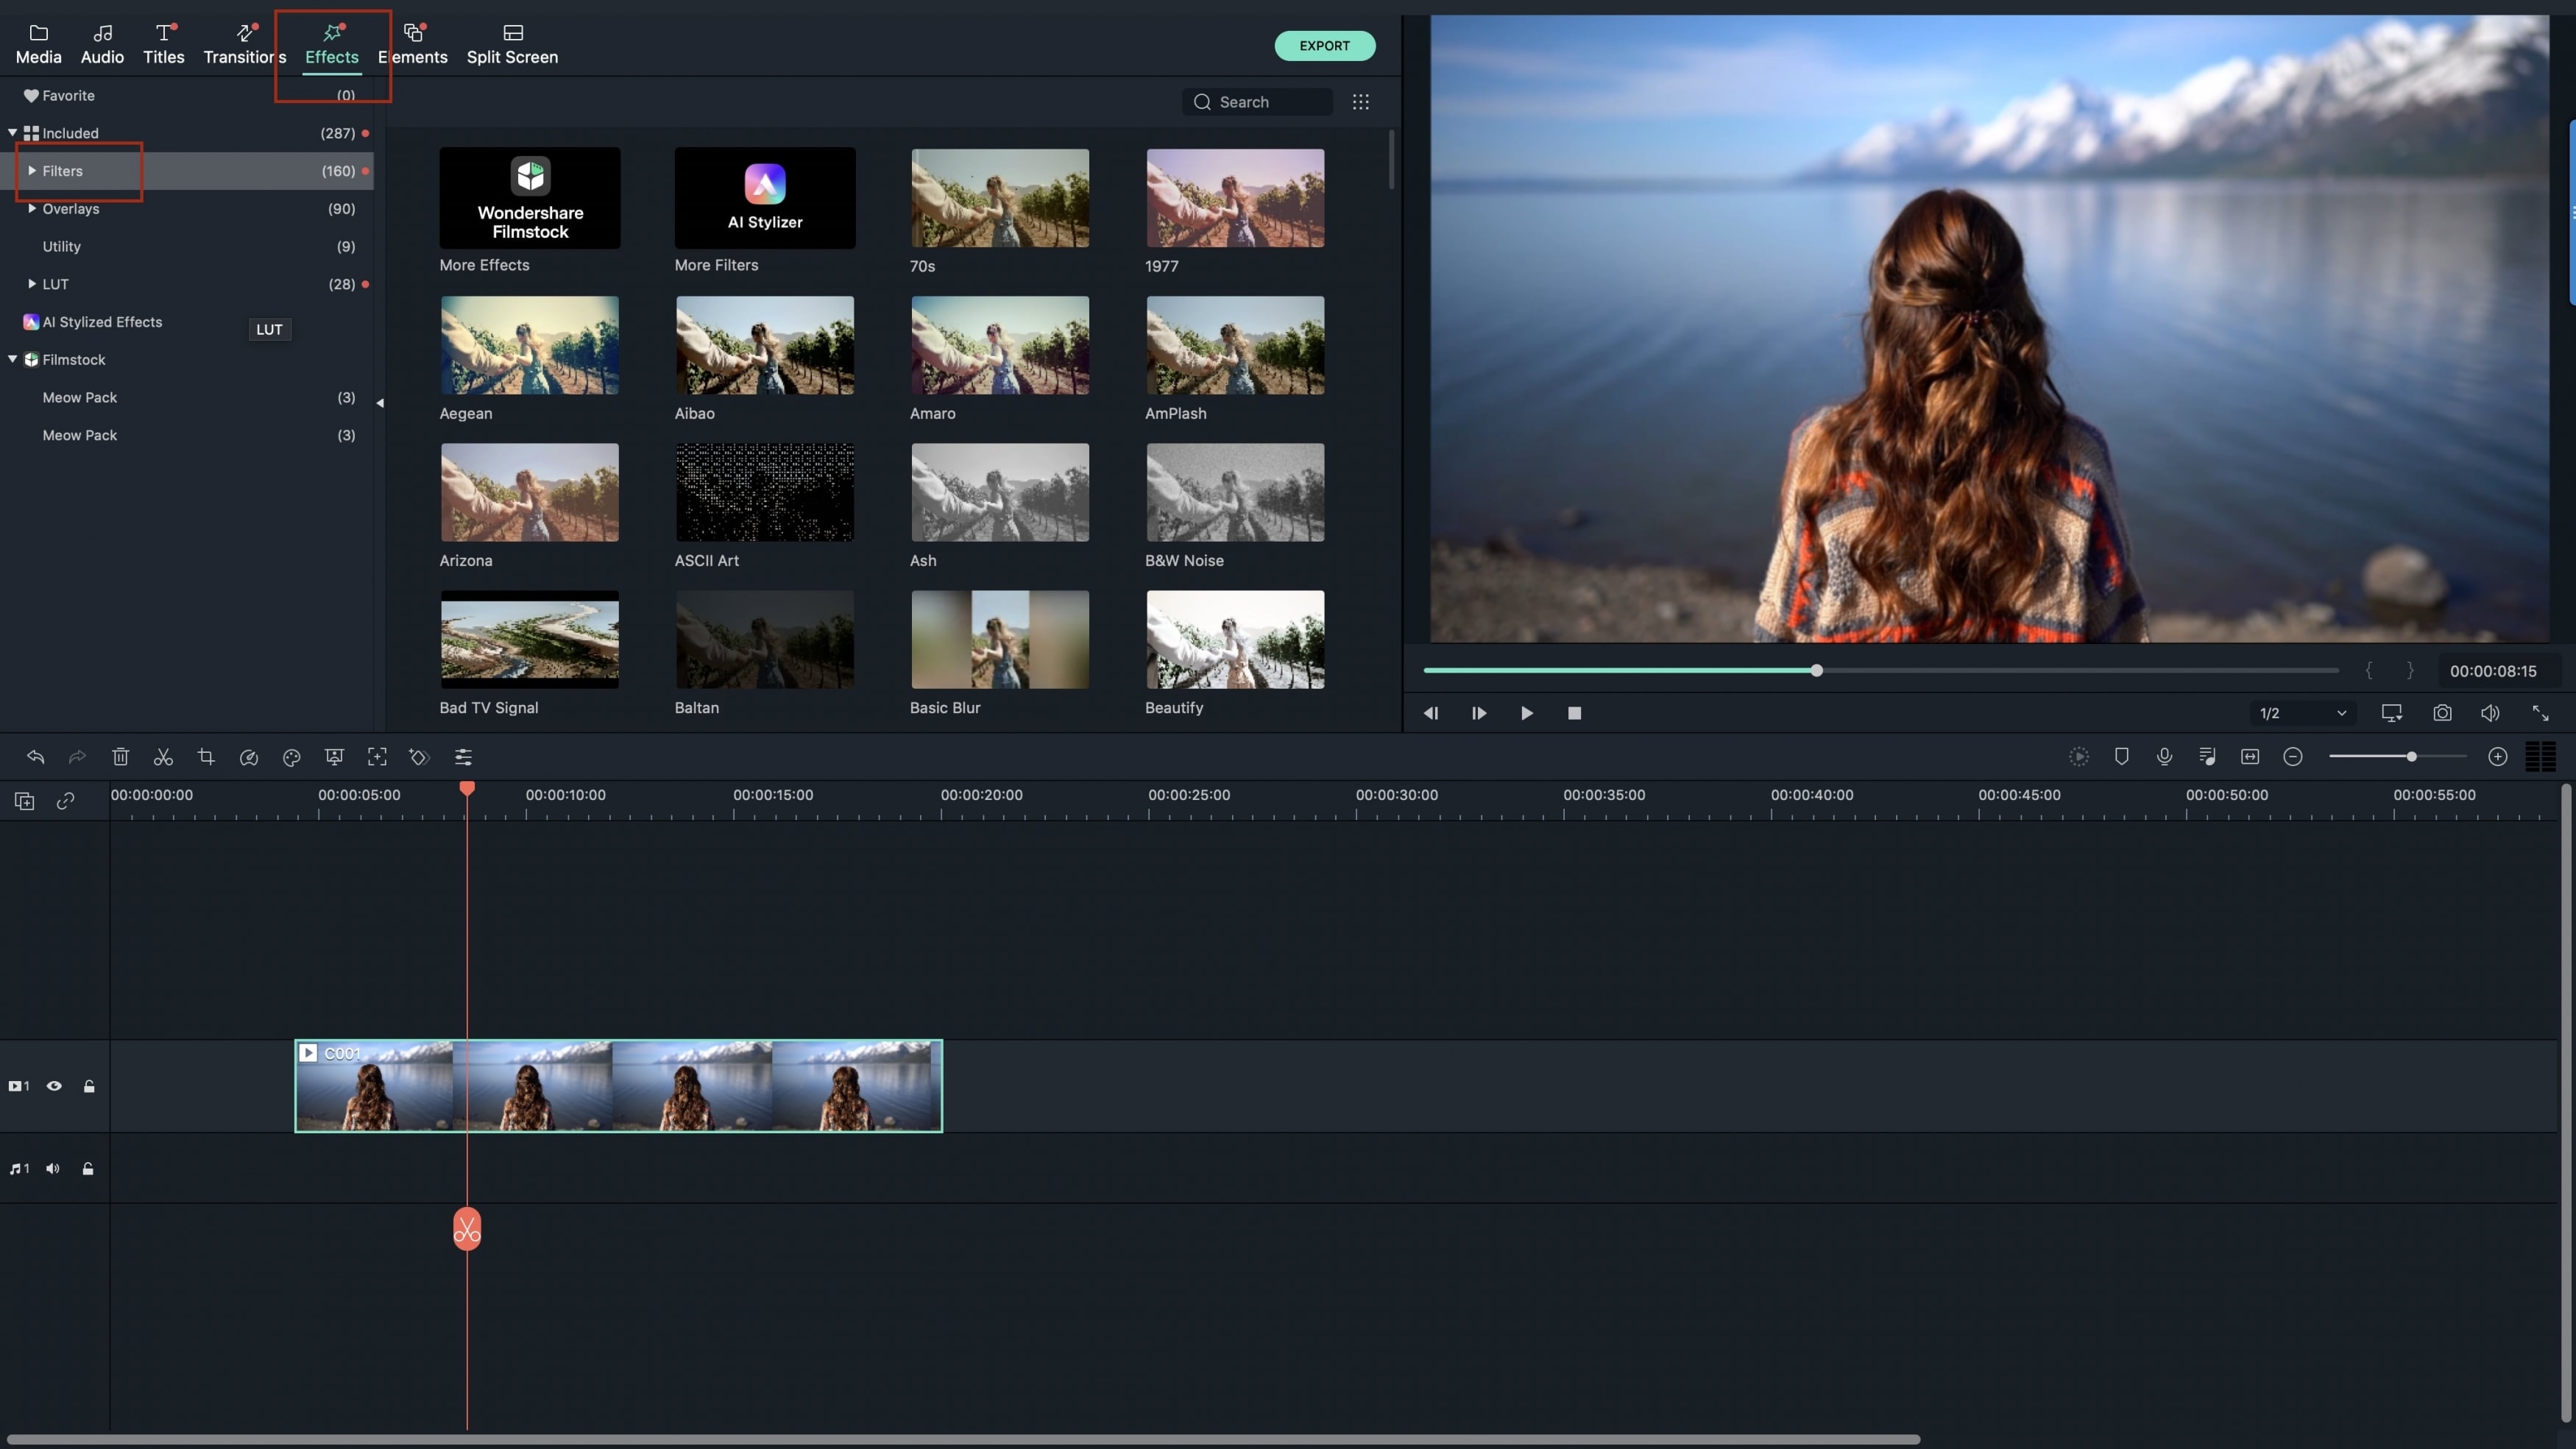
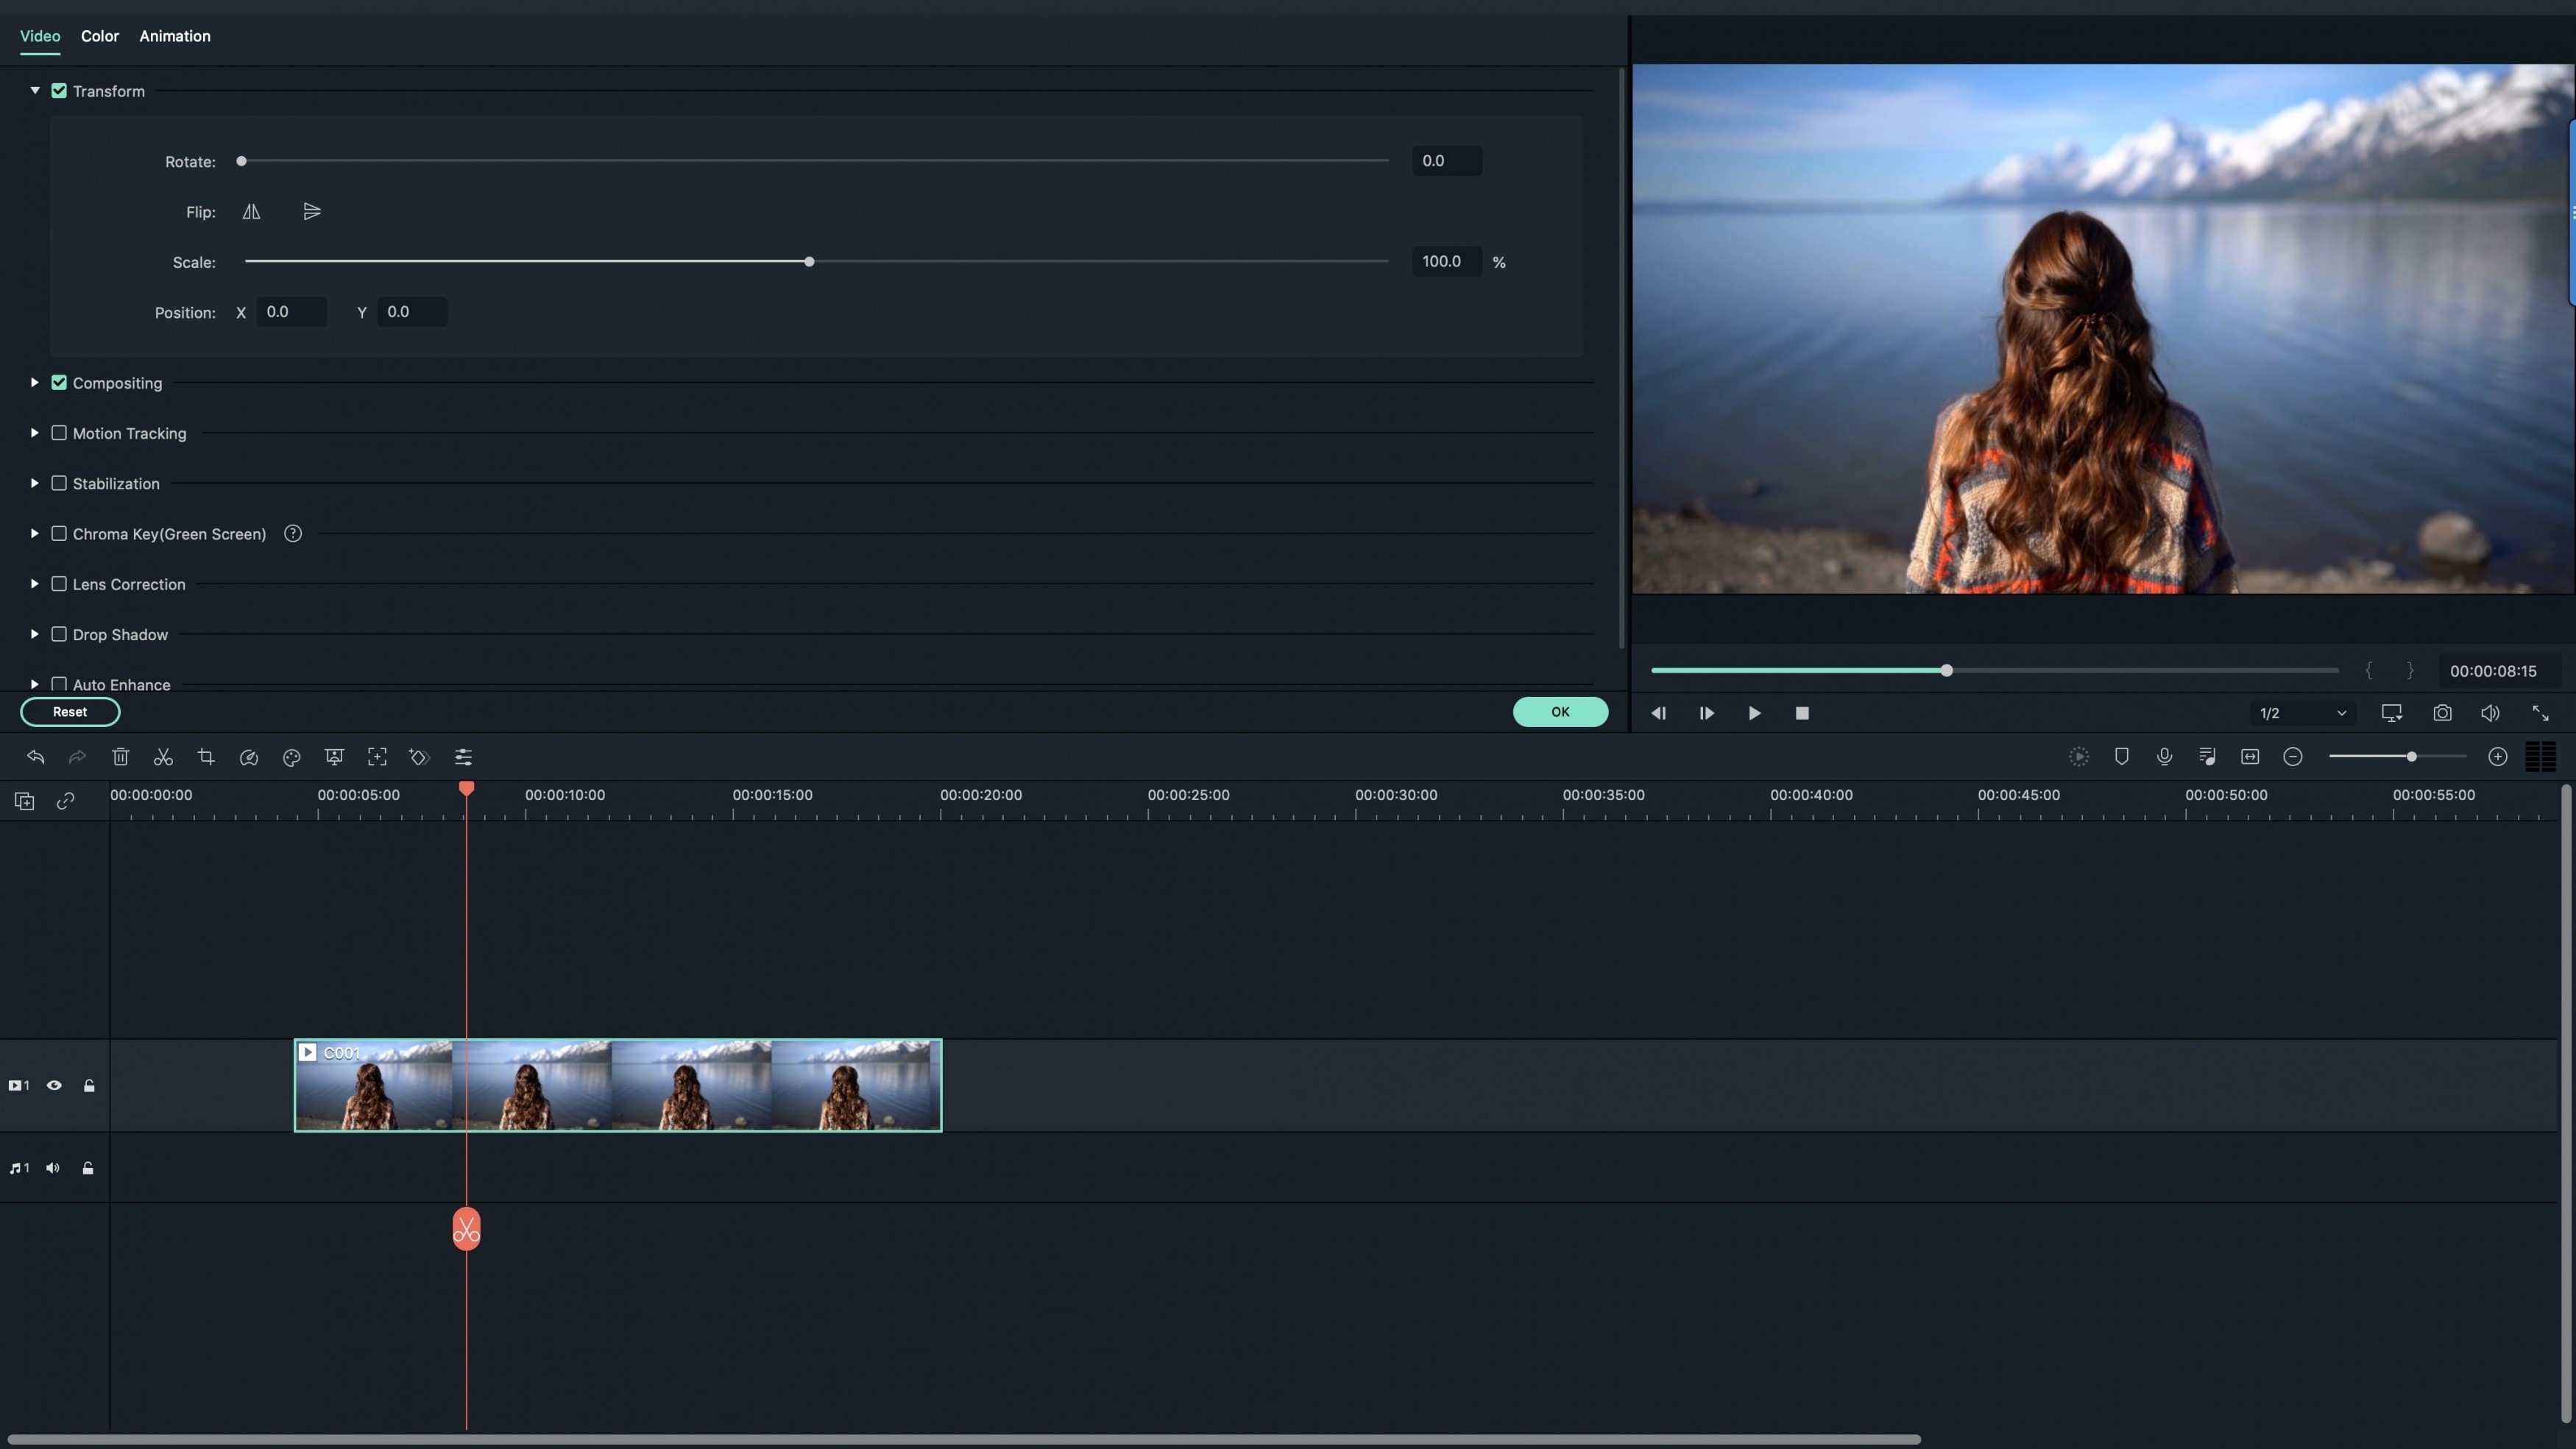
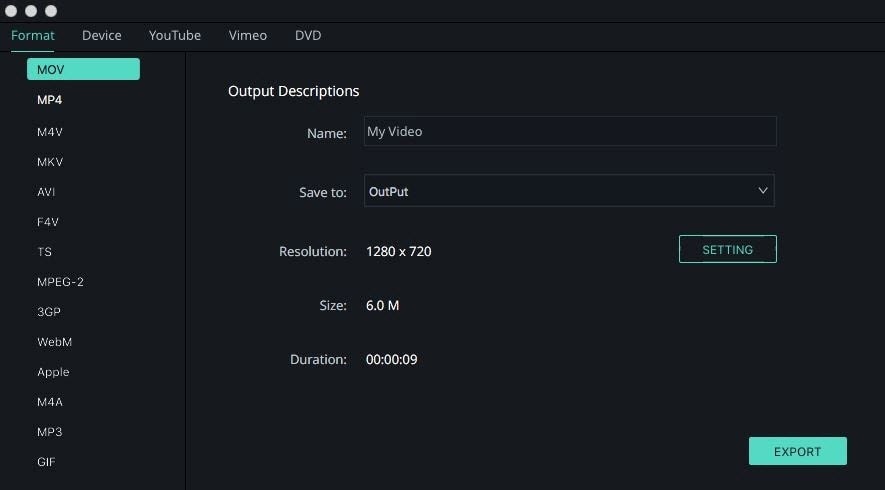
Step 3. Hit the "i" icon on the main interface.
Step 4. In this step, you are able to adjust the speed of your video at will.
Step 5. At last, just click the "Export" button to save the changes on your video.
Part 2: Tutorial on How to Make Time-lapse Video in Final Cut Pro
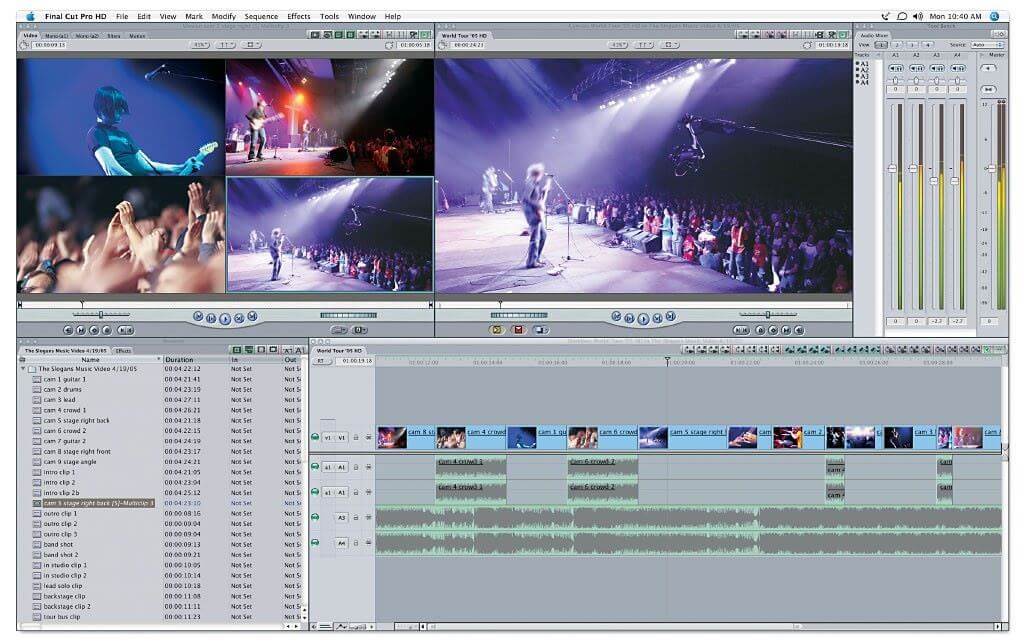
This is one of the many excellent tutorials that you will come across to help you create time-lapse for your video in Final Cut Pro. If it's not satisfactory as you may have wished, feel free to research more and you will get additional guides than you will be seeking.
Step 1. All the photos to use in a time-lapse should be added to the program and arranged in an orderly manner. They should follow each other as you may wish them to appear on your video. Any mix-up will give the time-lapse a bad look.
Step 2. You will also have to adjust the still/freeze duration by going to "user preferences" and then click the editing tab. Once you have changed, click "ok" to apply the changes.
Step 3. The photo folder should then be imported and choose every picture that you need to include in the time-lapse. Once selected, the photos should be dragged to the timeline and ensure each photo occupies a single frame. Once that is observed as well as the order of the photos, your time-lapse will be achieved.


