There are plenty of tutorials out there geared to helping users better understand Windows Movie Maker, but which ones are the most useful and how to use Windows Movie Maker correctly? Below are 10 Windows Movie Maker tutorials complete with step by step instructions.
Best Alternative to Windows Movie Maker

Filmora Video Editor for Windows is the best alternative to Windows Movie Maker in the market and provides the best methods, tools and techniques to perform the video editing easily. Filmora Video Editor enables you to easily make movies, edit audio or extract audio from video, apply effects and share your new movie on YouTube, Facebook, Vimeo, DVD, TV, iPhone, iPad, iPod, and more!
- Has all kind of special effects, including filters, overlays, motion graphics, transitions and animated titles and texts;
- Split screen feature helps you to display two or more videos in one screen;
- Picture-in-picture feature can lay two or more videos, photos on the original video;
- Can directly share the edited video to YouTube, Facebook and other social media platform;
10 Video Tutorials on How to Use Windows Movie Maker
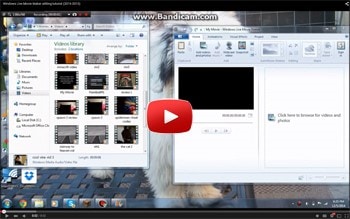
#1. Windows Movie Maker Tutorial -Tips & Tricks - Best Video Editor Free & Easy - Part 1
Step 1: Download Windows Movie Maker directly from Microsoft if your computer doesn’t have it. After the download is completed, open the program.
Step 2: The left side is for viewing video and the right is where all editing takes place. Browse for videos or photos to import by clicking inside the large, white box. Select a file and click open. A thumbnail version will go into the large white area and the video or photo will be located in a preview section. Use the play button to play video and skip button to skip ahead or go back.
Step 3: With the mouse curser, drag the edit line across the video in the white box. To make the thumbnail larger, use the scale on the bottom right hand side of the program. Right click on video and click “Splice” to cut the movie. Adding a voice requires a webcam or mic. When ready, click either “Webcam Video” or “Voice Narration” at the top. Create a title for the video with the “Title” button. You can also try the dit font, size and other special effects.
Step 4: When your video is completely edited, clicking “File” > “Save As” to save it to your ideal folder.
#2. Windows Movie Maker Tutorial -Tips & Tricks - Best Video Editor Free & Easy - Part 2
Step 1: Open up a saved video and use animations to create visual effects under animations tab.
Step 2: You can use the project tab to help emphasize voice or music for the video or adjust size of movie to Widescreen on Project tab. If your video is shaky from filming, stabilize it from Edit Tab > Video Stabilization.
Step 3: When the editing is completed, render your video in order to upload to Facebook or YouTube. Remember to use the mp4 format usually.
#3. How To Edit a Video Like a Pro Using Windows Movie Maker
Step 1: Add your video to the program. Change the audio on a video by replacing or deleting it. Go to edit and bring down the volume to 0. Add a different soundtrack from Home Tab > Add Music. Browse files and select track. End the track by clicking it. Then go up to Options > Set End Point. This creates an end to music track. You are allowed to fade out the song at three speeds: slow, medium and high.
Step 2: Ending title doesn’t have to be a blank slide with text. Browse computer’s picture file, drag and drop at the end of video. Move text box underneath picture and type what is needed. You can adjust your picture time with Edit > Duration. Shorter or longer is determined by the seconds.
Step 3: When all is over, save your video to the folder of your choice.
#4. Windows Movie Maker Full Tutorial - Everything You Need to Know!
Step 1: Add a clip by browsing files on computer. Click the clip and hit open. You can add as many videos as needed.
Step 2: Animations are used well for transitions. You can do it in Animations > Chose Type. You are also allowed to create text to appear on the video under format, change font size, boldness and font, or to make it shorter or longer. Besides, if you need to cut out a part of a video, go to Edit > Split. Use skip button on the left to where you want the unwanted video to stop. Again select Edit > Split, and you can delete the unwanted section.
Step 3: Record a narration while video is playing if desired, go to Home > Record narration. Music tools helps with soundtrack editing. Louder, quieter, fast and slow are options. You can also choose fade in or fade out.
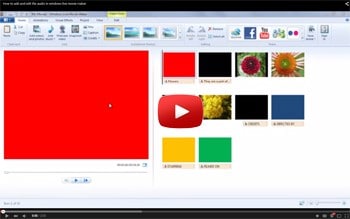
#5. How to Add and Edit the Audio in Windows Live Movie Maker
Step 1: Add file by choosing a file. To fade in or fade out, click "Options" under the "Music Tools" tab. Adjust how slow or fast to fade the music track. Choose when to start or end the music by selecting a time under duration. The "Music volume" button is used to either lesson or increase the volume.
Step 2: Hit the "Fit to Music" button under the "Project" tab to automatically fit the audio to the entire length of video.
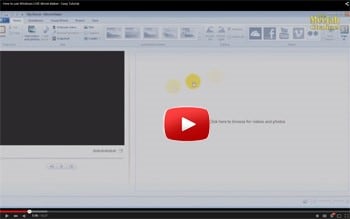
#6. How to Use Windows Live Movie Maker - Easy Tutorial
Step 1: If video on the left hand side has black bands on the top and bottom, it’s the wrong aspect ratio. Click the project tab and chose widescreen. Adjust the size of the viewing screen by grabbing the line next to it and drag. If you need to rid videos original soundtrack, go to Edit > Video Volume. Drag until an ‘x’ is shown.
Step 2: Need to create two different video clips? Choose Edit > Video Split. You can also do transitions. Animations tab provides a variety over different types. Hover over clips and get an example of each effect. Pan and zoom effects on the upper tab of Animations makes static clips move.
Step 3: Wan to add text for both title and credit? Home tab allows for changes in font, size and boldness.
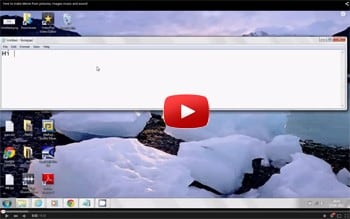
#7. How to Make Movie from Pictures, Images, Music and Sound
Step 1: Add the picture or video by browsing your computer. Select files and click open. Use "control + shift" to select multiple files at once.
Step 2: Find music from the computer by opening a folder and selecting tracks. Upload directly to YouTube or Facebook by clicking the icons on the Home tab, and then fill in required information.
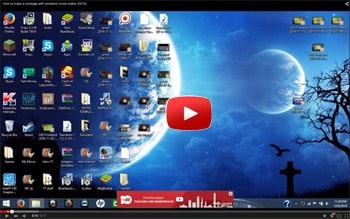
#8. How to Make a Montage with Windows Movie Maker
Step 1: Drag video or pictures onto the right hand side of Windows movie maker or import. By selecting the Home > Add Music, you open a folder from the computer. Select the soundtrack needed and click open.
Step 2: Insert text over the video from the Home tab. Click on screen and create a text box to whichever size desired. Adjust color, font size or style. If you need to speed the video up or down, do it from Edit > Speed.
Step 3: For louder or quieter sound, go to Options > Music Volume. Use this to fade sound in or out.
#9. How to Make a Professional Intro With Windows Live Movie Maker
Step 1: Chose file and open. Add a caption from the Home tab. Format tab allows you to animate text with the large blue button on the right side of tab. Save file as a video or mp4 movie for Internet compatibility.
Step 2: The Format tab allows you to animate text with the large blue button on the right side of tab. Save file as a video or mp4 movie for Internet compatibility.
#10. Windows Live Movie Maker Editing Tutorial
Step 1: Open the program. Click “Add Photos and Videos” on the Home tab. Search for what is needed then hit open. Click “Add Photos and Videos” on the Home tab. Search for what is needed then hit open. If you want to get rid of the unwanted part of your video, drag line across video on the right to the area to split. Right click and hit “Split”.
Step 2: You can add music from home tab if you want. Animations can be used for text. The opening or closing of a video depending on how you want the overall video to be. Speed up or slow down the video with Edit > Speed. To change volume, select Options > Music Volume.