Timeline is one of the standout features that Windows Movie Maker comes with. It allows for easy editing of video and that is one thing that every person will want to enjoy using. Traditional versions of the program lacks the timeline but all modern versions have that feature. Make sure you have looked at that prior to making a decision on using the program for video editing. You must be able to differentiate between a timeline and storyboard for Windows Movie Maker. Following is a brief tutorial of how to use Timeline in Windows Movie Maker.
- Part 1. Guide for Using Timeline in Windows Movie Maker
- Part 2. Easily Use Timeline in Windows Movie Maker Alternative
Part 1. Guide for Using Timeline in Windows Movie Maker
Before getting to use the timeline, you must view it on Windows Movie Maker. The following steps will give you the right directions to use:

Step 1. Launch the program and this will be the starting point whenever using the timeline. Then, you can click the icon marked “Movie Maker” on the top left corner of the program screen.
Step 2. The step to follow will be clicking on “Import for Device” and that will allow you to add files to the program from your camera. If you want to add files directly from the computer, right-click on the white space visible to the right side of the window and select “Add Videos and Photos”.
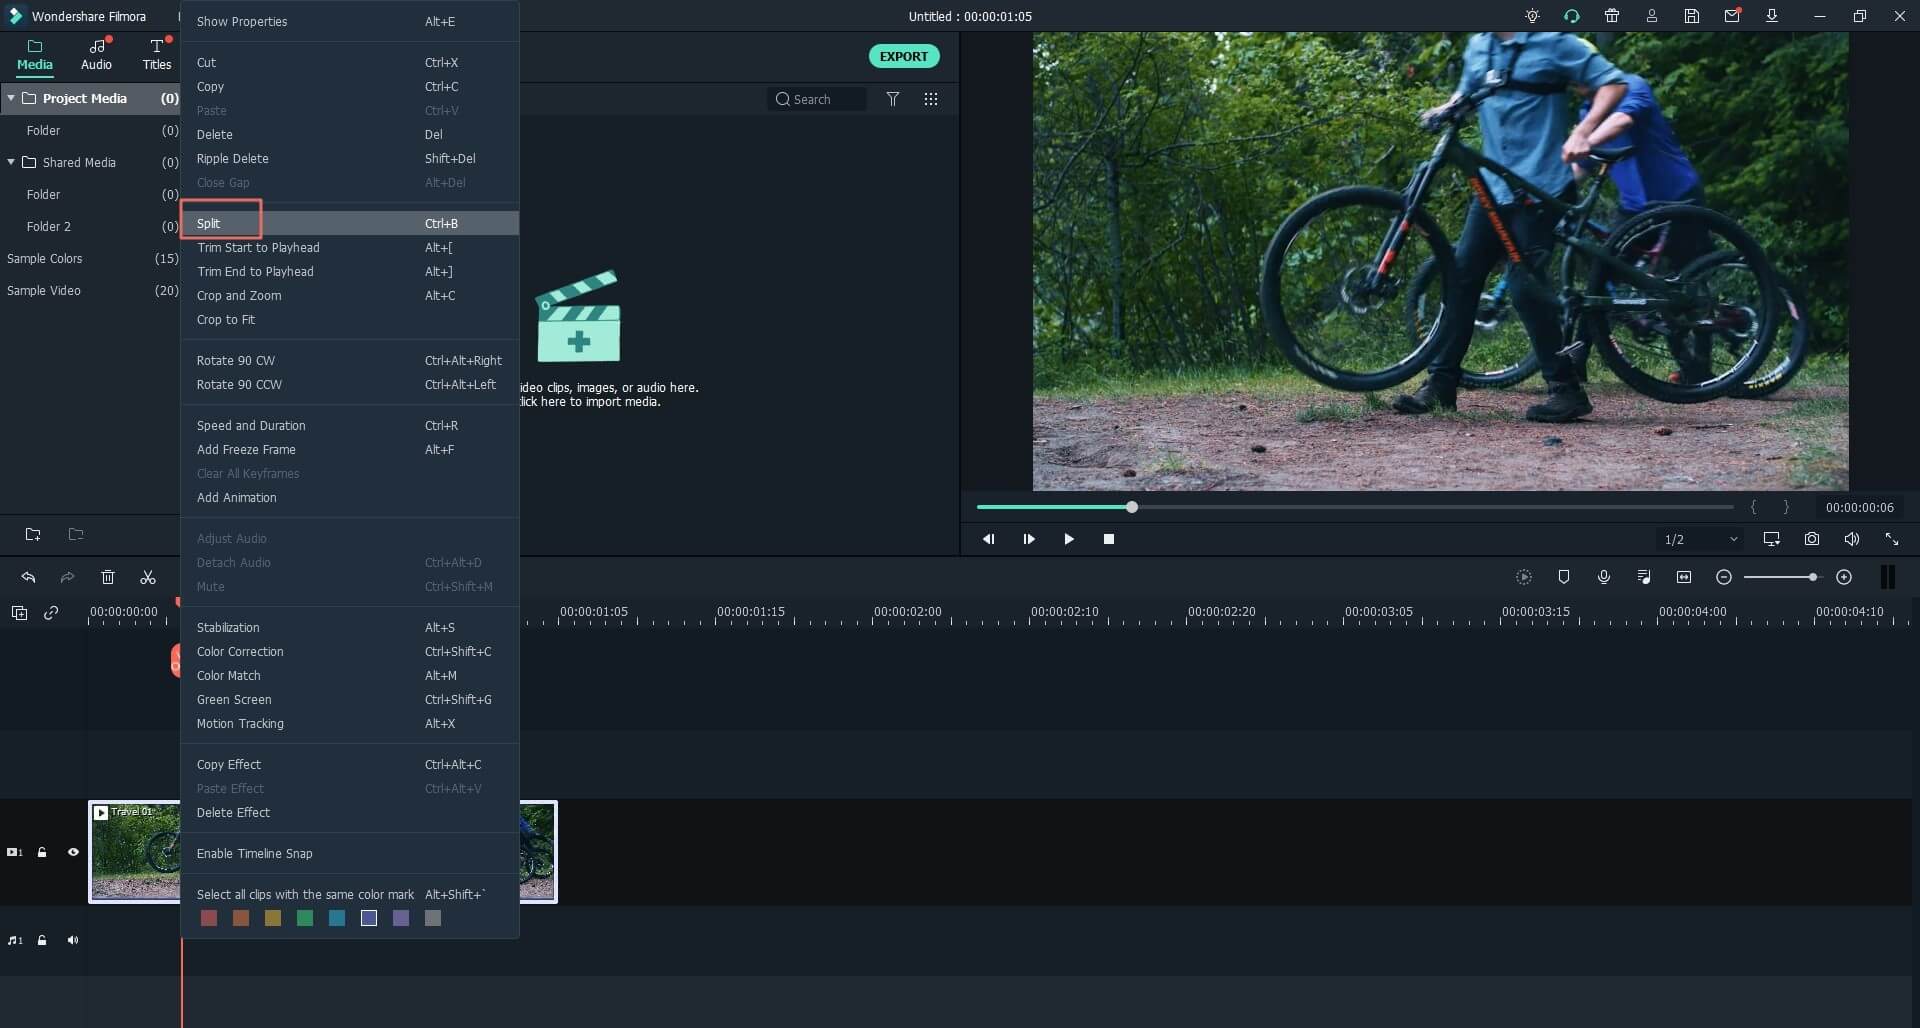
Step 3. When the files are in the timeline, highlight the one that you are to start editing or you can right-click to see all editing options. From the selected file, click on “Set Start Point” and then drag the cursor before clicking on “Set End Point”. The two markings will highlight the sections to be edited.
Step 4. Lastly, select the “Split” option and the section you have highlighted will be erased completely from your file. Make sure you have saved the changes and it’s that easy using the timeline in Windows Movie Maker.
Part 2. Easy Way to Use Timeline in Windows Movie Maker Alternative - Filmora Video Editor

Filmora Video Editor for Mac (or Filmora Video Editor for Windows) is the best alternative to Windows Movie Maker in the market that provides the best methods, tools and techniques to perform the video editing easily. Filmora Video Editor enables you to easily make movies , edit audio, apply effects and share your new movie on YouTube, Facebook, Vimeo, DVD, TV, iPhone, iPad, iPod, and more!
Key Features of Filmora Video Editor:
- Drag and drop feature make video editing process quite easy for beginners;
- More than 100 types of transitions are designed for you to switch scenes pf two videos smoothly;
- Lots of motion graphics can be add to make the videos more interesting and funny;
- Scene Detection feature cen separate large video into several video clips according to the scenes;
Steps on How to Use Timeline in Windows Movie Maker Alternative Easily
Step 1. Load Files
The video files you have stored in your computer should be dragged to the program’s project area. Alternatively, click on the “Import” button and you will have it easily browsing through.

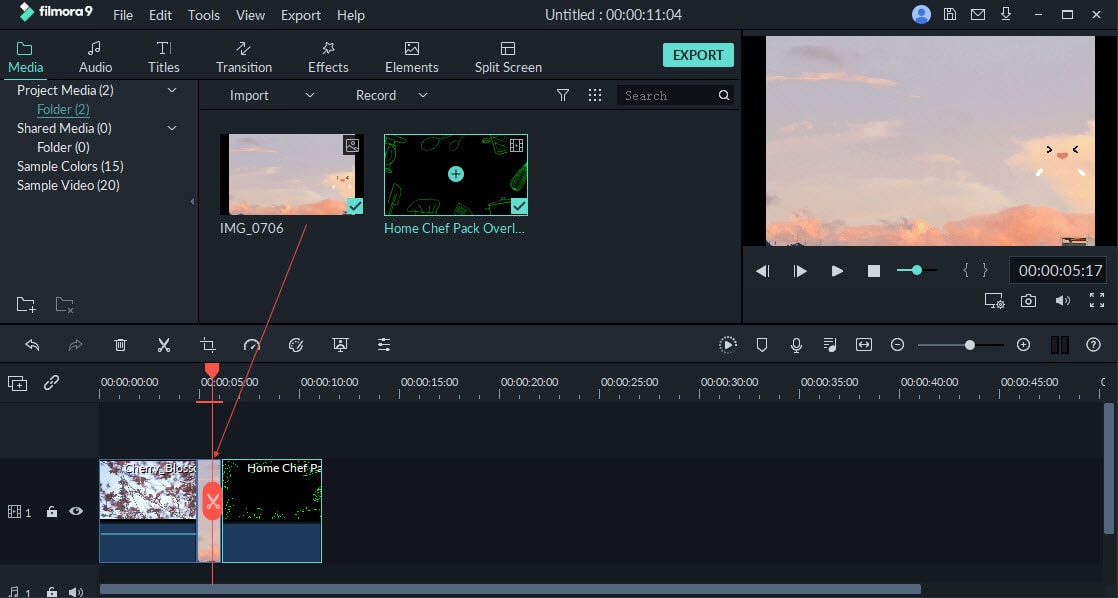
Step 2. Add to Timeline
Since the files are already in the program, you can simply drag them directly to the timeline and make sure they are arranged in an orderly manner. It should be in an order that you are comfortable with and will not give you a hard time editing your files.
Step 3. Create video
This step is where you choose on the basic editing tasks to perform on your video files. They are many to choose from and includes splitting, trimming and copping, merging, applying effects, rotating and adding transition as well as background music.