iMovie is a built-in video editor for Mac users. It is preinstalled on Mac machine and there are many features in video edition on Mac iMovie. It is known that iMovie interface is complicated and it is not easy for beginners to edit video with iMovie. So after your computers include iMovie for Mac bundled with recent versions of Mac operating system, then, all you need to do next is to learn iMovie tutorial on how to use iMovie to create movie from start to finish.
Best iMovie Alternative on Mac (macOS 10.13 High Sierra included)
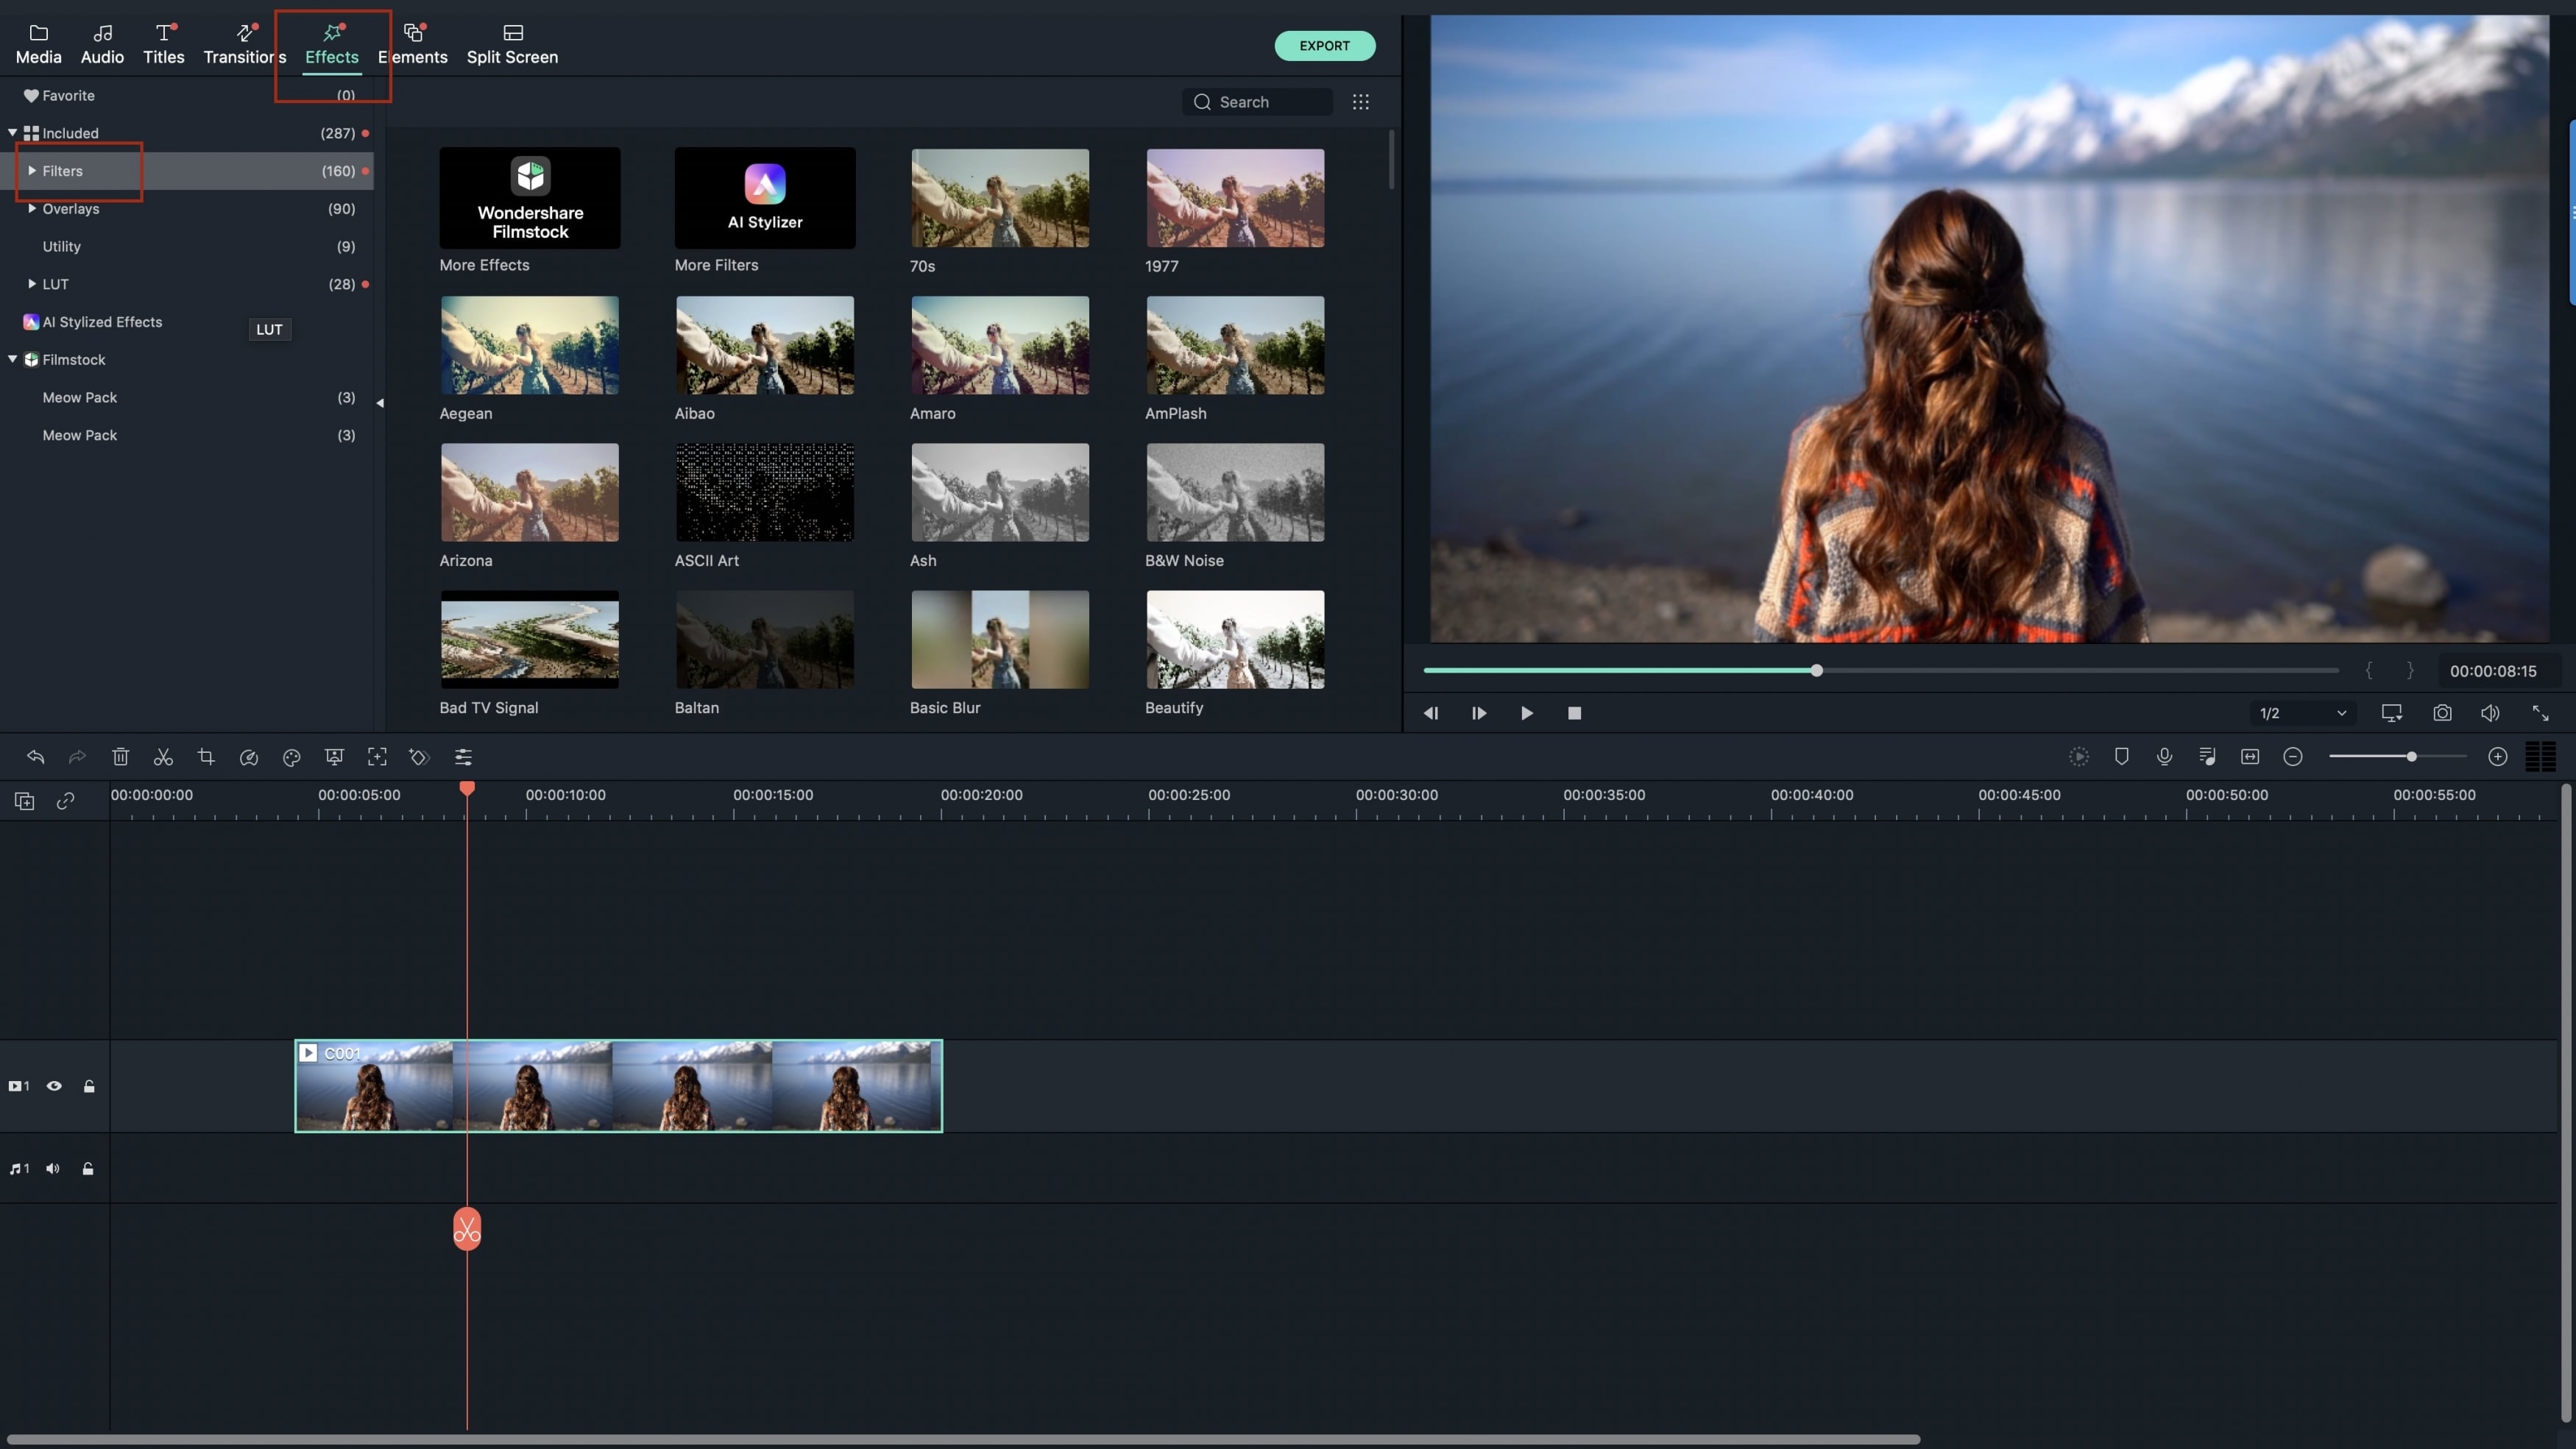
Filmora Video Editor for Mac is one of the best iMovie alternative for Mac (macOS 10.13 High Sierra included) and Windows with all the basic editing tools, special effects and more advanced features. It has a more user-friendly interface than iMovie for you to edit video, make movie, adjust audio track, etc.
Key Features of Filmora Video Editor:
- Options to record voiceovers or PC sreen for the videos.
- More than 200 types of overlays and filters are meant to make editing more sophisticated.
- Allows you to drag and drop all kind of media files to combine & create a final video.
- Export the result video into any video format that you like, burn it into a DVD, and even share it to YouTube, Facebook and Vimeo.
Tutorial on How to use iMovie on Mac OS X
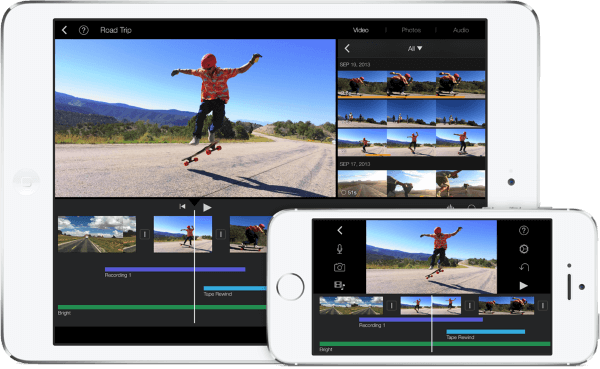
In a Mac World, iMovie has become the standard program for video edition thanks to several features that may put it some steps ahead of the competition, for instance the iCloud compatibility, that will allow you to instantly share your videos with your iPhone, iPad or others, no cables needed or iMovie for iPhone/iPad/iPod, that will allow you to edit your video even on-the-go.
But let's get at it. If you want to truly get to taste how powerful iMovie can be, the best you can do is grab it and start using it yourself, allow us to walk you through:
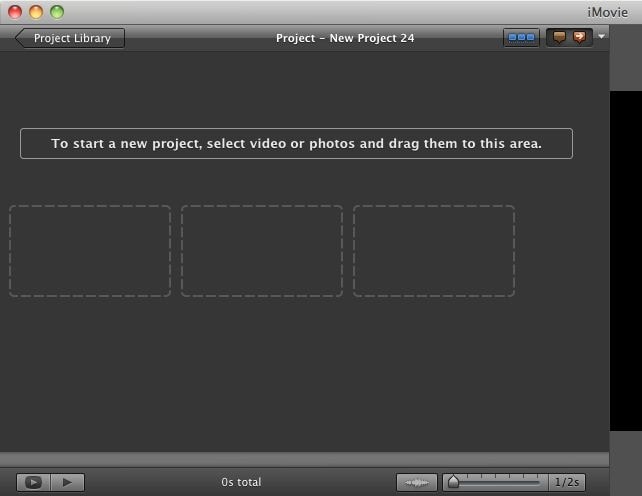
Step 1. Creating a new project
A project is what you work on in iMovie. You select videos from a device and import them into Events for your projects and start from there: organizing, editing, adding effects, etc. Even if you are just using one video to edit, you have to create and import it into a project.
This however is very simple: at the top of the application you will find three icons and the one in the middle is for Create, as you click on it a new window will appear. From here you will be able to select a Theme to apply to your project or just start from scratch, then name your project, and it will be ready for you to work on.

Step 2. Importing your videos to iMovie
At the top of the application you will find three icons, and the one to the left side reads Import as you click on it, a new window will show up and you will be able to browse through your files for the videos you want to use, devices like camcorders will be automatically shown as well.
Remember you can also do this by simply dragging files from a Finder window in your computer into the iMovie window, or by going to the menu File > Import from camera/Import.... Either case, keep in mind that when importing video files, they are added to an Event, which is basically a collection of videos that can be used as sources for video projects. You can select or create the Event you want to import your videos into by clicking on the Import to: menu at the top of this window.
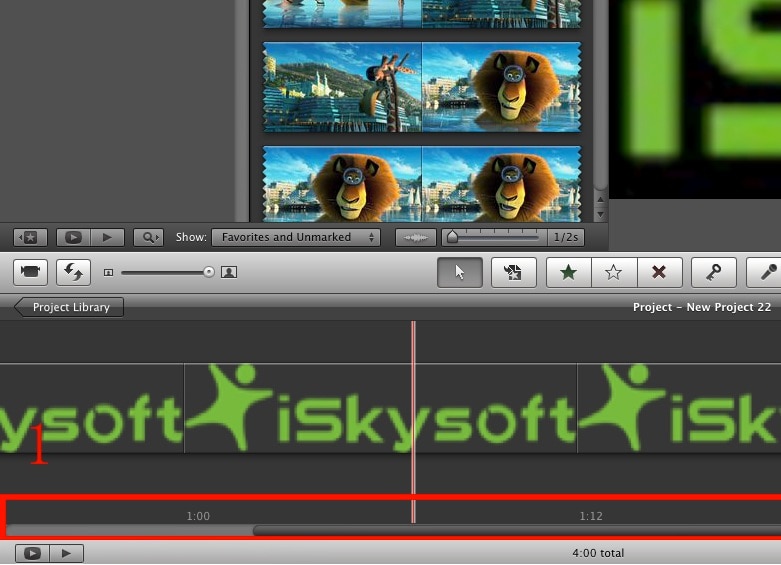
Step 3. Using the timelines
Now that you have imported video into iMovie, you can drag it to the lower section in the application. These are the timelines, where you will be able to move things around, trim your video, add effects and transitions between scenes and much more. The timelines are not only for video, you can also add audio easily to mix it up in the background of your video, and even image files to use as stills in the footage.
From this point onward it is up to you and your creativity to make the best out of your movie. Anytime you feel lost, remember that most of the options available for video edition will be located under the video preview to your right, or by right-clicking the part of the video scene that you want to edit.
Step 4. Exporting your videos from iMovie
Once you are done with so much video edition, you will be able to export your creation in different formats (remember that you can also share previews of your work while still at it ). To do this, all you have to do is clicking on the Share button, located once again at the top of the application or by going to the menu File > Export in both cases you will find. You can select the video format that you find better by clicking on Export using QuickTime or just naming in in the Save As field after you click on Export Movie...
These are the basics for video edition on iMovie, but possibilities go as far as your curiosity allows you to. Still, anytime that you feel curious about something or can not seem to find a specific option, remember to check on the support sites for iMovie.