


There are many output options for iMovie that you can put up for consideration when you want to export a project from iMovie. Depending on the device that you intend to export iMovie video to, you are well advised to make your considerations in a wise manner. In this piece, you will get to know about some of the options available and the information shared will be valuable in helping you make informed choices when you export iMovie project. Regardless of the movie type that you are planning to export, this article makes a good read for you any time.
- Part 1. Best iMovie Alternative - Filmora Video Editor
- Part 2. Understanding iMovie export settings
- Part 3. Step-by-step guideline for exporting iMovie projects
- Part 4. Editing tips for iMovie
Part 1. Best iMovie Alternative - Filmora Video Editor
Filmora Video Editor is one of the effective iMovie alternative to edit and export video on Mac (macOS 10.13 High Sierra included). It's the easiest software to learn and to use, even though you're the first time to edit video.
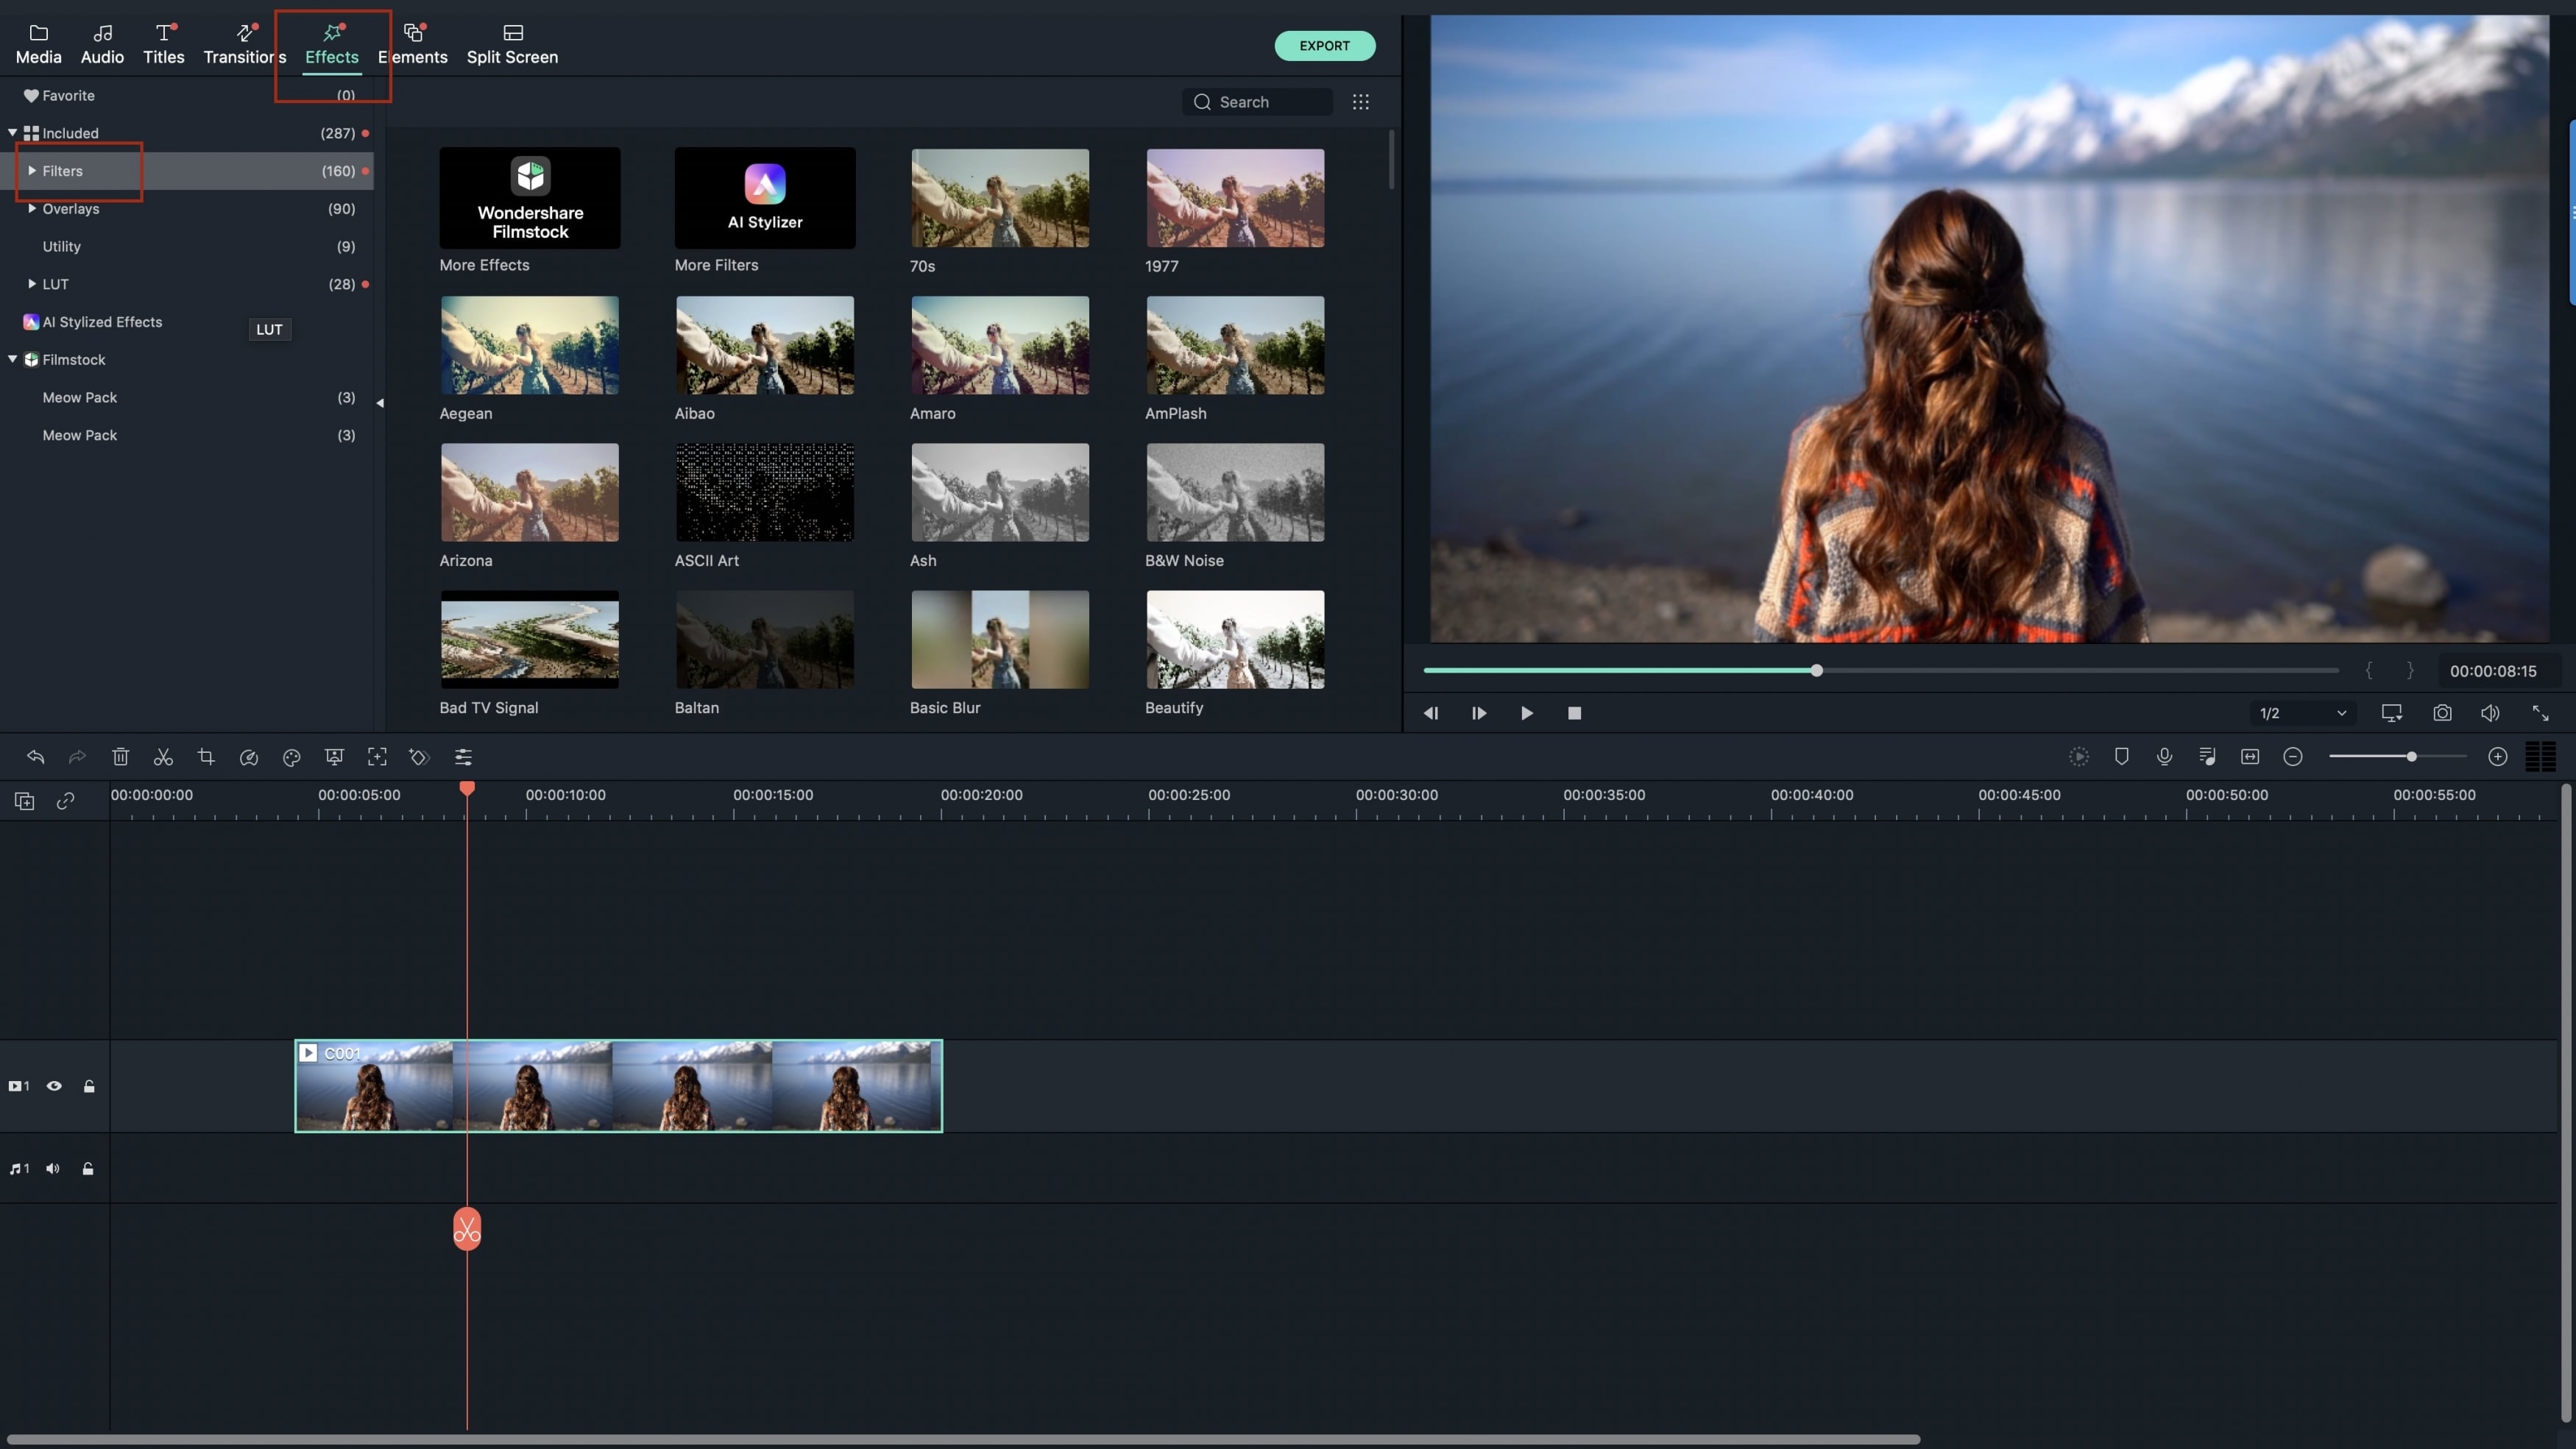
It offers all the features that iMovie is able to do for you. Compared with iMovie, Filmora Video Editor is simple and the effects provided are greater. You can not only export video to certain format or device, but also upload it to YouTube, Facebook, Vimeo via the program. Even can burn the edited video to DVD. And it has separate version for Windows PC and Mac.
- Basic video editing tools such as trimming, cropping, splitting, rotating.
- All kind of built-in video effects: filters, overlays, picture-in-picture, motion graphics, transitions.
- More advanced editing features: split screen, green screen, face-off, mosaic, and playing video in reverse.
- Intuitive interface with easy drag and drop controls and preview feature.
Part 2. Understanding iMovie Export Settings
This has to be your starting point before deciding to export movies from iMovie to another device. The settings bring about key aspects like compatibility and file size thus must be treated with total consideration. Unless you have a clear understanding of how these settings are used when exporting movies from iMovie, it will end up being a challenging task to accomplish. Therefore, make sure you go through them one by one. One important thing you will learn is that customizing these settings as per your preference is very easy.
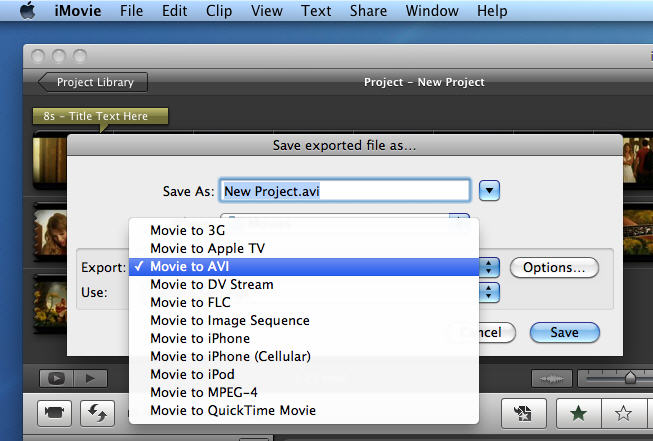
TQuickTime is the most common device used for exporting movies from iMovie and it's a good example of how to have the settings customized. To achieve that, you will have to go to the "file" icon and select "export" then a pop-up menu containing all the formats will come up. From that, choose "expert settings" and then click on the button indicated "export". There will also be an option to choose "movie to QuickTime movie" on the pop-up menu and then press the "options" button. You will openly see the "settings" button which will open up to a video panel showing information on compression, frame rate and other key settings.
Choose the right customizing settings as per your preference. All in all, you are supposed to select customizing options that have a good return in terms of size of the file and playback quality. That is the only way to get maximum value in return for your iMovie settings. A single mess with any of the settings will end up affecting the quality of your movie and bring up some complications when exporting. For consistency purposes, you will have to set the frame size as the top priority and then follow with frame number and frame rate in that order.
Part 3. Step-by-step Guideline on How to Export a Project or Video from iMovie
The next natural thing to do after editing is exporting the iMovie project. Compatibility is one of the biggest issues that must be addressed prior to exporting your iMovie projects so that the videos can play on any device. This will entail choosing a file format that is friendly to the device you are exporting the movie to. It will be all systems go once that has been assured and you have a compatible format selected.
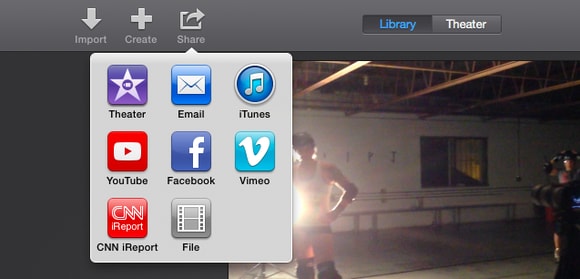
From the iMovie menu bar, you will see the "share" button which has six key options for your choice after clicking. Choose "export movie" and be sure it is exporting to the right location. Whether it is Final Cut XML, QuickTime or any other applicable device, it is good that you select the right location from the dialog box. The size of the video to be exported from iMovie is as well important for selection at this stage and it can be small, medium or large. The choice of video size you make will be informed by several factors key among them being the storage capacity of the device.
One thing you must be informed about is that the rendering time for any video file will depend on its size so have that in mind when making your choices. By now, the iMovie project you were exporting must be showing on the device you exported to barring any unforeseeable hitches. MPEG-4 and QuickTime are the commonly used formats for saving iMovie projects once exported and you should consider their suitability deeply. MPEG-4 is well compatible with iTunes, iTouch and iPhone among other Apple devices while QuickTime is compatible with key Apple and Windows devices.
Even as you export iMovie projects to any device, beware of the common problems that are experienced in the process. They are many and it will make you better if you have the troubleshooting options at your fingertips. That will come in handy anytime you have experience such challenges. Generally, you have to be well prepared every time you want to export iMovie projects to a foreign device. Information shared in this article will be invaluable to you.
Part 4. Editing tips for iMovie
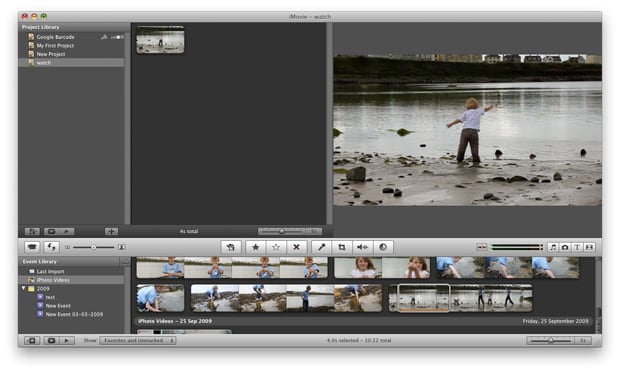
Sometimes, you might find editing not fruitful when using iMovie but it is all because of a few complications. There are diverse editing tools used in iMovie and will be good for preparing your project before it is exported. Be informed that your video cannot be edited once exported so everything has to be done at the timeline prior to exporting. With iMovie, it is very easy to successfully edit your movies without inflicting any damages. It employs a technology called "non-destructive editing" and it brings together four main editing options that will leave your video clip intact in terms of quality.
Direct trimming:
This is one of the effective ways to edit your movies in iMovie before exporting. It is good for use when you want to have a long clip shortened and it is two-way oriented. If you drag the clip from the right flank, you will be able to trim the closing side while dragging to the left will trim the video from the beginning point. Know that the amount of clip content trimmed will be squarely dependent on the extent to which it is dragged. The more you drag the more you trim and vice versa.
Overwriting:
This makes it possible to extend a clip that is trimmed as well as trim another neighboring clip without making double edits. You just have to overwrite your clip such that there is one clip over the other. It is highly professional such that no clip will interfere with the audio or video quality of the other once overwritten.
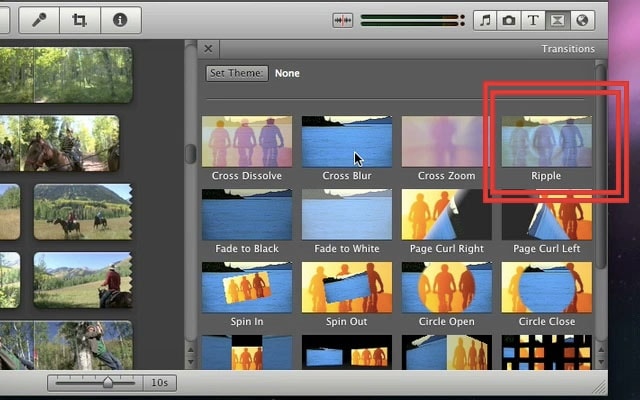
Rippling:
With this editing technology, you can trim a video clip and the iMovie timeline will effect all such changes automatically. It works by default where clips on the timeline take up the space of any trimmed content without being commanded. It is very convenient and reliable since you don't have to take charge of the editing process unless it is necessary.
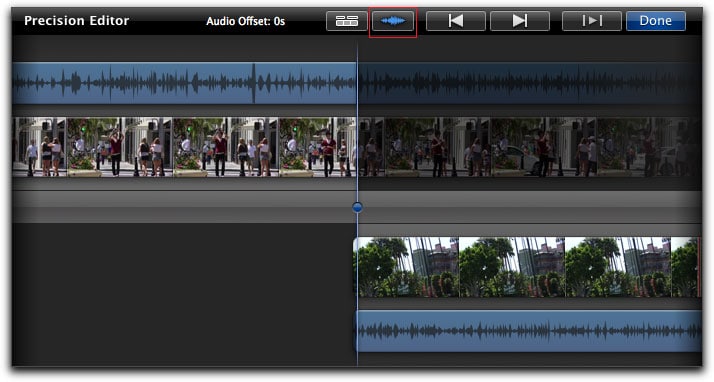
Audio trimming:
It is good to see what you are editing on the timeline and this technology facilitates that. The clips being edited will appear on the timeline as waveforms to make sure you can track the editing step by step.
All these editing techniques for iMovie have guaranteed accuracy and will be good for treating your movies before exporting. Exporting iMovie projects is not just as easy and straightforward as you may think but a lot is involved and editing is one of those key procedures.

