


The world of social media has been responsible for taking the photo and video editing to an all-new level. Today, all of us need to have at least basic editing knowledge, which can be an area of concern, especially for MAC users. We are now going to quickly see and understand how to resize mp4 video on Mac. Apple believes in simplifying things for the user by having most of the tools in-built, and one such app is "iMovie".
- Part 1: Resize Video in iMovie >
- Part 2: Resize Video using iMovie Alternative: Filmora Video Editor [Recommended] >
Part 1: Resize Video in iMovie
The best part of using an Apple product is giving you everything possible through various apple products. Saying this, it becomes essential that if I can record videos on my iPhone, I also should be able to edit them.
How to resize mp4 video on Mac
Now the next question that arises is how to resize video in iMovie. There are two principal ways to resize video mac iMovie. We have quickly discussed these two ways below –
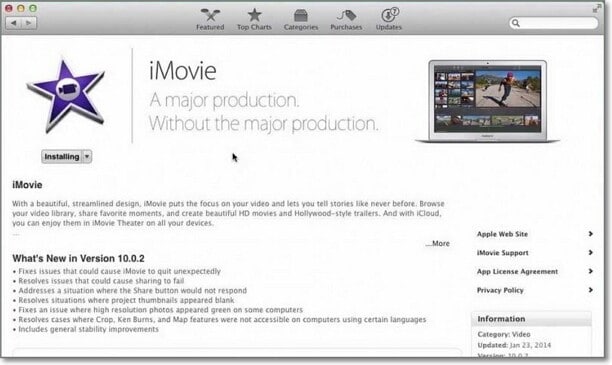
In case iMovie is not installed on your Mac, you can click here to download it.
1. By cropping
Follow the steps below to reduce the image or video size by cropping.
• Open the iMovie app on your Mac; select an image or the video that needs to be cropped and add it to the timeline.
• Click the Cropping button to show the cropping controls.

• As soon as you click the Crop to fill button, an adjustable frame appears on top of the viewer's clip.
Please Note: This frame is constrained to a 16:9 aspect ratio.
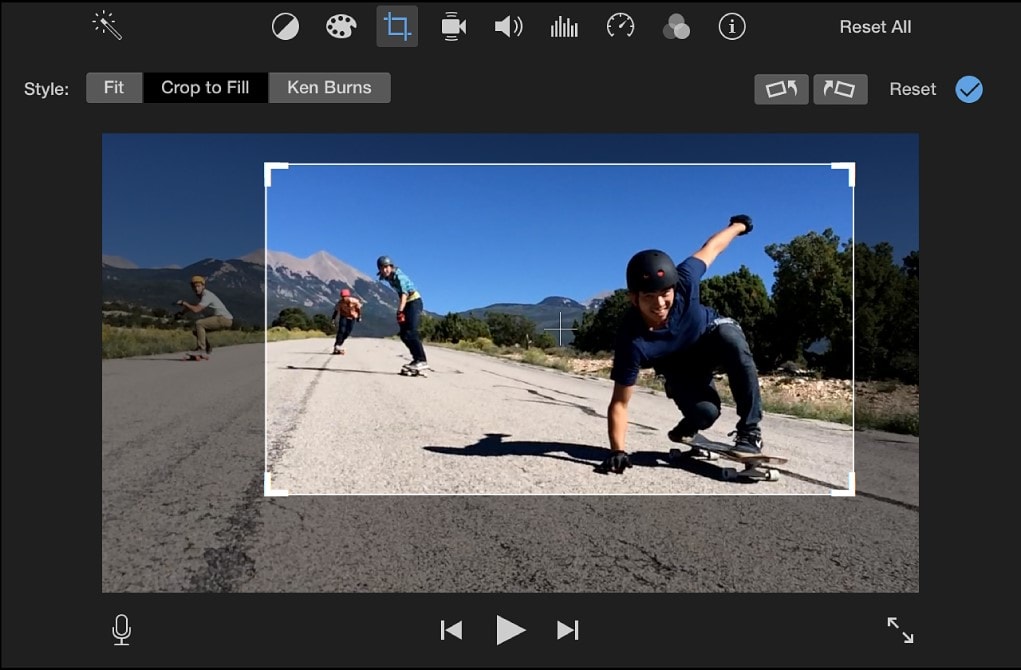
• Make the necessary adjustments to the frame as per your requirement.
• Once you are satisfied with the changes, click on the Apply button. The apply button is visible among the cropping controls. Now the area under the frame occupies the entire screen/viewer. In case you are not happy with the changes, you can click the "Reset" button and remove all the crop adjustments you had applied.
2. By compressing:
Below we have discussed how to resize iMovie video by compressing it.
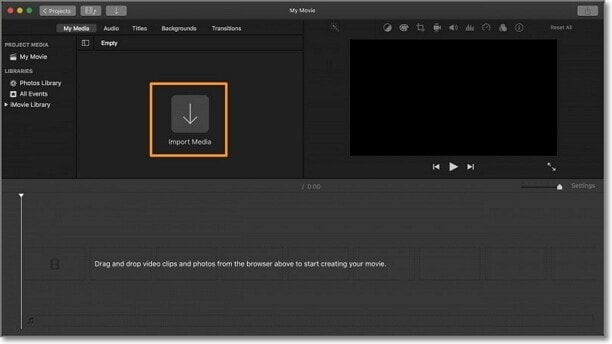
• To start, let’s open the iMovie app.
• Now select the video that needs to be compressed and import it into the iMovie app.
• Now to compress the file, go to Share> Export to QuickTime> Options button.
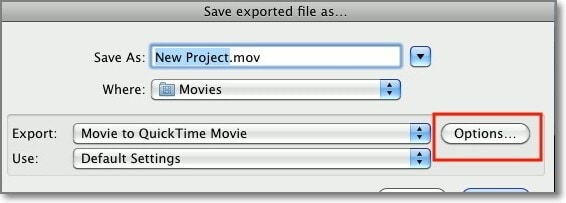
• Now under the Video section, click on the Size button.
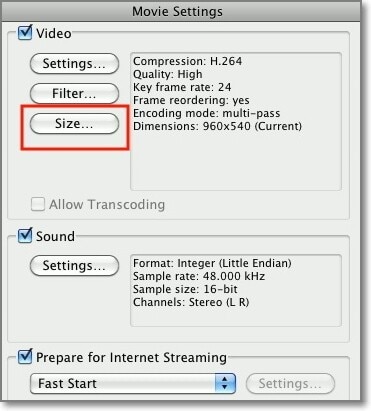
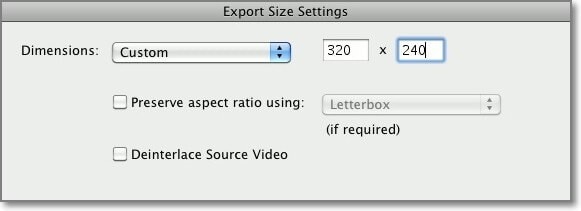
• Now under the dimension menu, make the changes and resize the video as per your requirement. Finally, once you are done, click on OK.
And this is how to resize iMovie video using a MAC.
Part 2: Resize Video using iMovie Alternative: Filmora Video Editor [Recommended]
Using the iMovie option for the tech guys seems to be a feasible option. However, for the non-techniques using the iMovie to resize video on mac can seem to be quite tedious. There is another convenient option that is available for such people, the Filmora Video Editor for Mac (or Filmora Video Editor for Windows).

Key features
- Create compelling moments like motion tracking, color matching, video keyFrame..
- Create eye-catching videos with Filmstock.
- Basic editing options such as crop, split, rotate videos, etc.
- Offers advanced techniques like pan & zoom, play reverse, stabilize video, green screen.
How to resize videos with Filmora Video Editor:
Step 1: Get the Video Imported
The first thing that needs to be done is to add the video project on the main screen of Filmora X. You can do this by merely the drag-drop method, or you can click the Import menu given at the top and choose Import Media Files. Now, from the dialog box, you can import the video that needs to be resized.
Another way to import your project is to click the File menu followed by Import Media.Another way to import your project is to click the File menu followed by Import Media.

Step 2: Crop Videos
Cropping videos in Filmora Video Editor is as simple as cutting a cake.
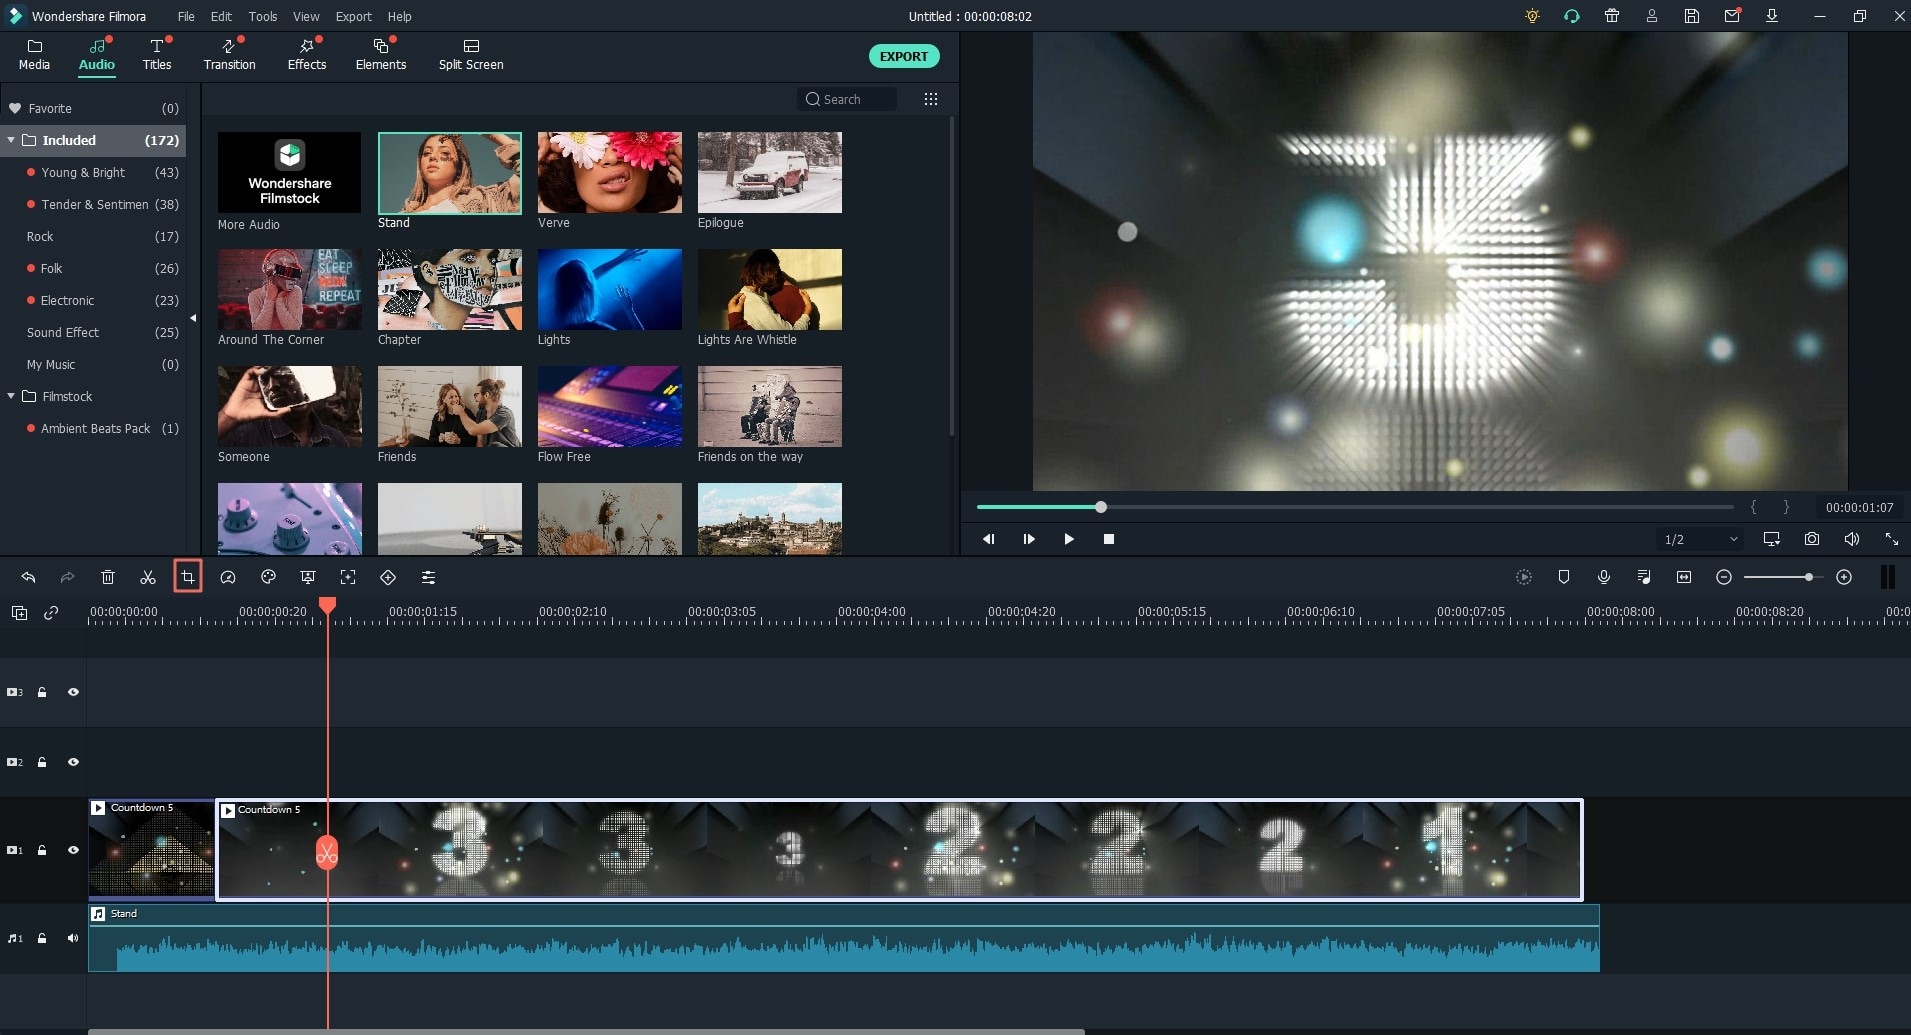
• The very first step is to drag the video from the relevant foloder to the Filmora X timeline. Once the video is opened on the Filmora X timeline, you can follow the below-mentioned steps to start editing/cropping the video.
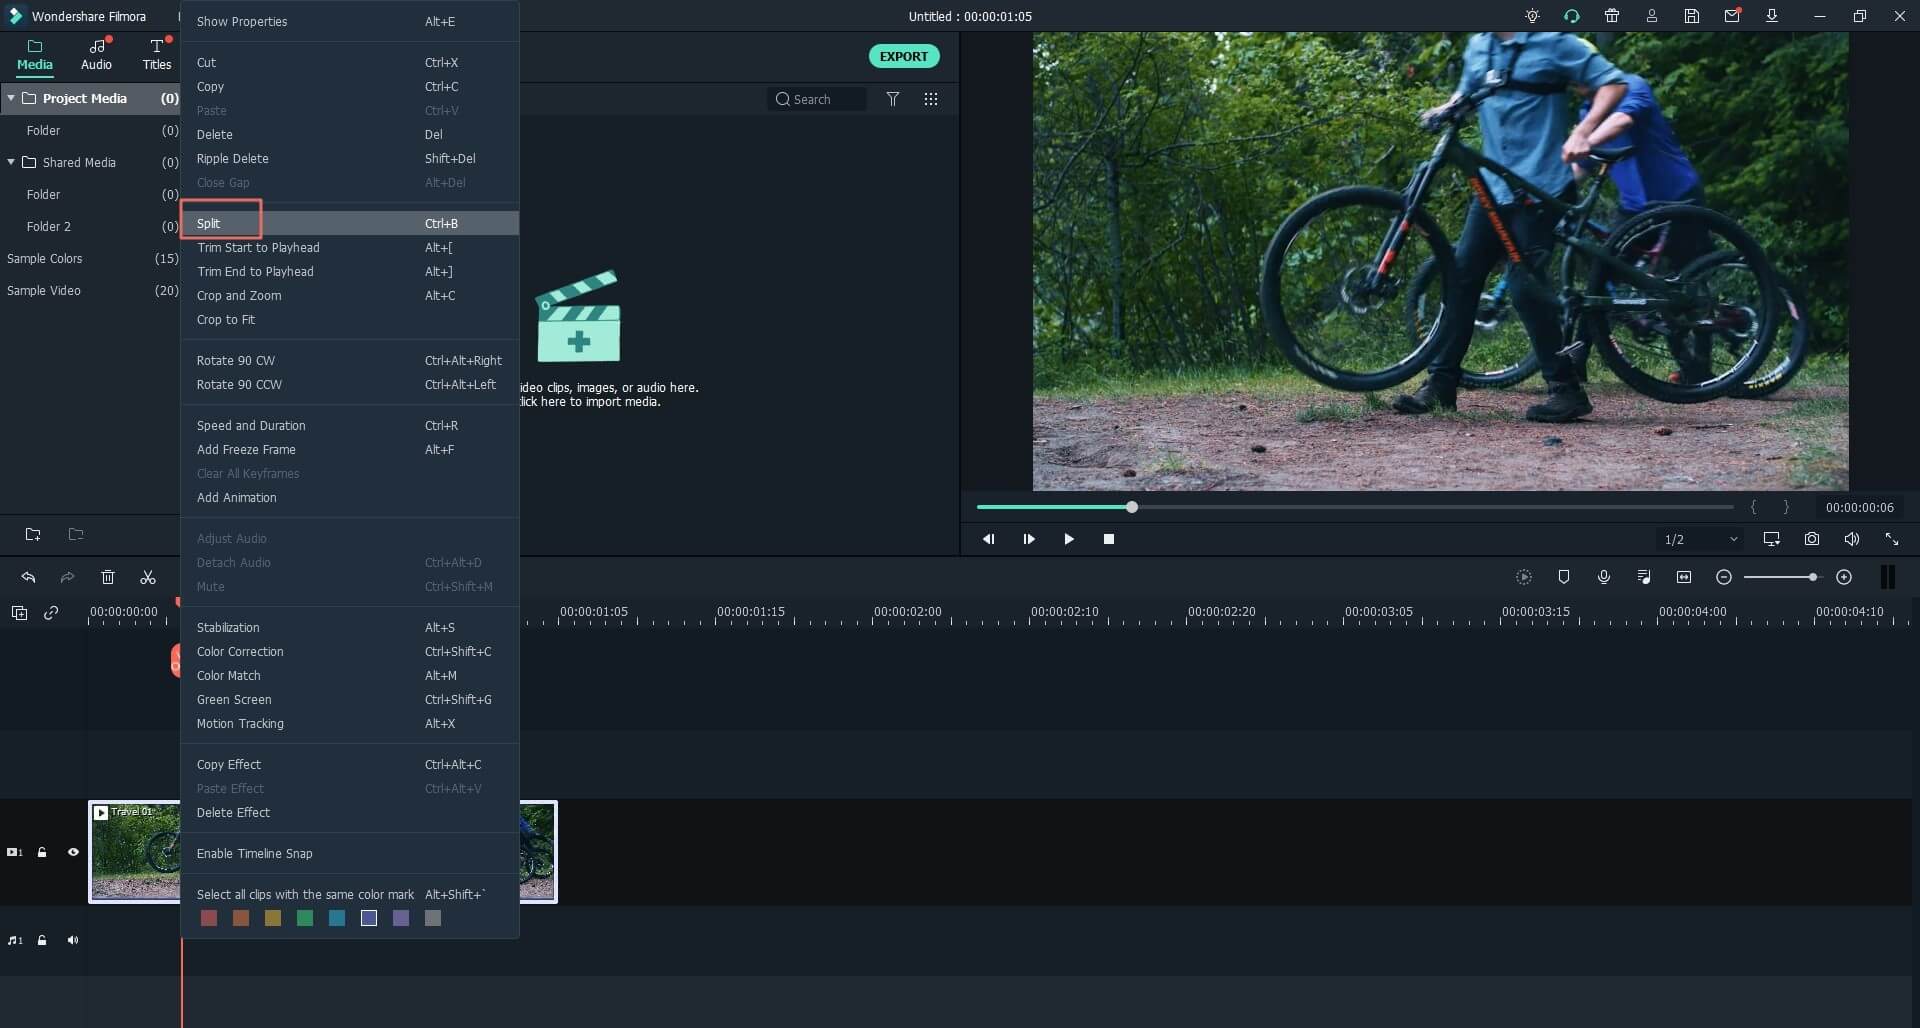
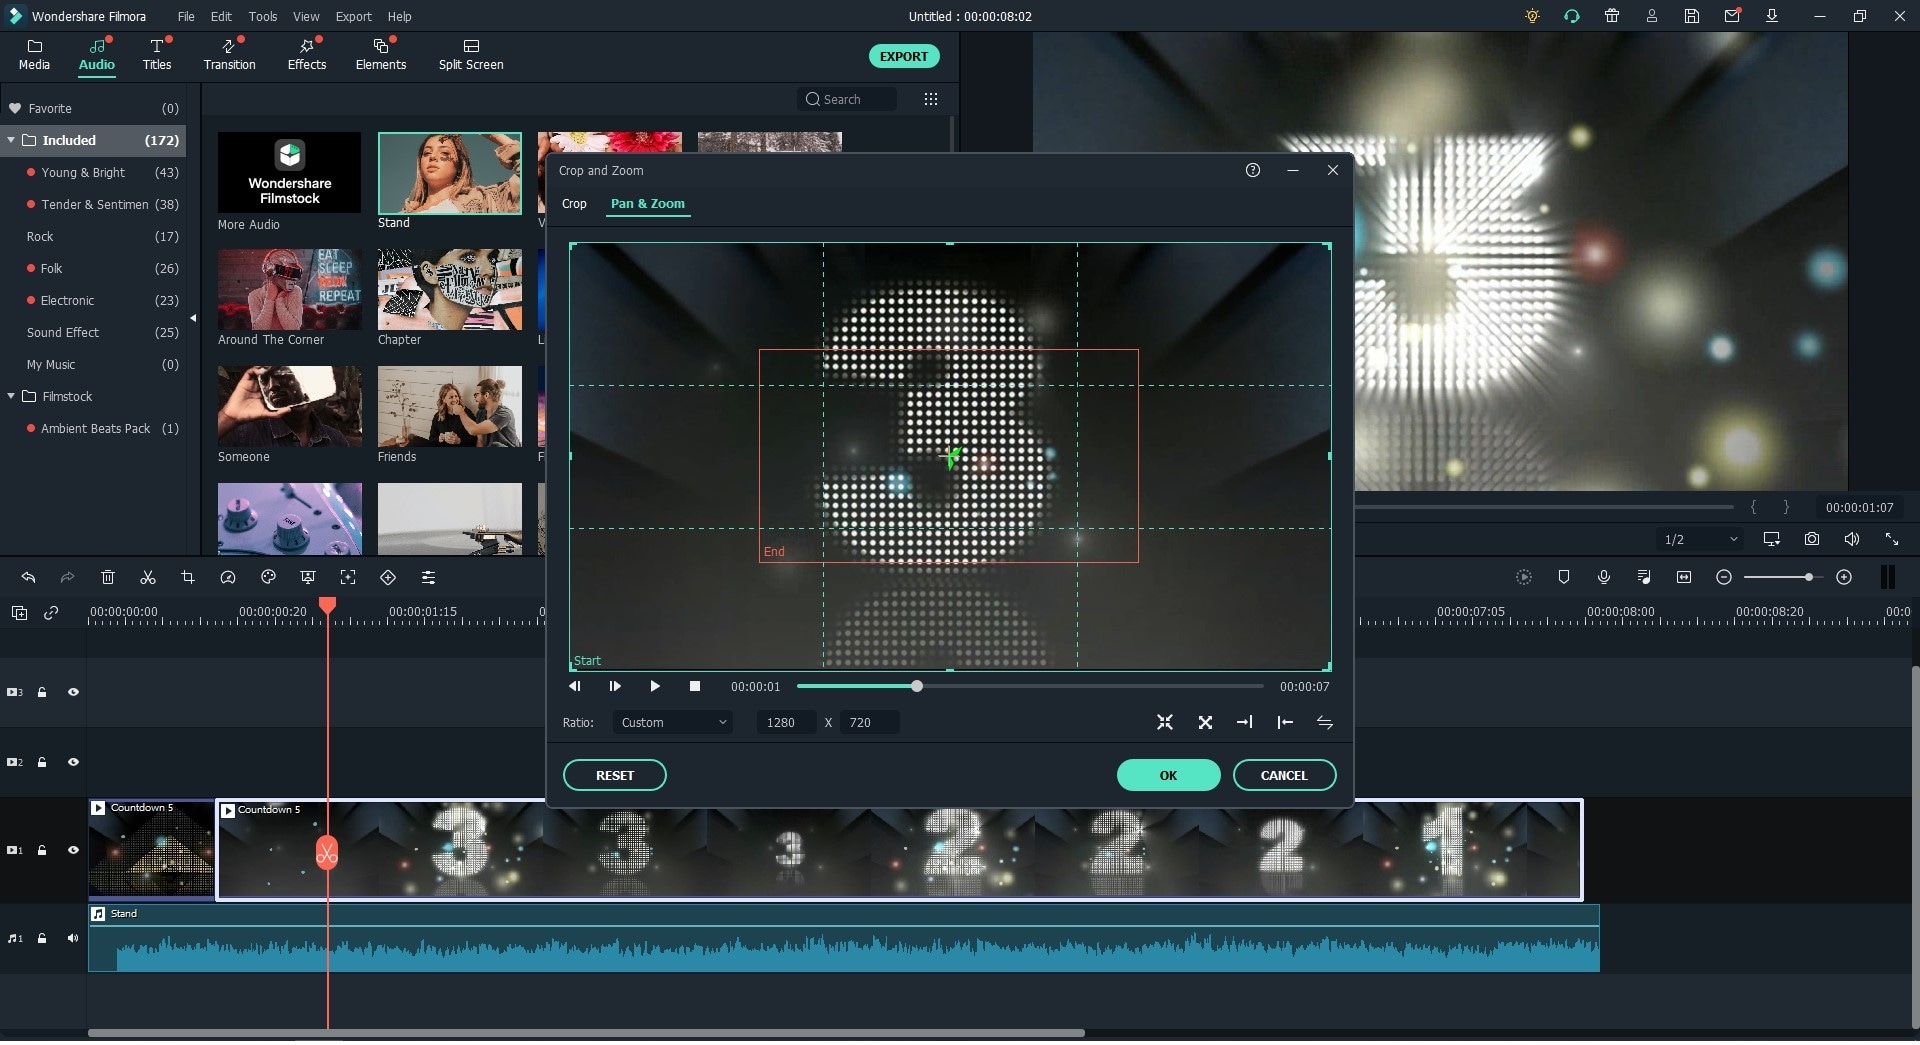
• Now click on the Crop and Zoom icon present above the Timeline. The other option is to you can right-click on the Timeline video, and from the drop-down list, select the Crop and Zoom option.
• The step as mentioned above will now open a new video for cropping.
• Select any one of the 3 cropping size options: 16:9, 4:3, and Manually.
• You can even select one of the available cropping options and adjust the frame as per your requirements.
Step 3: Export Final Output
After getting the resizing things done, you can put your final results to export and wait until the process is done. To do this, all you need is to click the Export button located above the Timeline.
Now, select the format that you want.
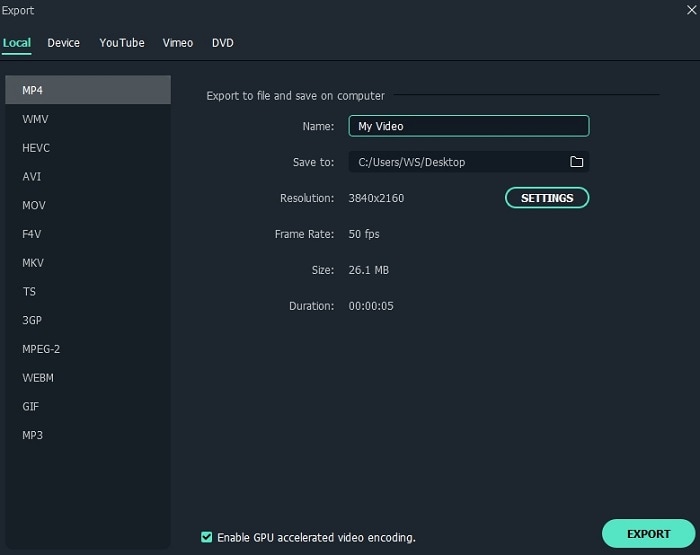
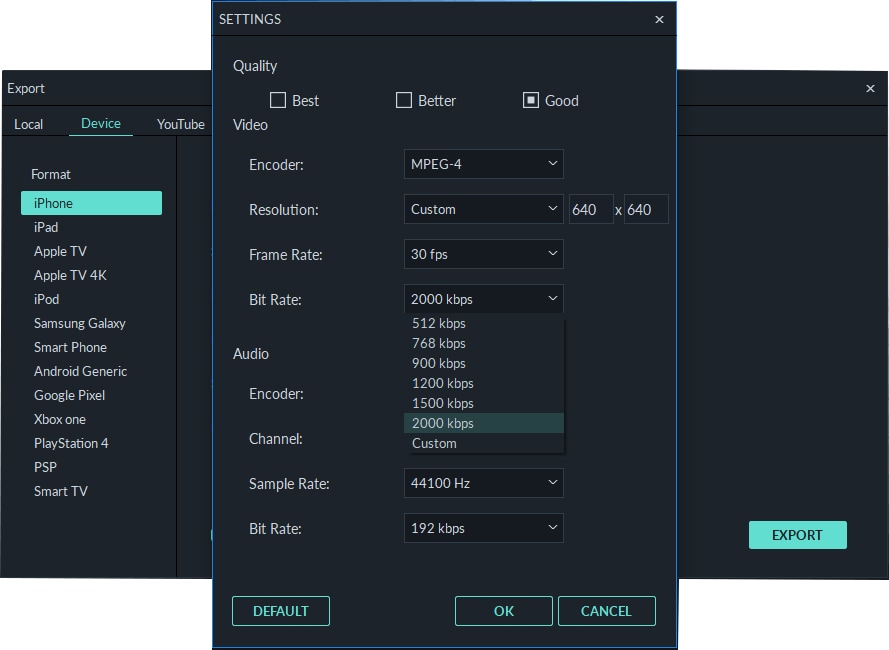
You can also go to the "Settings" tab and change them as needed, as shown in the image below.
Then, click EXPORT, which can be found at the bottom of the screen, and you're done.
Note: If you wish to export your video to the device or social media platform, you can choose the dedicated tab given on the screen.
Final Thought
The final choice for how to resize mp4 video on Mac depends on your comfort level. Resize video on Mac in iMovie is an excellent option for professionals and techies. However, for the beginner and for someone who needs to resize videos occasionally, the iMovie interface might seem too overwhelming.
On the other hand, Filmora X makes video editing extremely simple and easy for you. Within a few clicks, you can make the video in the predefined aspect ratios of 16:9, 9:16, 4:3, 1:1, or customize a frame.
If quality matters, the iMovie is a great option, while for hassle-free editing Filmora X is the answer.


